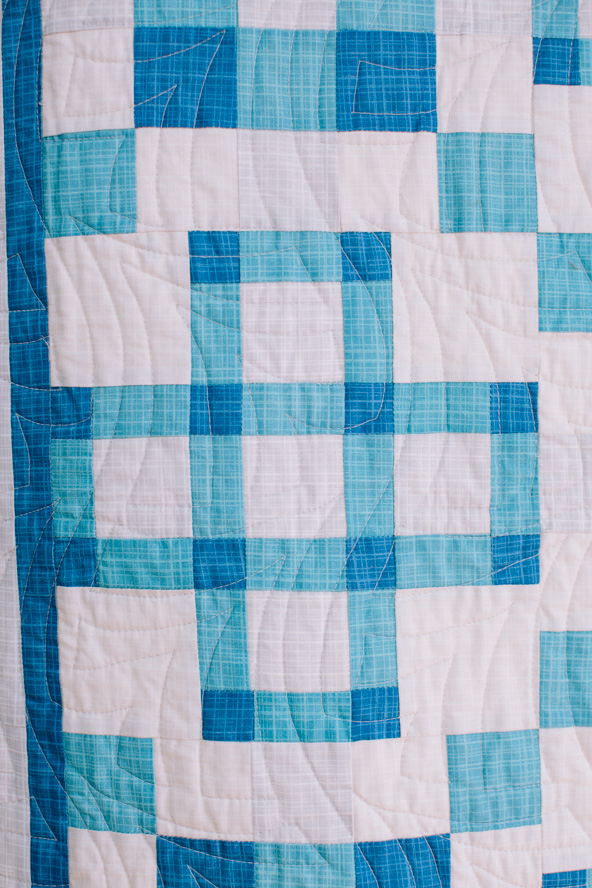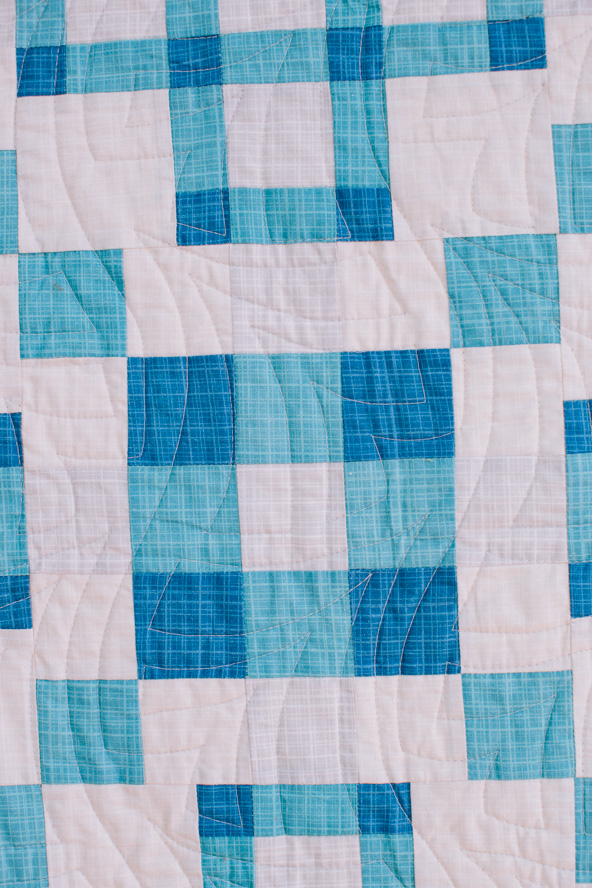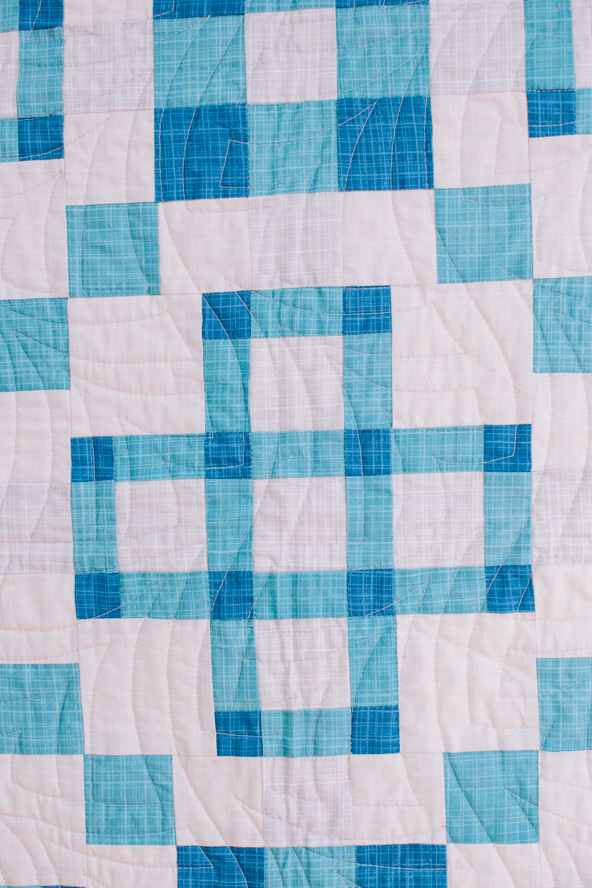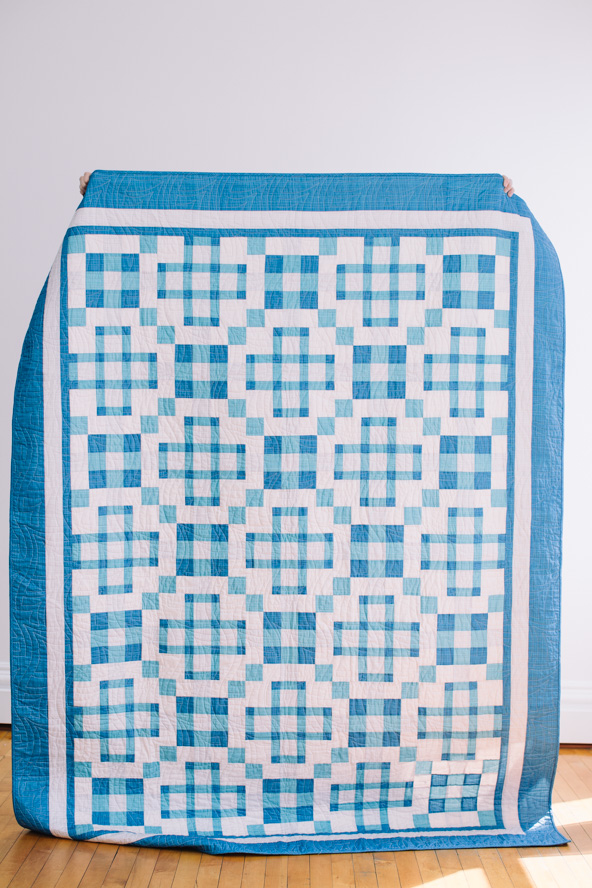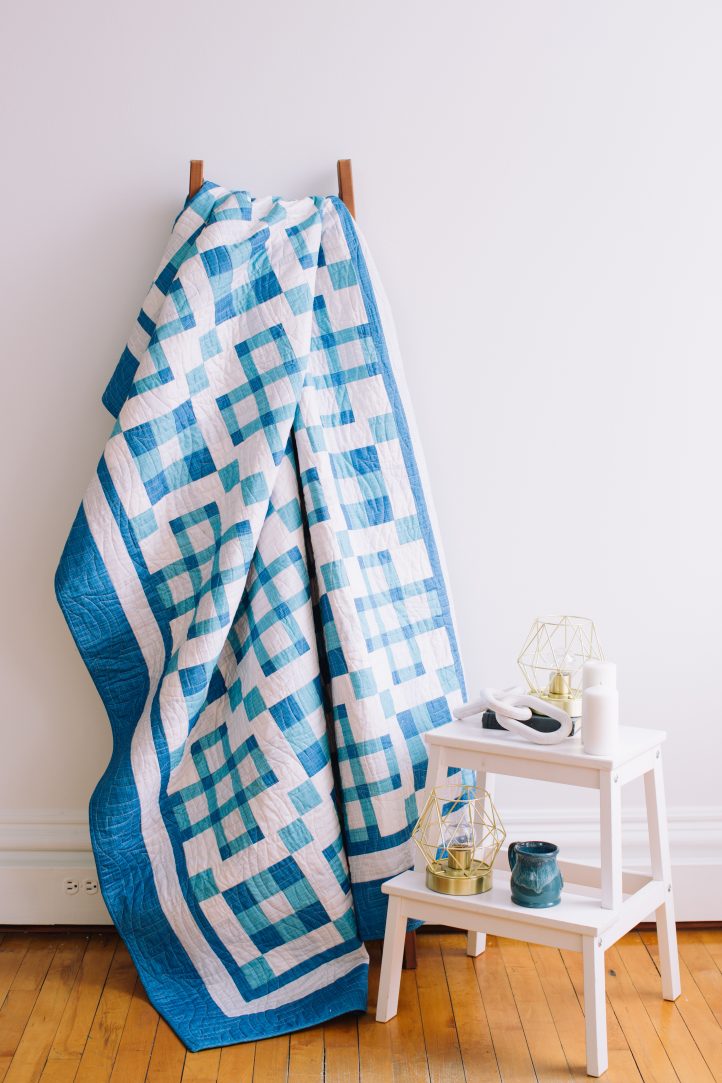
January means the perfect time to stay indoors and quilt in shades of icy blues and frosty whites. The Frost and Ice Tic Tac Toe Quilt Pattern, designed by Brenda Plaster, uses four different fabrics to create its playful mix of blocks, designed to resemble the classic pencil-and-paper game. Experiment with color palettes and placement with this gorgeous twin-sized quilt pattern.
Finished Size: 64 1/2” x 84 1/2”
Description: Thirty-five 10” blocks, set 5 across and 7 down, 1”, 2” and 4” borders
Designer Note: Please read pattern before starting your project.
Patch Summary:

*Note: Do not cut from this summary. Patch descriptions refer to fabric sizes/shapes used to construct patches, not the finished sizes/shapes. B2 and D2 are the same in the finished blocks but are sewn differently to enable strip piecing.
A: 2 1/2” square: 72 A1, 144 A2, 175 A3, 144 A4
B: 2 1/2” x 1 1/2” rectangle: 102 B2
C: 1 1/2” square: 204 C1
D: 1 1/2” x 2 1/2” rectangle: 170 D2
E: 3 1/2” square: 68 E4
Fabric estimates are based on useable fabric width (selvage to selvage) of at least 42”. Add yardage if you prewash your fabrics or are fussy-cutting. Cuts across the width of fabric are indicated as WOF. Some cuts are lengthwise (LOF-parallel to selvage) to enable LOF border cuts; fabric does not stretch on the lengthwise grain, preventing distortion. The middle border in this pattern is cut WOF to save fabric; if you’re cutting from a longer fabric piece, LOF cuts are recommended. The letter in patch labels (see Patch Summary) refers to the patch. The number refers to the fabric from which the patch is cut. For example, A1 is an A patch cut from Fabric 1.
Fabric Color Key:

Fabric Requirements and Cutting Instructions:
- Fabric 1: 3 yards
- Cut fabric into 3/4 yard and 2 1/4 yards.
- From 3/4 yard, cut:
- Binding: Cut enough 2 1/4” or 2 1/2” (your preference) bias or straight of grain strips to join and make about 308” binding. (Bias binding is more durable.)
- From 2 1/4 yards, cut:
- A1: Cut WOF [5] 2 1/2” strips. Cut 1 strip in half to make a total of 4 full and 2 half strips.
- C1: Cut WOF [8] 1 1/2” strips.
- From remaining fabric, cut:
- Outer border: Cut lengthwise of fabric [6] 4 1/2” strips if sewing straight border seams, 7 if sewing bias seams.
- Inner border: Cut lengthwise of fabric [5] 1 1/2” strips.
- Fabric 2: 1 5/8 yards
- A2: Cut WOF [10] 2 1/2” strips. Cut 2 strips in half to make a total of 8 full and 4 half strips.
- B2: Cut WOF [4] 2 1/2” strips.
- D2: Cut WOF [11] 1 1/2” strips. Cut 1 strip in half to make a total of 10 full and 2 half strips.
- Fabric 3: 1 1/2 yards
- A3: Cut WOF [12] 2 1/2” strips. Cut 1 strip in half to make 11 full and 2 half strips.
- Middle border: Cut WOF [7] 2 1/2” strips.
- Fabric 4: 1 1/2 yards
- E4: Cut WOF [7] 3 1/2” strips. From these, cut [68] 3 1/2” x 3 1/2” squares.
- A4: Cut WOF [10] 2 1/2” strips.
- Fabric 5: 5 1/4 yards
- From 3/4 yard, cut:
- Cut fabric into 3/4 yard and 2 1/4 yards.
- Backing: A 72 1/2” x 92 1/2” backing provides 4” extra on all sides, recommended for longarm quilting. Cut fabric into two equal lengths, join to make an 83 1/2” x 94 1/2” backing. (Width will be more if fabric is wider than 42”). Remove selvage before sewing seam to prevent puckering.
Piecing Instructions:
Note: All seams are 1/4”. Press seams in direction of arrows in illustrations or per instructions.
- Join strips as shown. Cut across strip sets at 2 1/2” intervals.

- Combine units made in Step 1 to make [18] 6 1/2” x 6 1/2” squares.

- Join 2 1/2” wide Fabrics 3 and 4 strips as shown. Sew 5 strip sets. Cut across strip sets at 2 1/2” intervals. Cut 72.

- Sew remaining 4 full and 1 partial strips of 2 1/2” Fabric 2 A strips to sides of 36 of the units made in Step 3. Be aware the strip sets may tend to slope; periodically check and correct. Or you can cut [72] 2 1/2” x 2 1/2” squares and sew the patches on individually to make [36] 10 1/2” x 2 1/2” rectangles. Press seams toward A2. Sew remaining 36 units made in Step 3 to sides of those made in Step 2 to make [18] 10 1/2” x 6 1/2” rectangles. Combine these units as shown to complete [18] 10 1/2” x 10 1/2” Block 1 blocks.
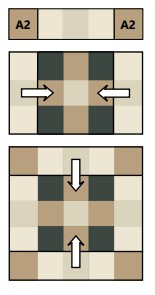
- Join strips as shown below. Sew 4 strip sets. Cut across strip sets at 1 1/2” intervals. Cut 102.

- Join strips as shown. Sew 5 full and 1 half strip sets. Cut across strip sets at 2 1/2” intervals. Cut 85.

- Sew 68 units made in Step 5 to sides of units made in Step 6 as shown to make 4 1/2” x 3 1/2” rectangles.

- Sew E4 to sides of 34 units made in Step 7 to make [34] 10 1/2” x 3 1/2” rectangles.

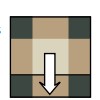
- Join remaining 34 units made in Steps 7 and 5 as shown in the first image below to make [34] 4 1/2” x 4 1/2” squares. Sew these units to sides of remaining 17 units made in Step 6 to make [17] 10 1/2” x 4 1/2” rectangles.

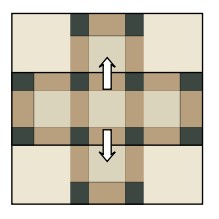
- Join units made in Steps 8 and 9 as shown to complete [17] 10 1/2” x 10 1/2” Block 2 blocks.
- Alternating blocks and referring to quilt illustration, join blocks in 7 rows of 5 blocks each. Press seams toward Block 1. Join rows to complete quilt center. Press seams.
- Measure through quilt center lengthwise. Cut 2 inner border strips to this length. Sew to quilt sides. Measure through quilt center crosswise. Cut 2 first border strips to this length. Sew to top and bottom of quilt. Add remaining borders in the same way. Press seams outward.
- Layer top, batting and backing. Quilt as desired. Bind quilt with Fabric 1 binding.

