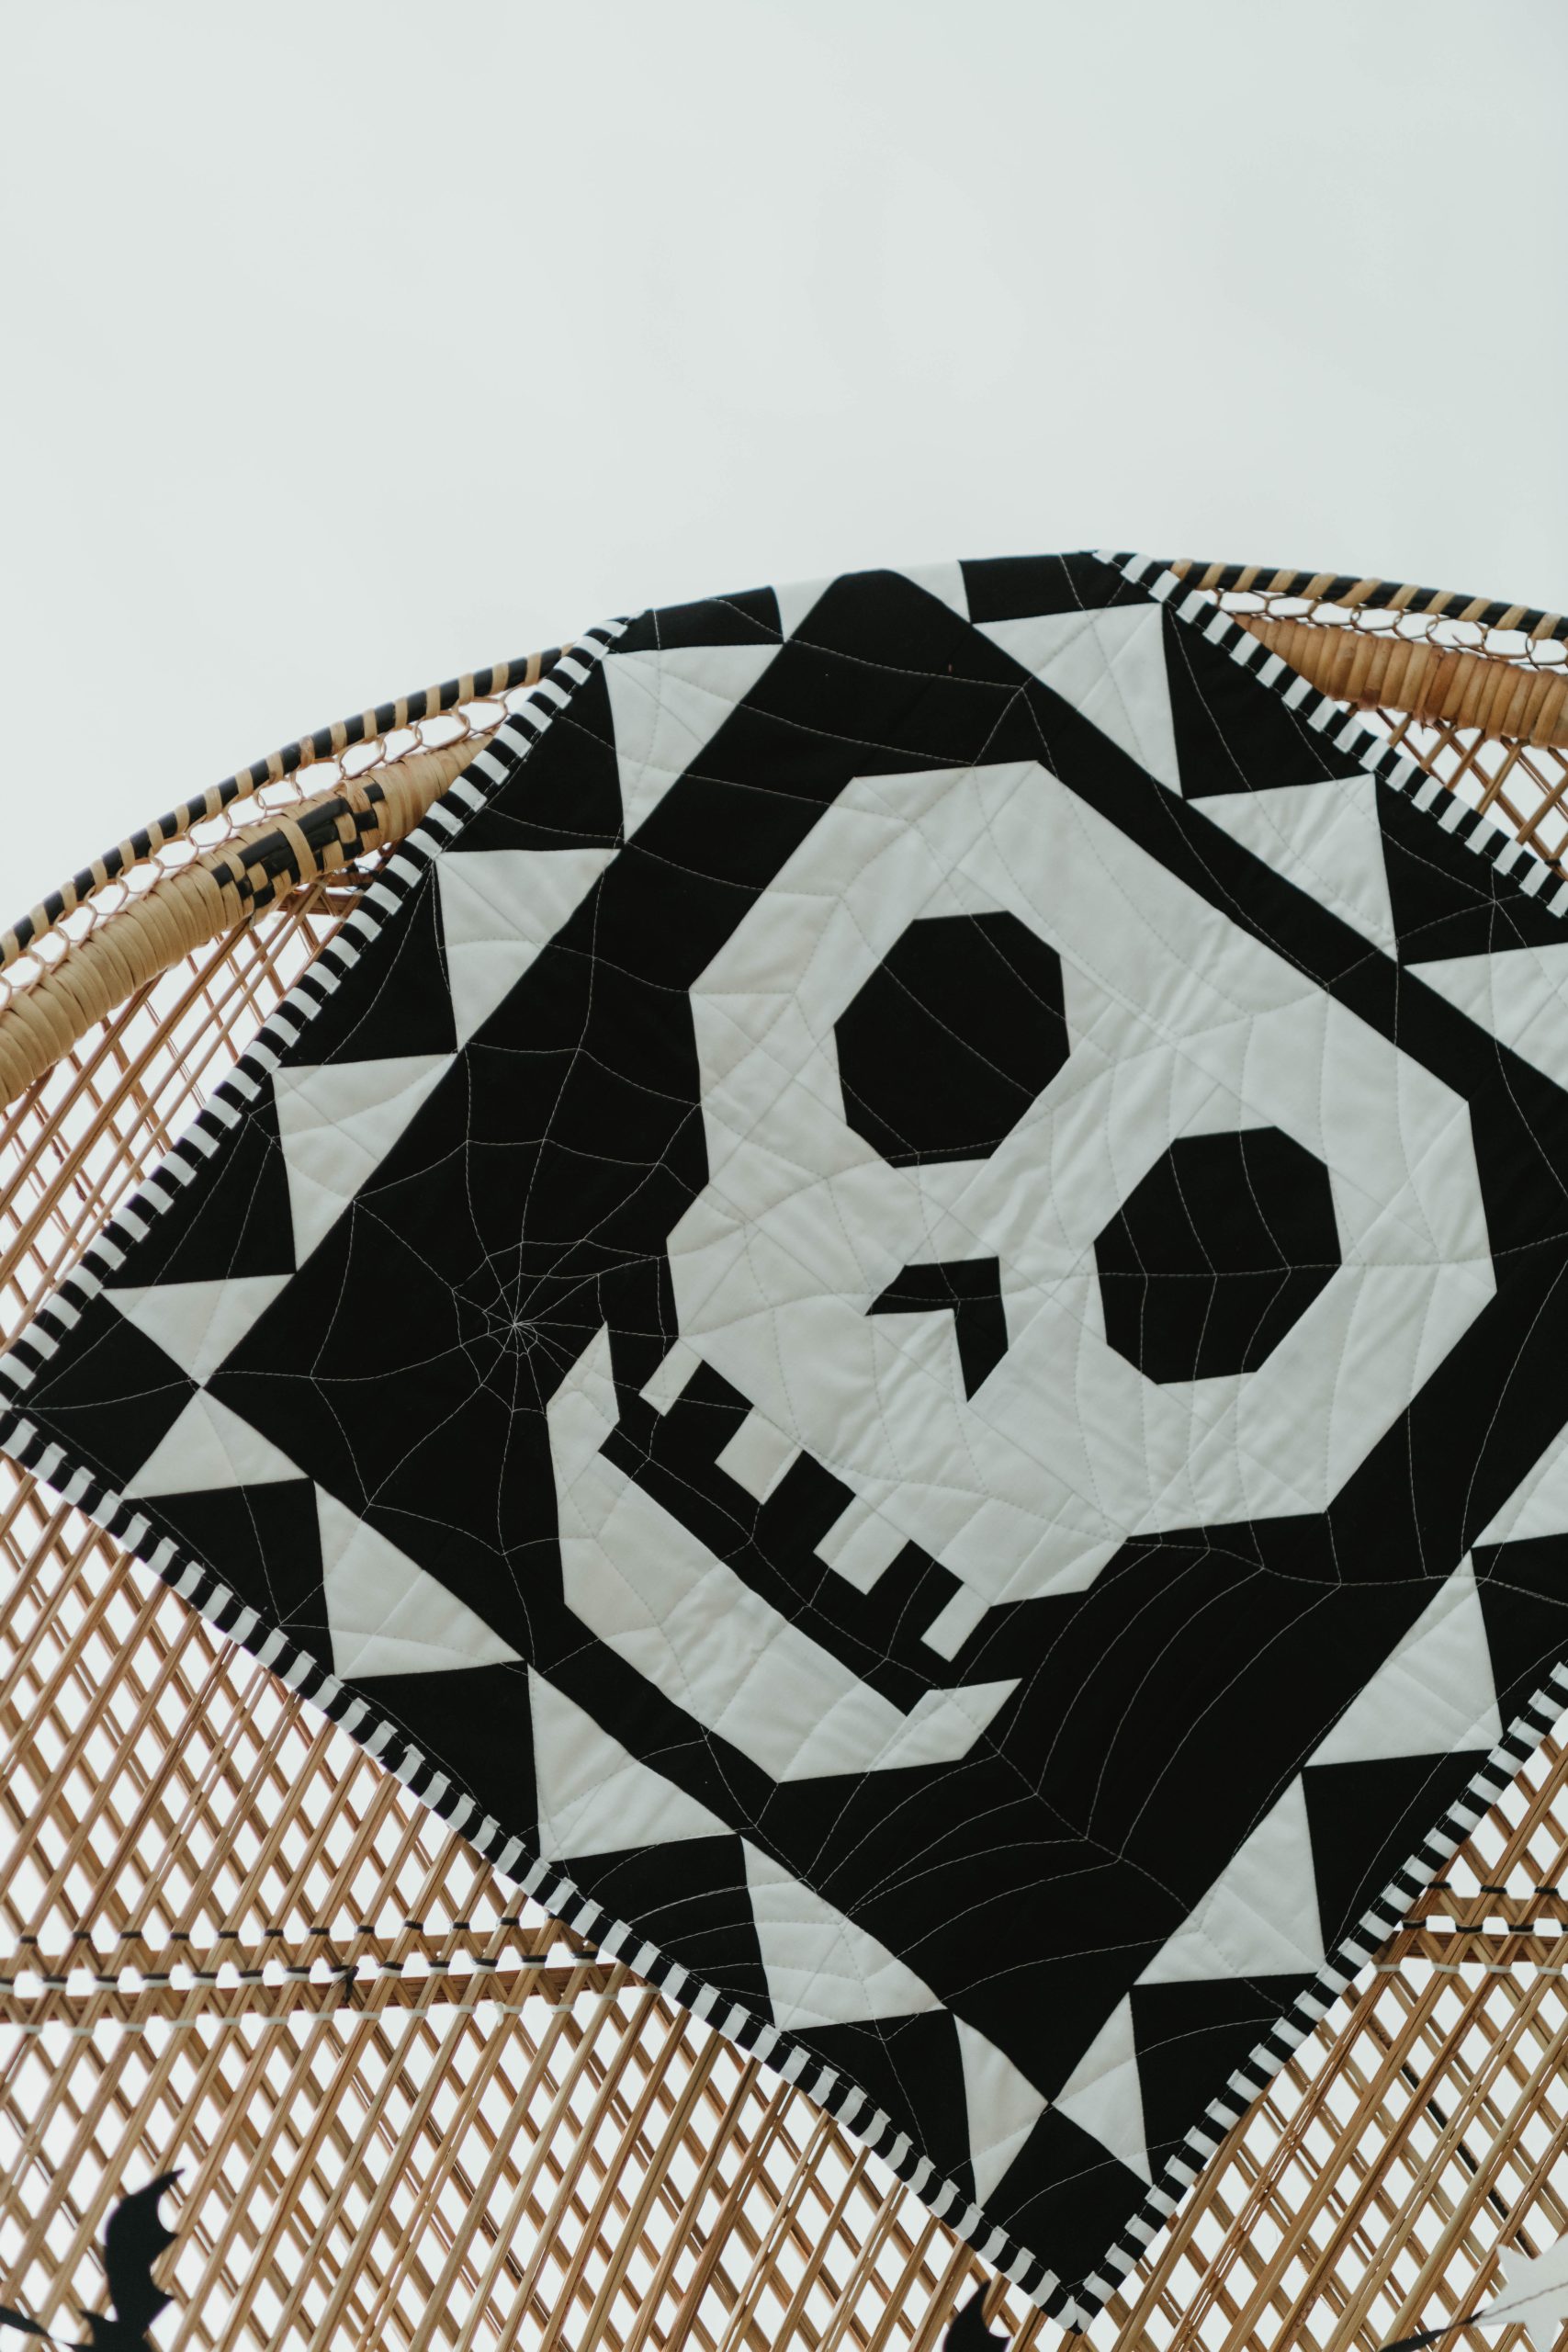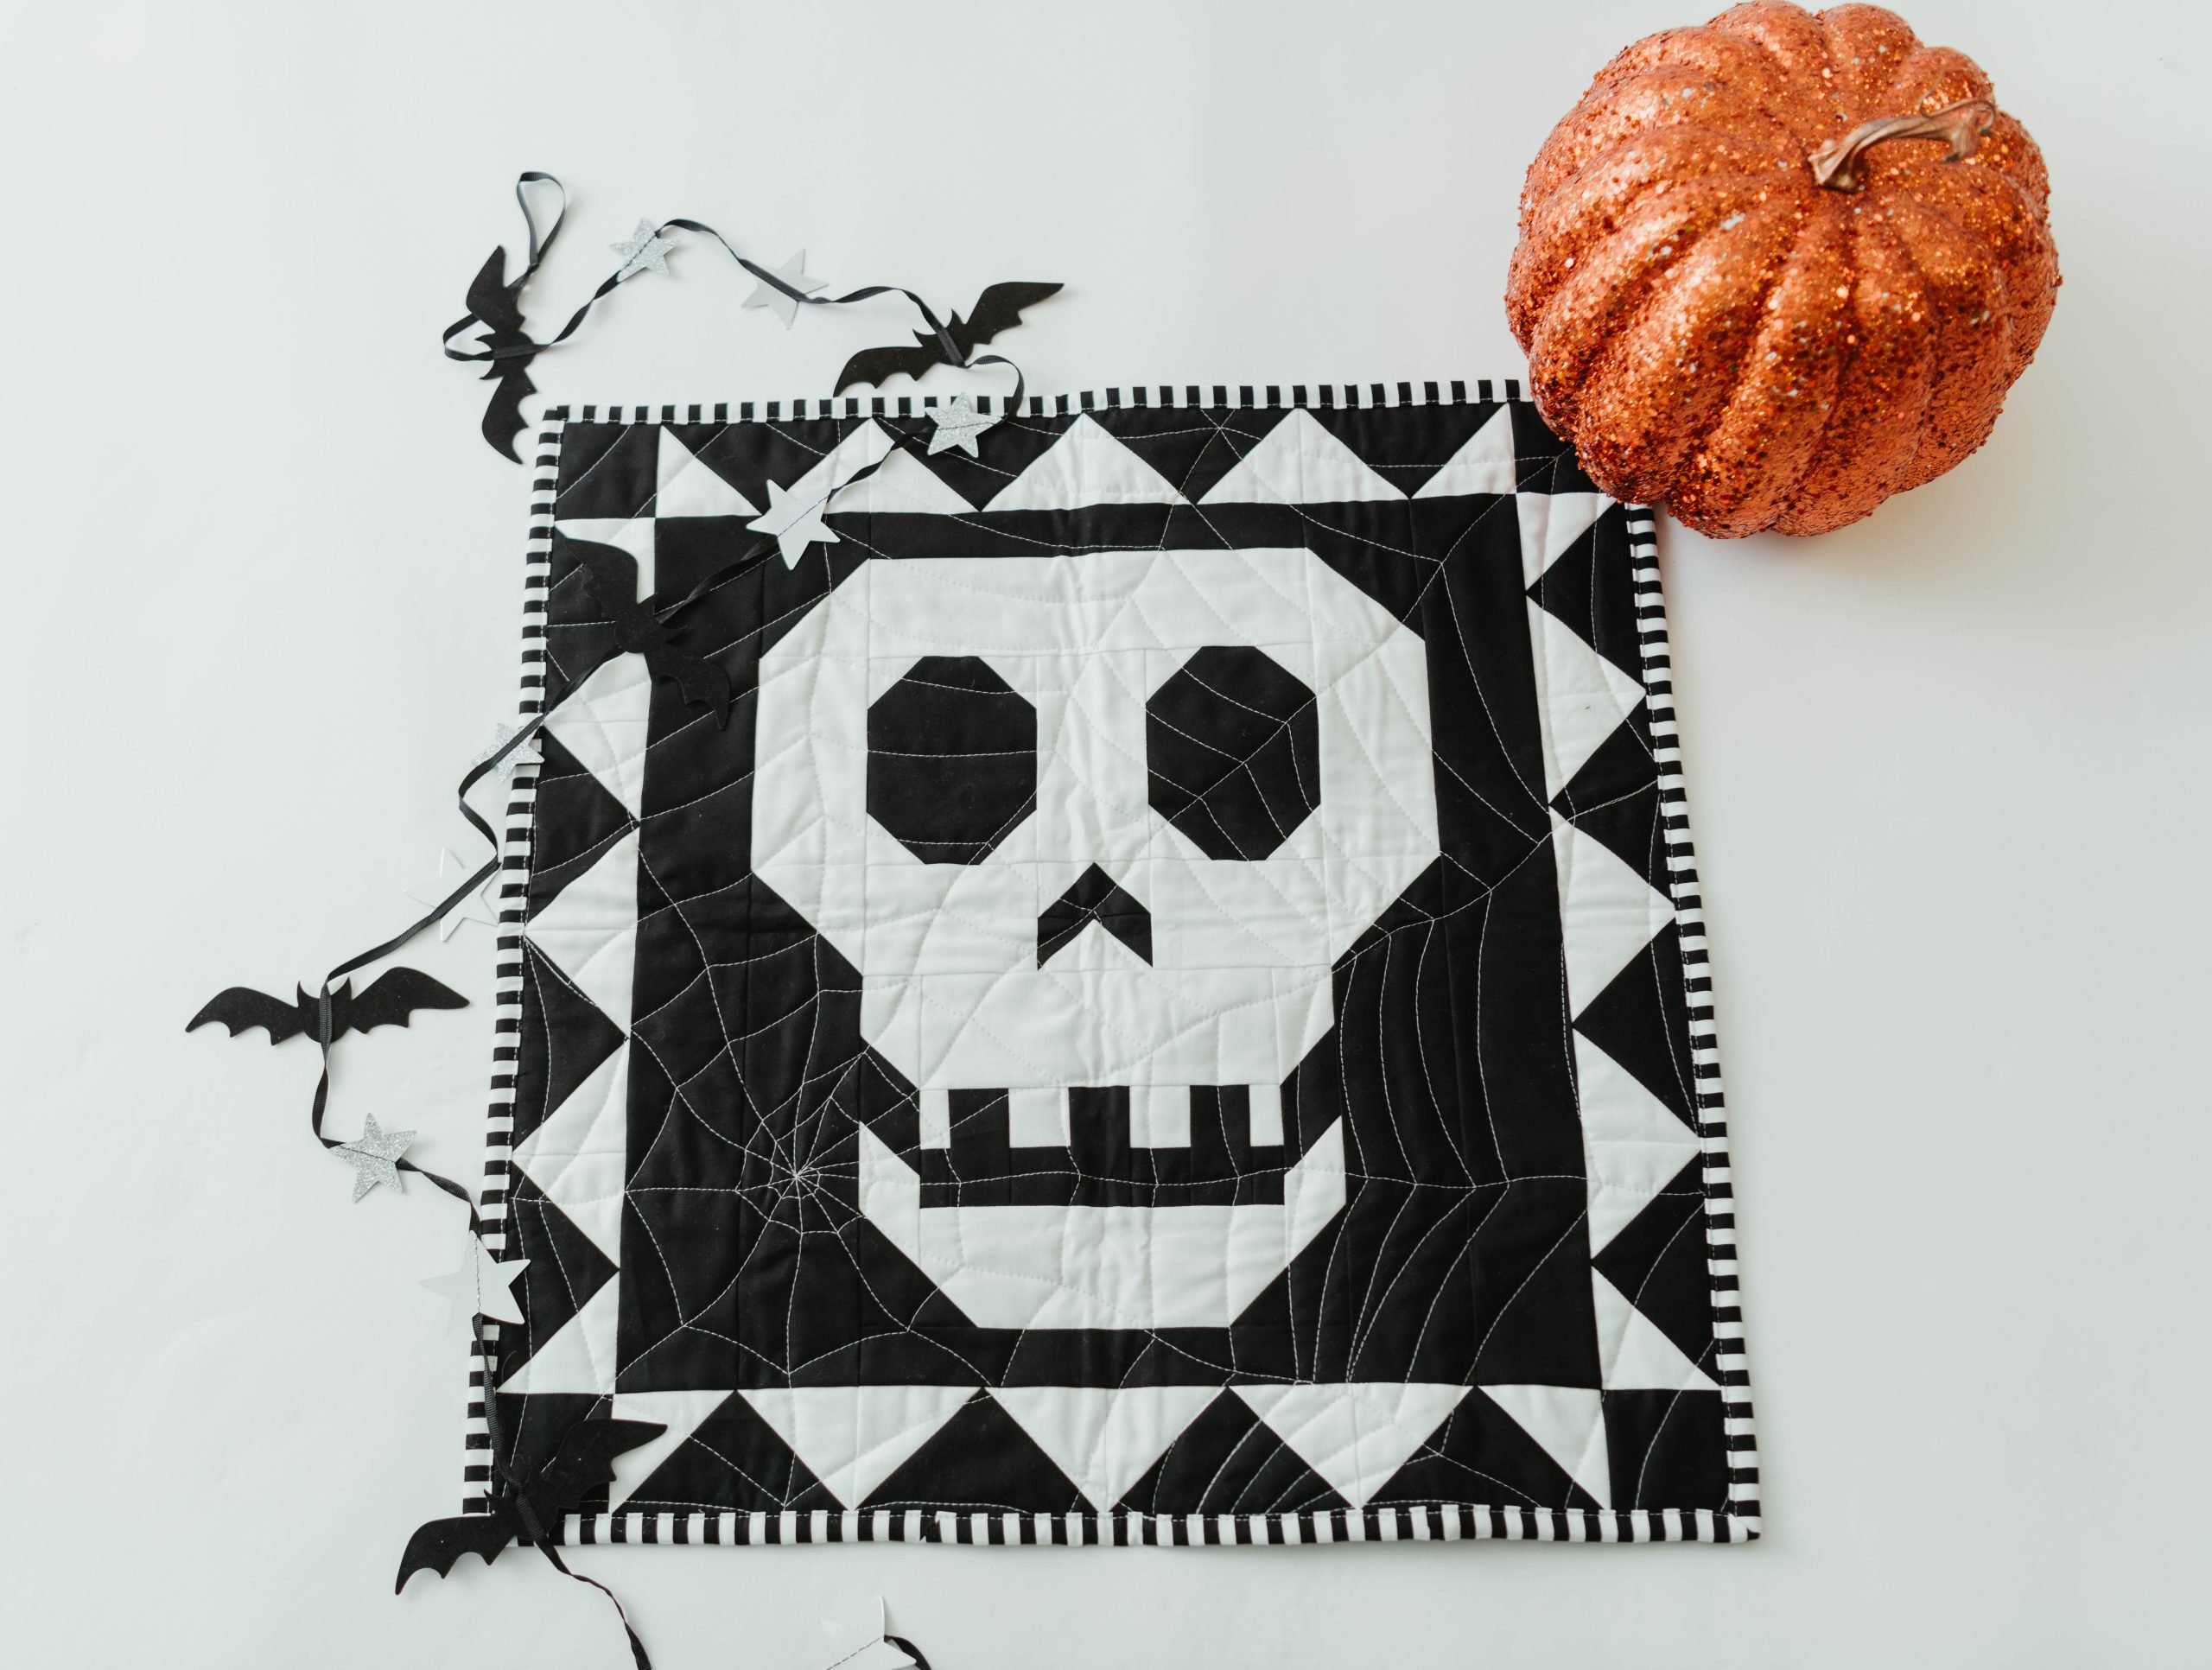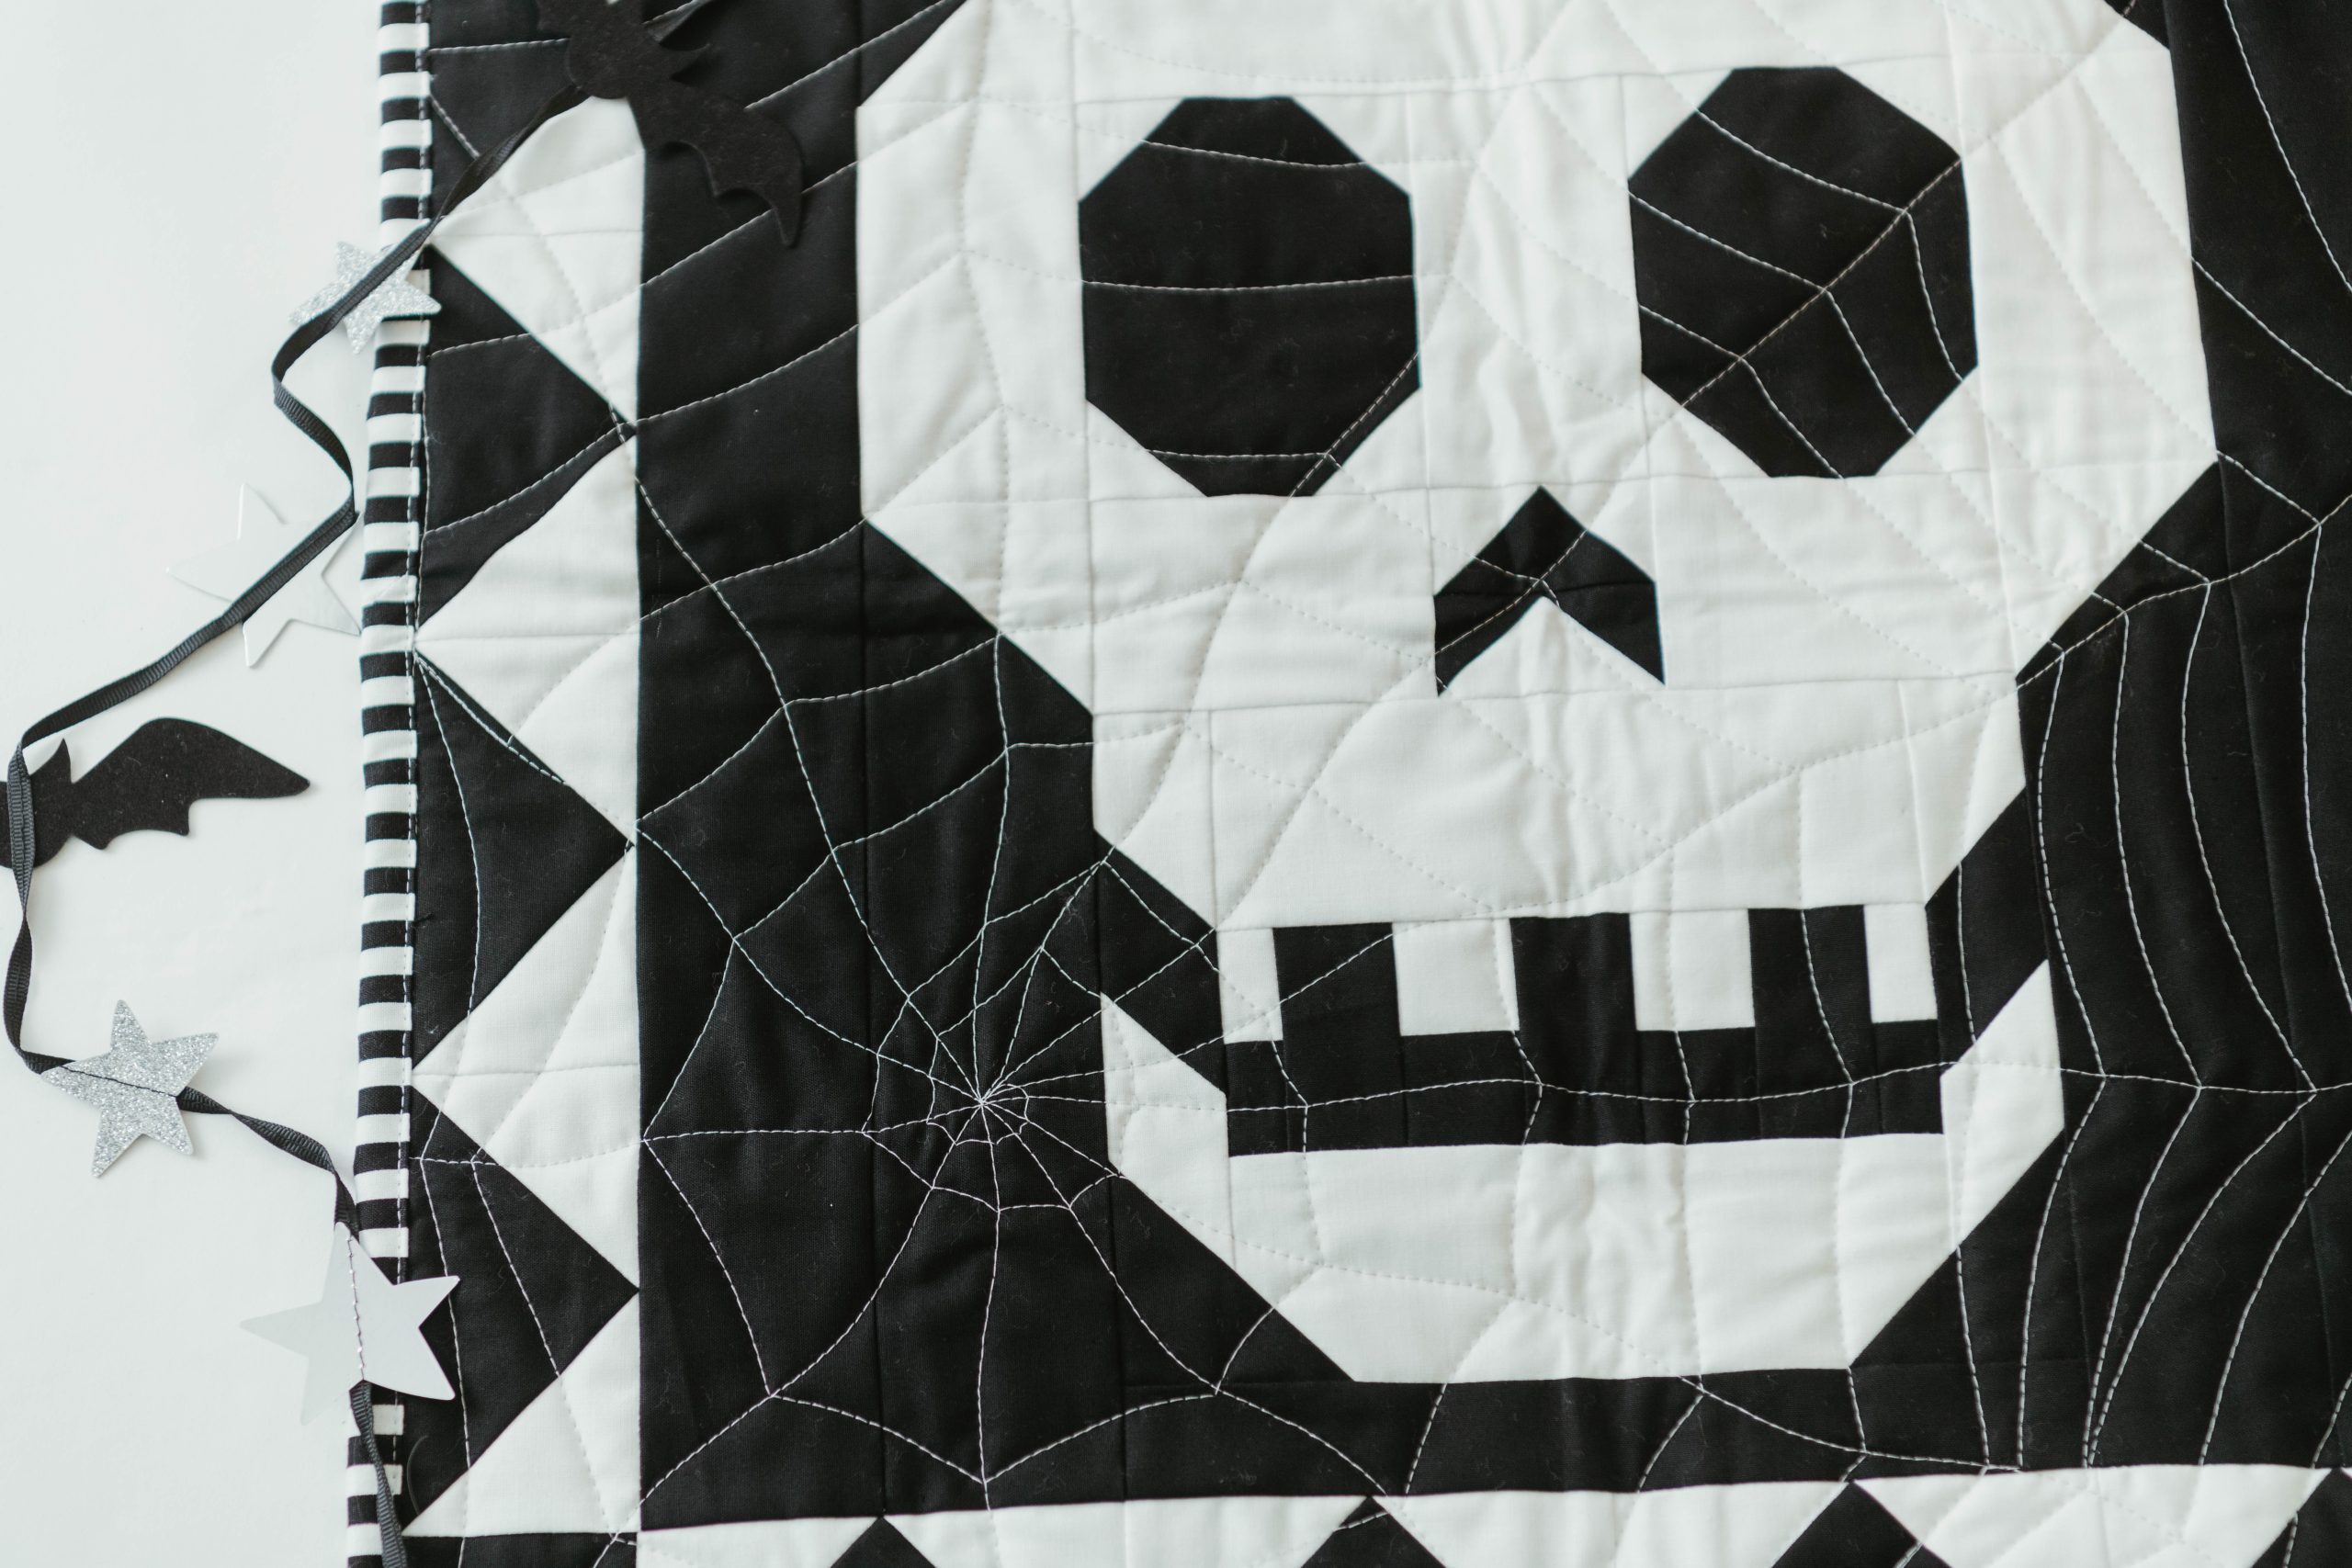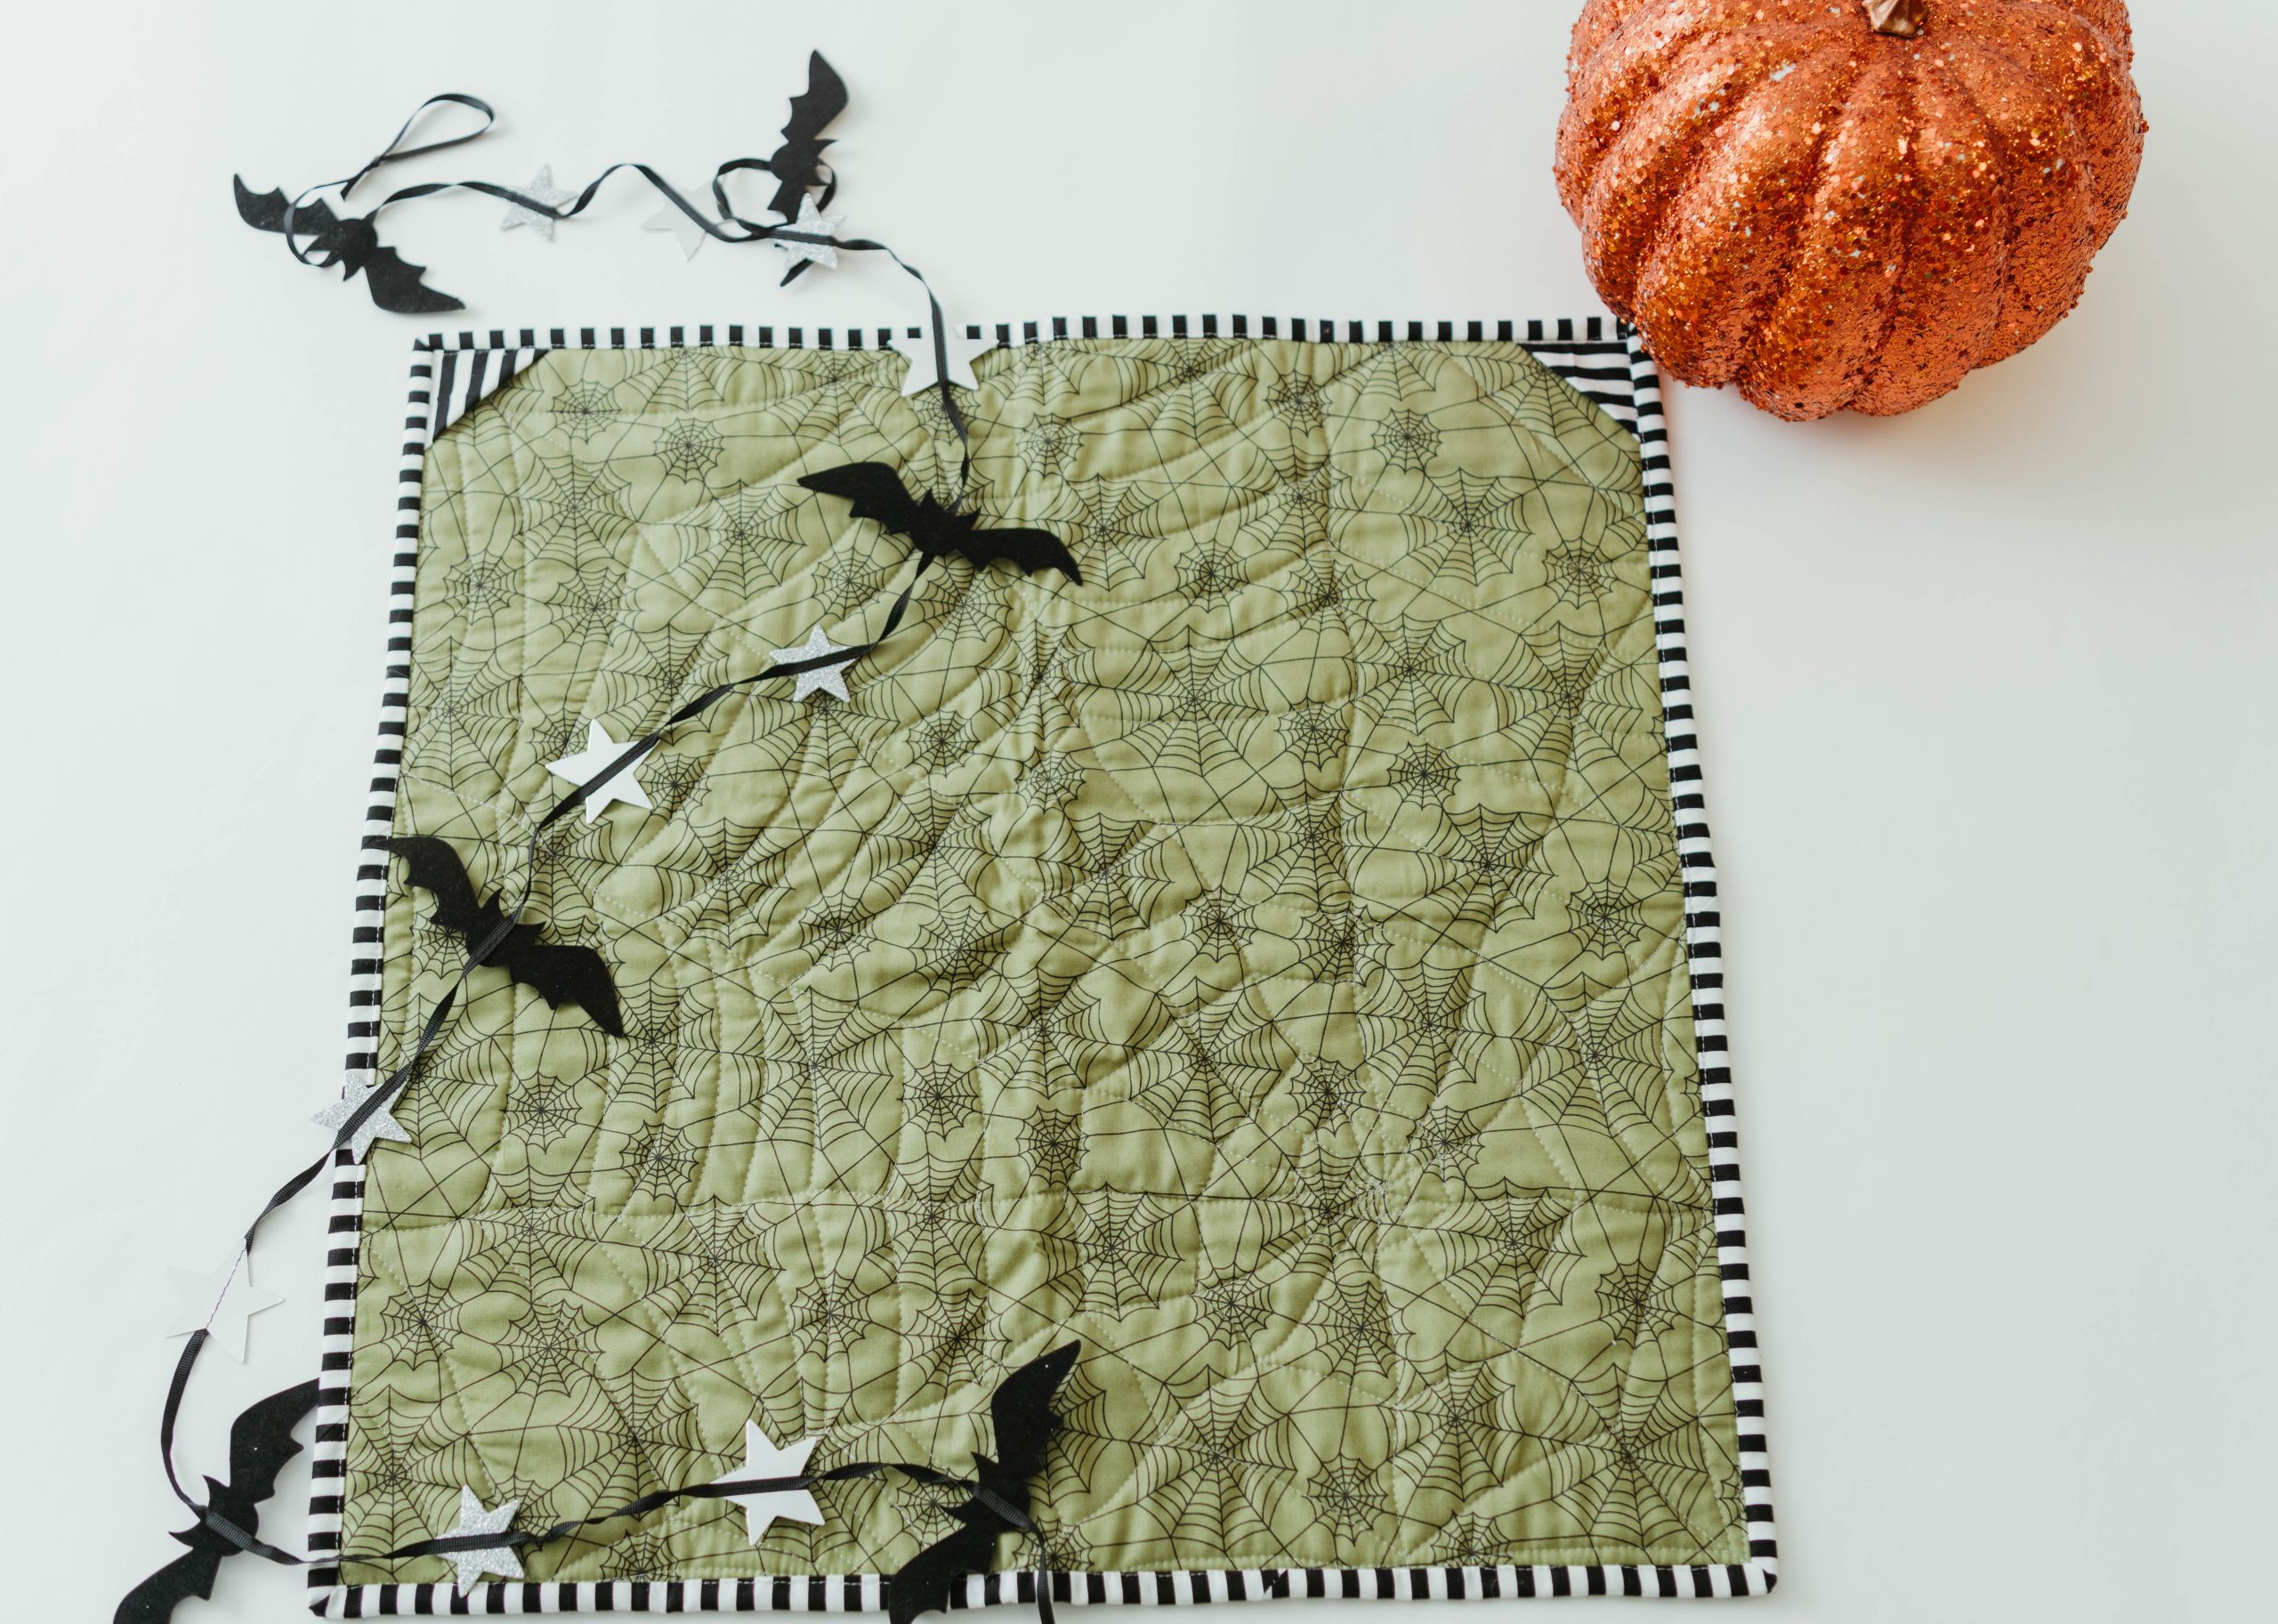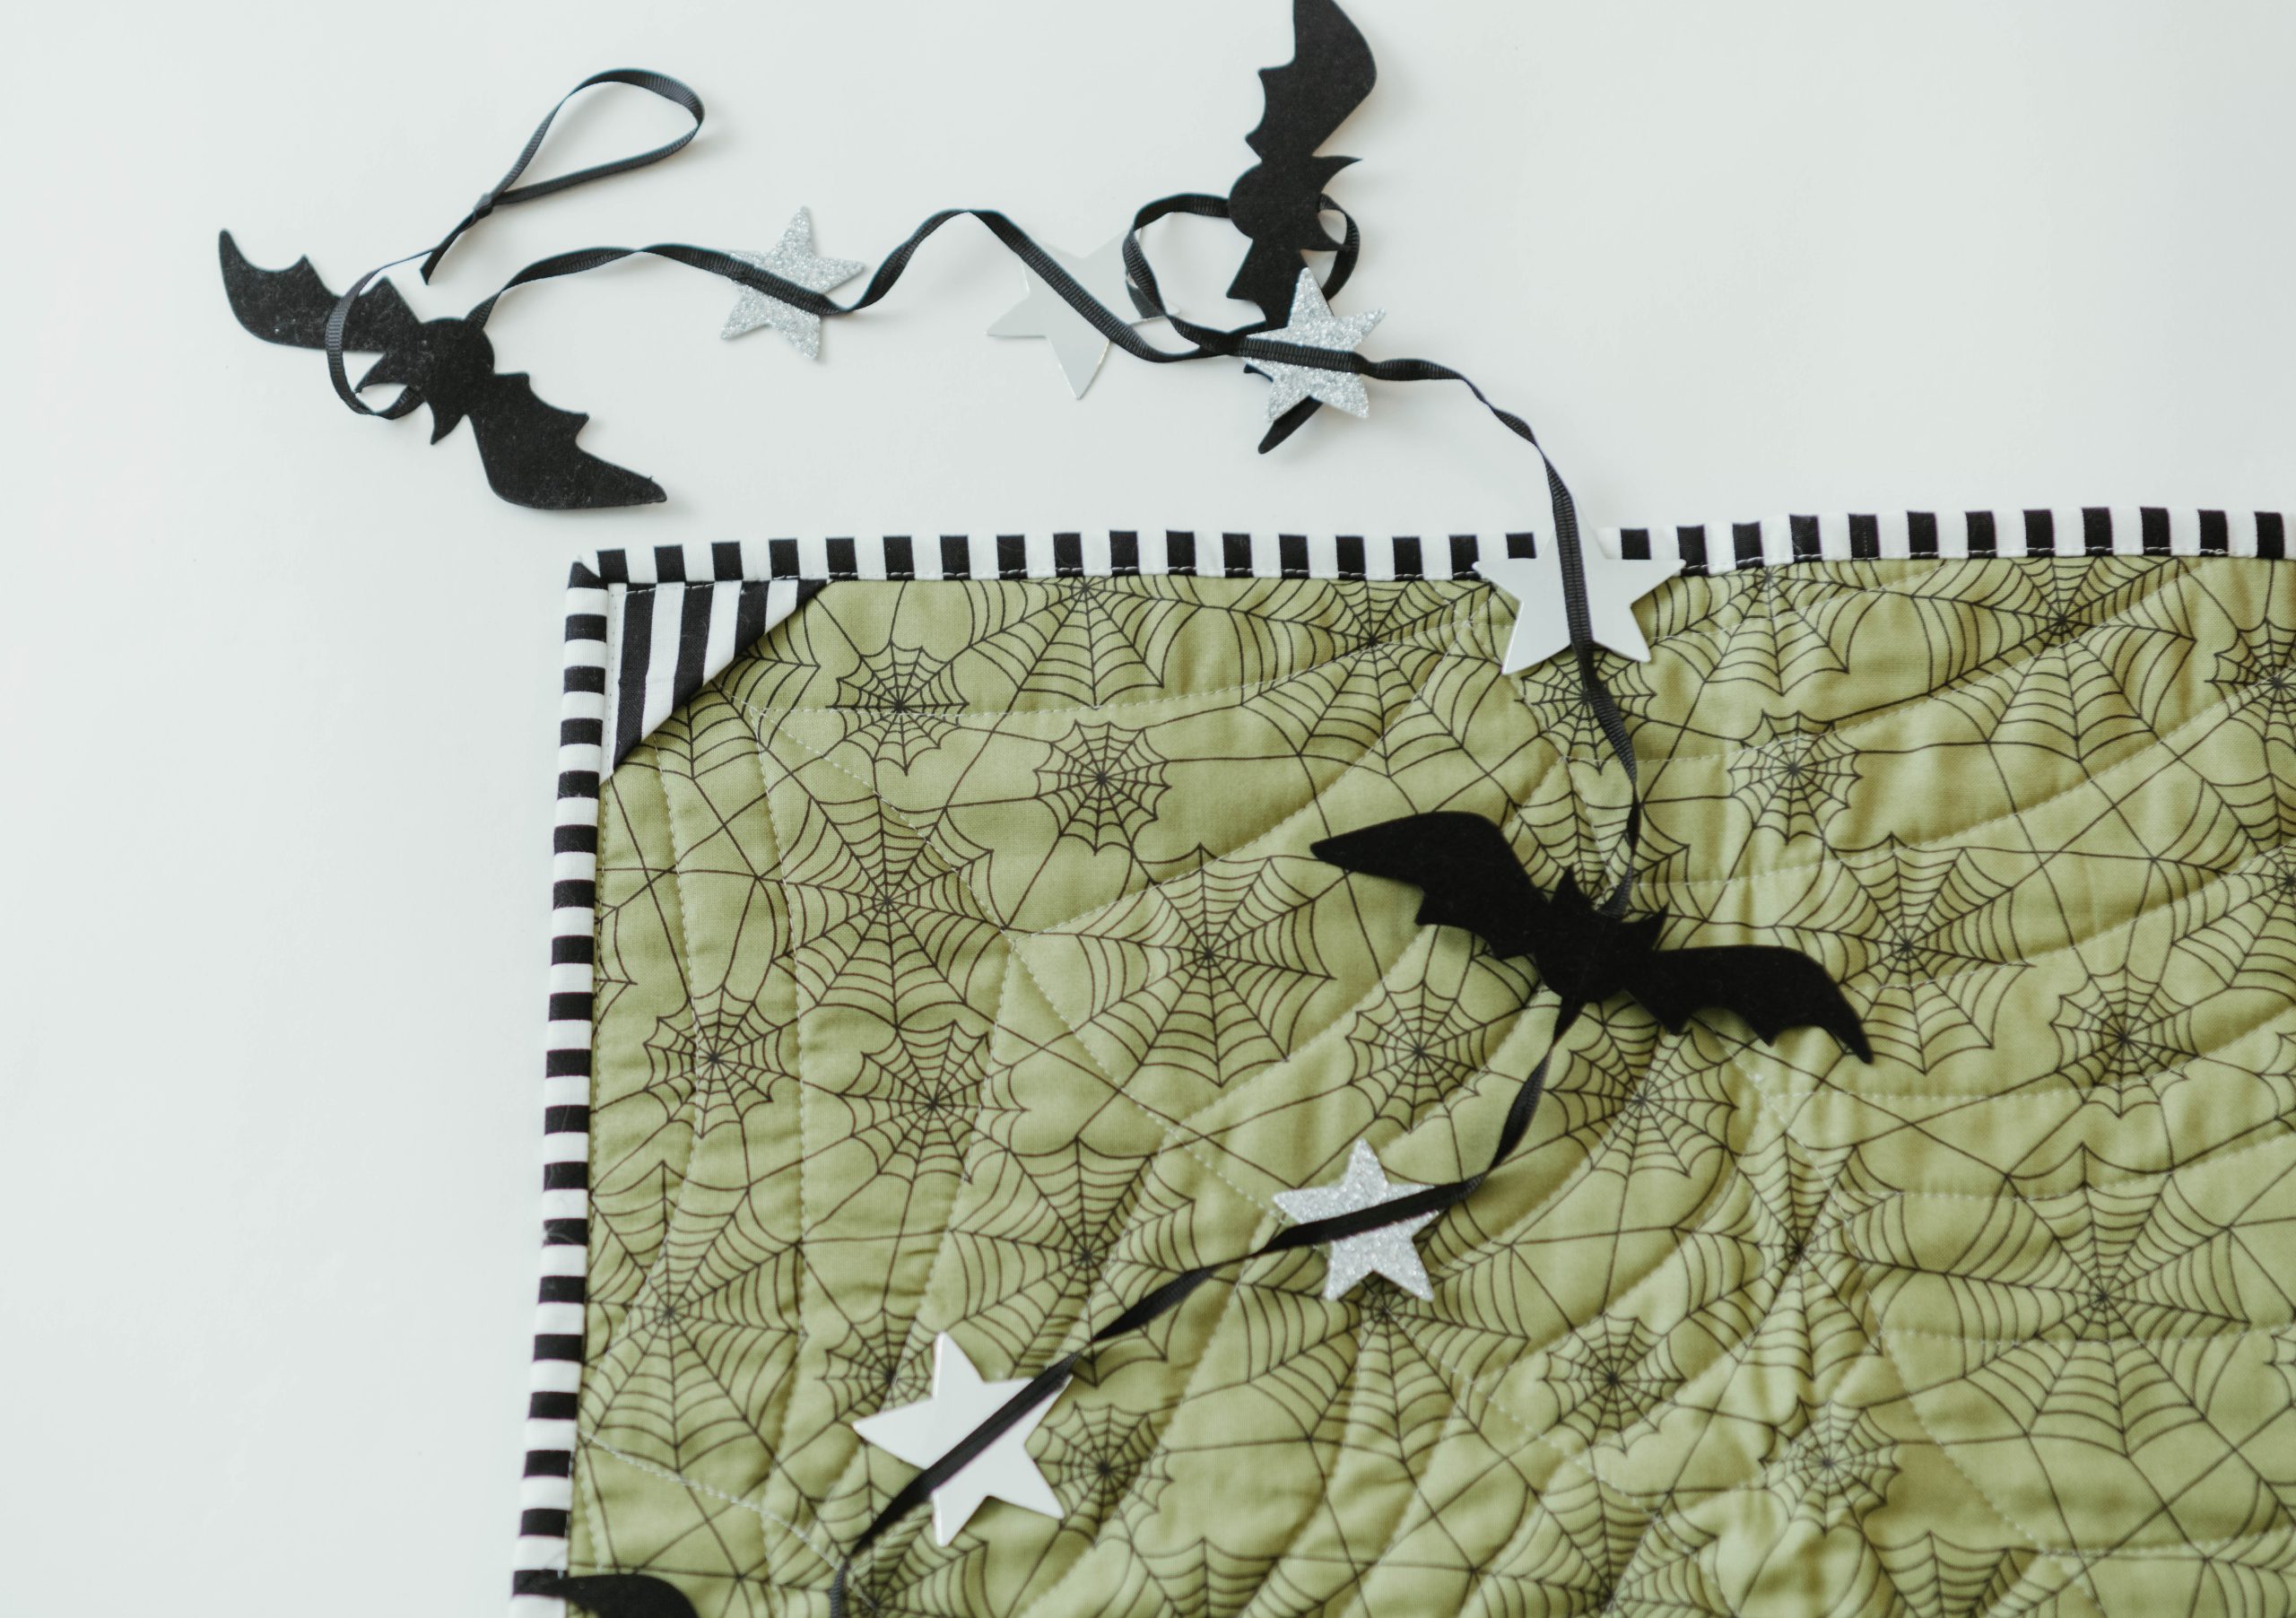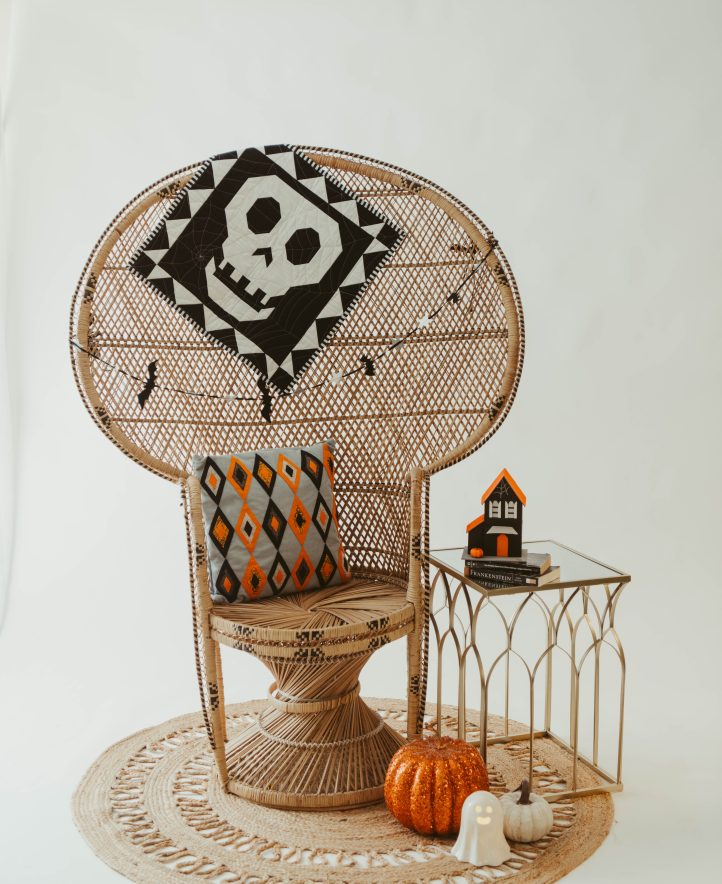
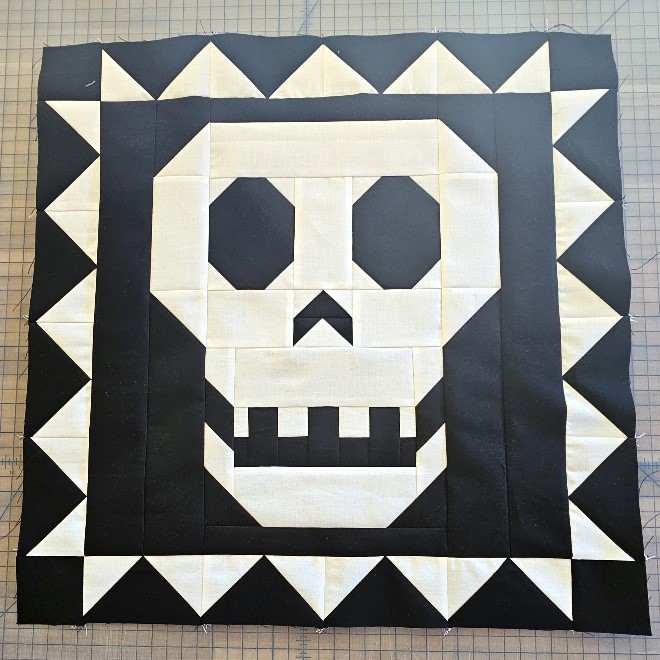
It’s no secret that here at We Like Quilting headquarters, we’re big fans of Halloween. Celebrate the spookiest day of the year with this charming mini quilt pattern from Staci Wendland. Centered around a not-so-spooky skull design, this mini quilt pattern features a coordinating border and can be hung for display. Finishing at a 20” square, this Halloween quilt pattern is a wonderful choice for those entering intermediate quilting territory, as it features several small pieces.
Finished Size: 20″ x 20″
Seam Allowances: 1/4″
Abbreviations:
- RST = right sides together
- WOF = width of fabric
- WS = wrong side of fabric
Materials:
- Black cotton fabric: 1/2 yard
- White cotton fabric: 1/3 yard
- Black and white print cotton fabric (binding): 1/4 yard
- Backing fabric: 1 yard
- Batting: (1) 28″ x 28″
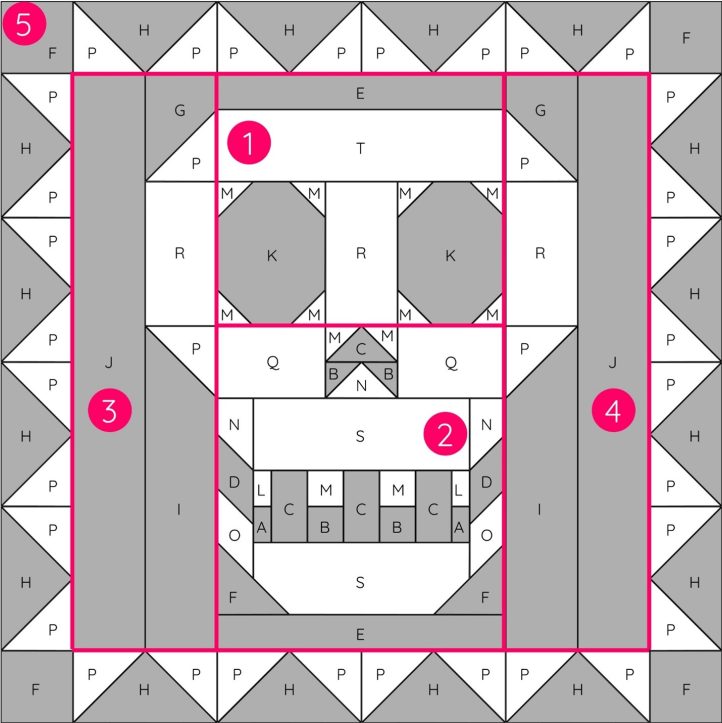
Cutting Instructions:
Black fabric:
- A: (2) 1″ x 1 1/2″
- B: (4) 1 1/2″ x 1 1/2″
- C: (4) 1 1/2″ x 2 1/2″
- D: (2) 1 1/2″ x 3″
- E: (2) 1 1/2″ x 8 1/2″
- F: (6) 2 1/2″ x 2 1/2″
- G: (2) 2 1/2″ x 3 1/2″
- H: (16) 2 1/2″ x 4 1/2″
- I: (2) 2 1/2″ x 9 1/2″
- J: (2) 2 1/2″ x 16 1/2″
- K: (2) 3 1/2″ x 4 1/2″
White fabric:
- L: (2) 1″ x 1 1/2″
- M: (12) 1 1/2″ x 1 1/2″
- N: (3) 1 1/2″ x 2 1/2″
- O: (2) 1 1/2″ x 4″
- P: (36) 2 1/2″ x 2 1/2″
- Q: (2) 2 1/2″ x 3 1/2″
- R: (3) 2 1/2″ x 4 1/2″
- S: (2) 2 1/2″ x 6 1/2″
- T: (1) 2 1/2″ x 8 1/2″
Black and white print fabric (binding):
- (3) 2 1/2″ x WOF
Backing fabric:
- (1) 28″ x 28″
Piecing Instructions:
UNIT 1:
- Draw a diagonal line, corner to corner, on the WS of (10) M, (2) P, and (2) B.
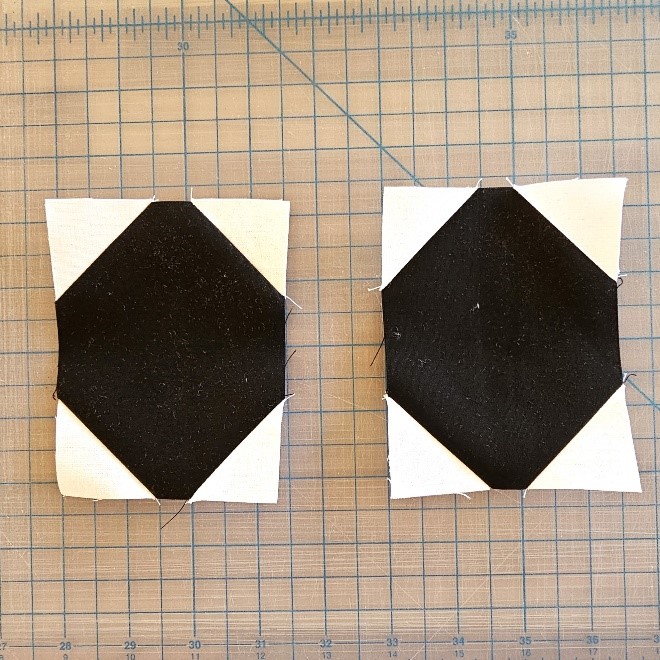
- On (1) K, place (1) M on the upper left corner and one on the lower right corner with the line from the lower left to upper right. Place (1) M on the upper right corner and one on the lower left corner with the line from the upper left to lower right. Sew on each line. Trim. Press to K.
- Repeat with a second set of (1) K and (4) M.
- Place (1) M on the left of (1) C with the left edges even and the line from the lower left to upper right. Sew on the line. Trim. Press to C.
- Place (1) M on the right of the same C with the right edges even and the line from the upper left to lower right. Sew on the line. Trim. Press to C.
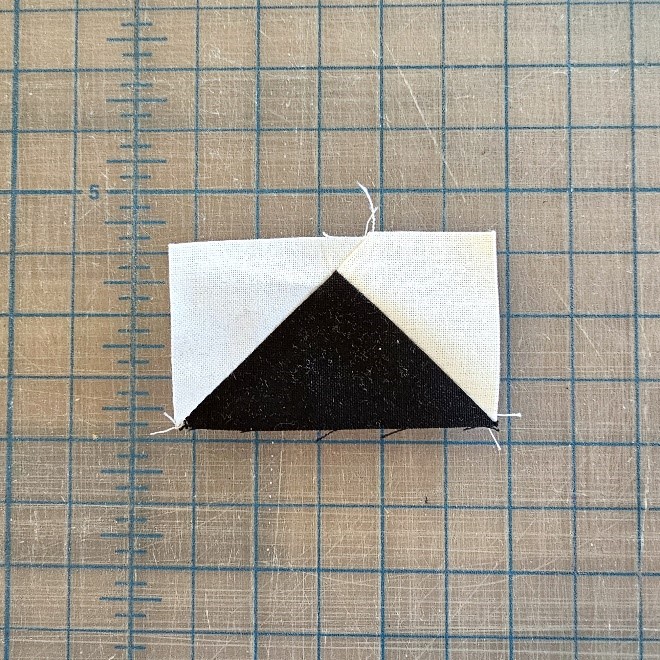
- Place (1) B on the left of (1) N with the left edges even and the line from the lower left to upper right. Sew on the line. Trim. Press to B.
- Place (1) B on the right of the same N with the right edges even and the line from the upper left to lower right. Sew on the line. Trim. Press to B.
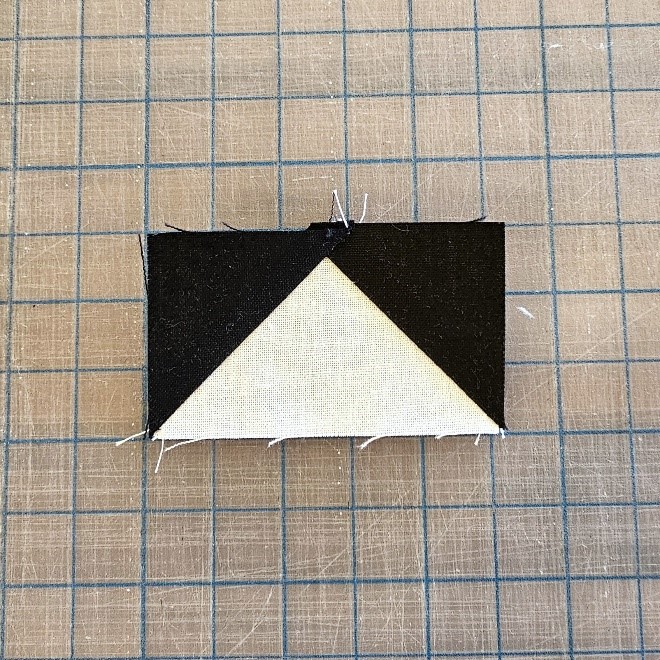
- Sew (1) R between the two K/M sections. Press to R.
- Sew the C/M section to the top of the N/B section. Press to N.
- Sew (1) Q to the left and (1) Q to the right of the section created in Step 9. Press to Q.
- Sew the section created in Step 10 to the bottom of the section created in Step 8. Press to the bottom.
- Sew (1) T to the top of the unit. Press to T.
- Sew (1) E to the top of the unit. Press to E to complete Unit 1.
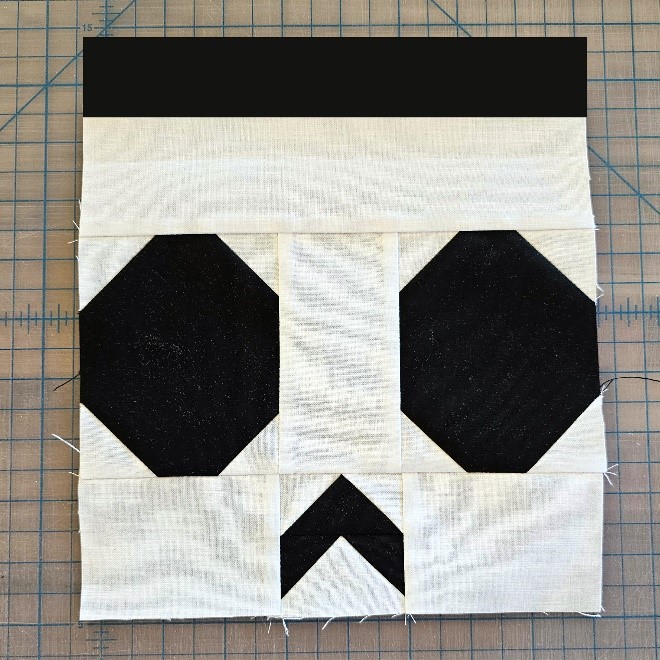
UNIT 2:
- Sew (1) L to the top of (1) A. Press to A. Repeat with a second set of (1) L and (1) A.
- Sew (1) M to the top of (1) B. Press to B. Repeat with a second set of (1) M and (1) B.
- Sew a horizontal row of (1) L/A, (1) C, (1) M/B, (1) C, (1) M/B, (1) C, and (1) L/A. Press to C.
- Sew (1) S to the top of the unit. Press to S.
- Sew (1) S to the bottom of the unit. Press to S.
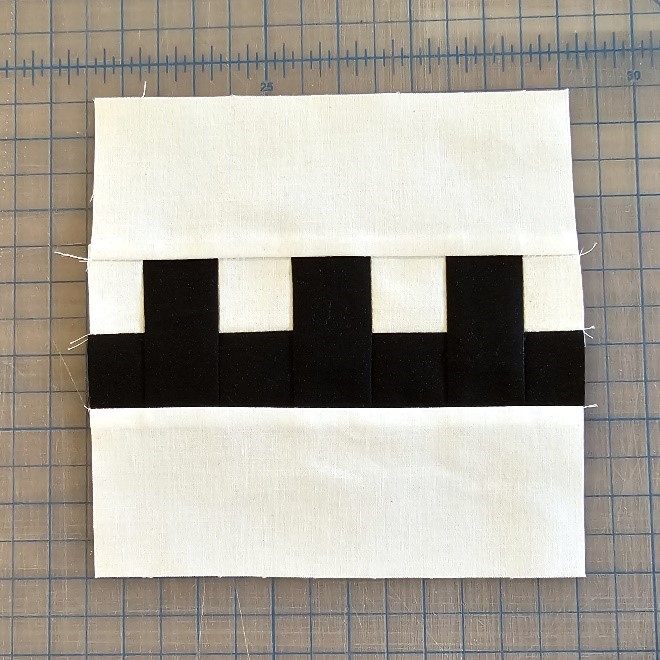
- Place (1) D horizontal and WS up. Draw a diagonal line from the upper left corner to 1 1/2″ in from the lower left corner. Place on the bottom of (1) N with the lower left corners even. Sew on the line. Trim. Press to D.
- Place (1) O horizontal and WS up. Draw a diagonal line from the upper left corner to 1 1/2″ in from the lower left corner. Place on the bottom of the N/D section with the lower left corners even. Sew on the line. Trim. Press to D.
- Sew to the left of Unit 2. Press to the left.
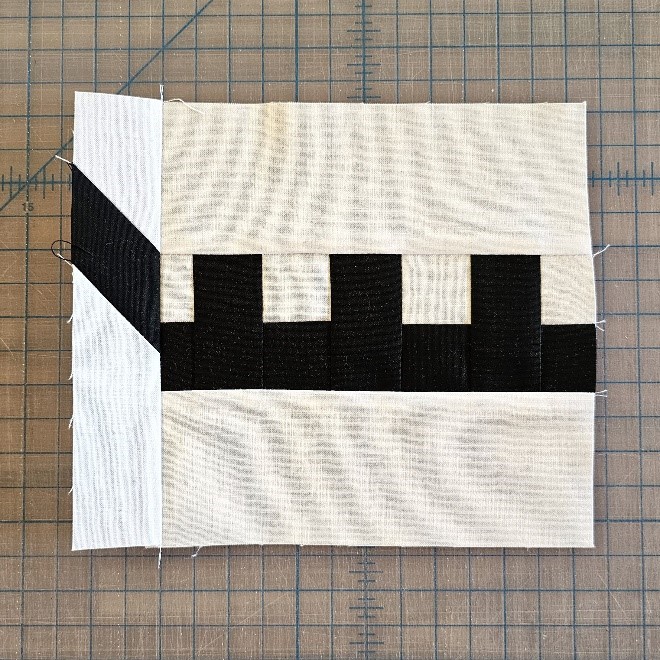
- Place (1) D horizontal and WS up. Draw a diagonal line from the upper right corner to 1 1/2″ in from the lower right corner. Place on the bottom of (1) N with the lower right corners even. Sew on the line. Trim. Press to D.
- Place (1) O horizontal and WS up. Draw a diagonal line from the upper right corner to 1 1/2″ in from the lower right corner. Place on the bottom of the N/D section with the lower right corners even. Sew on the line. Trim. Press to D.
- Sew to the right of Unit 2. Press to the right.
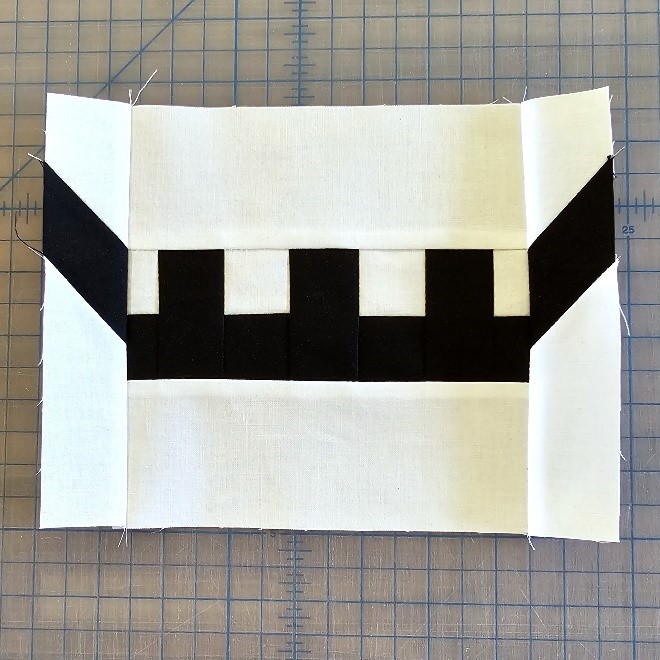
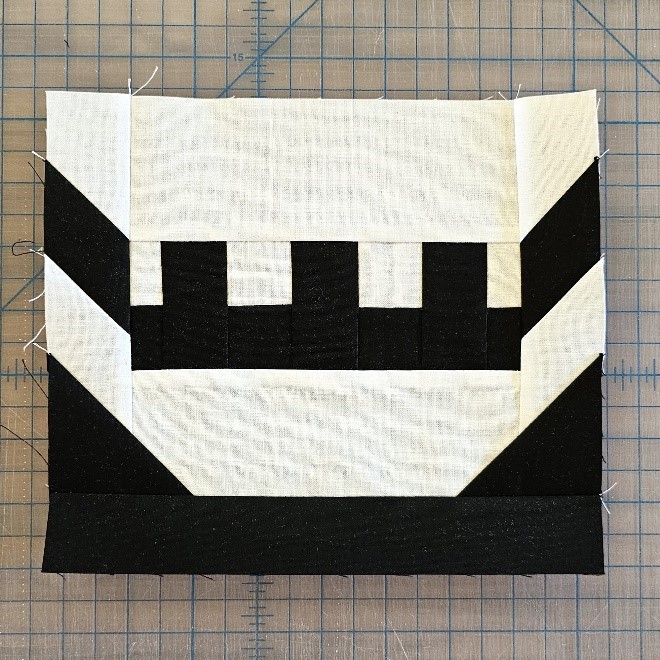
- Draw a diagonal line, corner to corner, on the WS of (2) F.
- Place (1) F on the lower left corner of Unit 2 with the line from the upper left to lower right. Sew on the line. Trim. Press to F.
- Place (1) F on the lower right corner of Unit 2 with the line from the lower left to upper right. Sew on the line. Trim. Press to F.
- Sew (1) E to the bottom of the unit. Press to E to complete Unit 2.
UNIT 3:
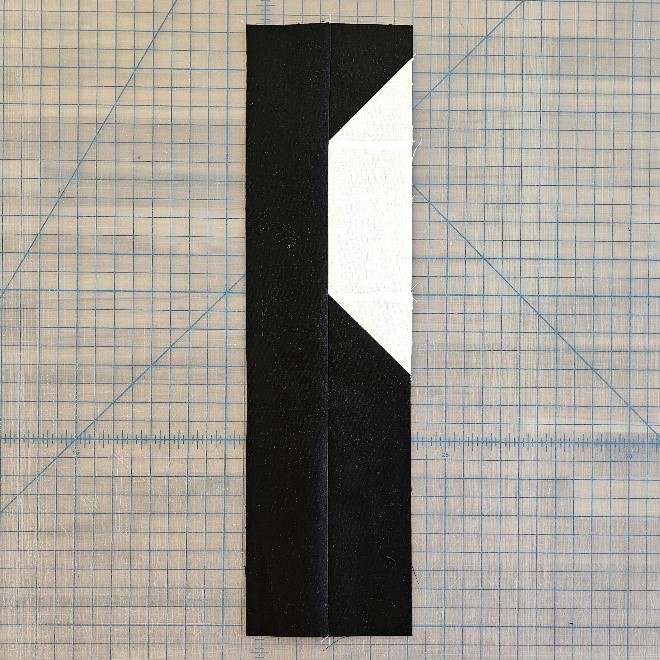
- Draw a diagonal line, corner to corner, on the WS of (2) P.
- Place (1) P on the bottom of (1) G with the bottom edges even and the line from the lower left to upper right. Sew on the line. Trim. Press to G.
- Sew to the top of (1) R. Press to R.
- Place (1) P on the top of (1) I with the top edges even and the line from the upper left to lower right. Sew on the line. Trim. Press to I.
- Sew to the bottom of the same R from Step 1 in this section. Press to P.
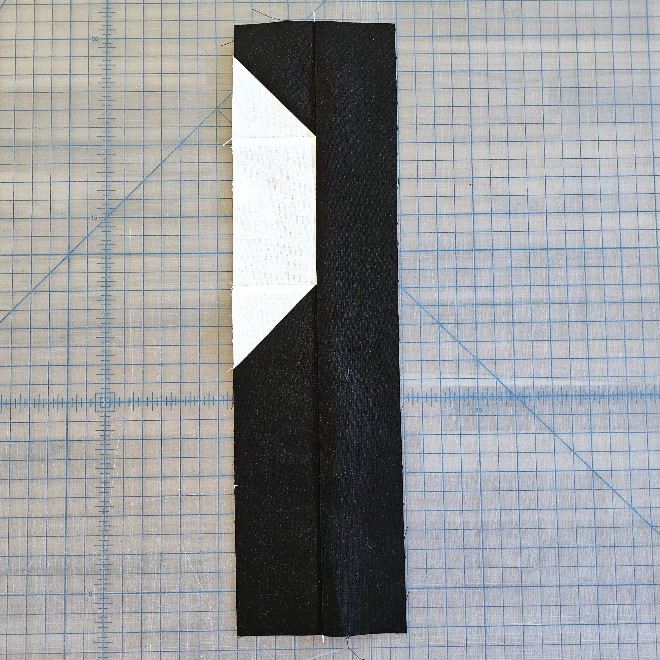
- Sew (1) J to the left of the unit. Press to J to complete Unit 3.
UNIT 4:
- Draw a diagonal line, corner to corner, on the WS of (2) P.
- Place (1) P on the bottom of (1) G with the bottom edges even and the line from the upper left to lower right. Sew on the line. Trim. Press to G.
- Sew to the top of (1) R. Press to R.
- Place (1) P on the top of (1) I with the top edges even and the line from the lower left to upper right. Sew on the line. Trim. Press to I.
- Sew to the bottom of the same R from Step 1 in this section. Press to P.
- Sew (1) J to the right of the unit. Press to J to complete Unit 4.
UNIT 5:
- Draw a diagonal line, corner to corner, on the WS of (32) P.
- Place (1) P on the right side of (1) H with the line from the upper left to lower right. Sew on the line. Trim. Press to H.
- Place (1) P on the left side of the same H from Step 6 from the Unit 4 section with the line from the lower left to upper right. Sew on the line. Trim. Press to H.
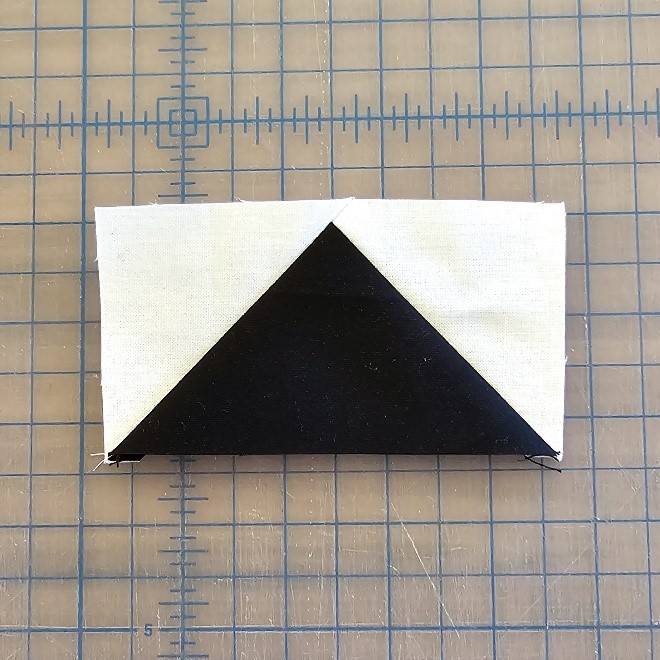
- Repeat Step 6 from the Unit 4 section and Step 1 from this section using an additional (30) P and (15) H for a total of (16) P/H/P sections.
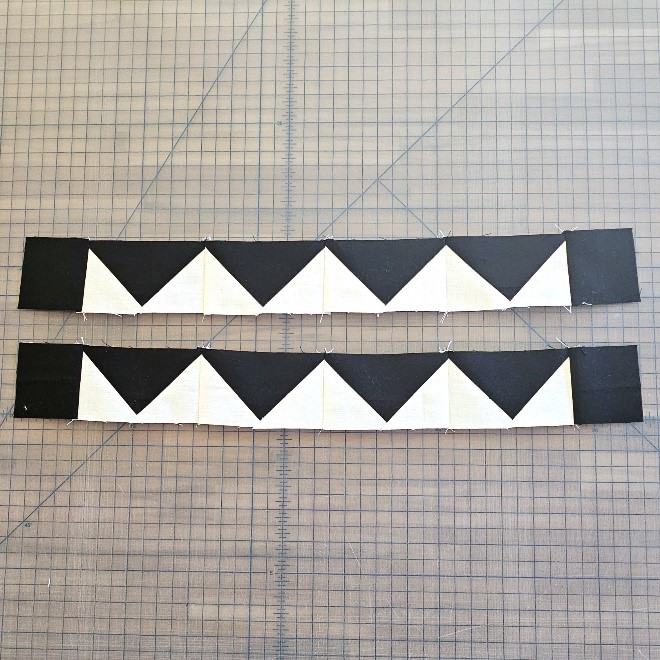
- Sew two rows of (1) F, (4) H/P, and (1) F. Press the first seam to F, the next (3) seams to the right, the seam after that to the left, and the last seam to F.
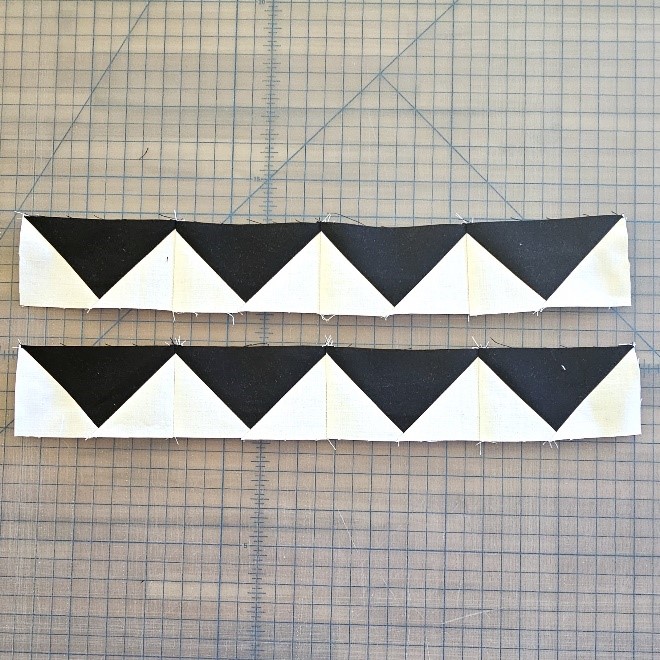
- Sew two rows of (4) H/P. With the black triangle points down, press to the right.
FULL QUILT TOP:
- Gather all Units 1-5.
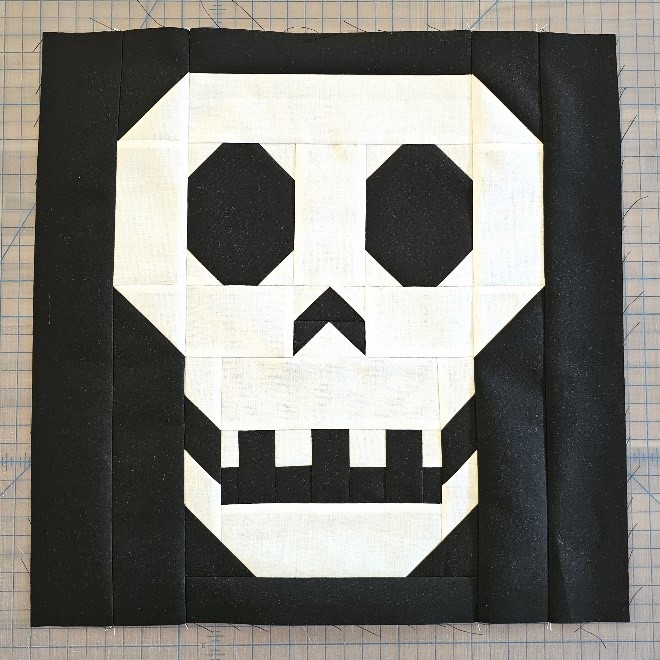
- Sew Unit 1 to the top of Unit 2. Press to Unit 2.
- Sew Unit 3 to the left of Units 1 and 2. Press to Unit 3.
- Sew Unit 4 to the right of Units 1-3. Press to Unit 4.
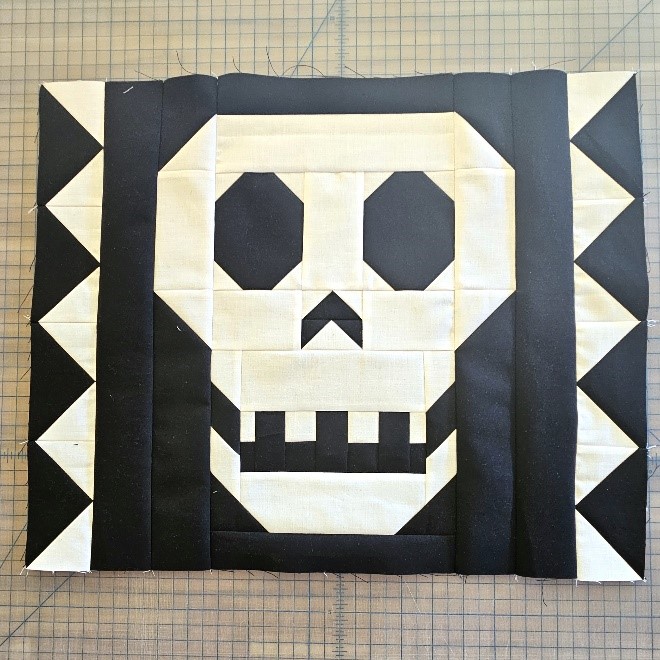
- Sew one H/P row to the left of Units 1-4 with the black H triangles pointing in. Press to the right.
- Sew the second H/P row to the right of Units 1-4 with the black H triangles pointing in. Press to the left.
- Sew one F/H/P row to the top of Units 1-4 with the black H triangles pointing in. Press to the bottom.
- Sew the second F/H/P row to the bottom of Units 1-4 with the black H triangles pointing in. Press to the top.
FINISHING THE QUILT:
- Layer the backing fabric with the right side down, batting, and the quilt top with the right side up. Pin or baste the layers together.
- Quilt using your preferred method and design. Trim the batting and backing to match the quilt top.
- Trim the selvages from the (3) binding strips. Sew the strips RST along the short edges, end-to-end, with diagonal seams to make (1) continuous binding strip.
- Sew the binding around the edge using your preferred method.

