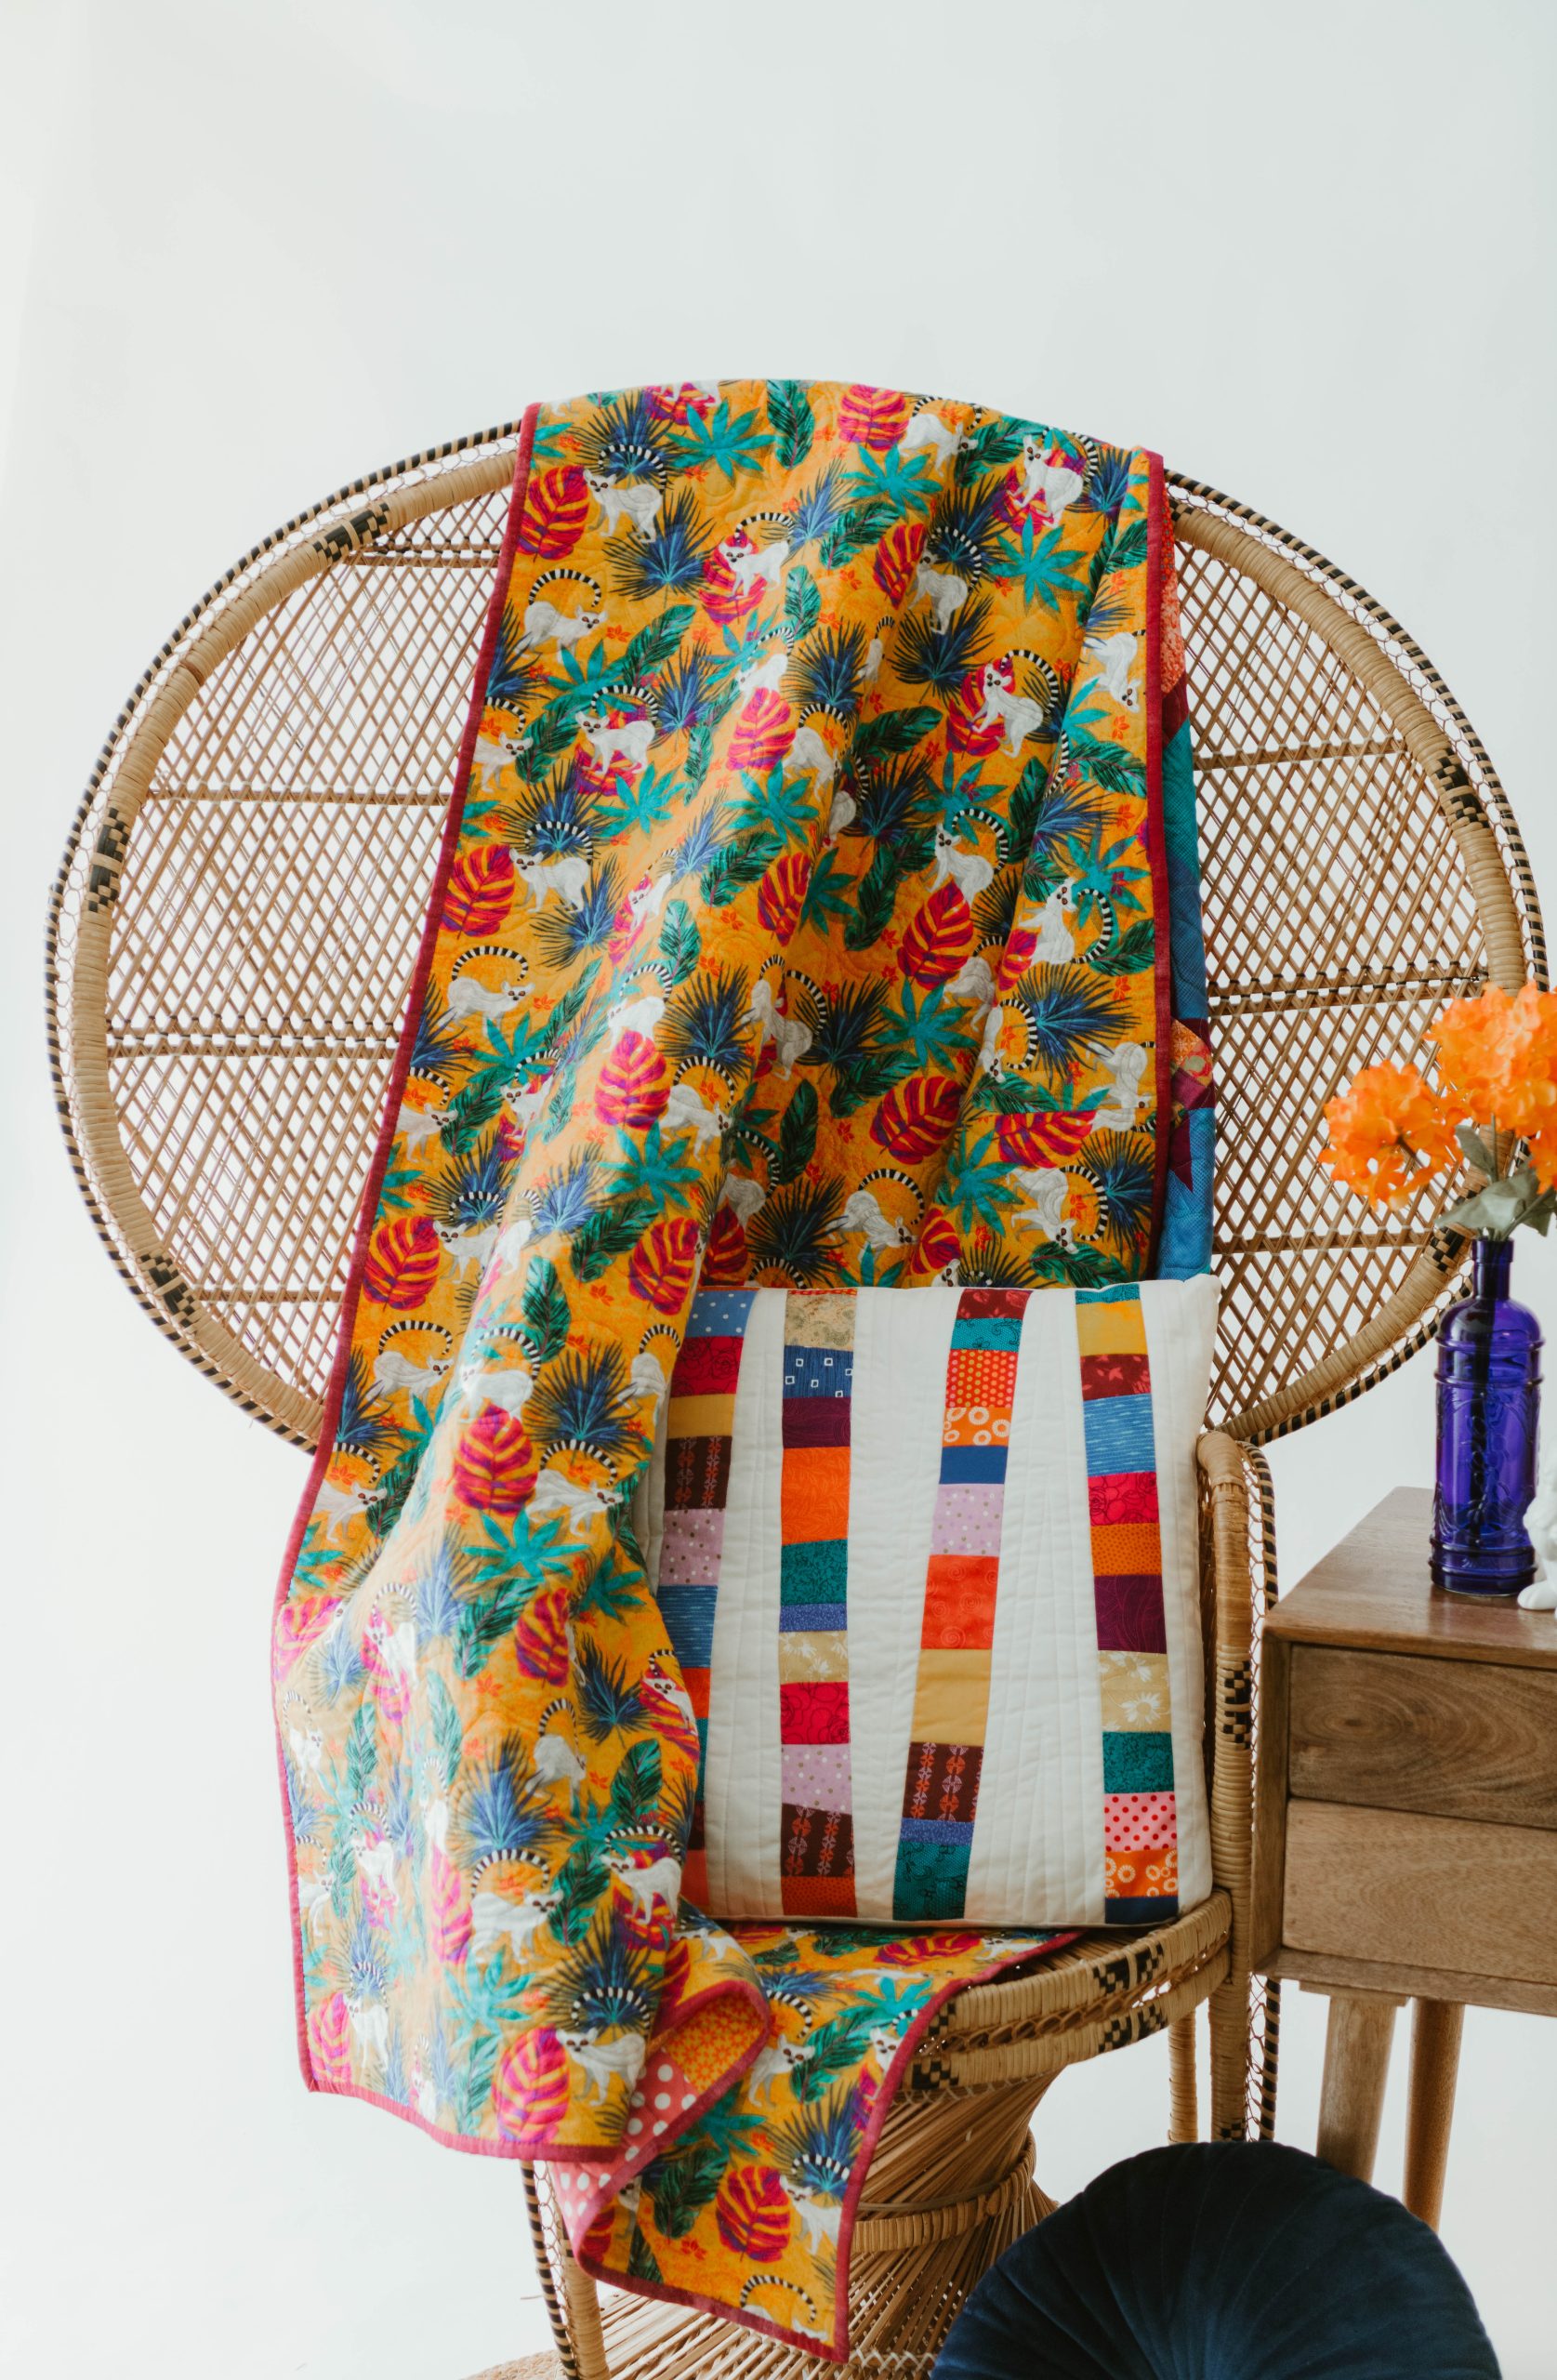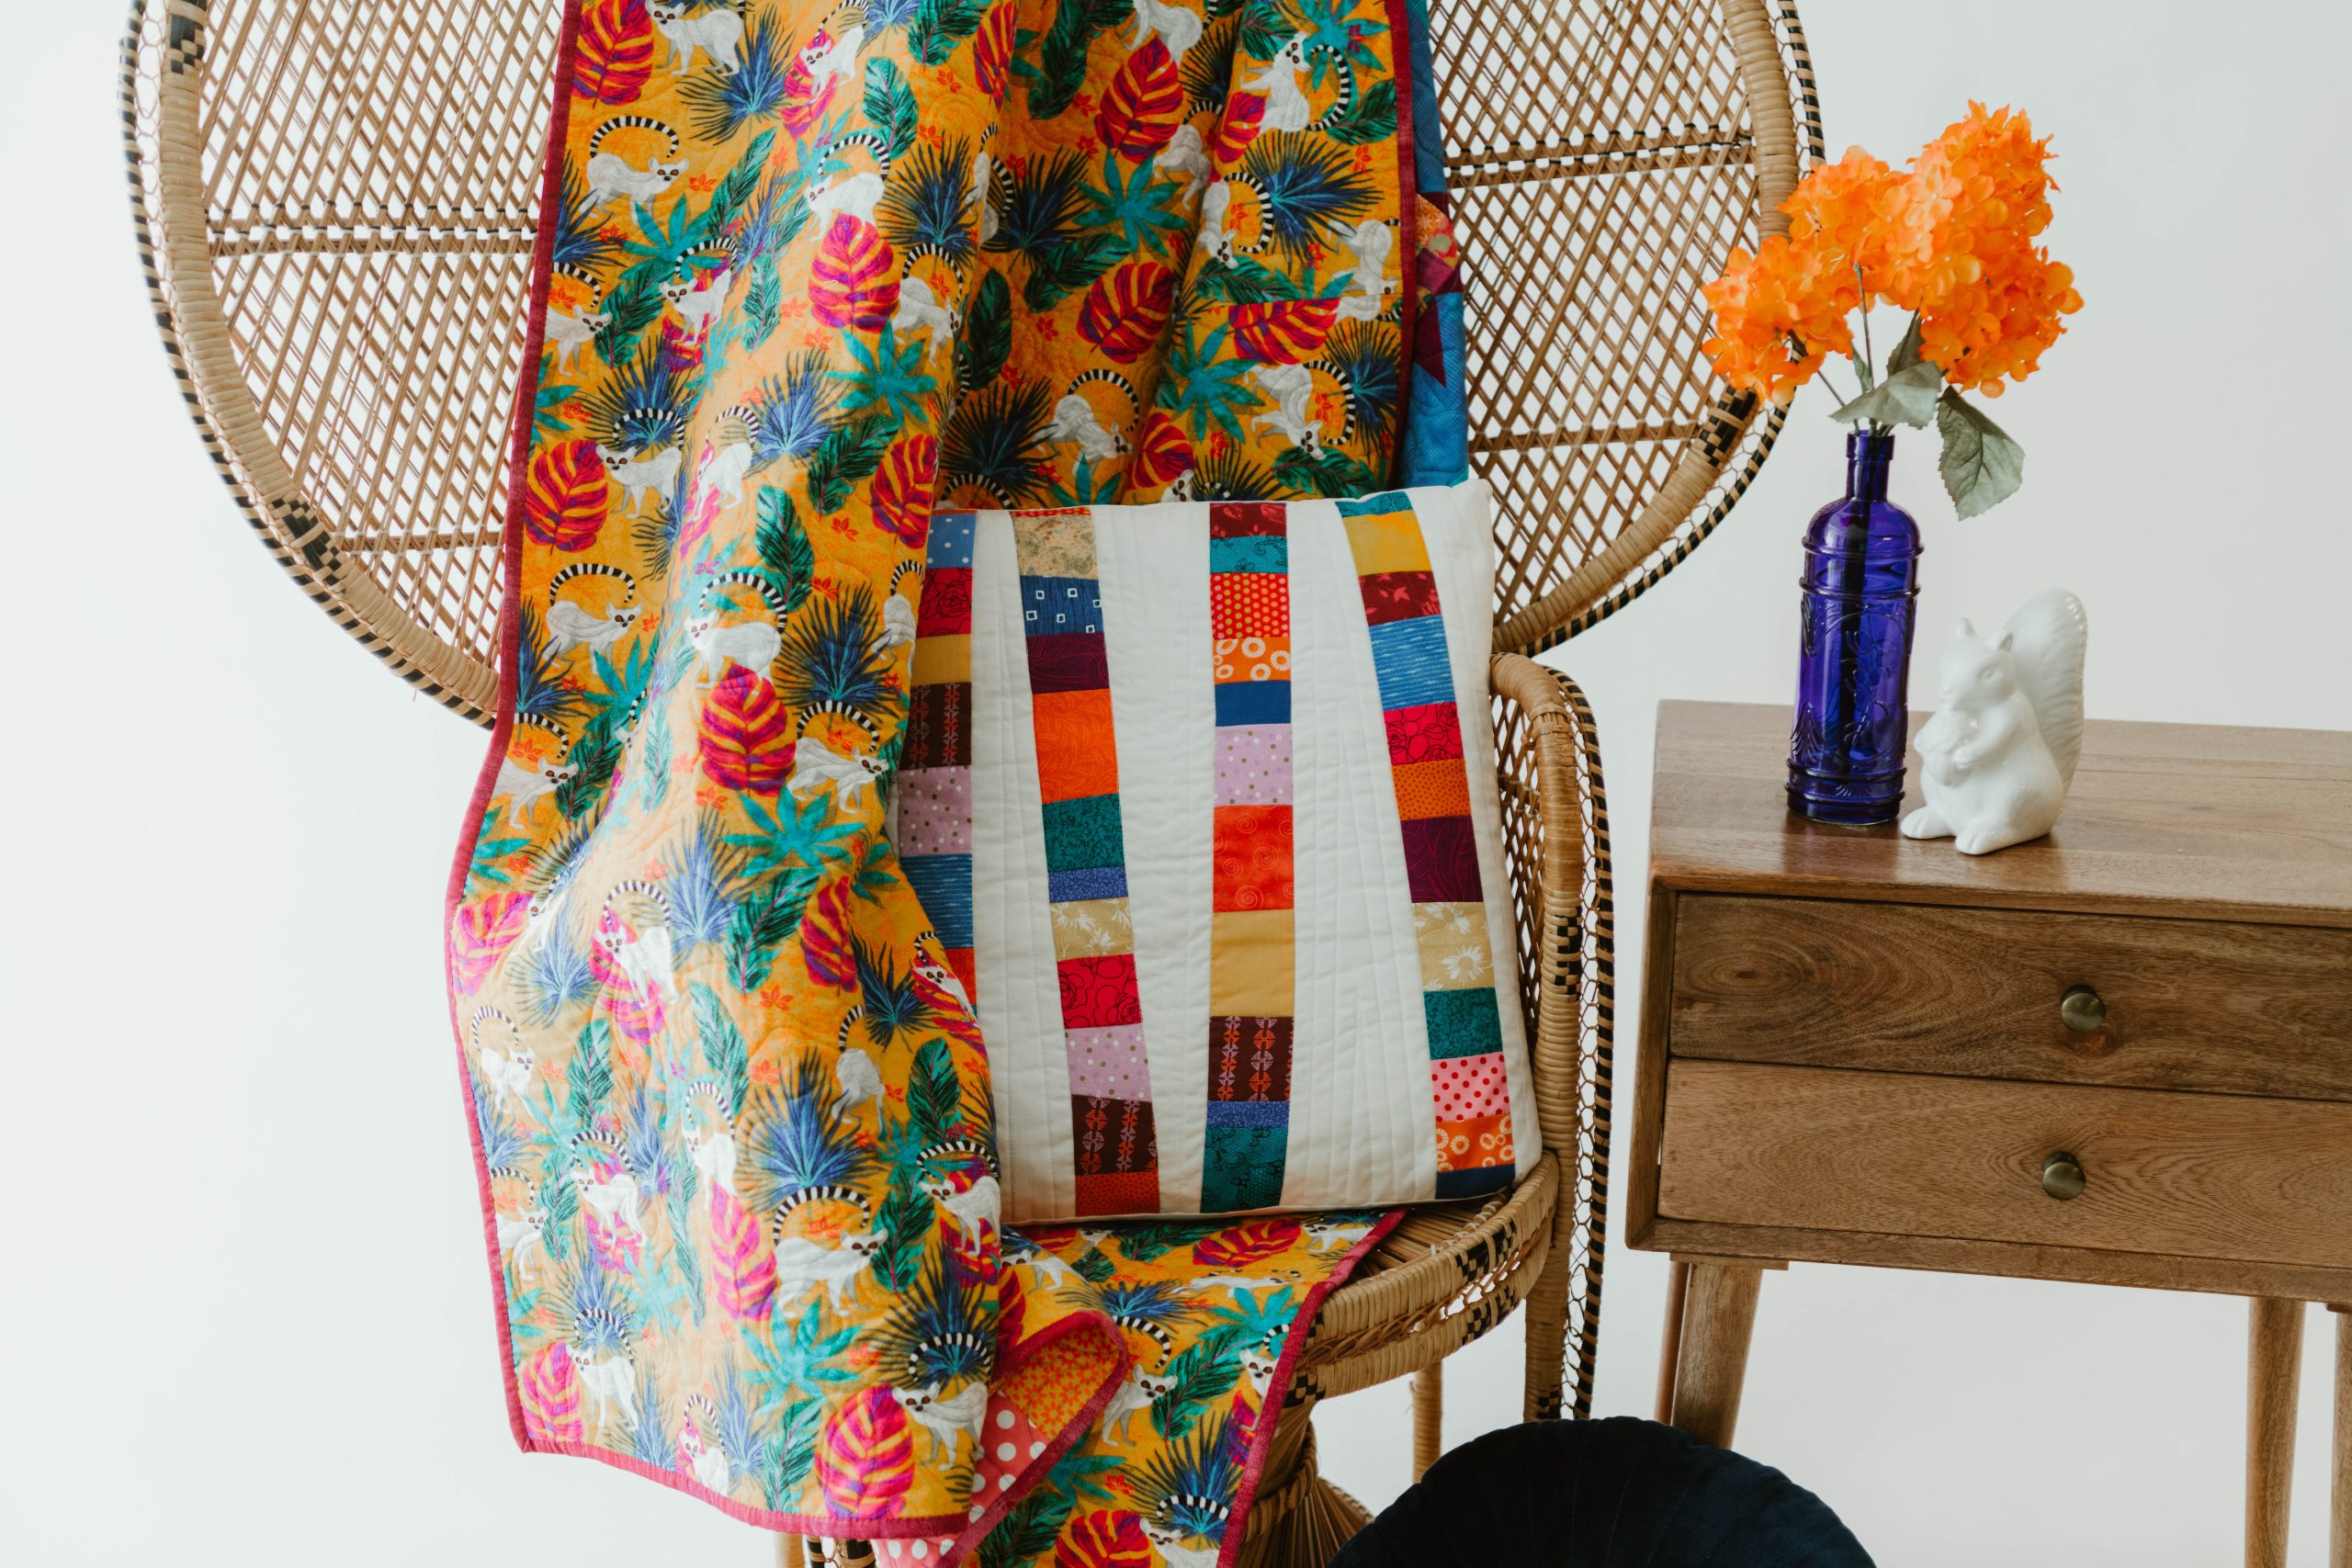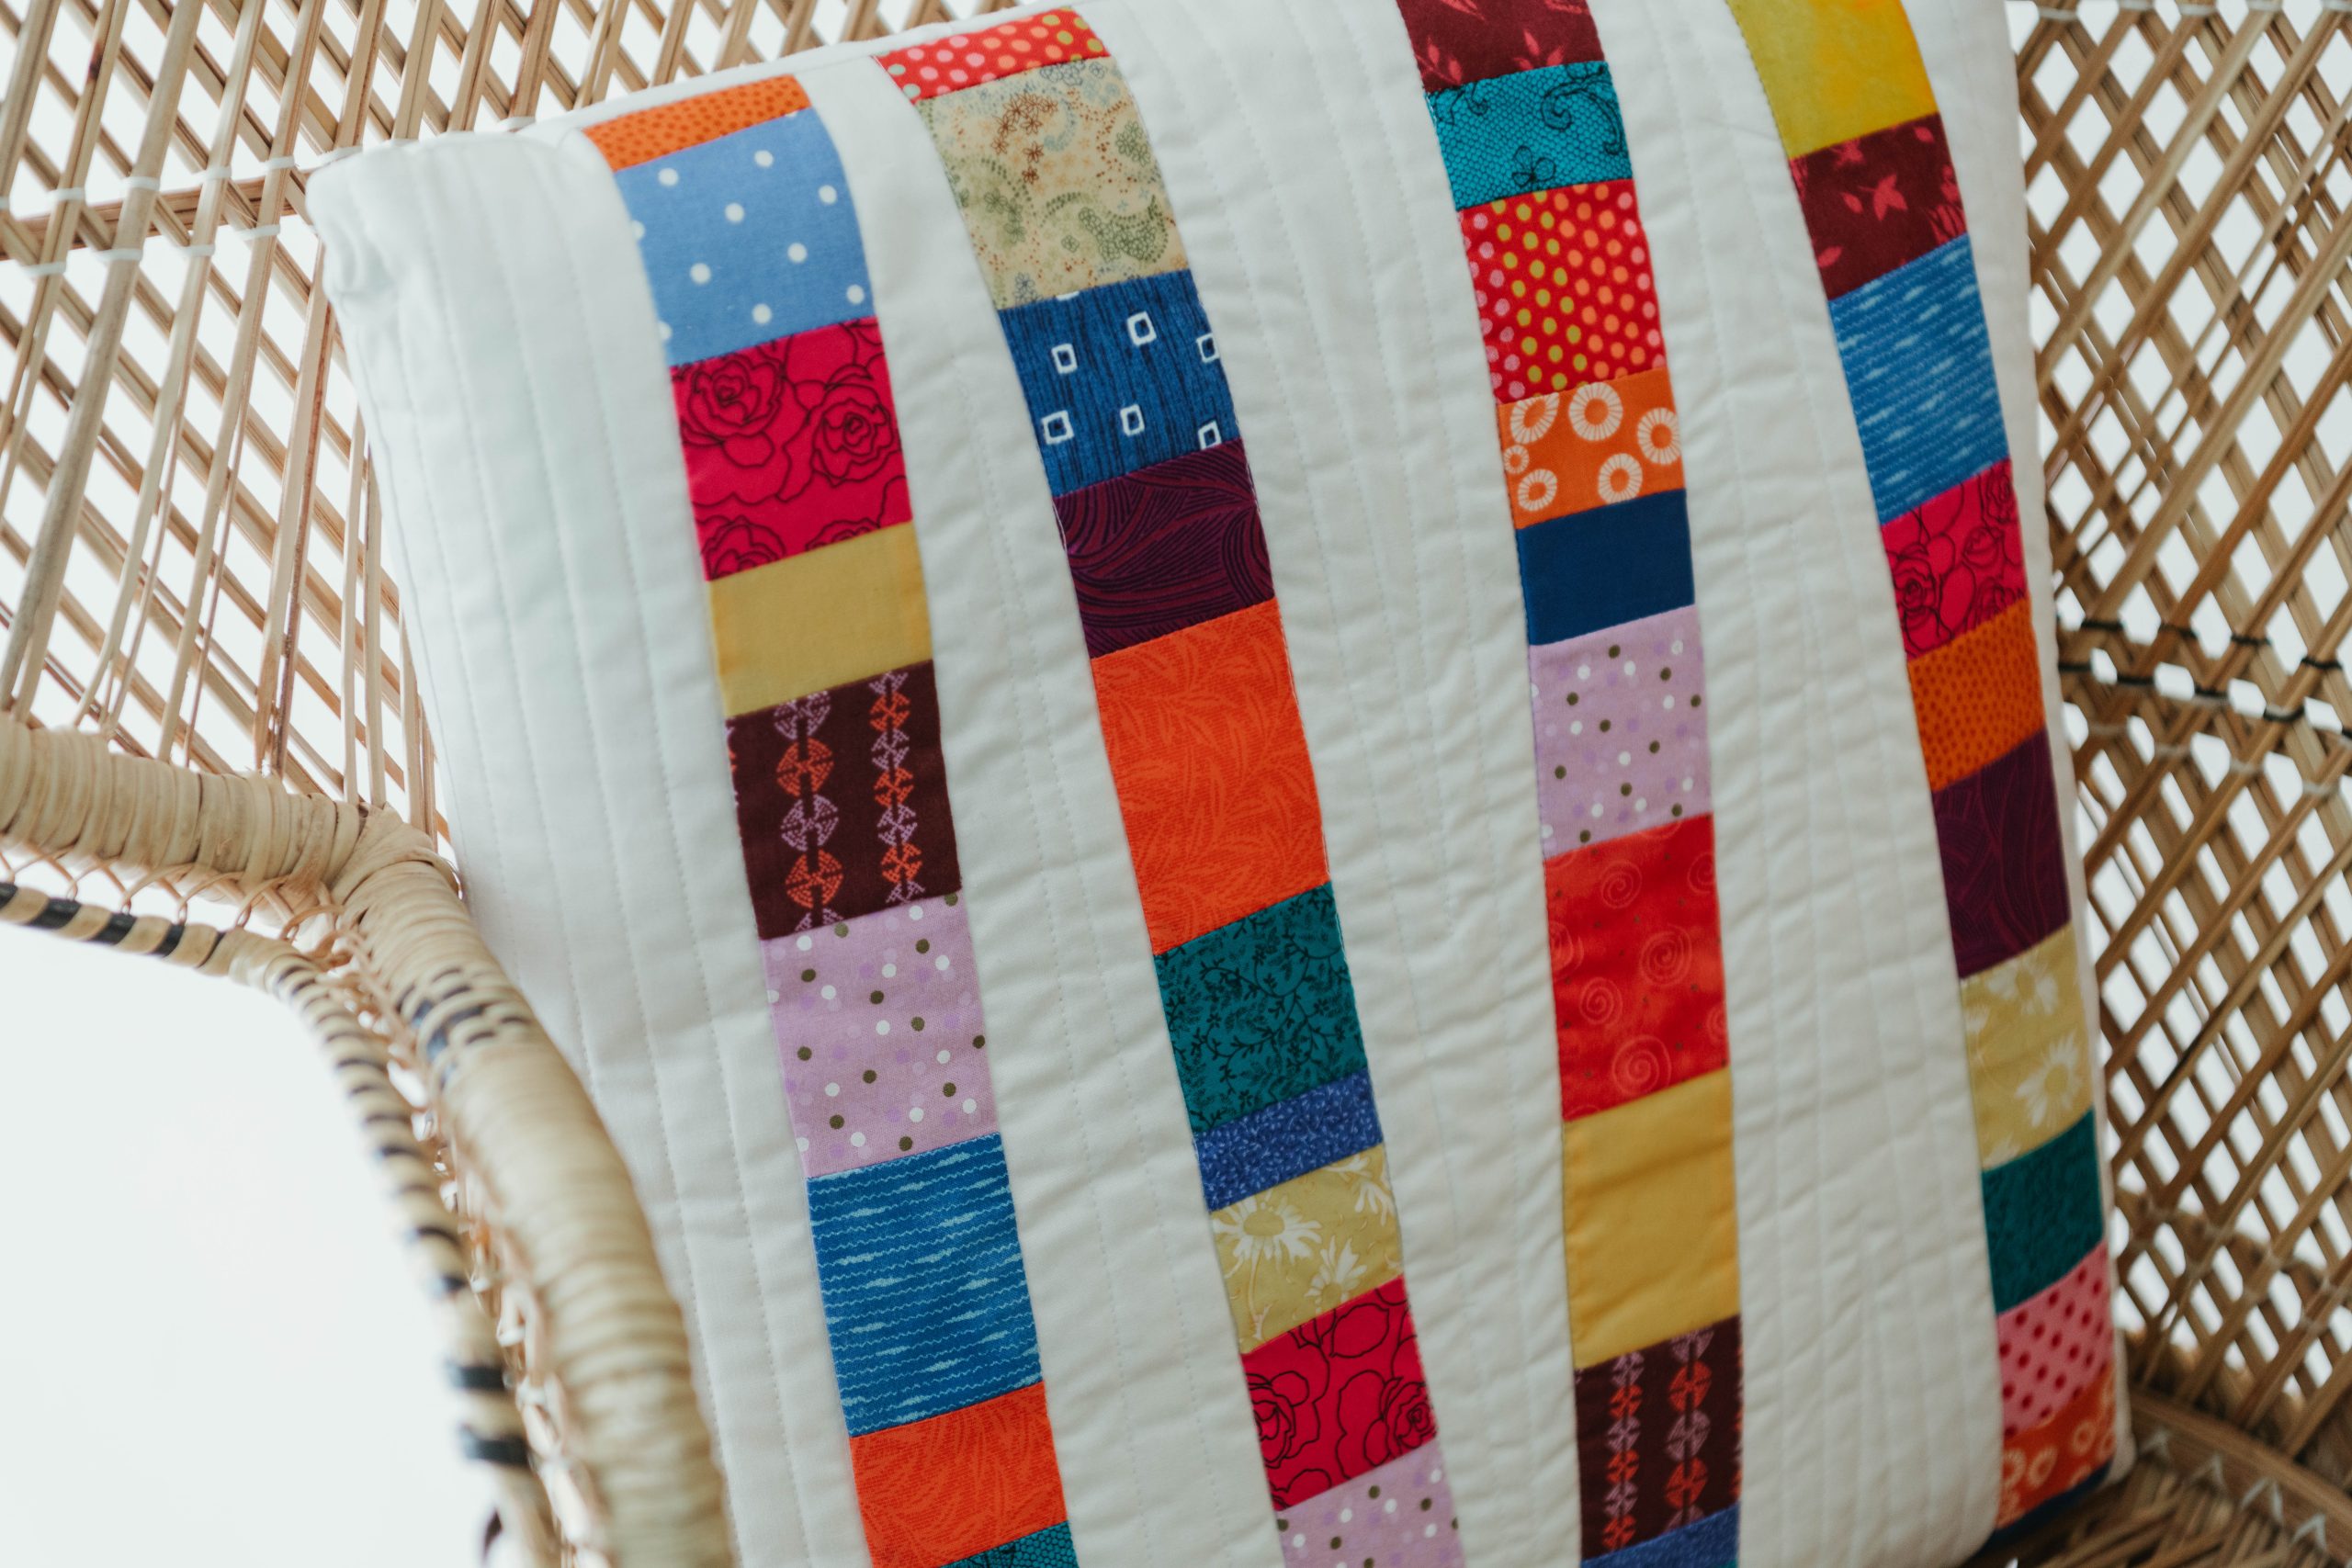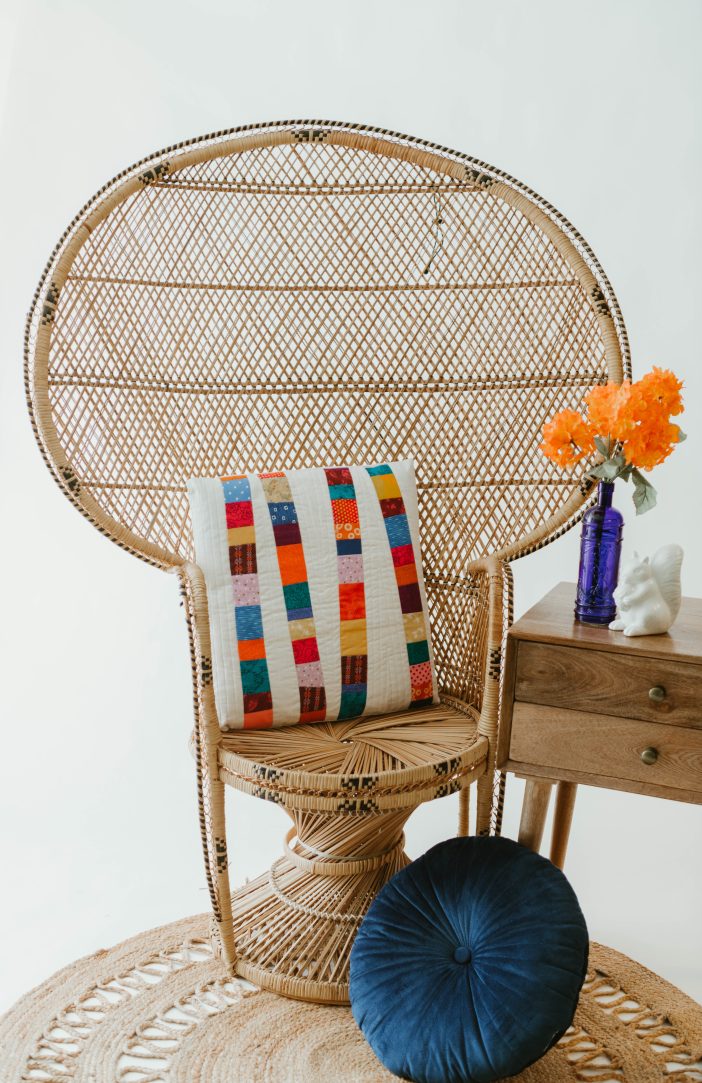
Who says fall must be filled with nothing but neutrals? Add some bold jewel tones to your living space with this scrappy improv pillow pattern from Mallory Hill. Ideal for fabric scraps or fat quarters, this improv quilted pillow is designed for an 18” pillow form and features a rainbow of autumn colors against a sharp white background. Get comfortable with improv quilting and clear out your fabric stash ahead of the holidays with this fun home décor project.
Materials:
- Background fabric – 1 yard
- 6-8 (or more) patterned fabrics – Fat quarters or scraps
- 1 spool of coordinating thread
- 18″ x 18″ pillow insert
- 22” x 22” square of batting
- 22” x 22” square of muslin or neutral scrap fabric
Tools:
- Sewing machine
- Iron and ironing board
- Rotary cutter and mat
- Ruler
- Marking pen
Instructions:
- Cut patterned fabrics into small pieces that are at least 3” wide by 1” tall. You’ll want a variety of heights to alternate sizes.
- Piece together patterned fabrics in random order with a 1/4” seam allowance. Don’t worry about perfectly straight lines, as crooked seams will make more visual interest in your strips.
- Continue piecing until you have a strip that is at least 22” long, and press seam allowances open. Repeat to make at least 4 strips. Trim all of your strips to 2” wide.
- Cut 5 pieces of white fabric that are at least 22” long with varying widths of around 4” – 5” wide.
- Piece the front of your pillow – Refer to the photos below when piecing the front of your pillow.
- Lay Piece 1 on your work surface Right Side Up, and place Piece A Right Sides together at an angle that you like; you don’t want straight edges so pick an angle that is pleasing to you. Sew, with 1/4” seam allowance along the edge of Piece A. Trim seam allowance to 1/4” and press your seams open. This piece will now be known as Piece 1A.
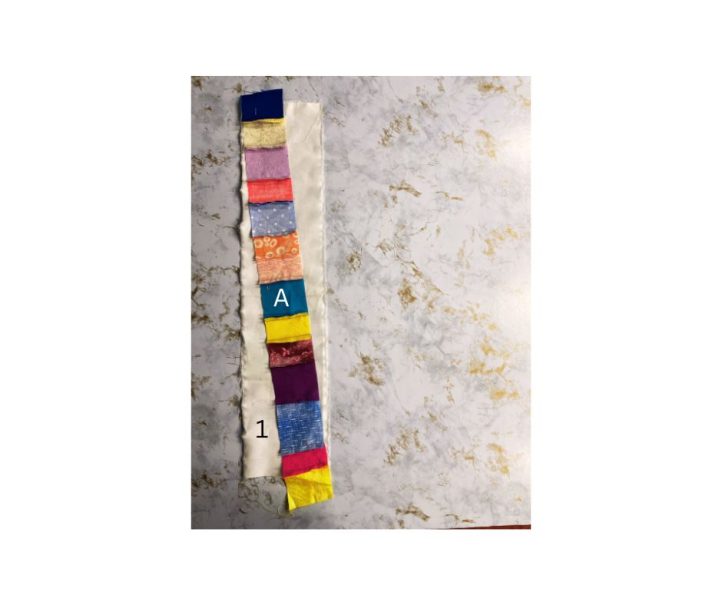
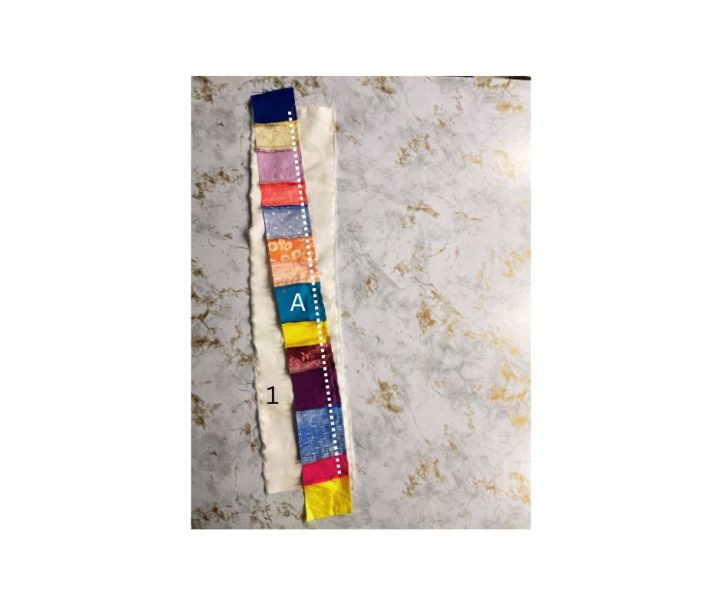
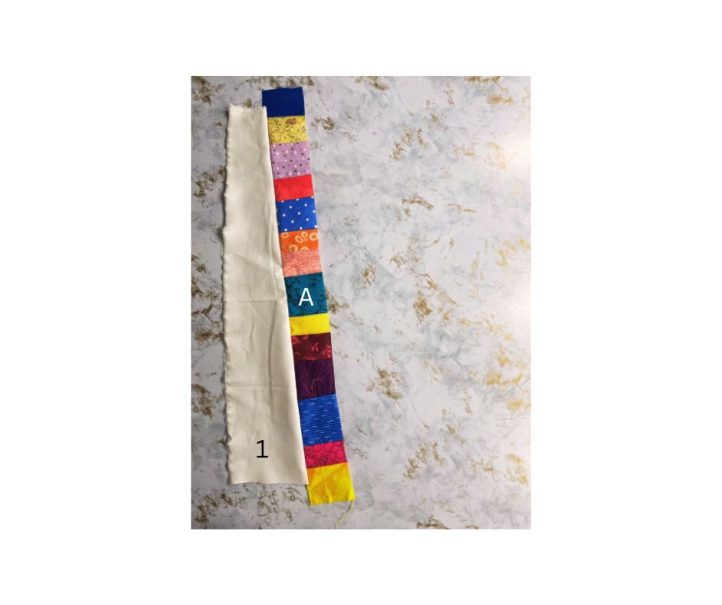
- Lay Piece 2 on your work surface Right Side Up. Place Piece 1A face up, overlapping Piece 2 by at least 1/4”. You’ll want the top and bottom edges of Piece 2 to line up (Piece A will not be in a straight/vertical line). Using your marking pen, draw a line along the side of Piece 1A. Trim Piece 2 along your marked line. Place Piece 2 and Piece 1A Right Sides together and sew with a 1/4” seam allowance. Press seams open. This piece will now be known as Piece 1A2.
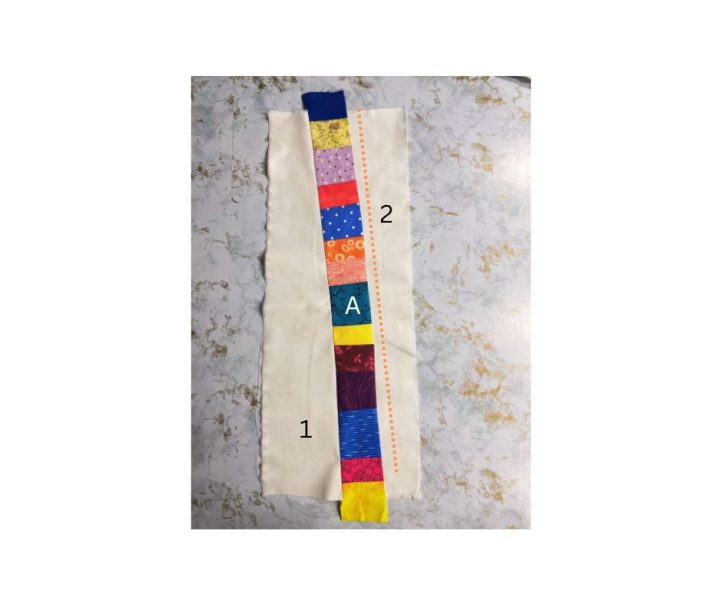
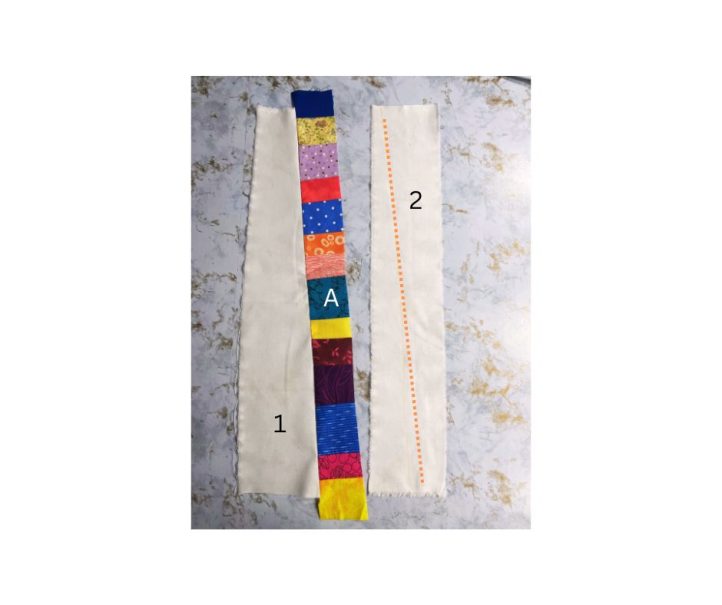
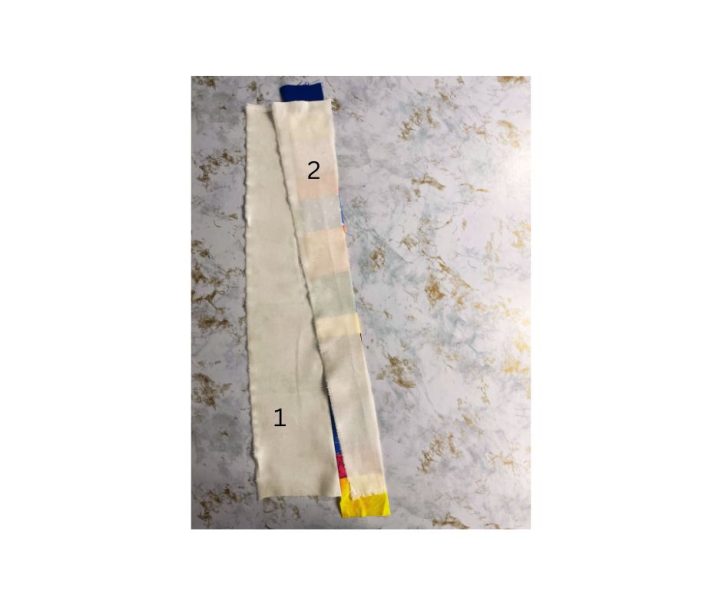
- Lay Piece B Right Sides together with Piece 1A2, making sure that Piece B is not straight/vertical, as you’ll want a new angle. Pin in place and sew, trim to a 1/4” seam allowance. Press seams open.
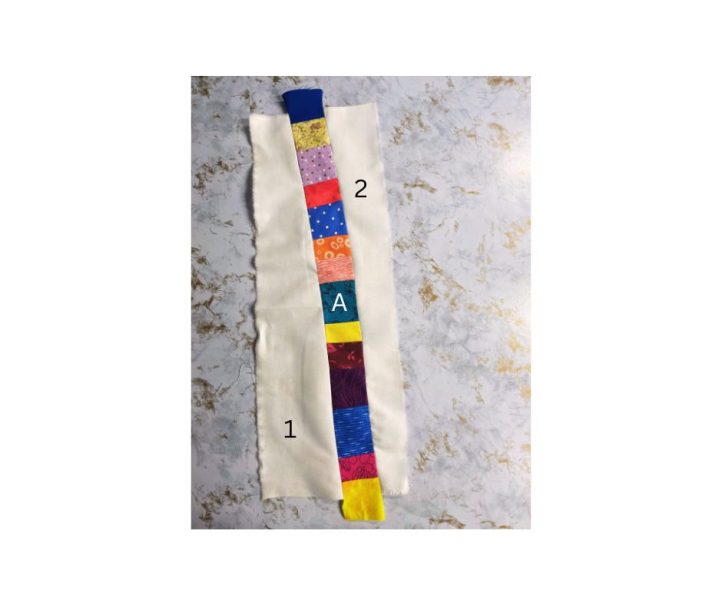
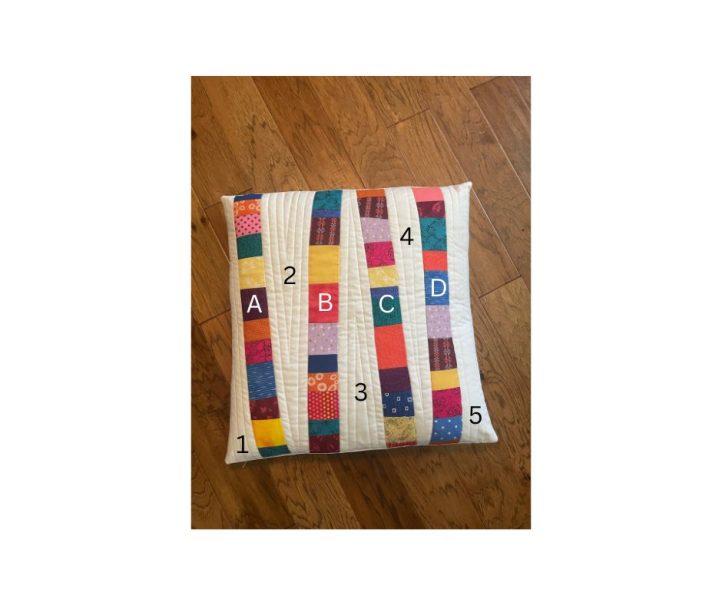
- Continue this pattern with the rest of your strips and background fabrics. Once you have your pillow top complete, give it one final press and trim any edges to match, as you will do a final trim after quilting.
- Lay Piece 1 on your work surface Right Side Up, and place Piece A Right Sides together at an angle that you like; you don’t want straight edges so pick an angle that is pleasing to you. Sew, with 1/4” seam allowance along the edge of Piece A. Trim seam allowance to 1/4” and press your seams open. This piece will now be known as Piece 1A.
- Layer the front of your finished pillow with batting in the middle and muslin on the bottom. Quilt the pillow top in your preferred method. The sample was first quilted using a stitch in the ditch method along both long sides of the pieced strips. Then straight lines in 1/2” increments were added.
- Trim the final pillow top to 19” x 19”.
- Cut the pieces for the back of your pillow:
- Back Top – 19” x 12 1/2”
- Back Bottom – 19” x 15 1/2”
- Lay your Back Top piece wrong side up on your ironing board, folding one long edge towards the wrong side by 1/2” and press. Fold the same edge towards the wrong side again by 1/2” and press. Pin in place and sew across the folded edge with a scant 1/2” seam allowance.
- Repeat Step 8 with one long edge of the Back Bottom piece.
- Place your quilted pillow front face up on your work surface, and place your Back Top piece right side facing down on top of the front with top and side raw edges matching.
- Place your back bottom piece on top of both other pieces right side facing down, matching the bottom and side raw edges.
- Pin around all edges, making sure to secure both ends of the back flaps.
- Stitch around the entire outer edge using a 1/2” seam allowance. Backstitch across all four areas where the flaps meet the sides to reinforce the stress points.
- Clip the 4 corners, making sure you do not clip into the stitching.
- Turn pillow case right side out, gently pushing out each corner.
- Press around all of the outside edges and entire pillow case.
- Insert pillow form.

