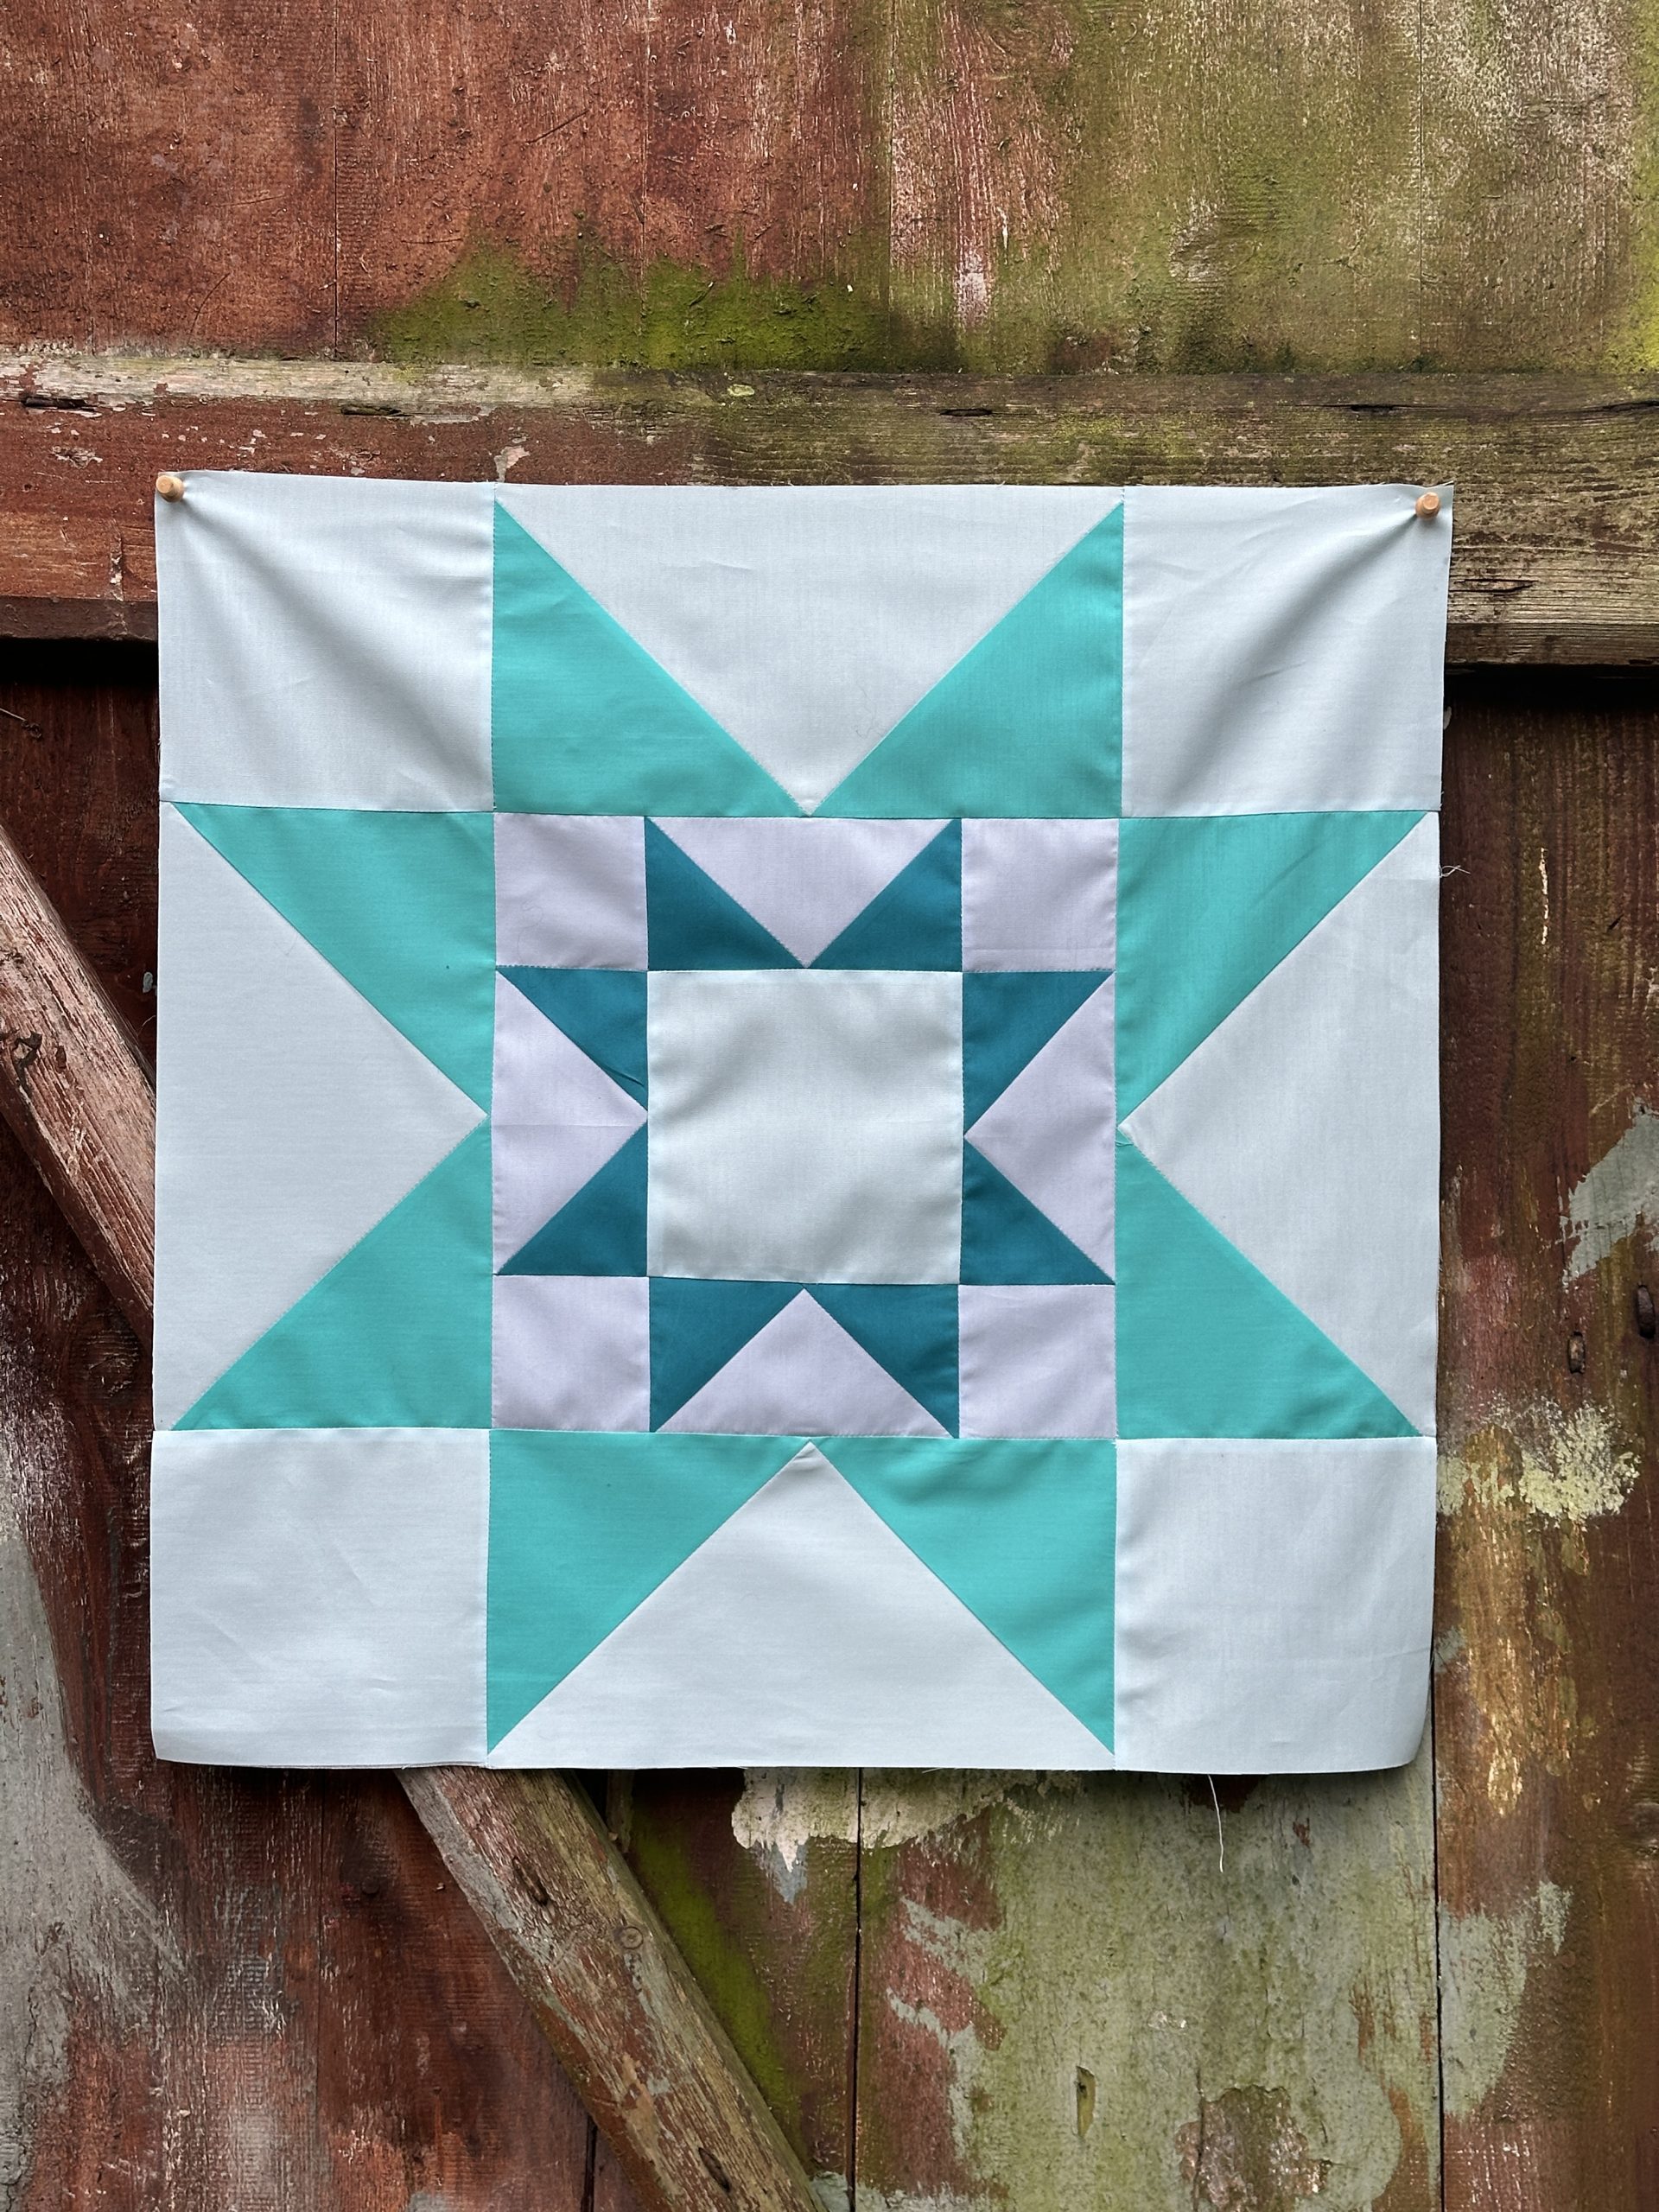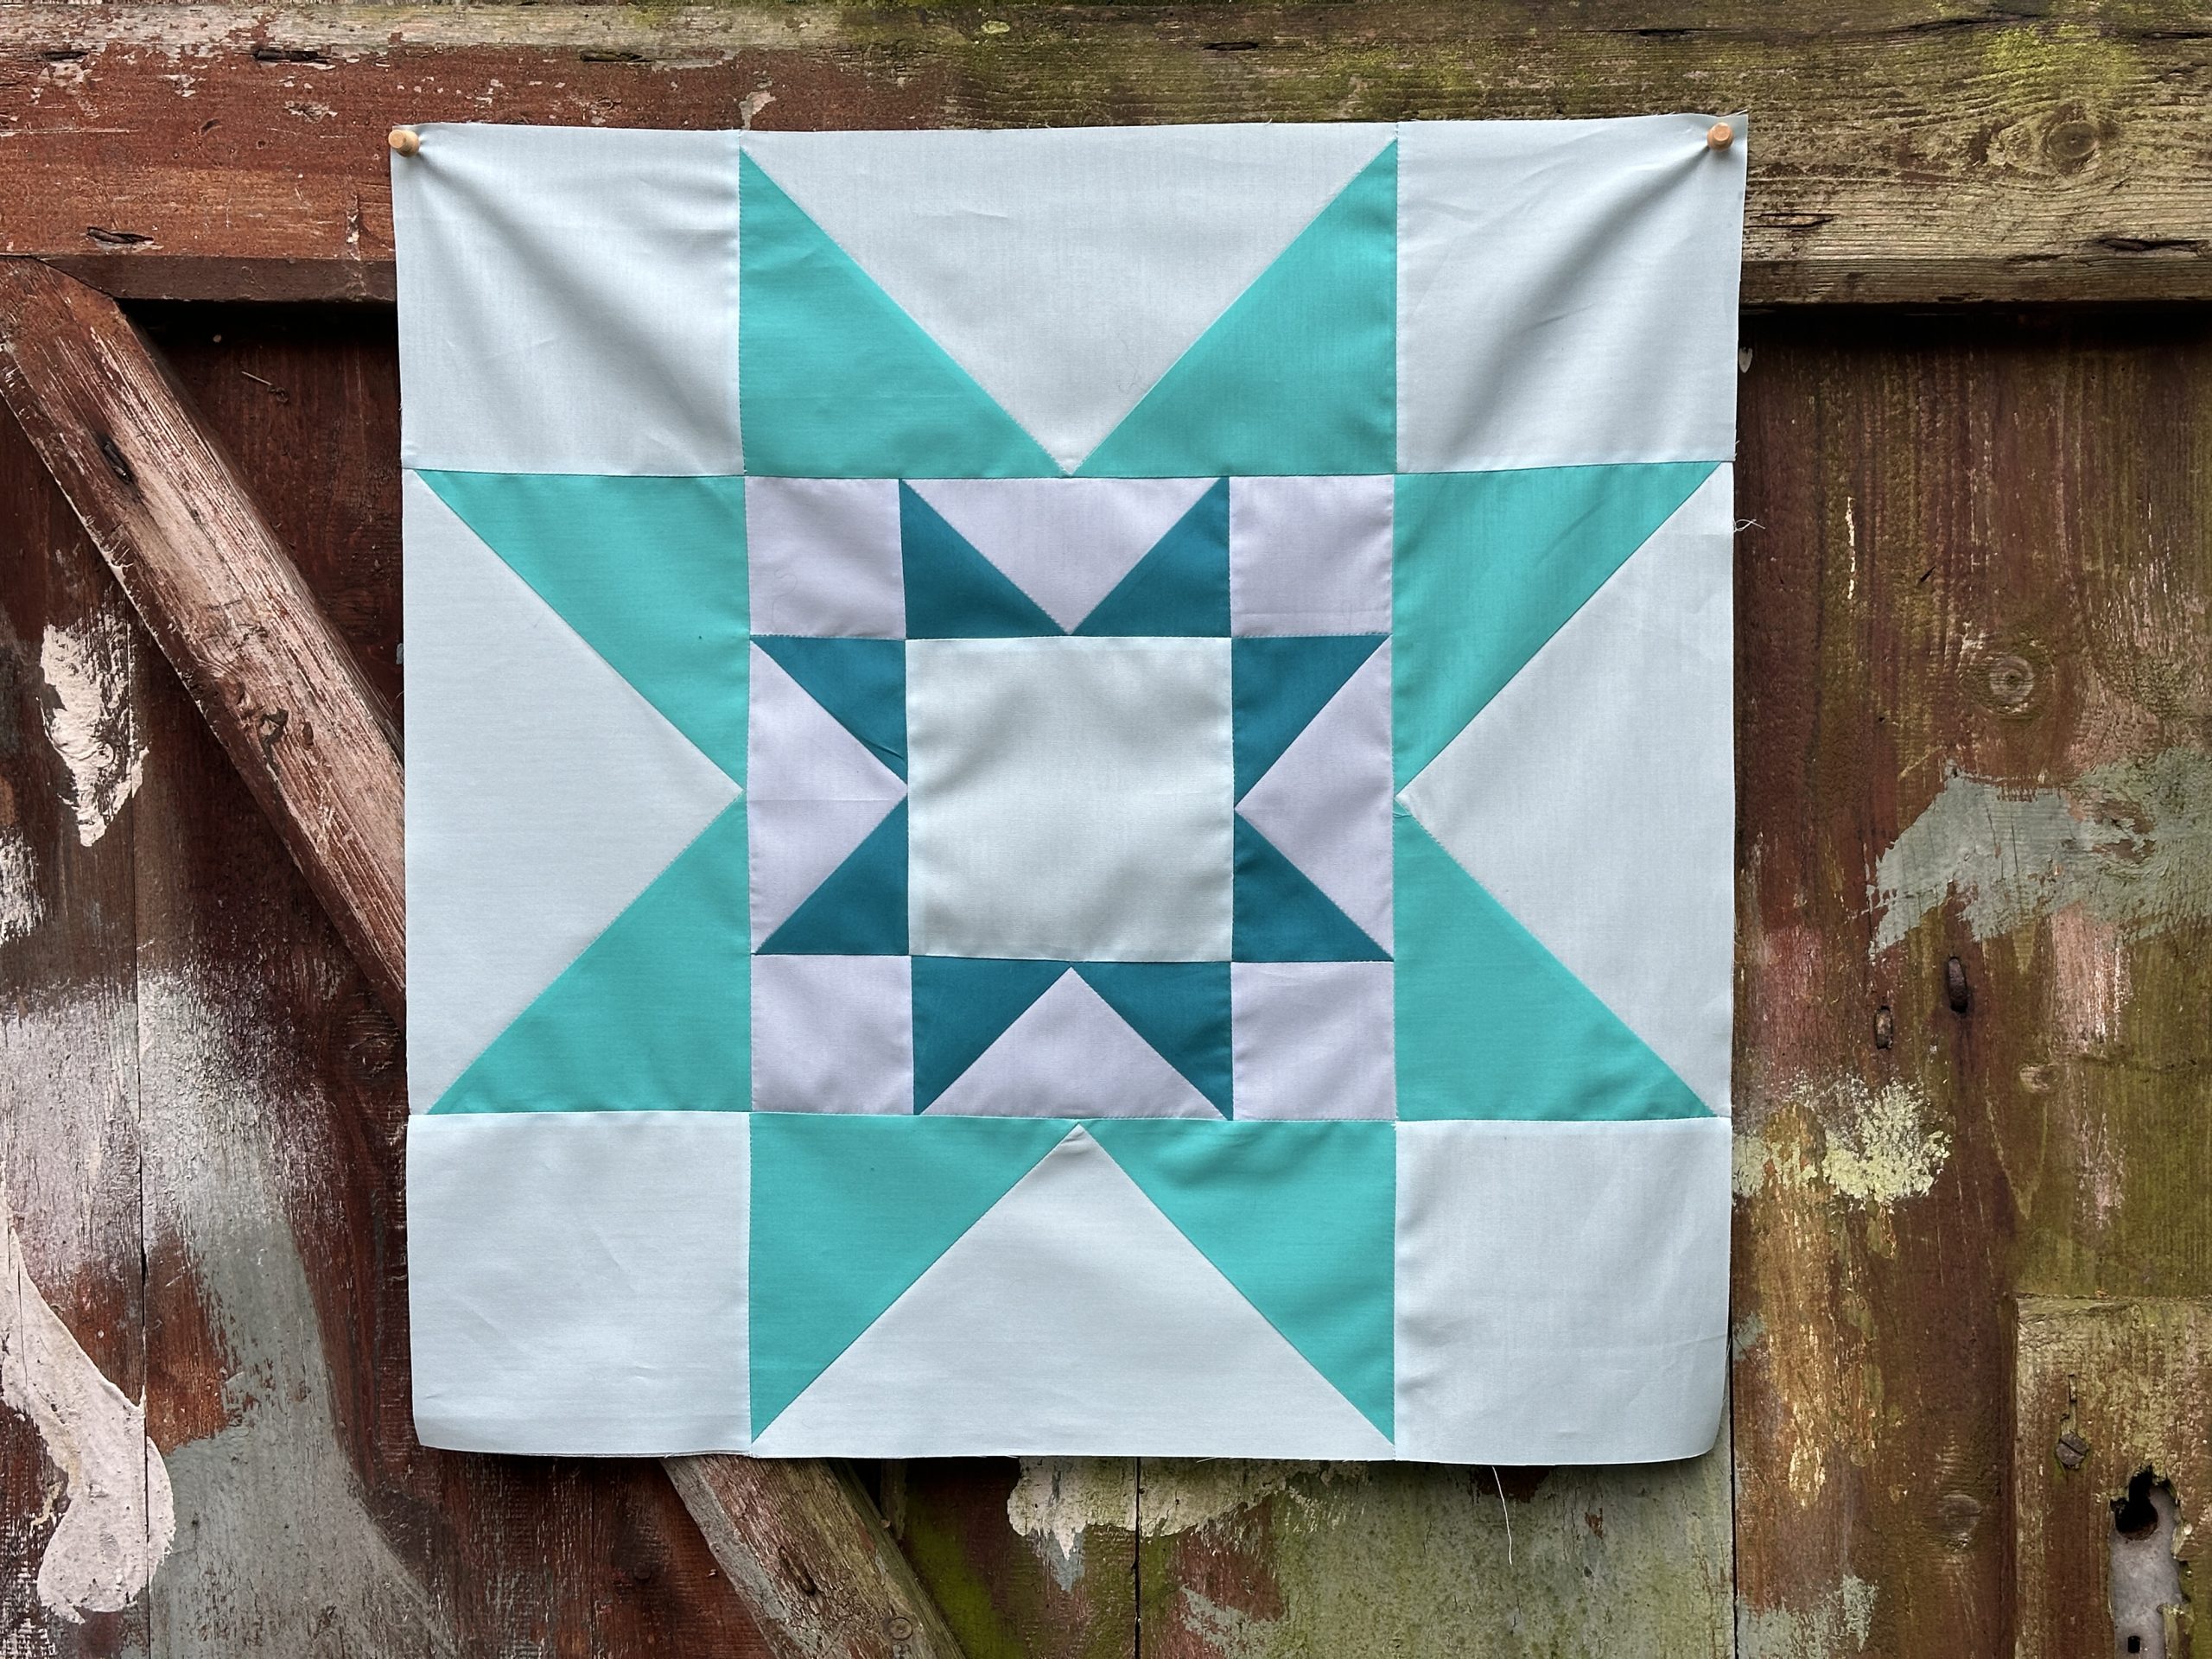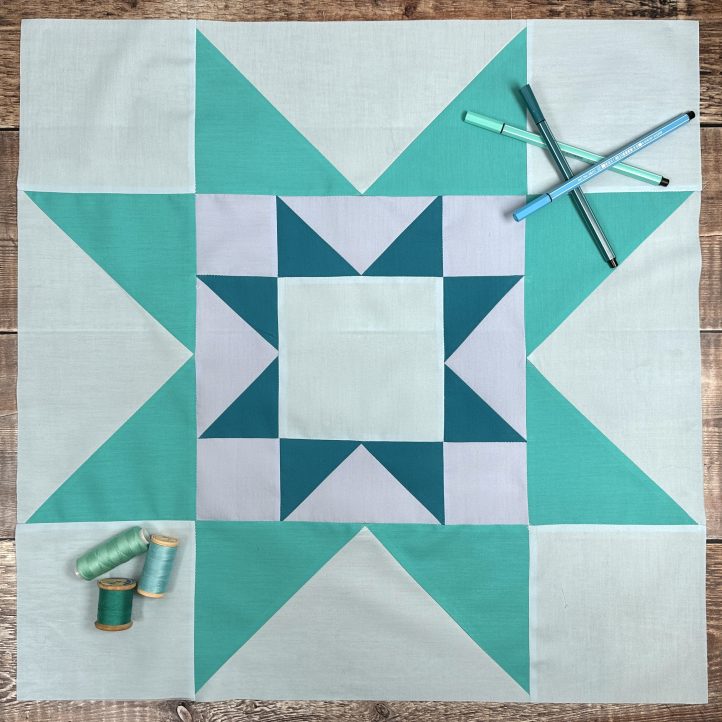
Did you know that March’s birthstone is aquamarine? Create a beautiful sawtooth star block in stunning shades of blue with this pattern from Debbie von Grabler-Crozier. Made using fat quarters, this quilt block pattern features a star-in-a-star design and uses a no-waste method to create its flying geese units. Add your quilt block to a cushion cover to brighten any room or make multiple stars in spring shades for a gorgeous wall hanging.
Designer Note: Seam allowances are all 1/4” and have already been added.
Materials:
- Fabric: (Note: All fabrics are from the Pure Elements collection by Art Gallery Fabrics.)
- Solid fabrics in the following colors:
- Fat Quarter Tranquil Waters (color A)
- Fat Quarter Cozumel Blue (color B)
- Fat Quarter Forget Me Not (color C)
- Fat Quarter Tile Blue (color D)
- Solid fabrics in the following colors:
- Scissors
- Fabric marking tools
Cutting Instructions:
From color A:
- 1 piece 5 3/4” sq. for the block center
- 4 pieces 5 3/4” sq. for the outer cornerstones
- 1 piece 11 1/2” sq. for the outer square Flying Geese units
From color B:
- 4 pieces 6 1/4” sq. for the outer square Flying Geese units
From color C:
- 4 pieces 3” sq. for the cornerstones on the inner square
- 1 pieces 6 1/4” sq. for the inner square Flying Geese units
From color D:
- 4 pieces 3 3/8” sq. for the inner square Flying Geese units
Sewing Instructions:
MAKING:
TIP: All of the Flying Geese units are made with the four-at-a-time no-waste method. They are all made the same way with only the sizes changing.
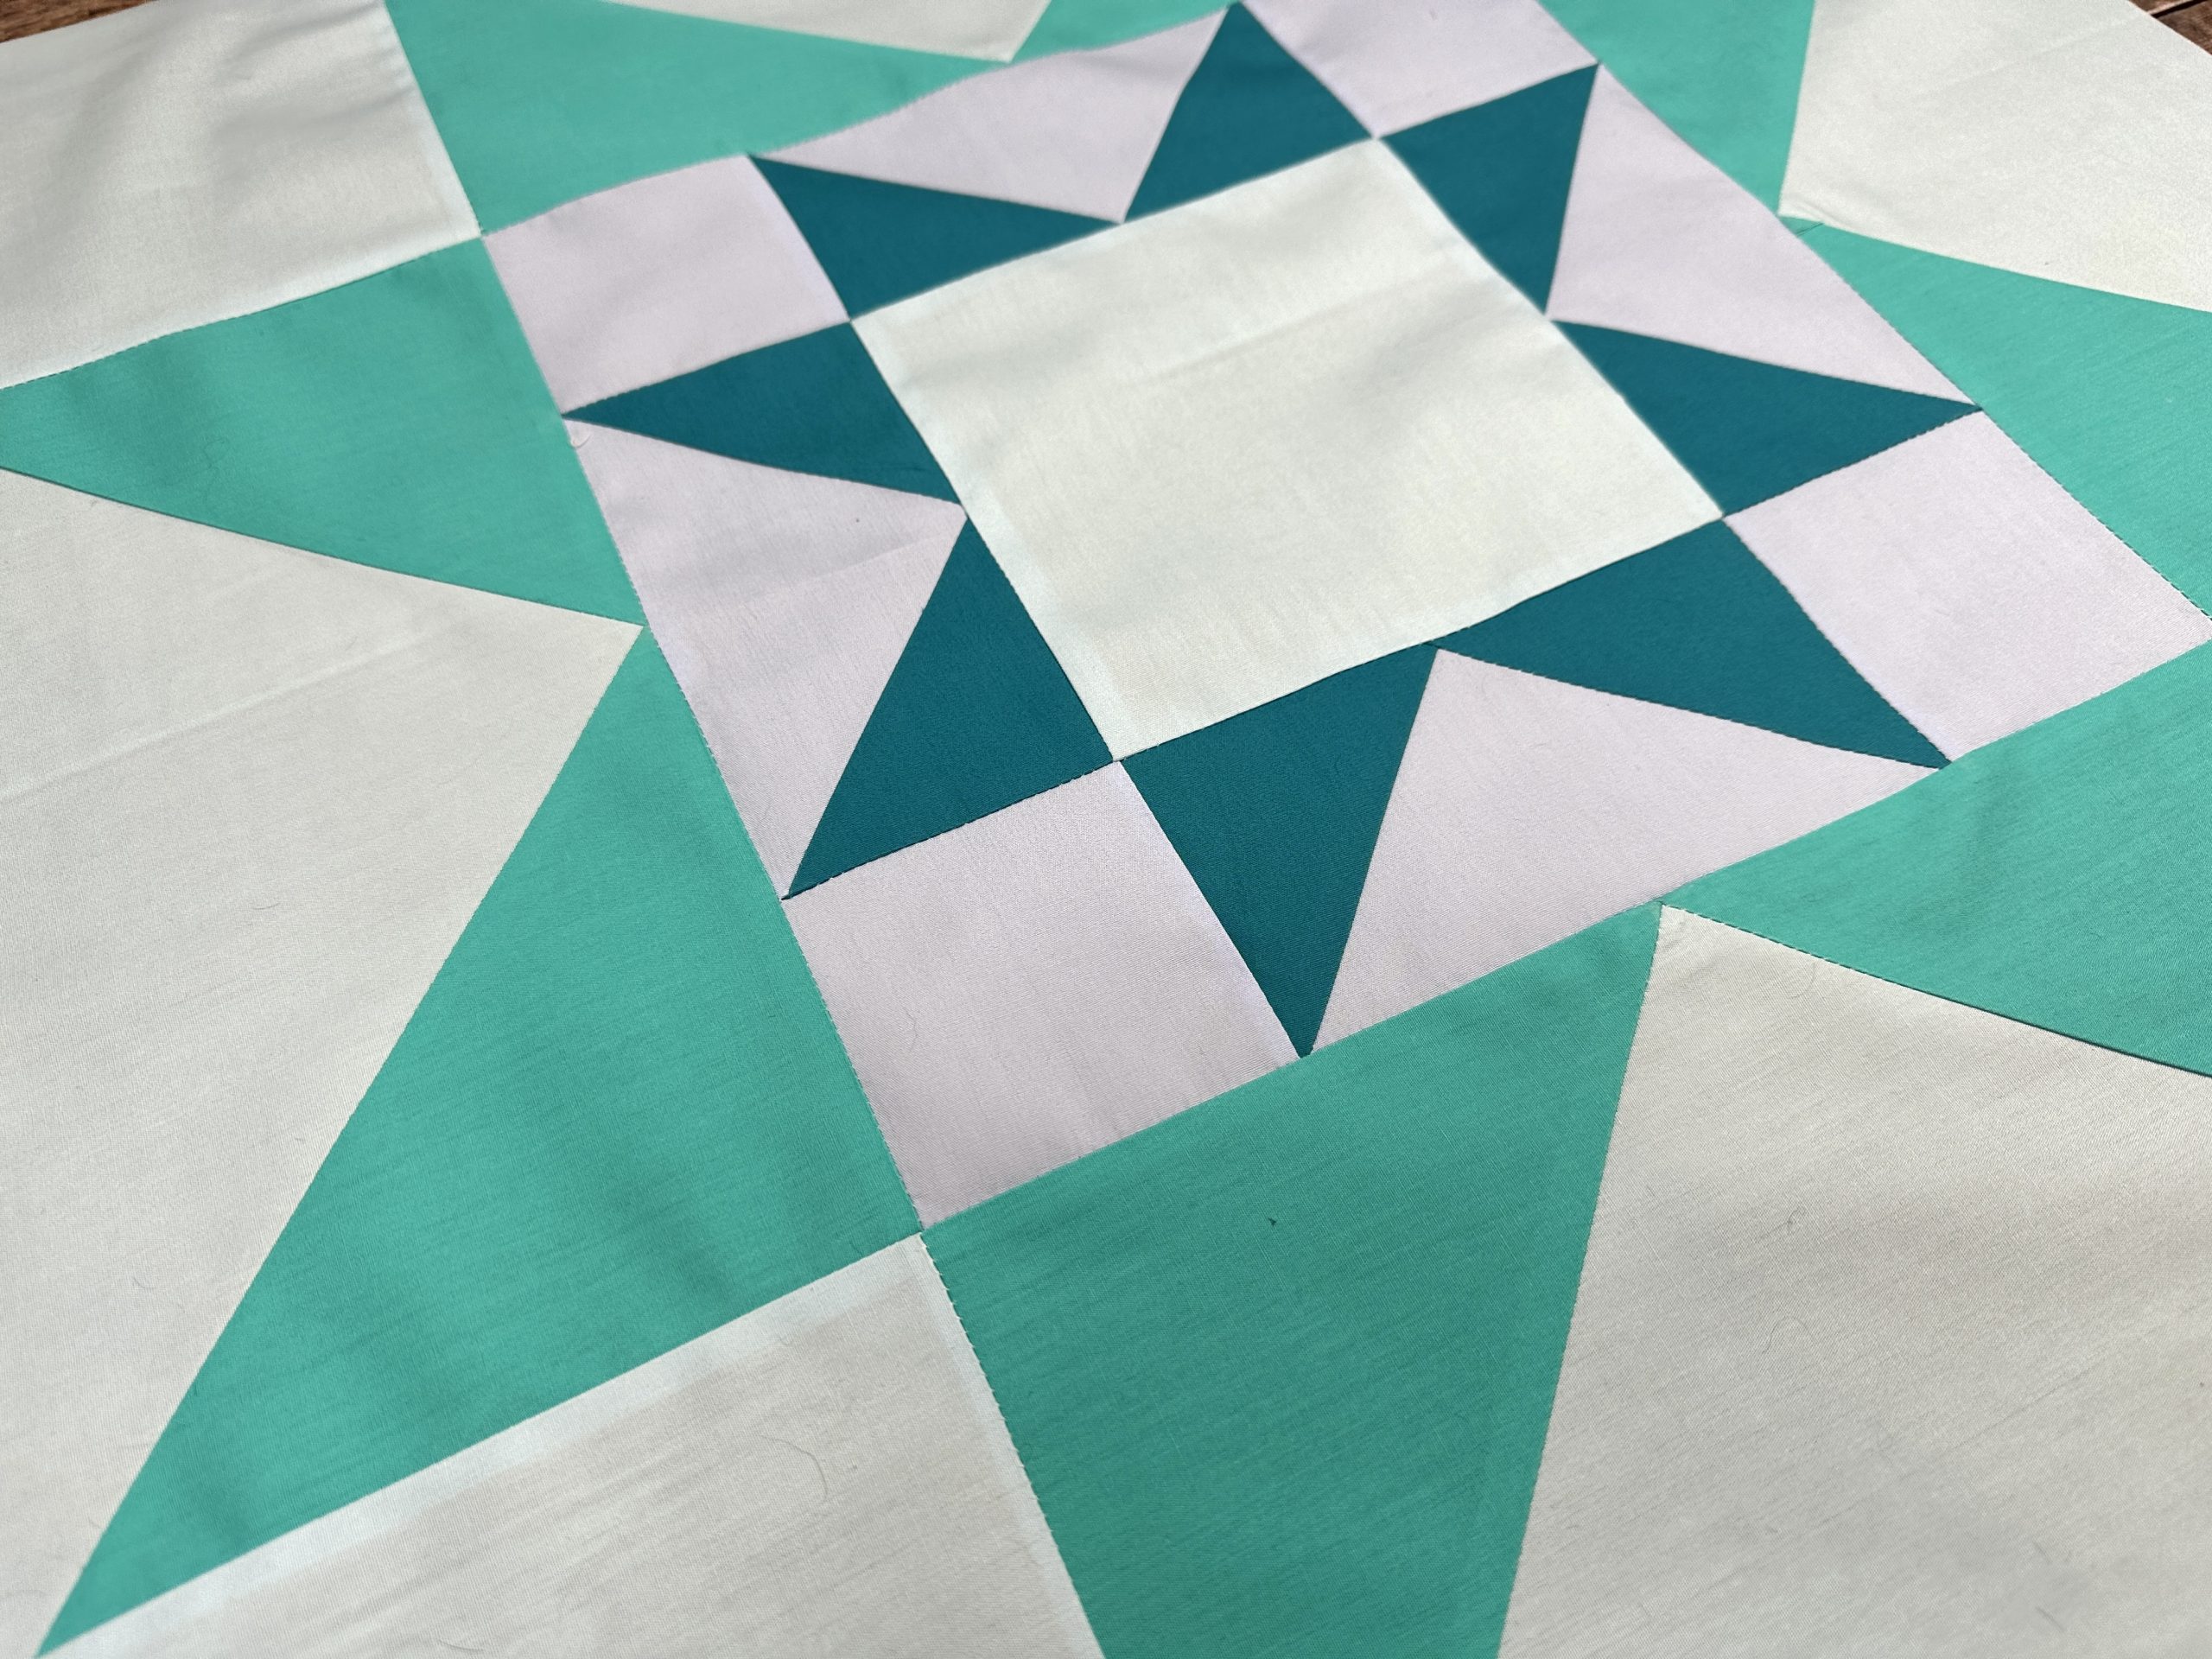
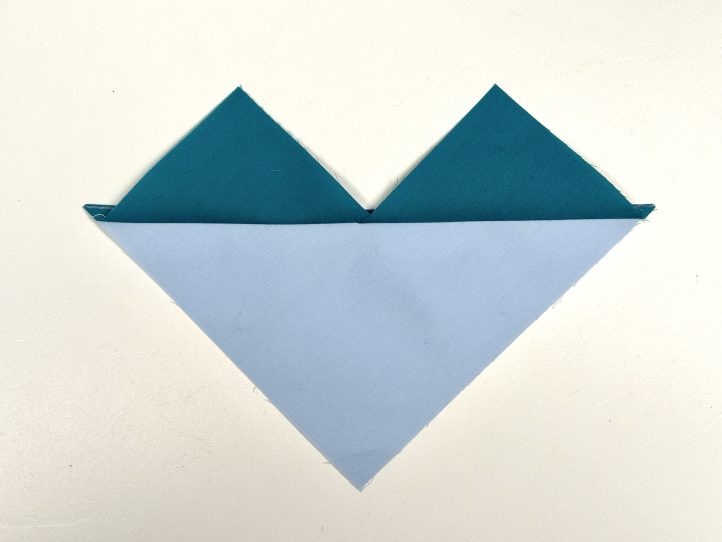
- Begin with the inner square Flying Geese components. Draw a diagonal line from corner to corner on the wrong side of all of the smaller (fabric D) squares.
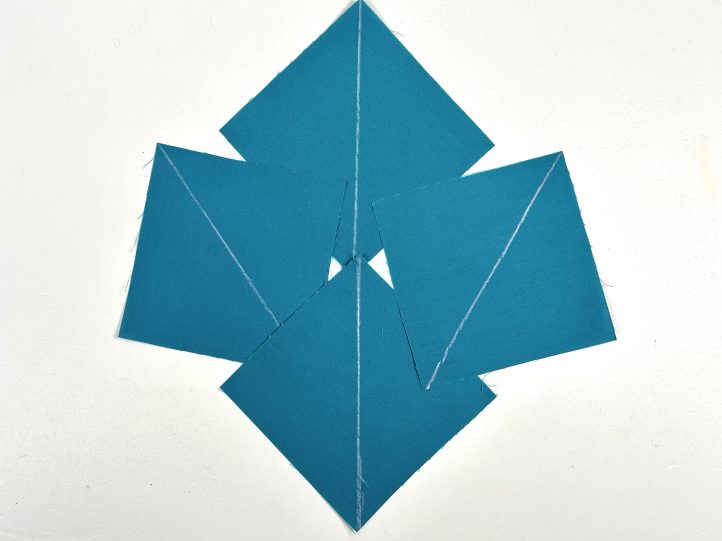
- Place two of these smaller squares right sides together onto the larger inner square unit (fabric C) and pin. The lines should match up and run together as you see in the photo.
- Sew a 1/4” seam each side of the drawn lines. Cut along the lines that you drew to make two pieces and then open these pieces out to make two units, which resemble a sort of heart.
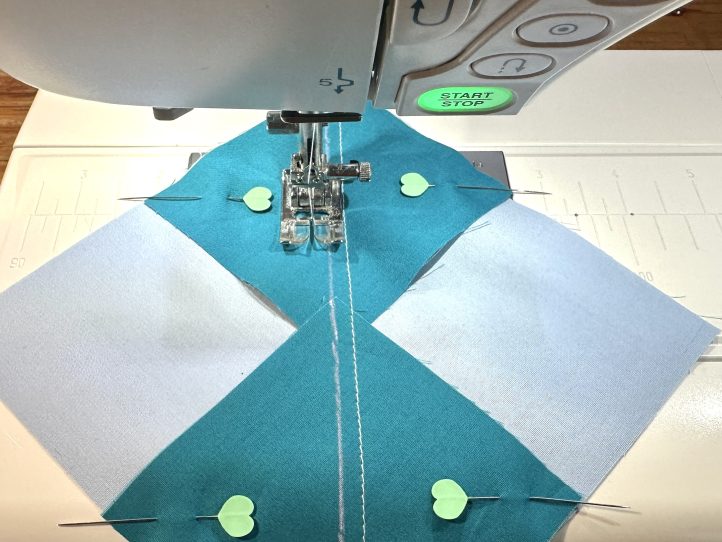
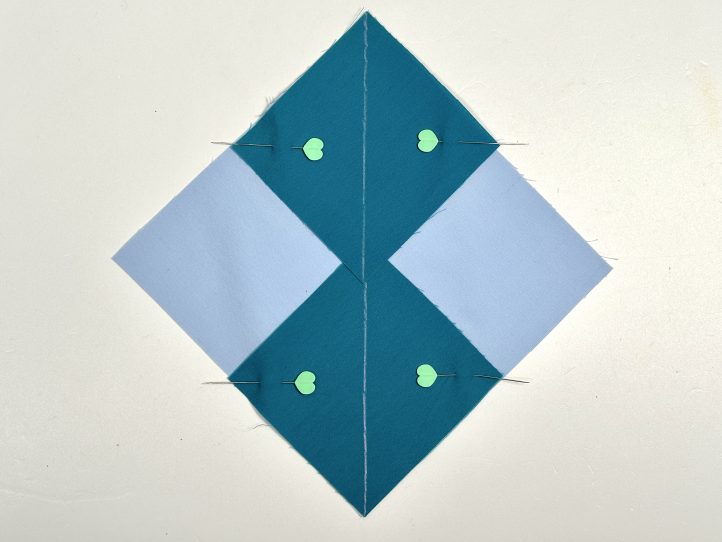
- You have two remaining small squares. Draw the diagonal line on the wrong side of each and pin them onto a ‘heart’.
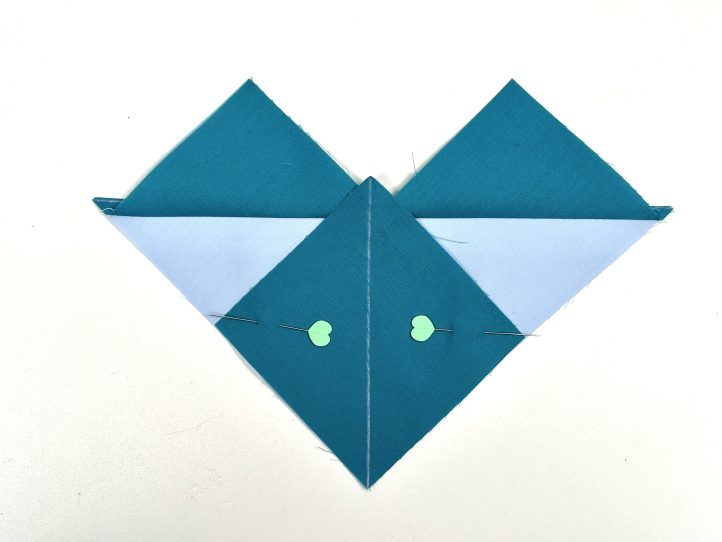
- Sew a 1/4” seam each side of the drawn line once again and cut along the drawn line.
- Repeat for the remaining small square on the other ‘heart’.
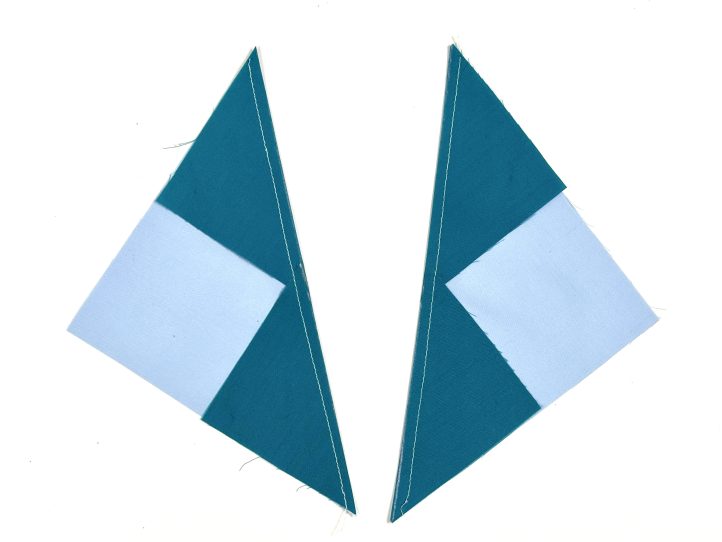
- Open the units out and press well. Trim to 5 3/4” wide x 3” tall. These are the four Flying Geese units for the inner square.
- TIP: This is a really handy method to know, especially if you are planning to make this block in multiples for a quilt.
- Attach a Flying Geese unit to the top and bottom of the center square and press.
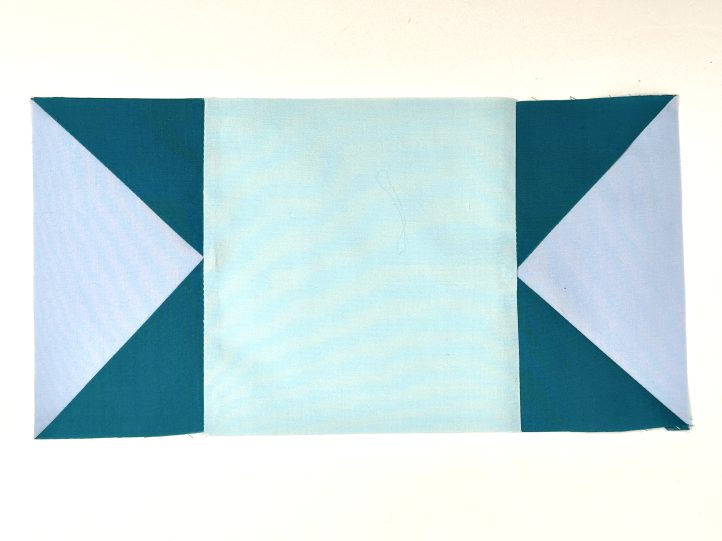
- On the remaining two sides, attach a cornerstone (fabric C) to either end of the Flying Geese.
- Attach one of these strips to either side of the center square to surround it. Press.
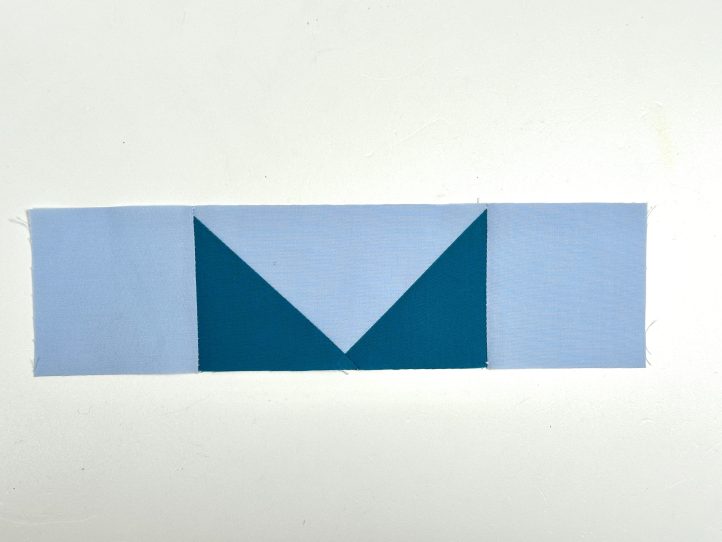
- Repeat the method to make the Flying Geese units for the outer edge, trim each to 10 1/2” x 5 3/4” and attach one to the top and bottom of the center square as before.
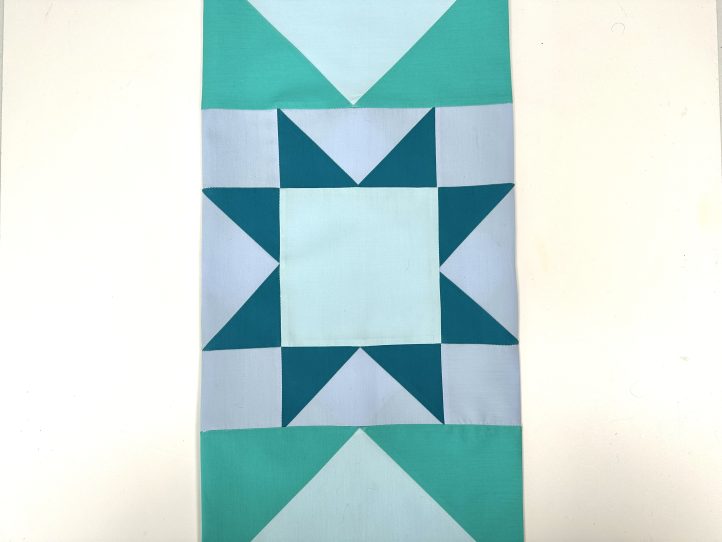
- Attach the cornerstones to the remaining two trimmed Flying Geese units before adding them to the left and right hand sides to complete the block.

- Press well and trim the block.