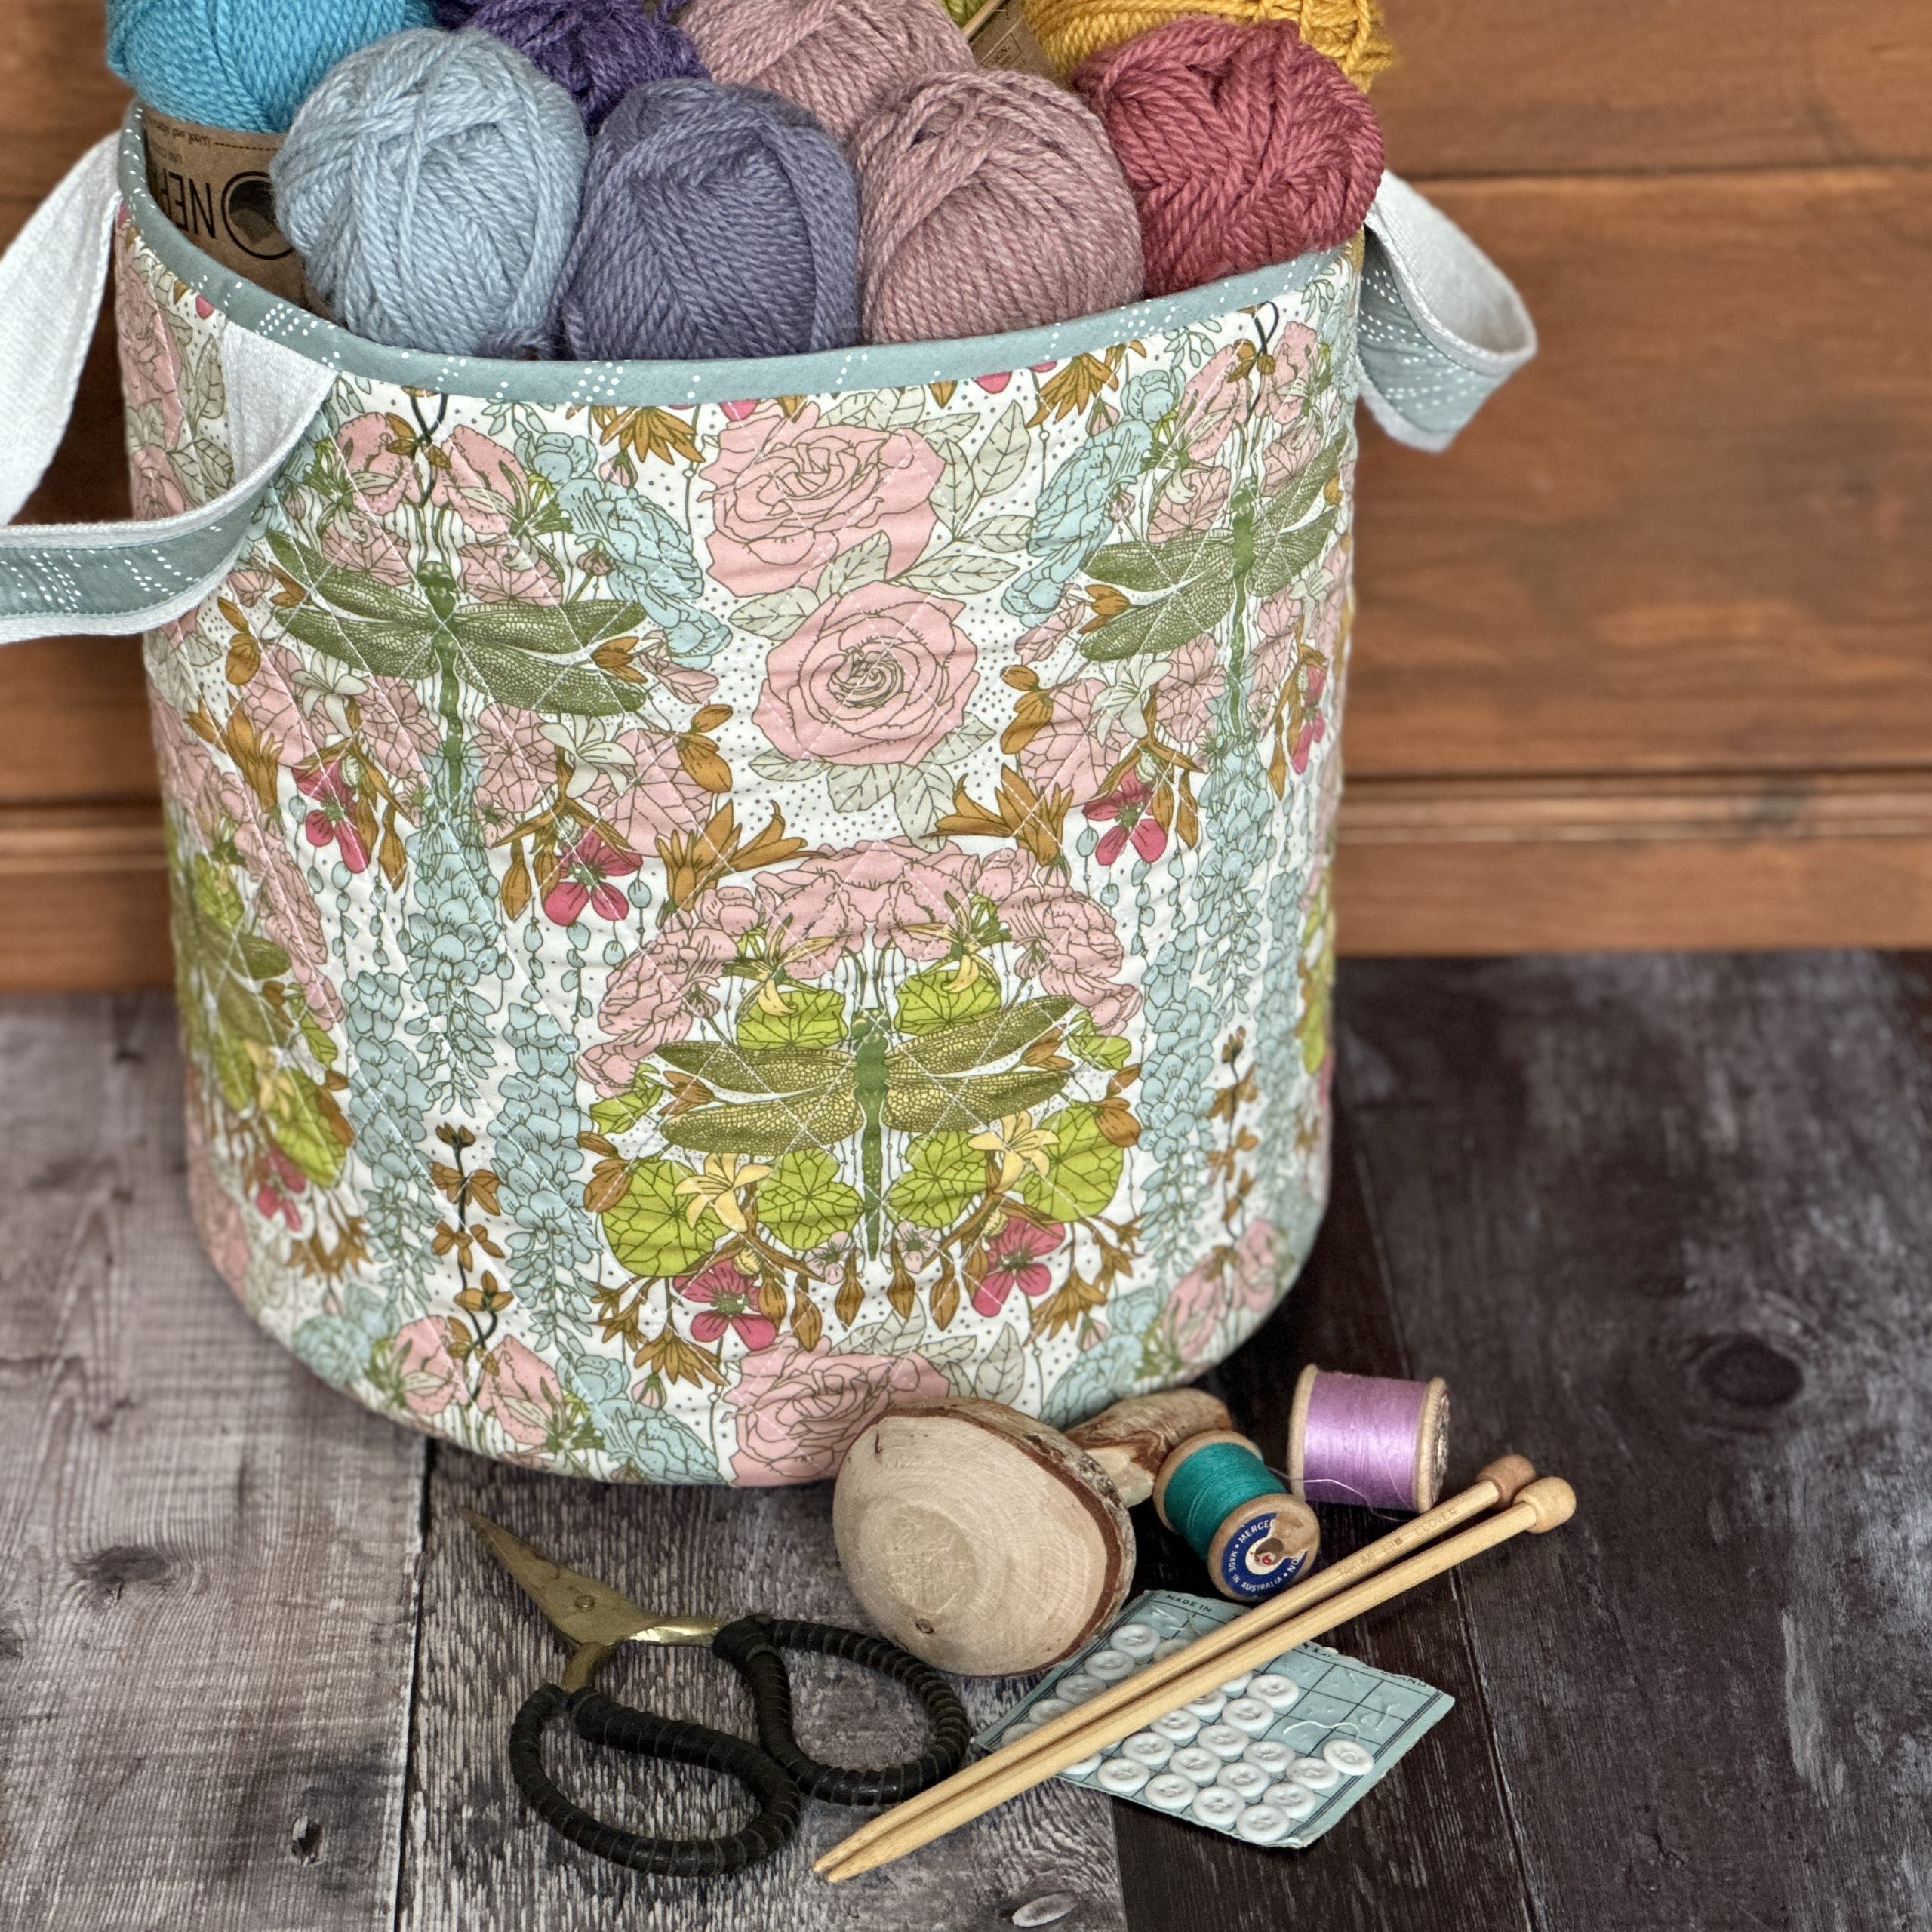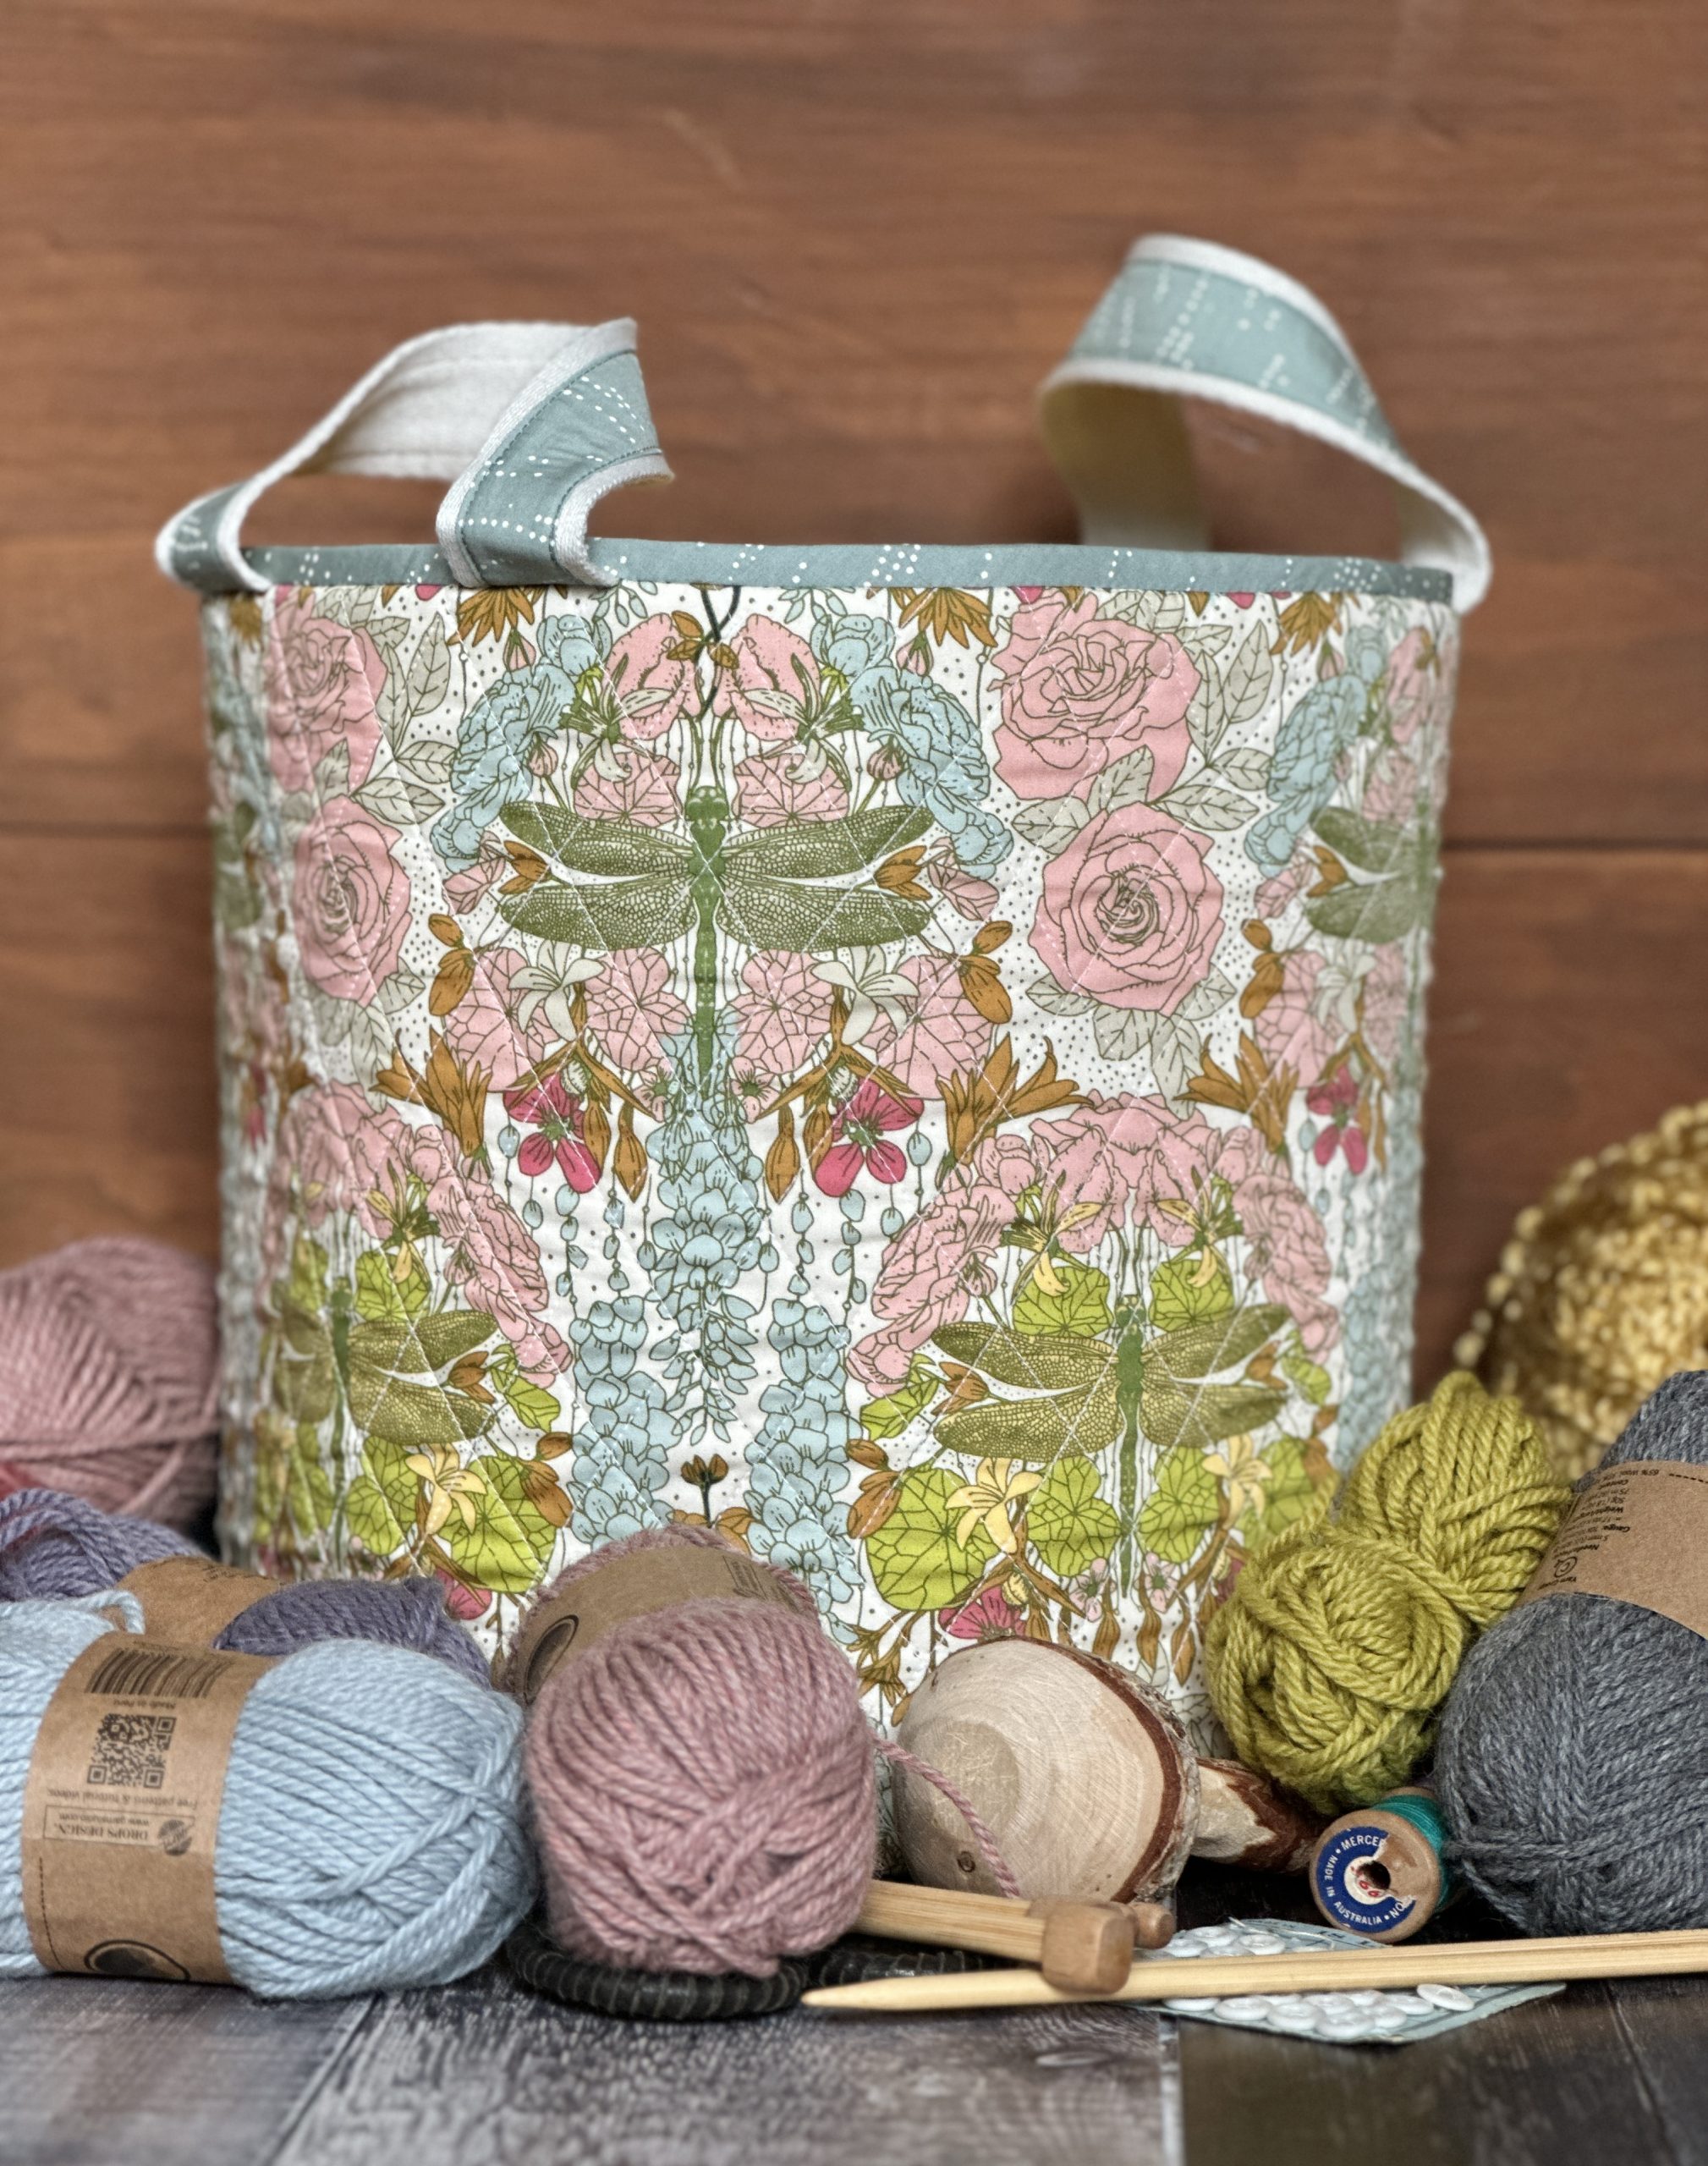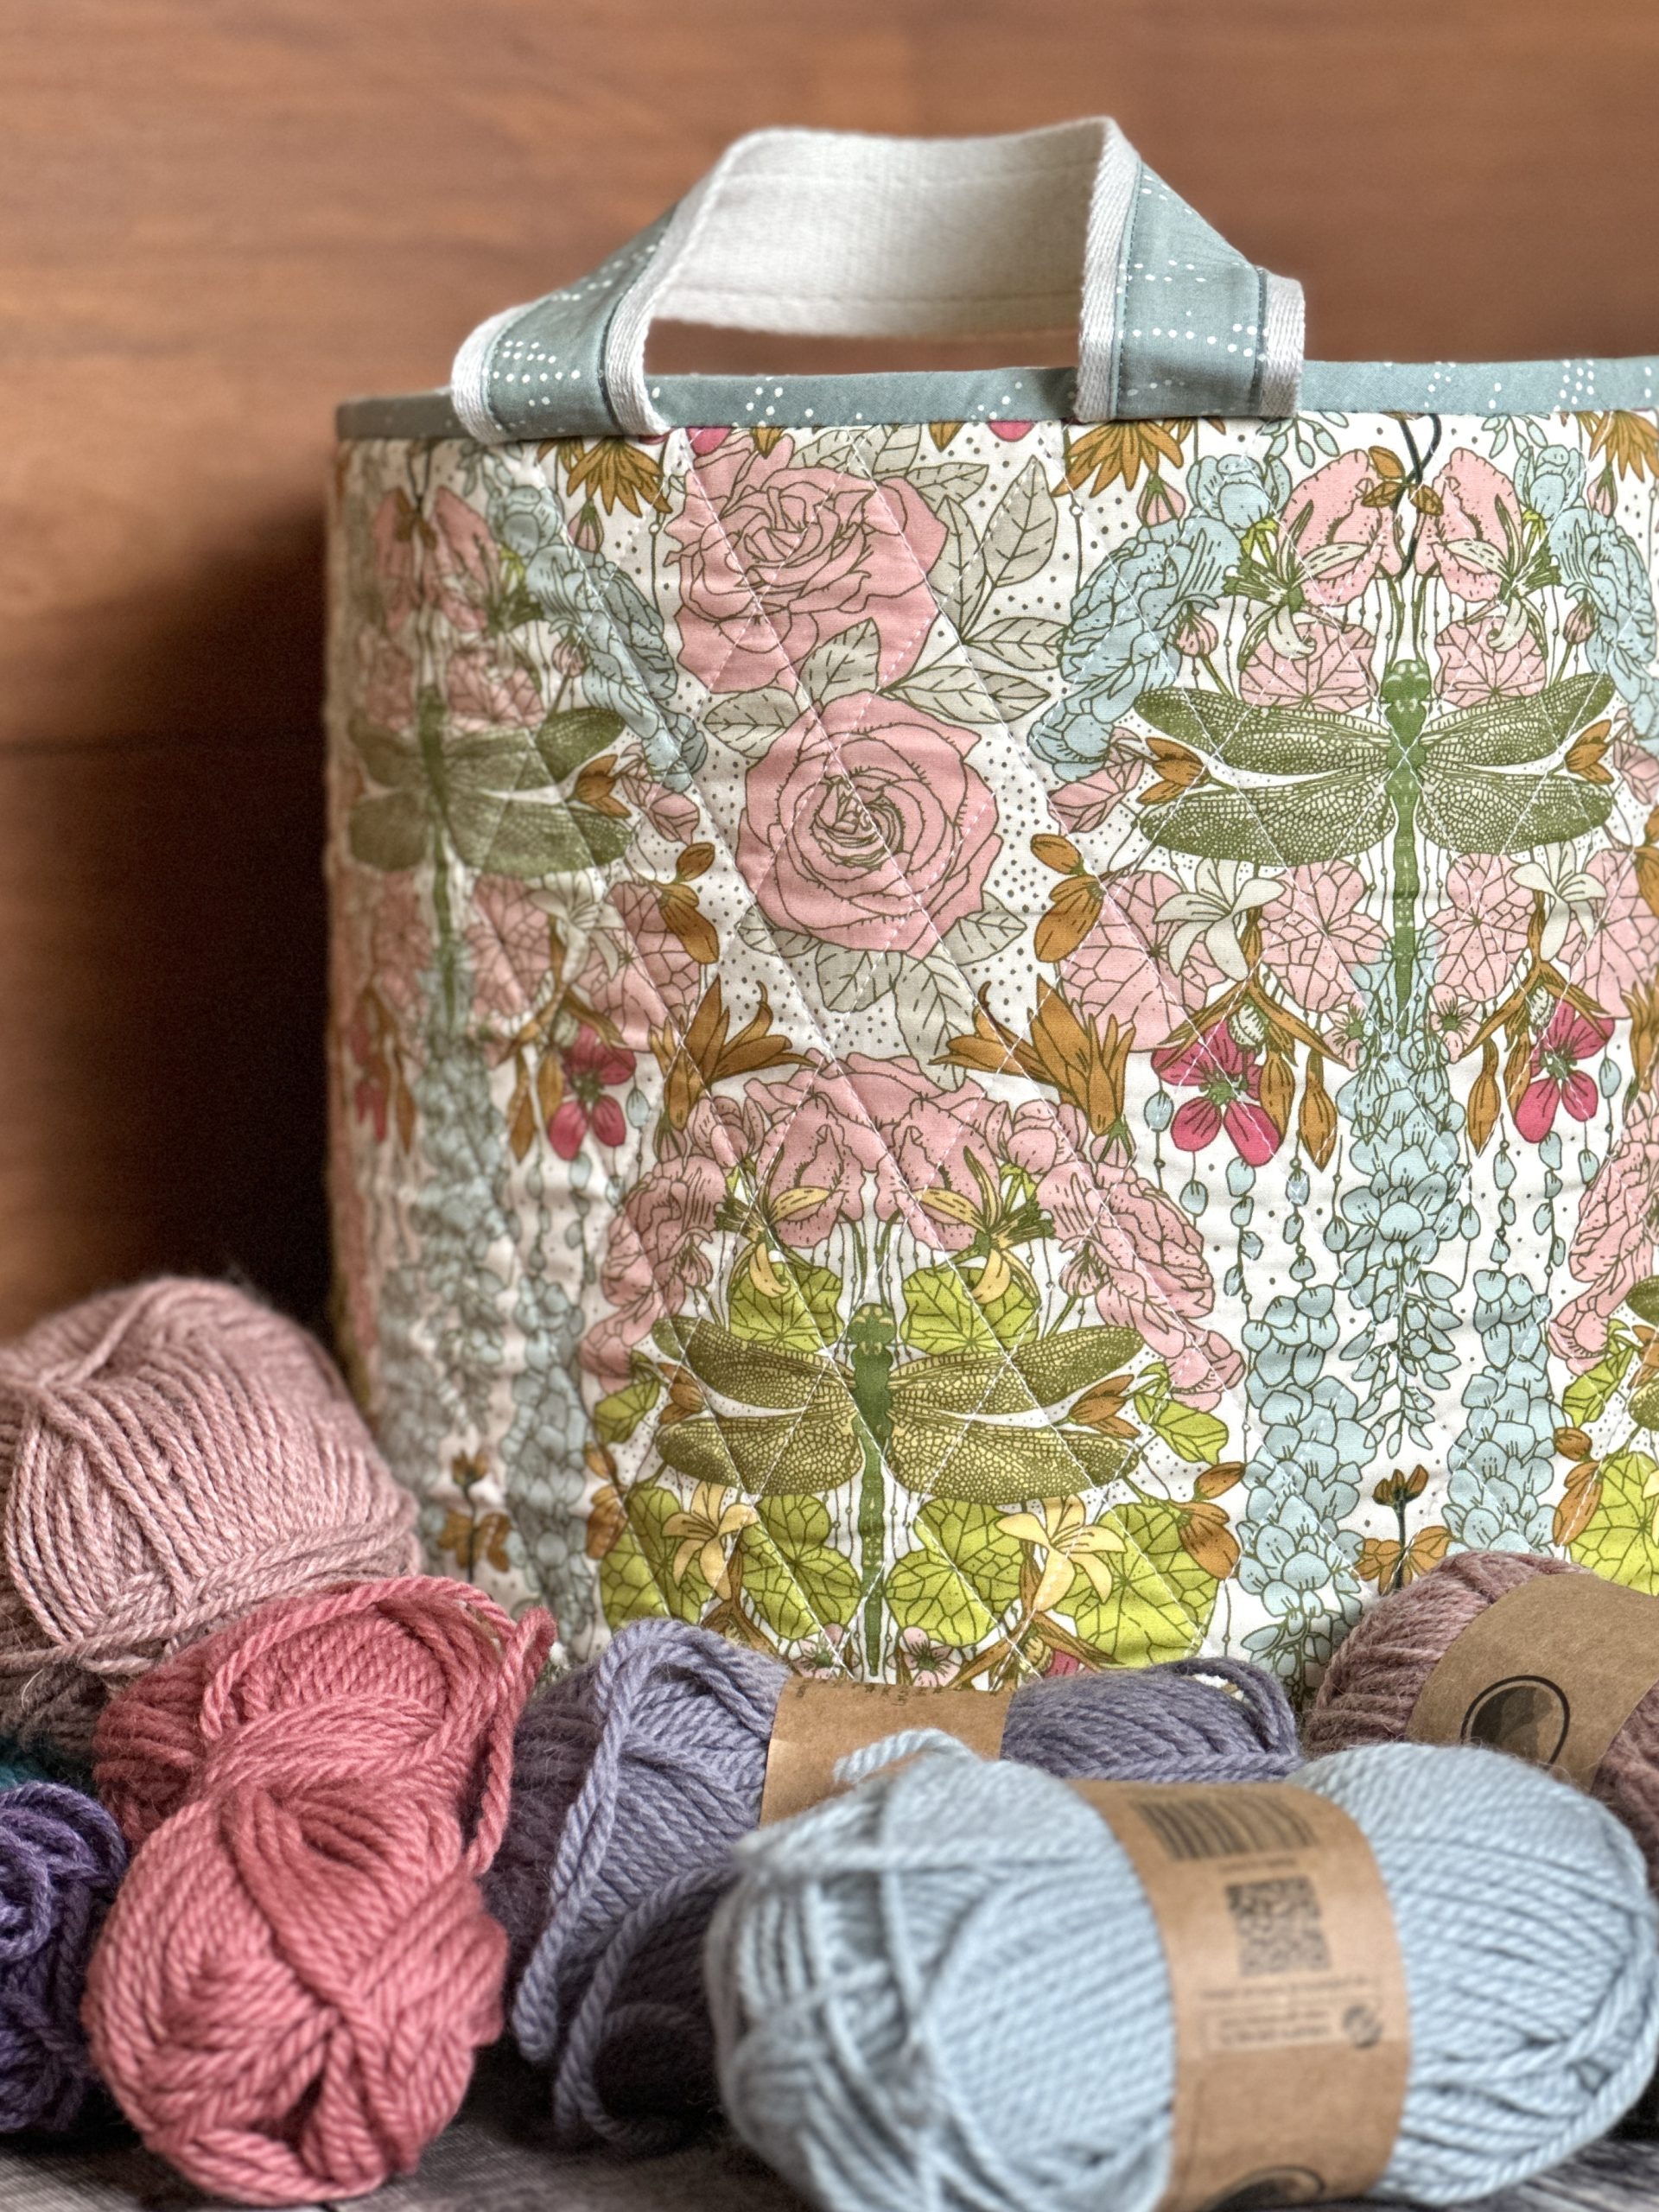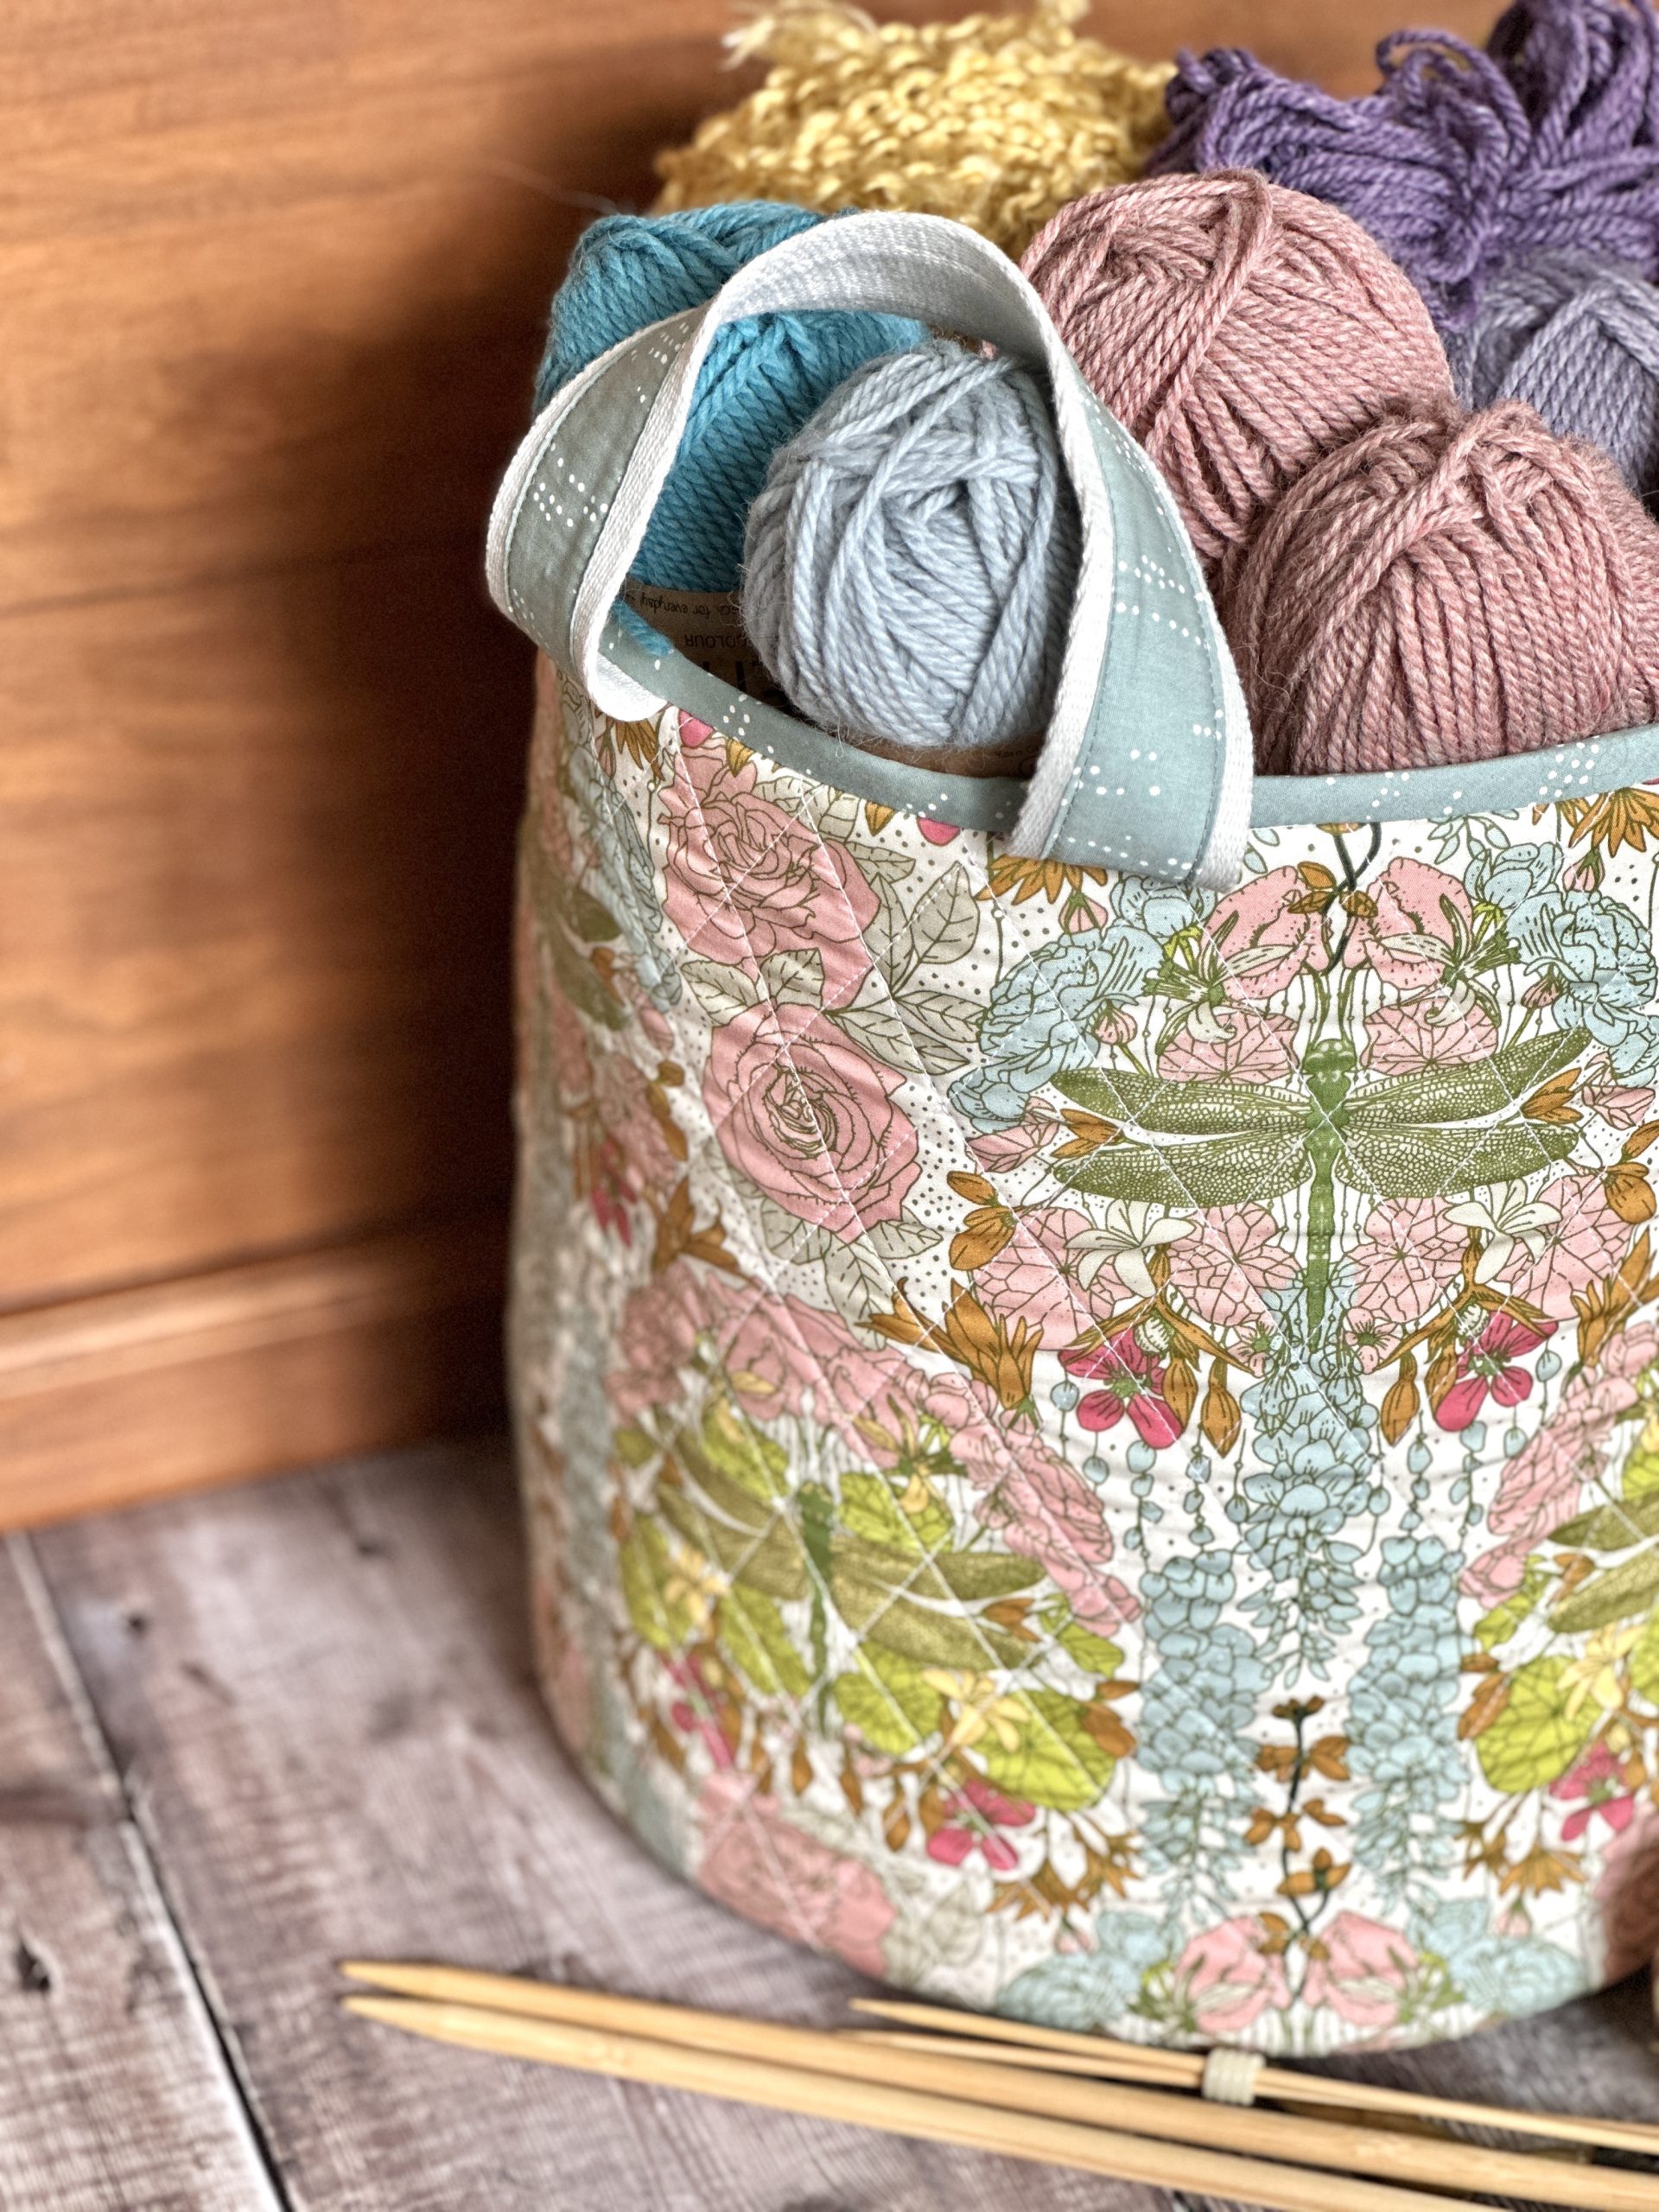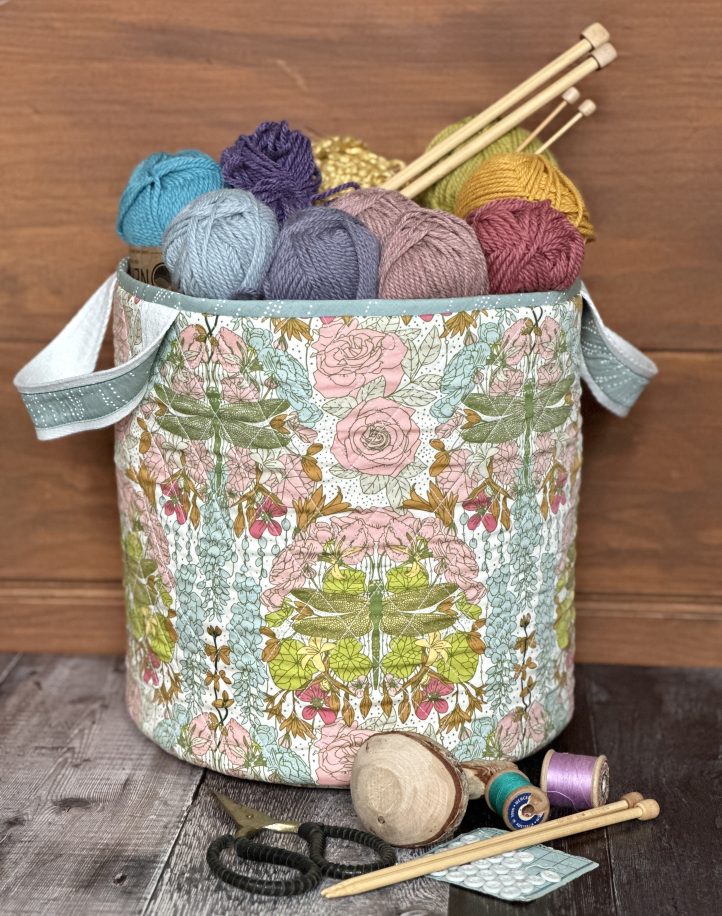
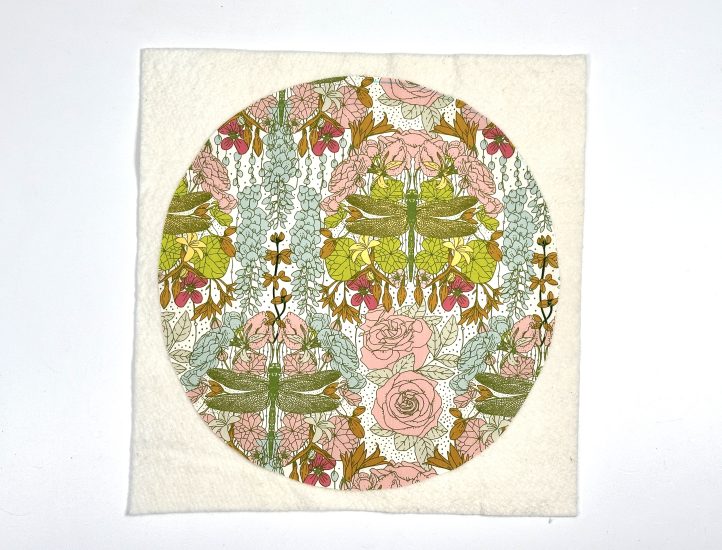
If you’ve been putting off organizing your house, get motivated by sewing yourself a stylish storage drum! Designed by Debbie von Grabler-Crozier, this quilted storage bin pattern is made in a gorgeous floral print and features sturdy handles for easy handling. Add this storage drum pattern to your craft studio to organize your fabrics or yarn or make this design with kid-friendly prints for a small laundry hamper.
Designer Note: Seam allowances are all 1/4” and have already been added.
Materials:
- Fabric (Note: All fabrics are by Art Gallery Fabrics.)
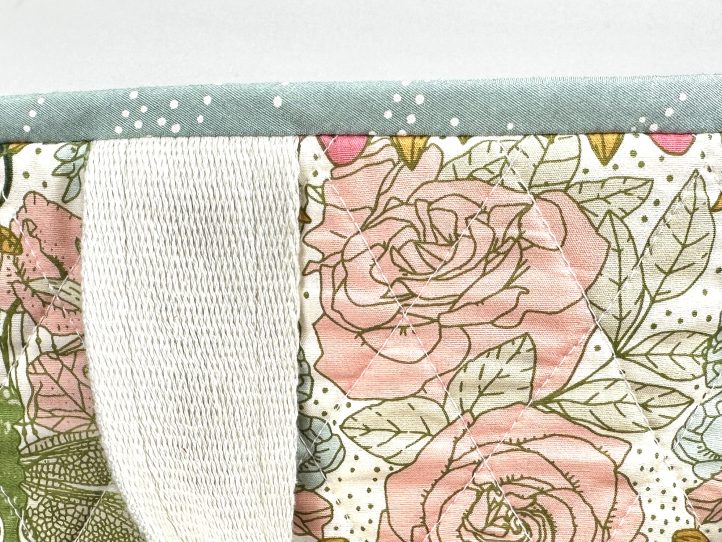
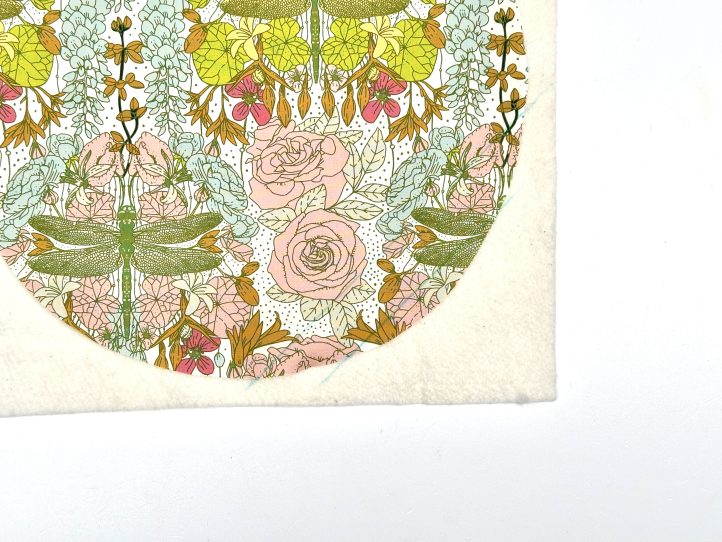
- 3/4 yd. spring fabric for the exterior. Debbie loves Libellule Ascension from the Spring Equinox collection by Katie O’Shea for AGF.
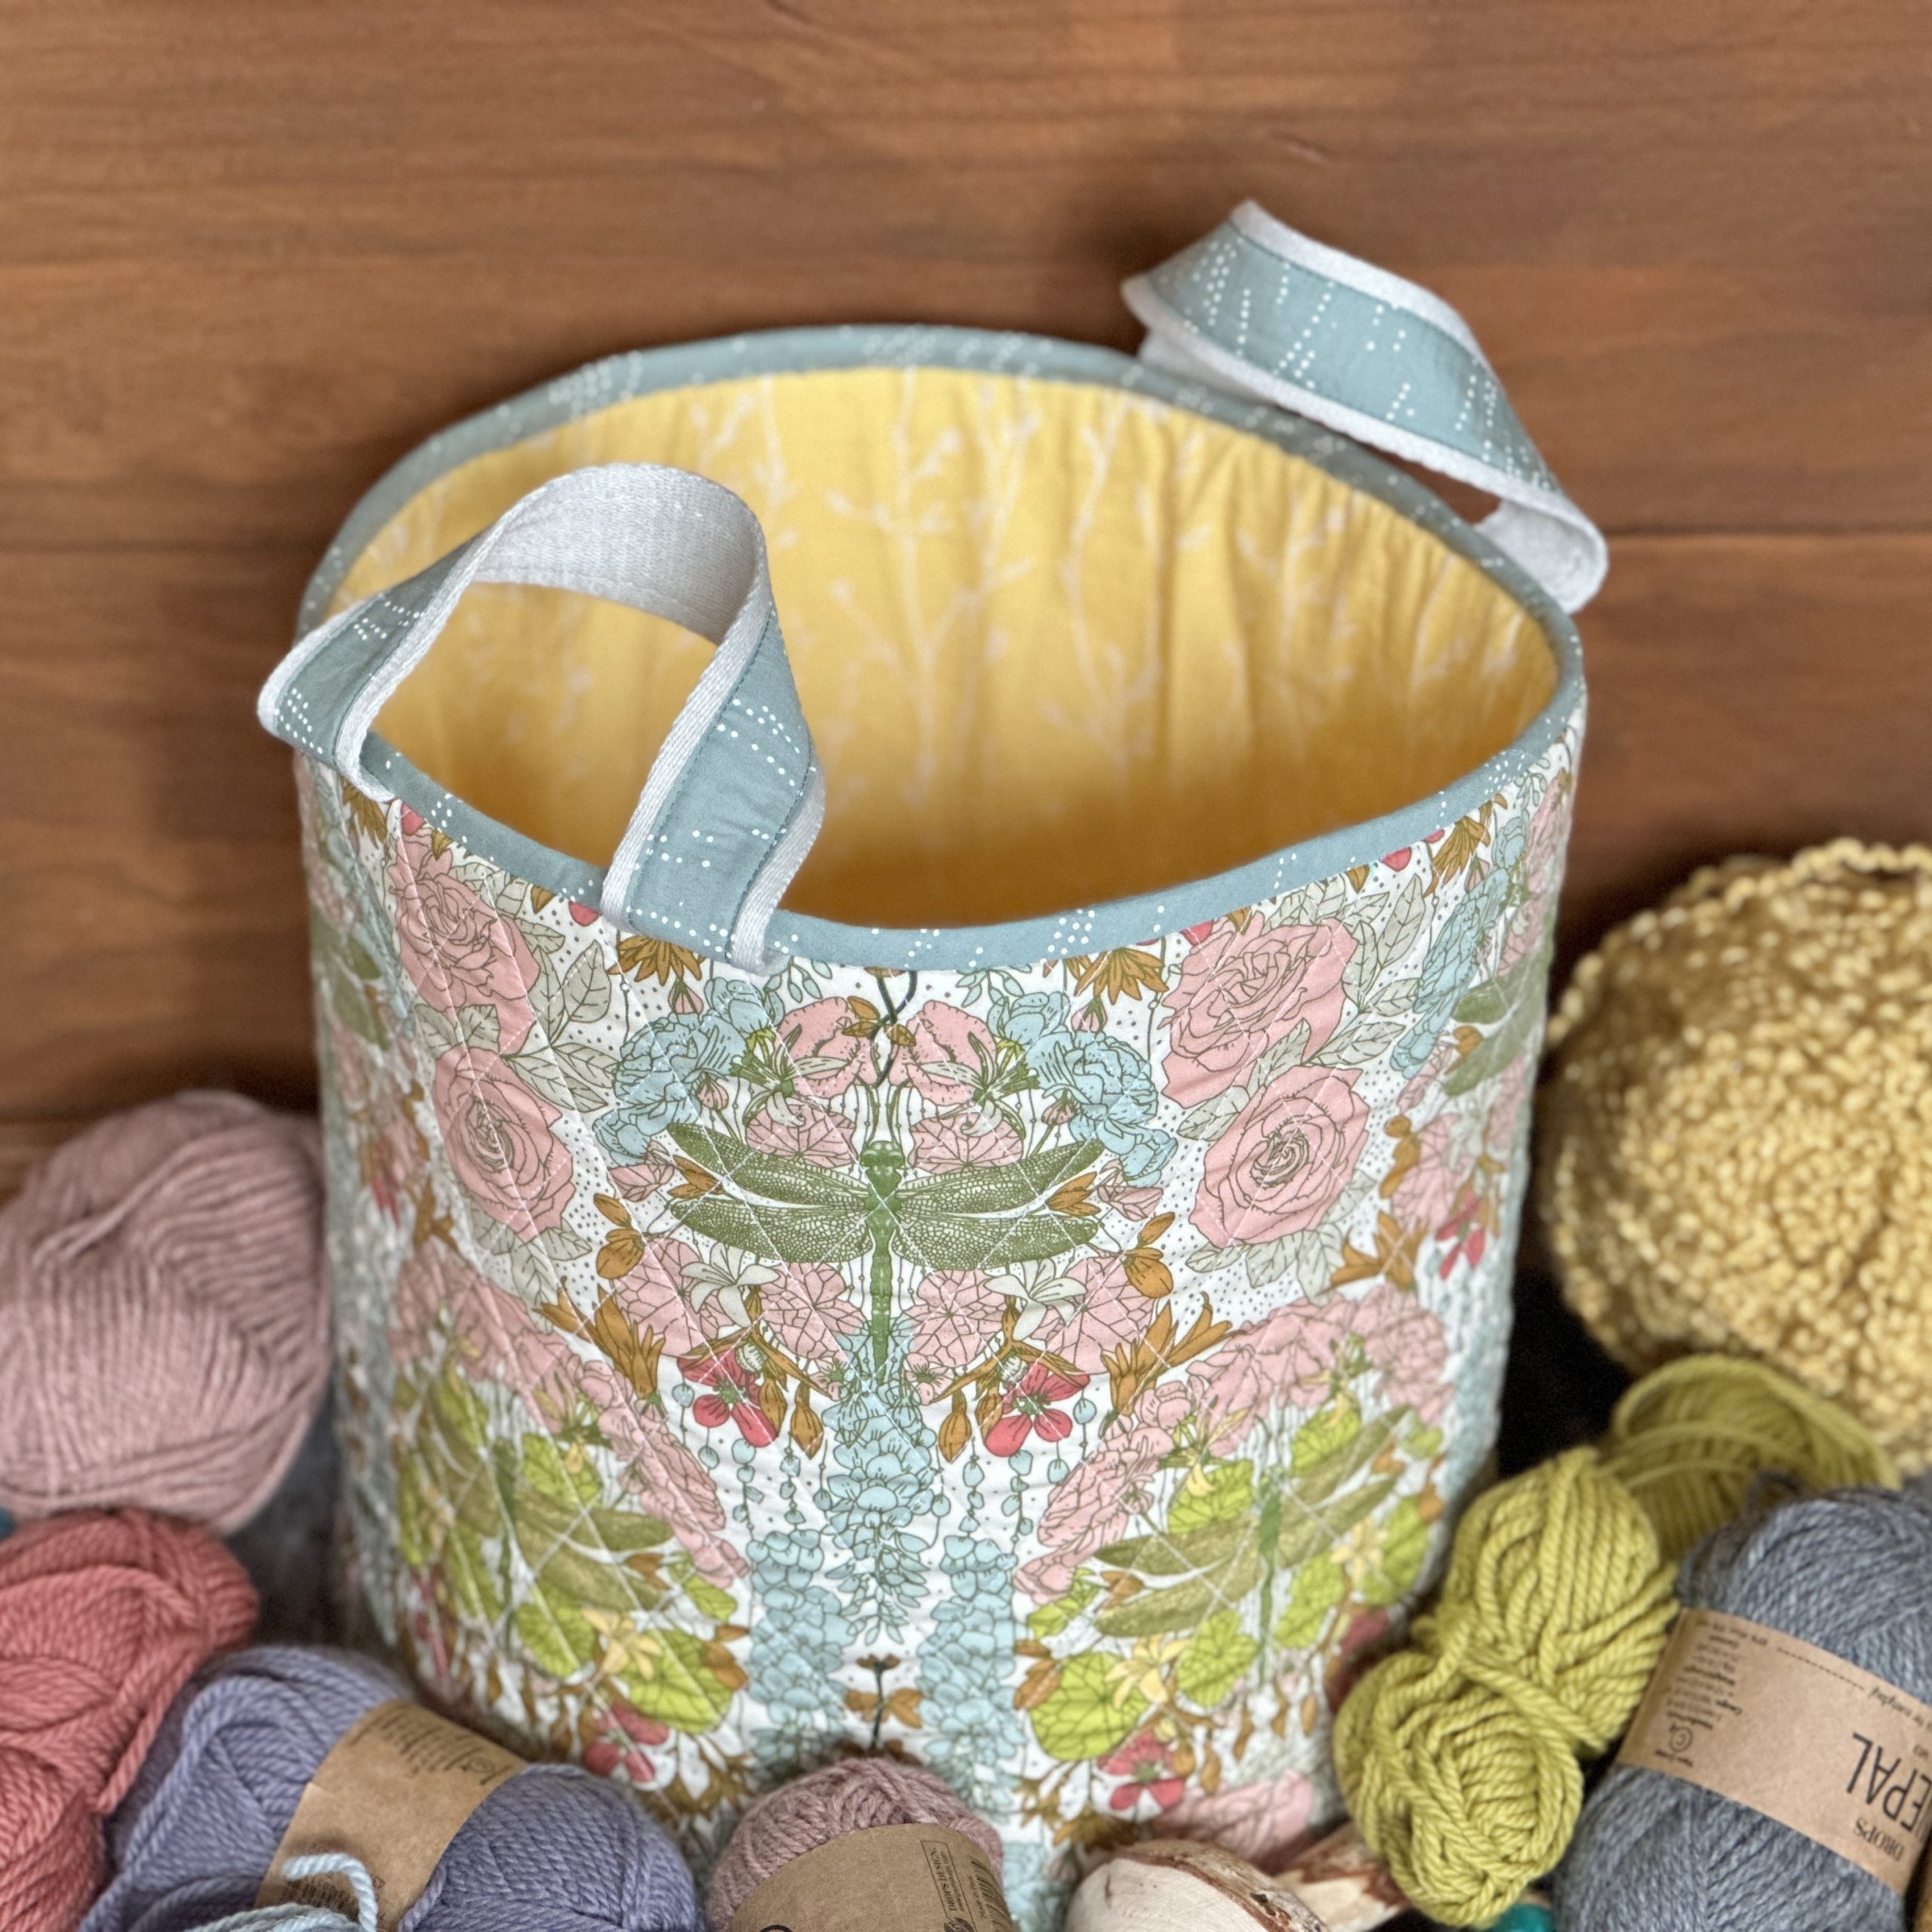
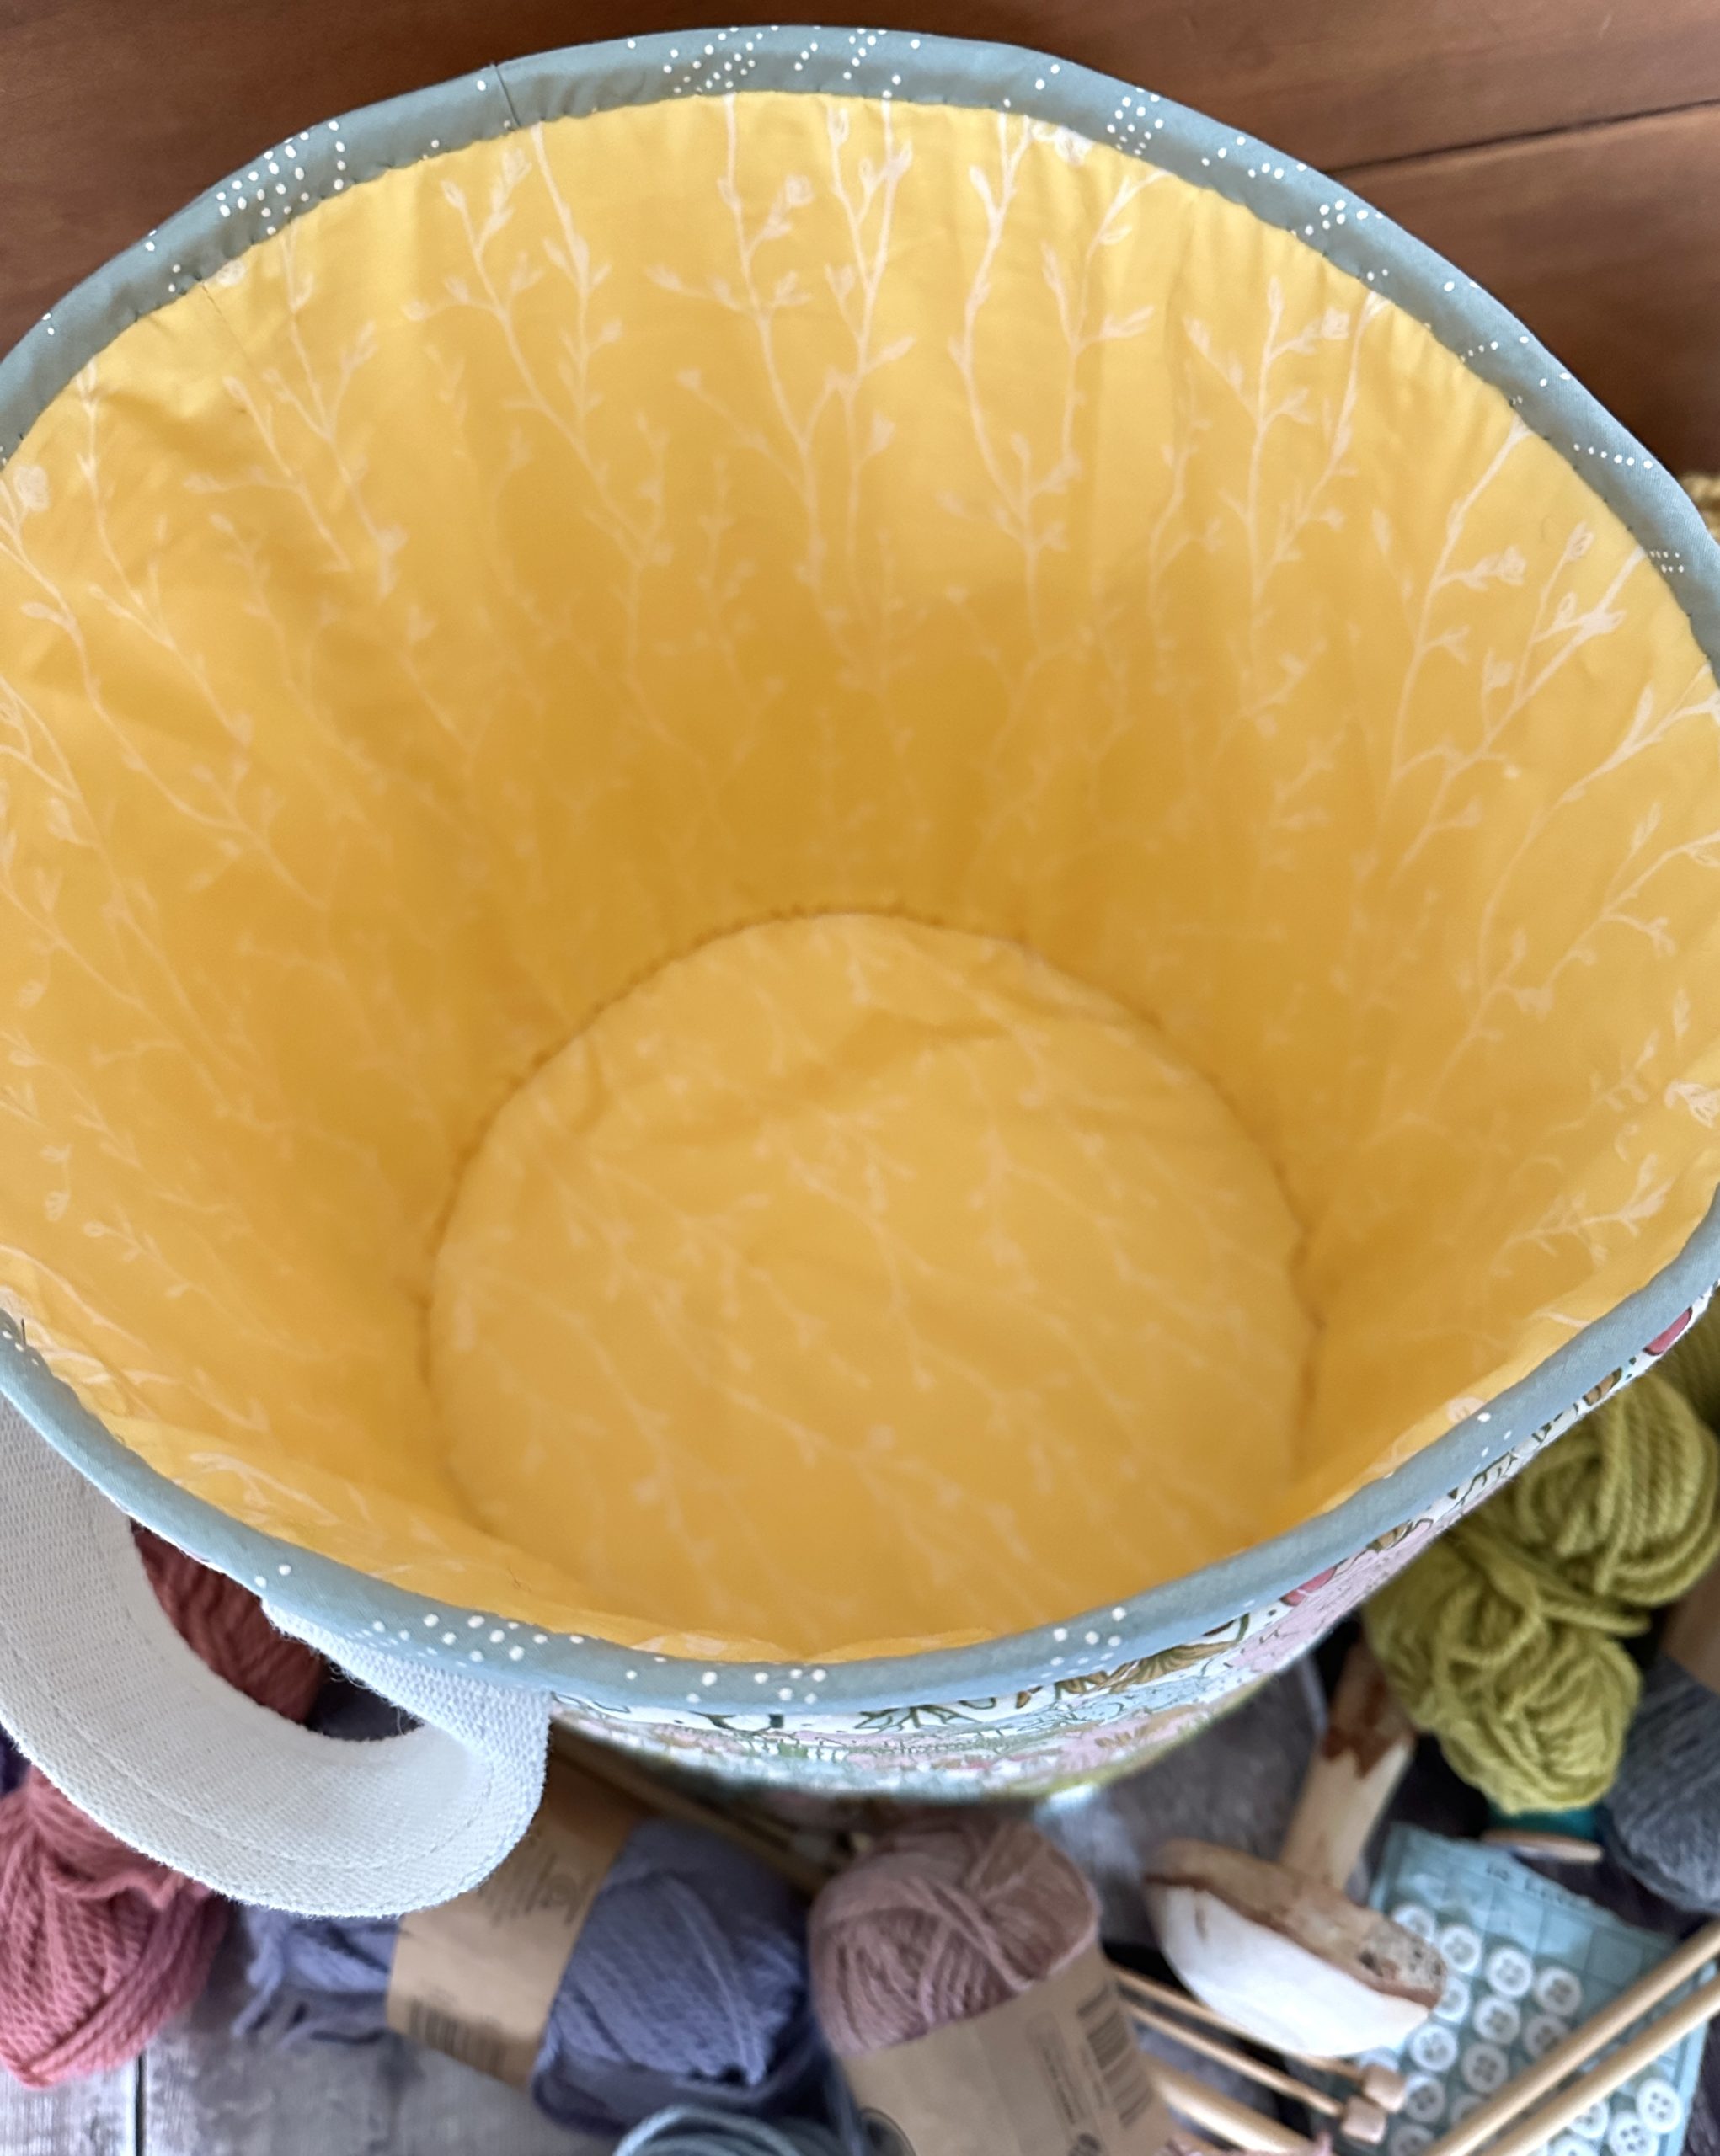
- 3/4 yd. coordinating lining fabric. The designer’s choice is Growing Buds Sunshine from the Spring Equinox collection by Katie O’Shea for AGF.
- 1/2 yd. coordinating fabric for the binding. Debbie’s choice is April Showers from the Spring Equinox collection by Katie O’Shea for AGF.
- Interfacing:
- 41” Style-vil foam interfacing (Vlieseline)
- 1/2 yd. #279 80/20 cotton mix batting (Vlieseline)
- 24” of 1 1/2” wide cotton webbing, cut in half to make two handles
- Coordinating threads for all fabrics and trims
- Double sided tape
- Scissors
- Fabric marking tools
- Extra feet for your sewing machine (walking [dual feed] foot, for example)
- PDF Pattern – This is located at the bottom of this page. See printing instructions below.
PRINTING INSTRUCTIONS:
To download the PDF pattern, click on the download button at the bottom of the page. We recommend opening your download using Adobe Acrobat.
Cutting Instructions:
From the exterior fabric:
- 1 piece 36” wide x 12” tall for the exterior panel
- 1 piece for the round base using PDF template
From the lining fabric:
- 1 piece 34 1/2” wide x 12” tall for the lining
- 1 round piece for the lining using PDF template
From the binding fabric:
- 2 pieces cut 1 1/2” wide x 12” long for the handle trims
- Bias tape cut on the bias 1 1/2” wide x amount and joined if needed to make a continuous strip 37” long
From the thin wadding (#279) interfacing:
- 1 piece 38” wide x 14” tall for the side panel
- 1 piece 14” sq. for the base panel
TIP: There are no cutting notes for the Style-Vil foam interfacing. Instructions will be given as we go along but the basic idea is to press the piece to be interfaced and then pin it to a slightly larger piece of foam interfacing. Use a machine basting stitch to attach the panel to the foam, gently keeping a taut tension on it. Then trim the excess foam away.
Sewing Instructions:
MAKING:
Make the Bias Tape:
- Fold the bias tape in half lengthways with the wrong sides facing and press to obtain a long center crease. Open out and fold the two long raw edges, wrong sides together, to the center crease and press again.
- Re-fold so that all of the raw edges are enclosed in the creases and roll until needed.
Quilt the Panels:
- Center the base disk exterior panel onto the batting square with the right side of the disk facing up and pin if needed.
- Do the same with the exterior side panel and its wadding.
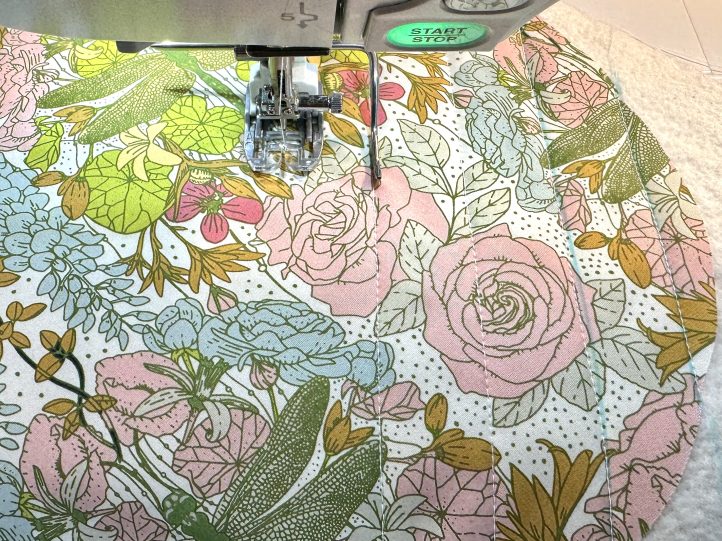
- Swap your machine foot to the walking (dual feed) foot. Draw two lines 1” apart on a 45° (degree) angle on the exterior disk. Quilt the first line.
- TIP: Do be aware that there are bias edges all around on the circle. Go slowly and do not pull or distort it as you work.
- Position your presser foot on the second line and the spacer bar, which comes with your walking foot on the first line.

- TIP: This ensures that you do not need to measure and mark any more lines in this direction. Simply keep quilting the diagonal lines, ensuring that the spacer bar hits the one that you have just sewn as you plan the next.
- When you have quilted one way, repeat the procedure to go the other way, ensuring perfect Chanel-style quilting (in a diamond grid).
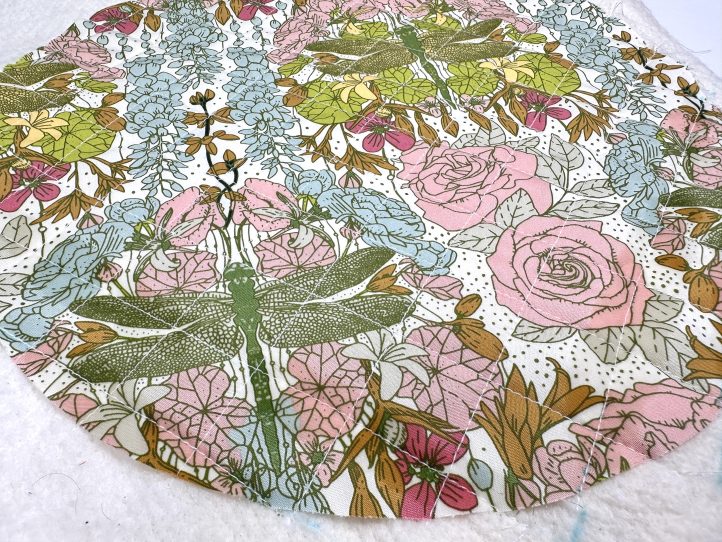
- Repeat on the side exterior panel.
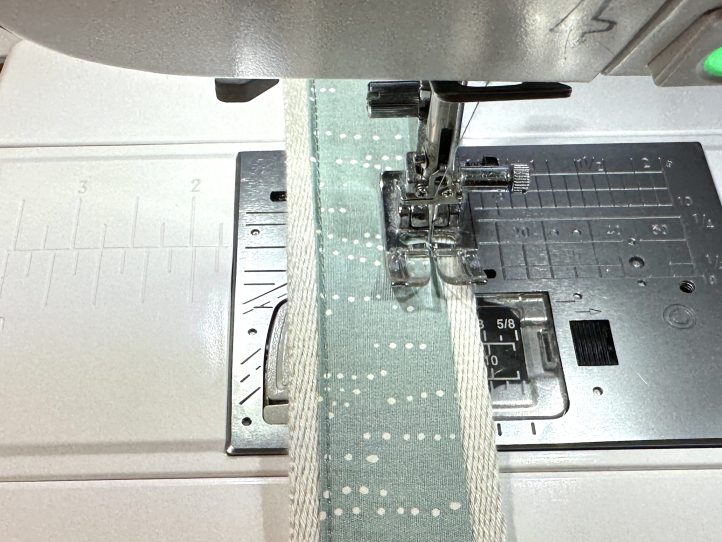
Trim the Handles:
- Turn the long raw edges of the handle trim strips to the wrong side by 1/4” and press.

- Place a piece of double sided tape down the center of the webbing and remove the release paper. Position the trim onto the webbing/tape, taking extra care to ensure that it is in the center. Press down well and repeat for the other handle.
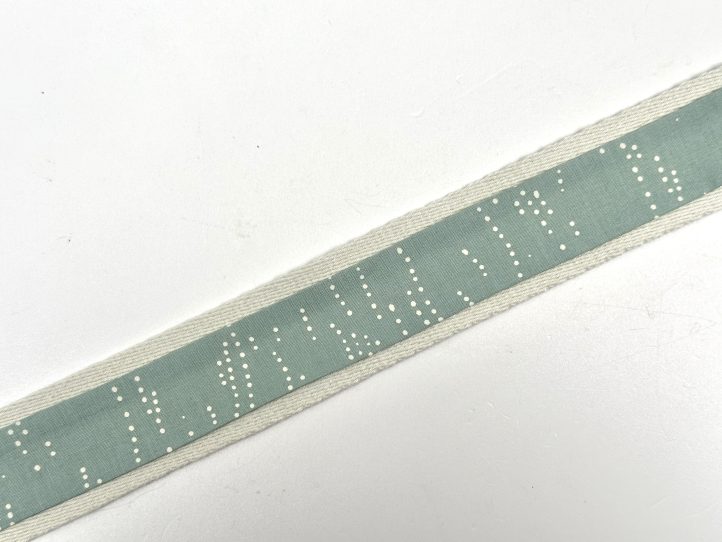
- Topstitch the handle trims into place about 1/8” in from the outer edge.
Construct the Base:
- Trim the batting back to the fabric edge of the base disk and place the quilted base disk right side up onto a slightly larger piece of foam interfacing. Attach with a narrow (1/8”) basting stitch ensuring that there is no puckering.
- TIP: Pin well before you start, stretching the circle very gently (careful for the bias, which is all around) and pinning. It should fit on beautifully flat.
- Trim the foam back to the fabric edge.
- Pin or clip the base lining disk wrong sides together to the interfaced disk exterior and attach around the outer edge.

Construct the Side:
- Trim the batting back to the fabric edge and attach the side panel to a slightly larger piece of foam interfacing as you did before. Trim the foam back to the fabric edge.
Attach the Handles:
- Find the front center of your exterior side panel and mark it. Measure out 7” on one side of the center mark and make another mark and then 3” on from that and make another. Attach a handle with the right sides facing. Repeat for the other handle on the other side of the center mark.
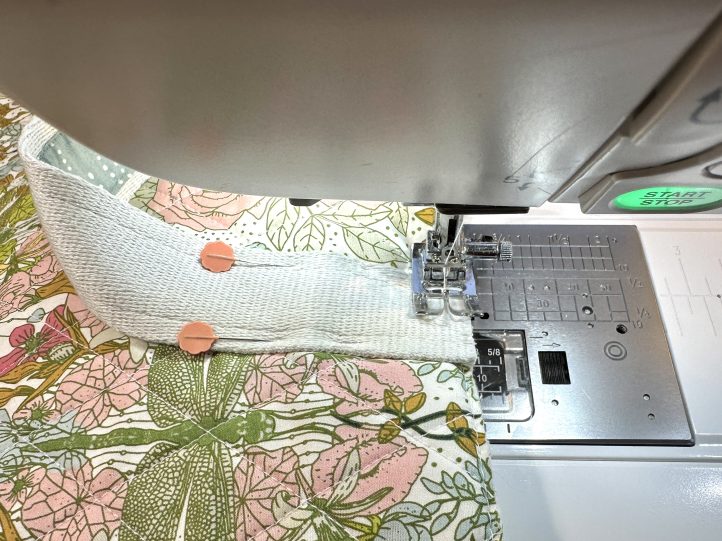
- TIP: When the rear seam is made in the next step, your handles will be on the sides.
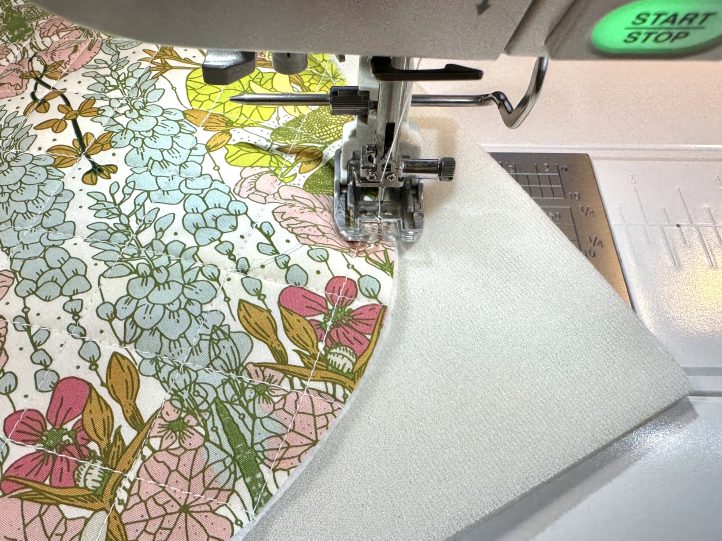
- With the right sides together, sew the rear seam of both the exterior and the lining.
Attach the Base:
- Pin or clip the base to the bottom of the side exterior with the right sides together. Sew around leaving no gaps.
- Notch the edge of the base so that when it is turned the right way out, it has a smoother curve.
- TIP: Notching is one of those must-have skills. It effectively removes half of the fabric, which means that when you turn the right way out, the remaining fabric miters smoothly together to make a lovely round shape. If you have ever been less than happy with your curved edges, this may be the step that you need! Careful not to nick the stitches- only go in about half of the seam allowance (1/8”).
- Turn the drum exterior right way out and gently run a finger around the curve to help it into place.
Install the Lining:
- Fold the bottom edge of the lining to the wrong side by about 1/2” and press.
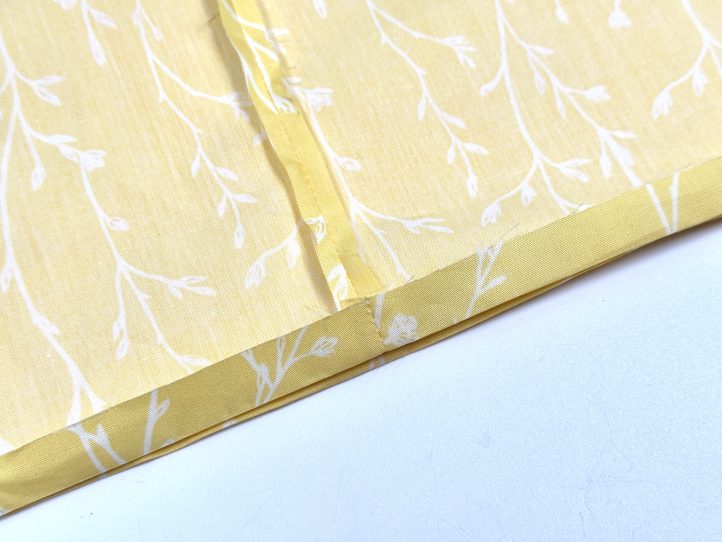
- TIP: This reads ‘about’ because the best idea is to temporarily fit the lining to the drum and see if you need more or less fold (seam allowances, interfacing differences, and fabric weights can all affect it).
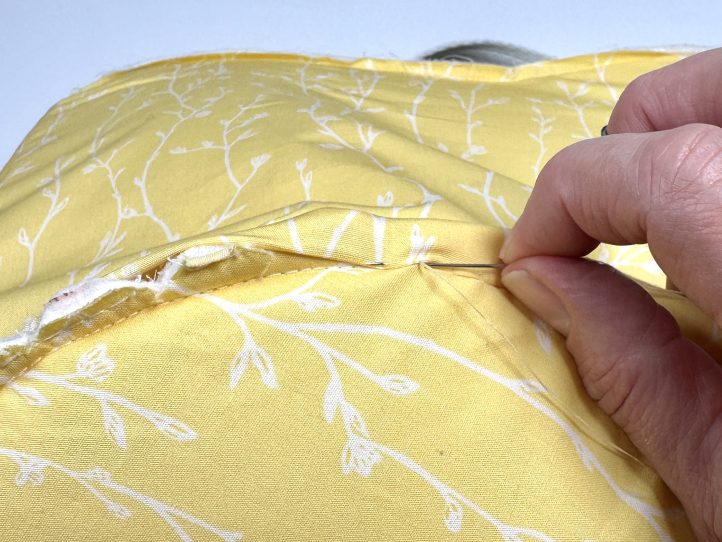
- Matching up the back seams, drop the lining into the drum with the wrong sides together and pin the top edge. Sew around the top edge leaving no gaps.
- Hand sew the lining to the base to hide the raw edge.
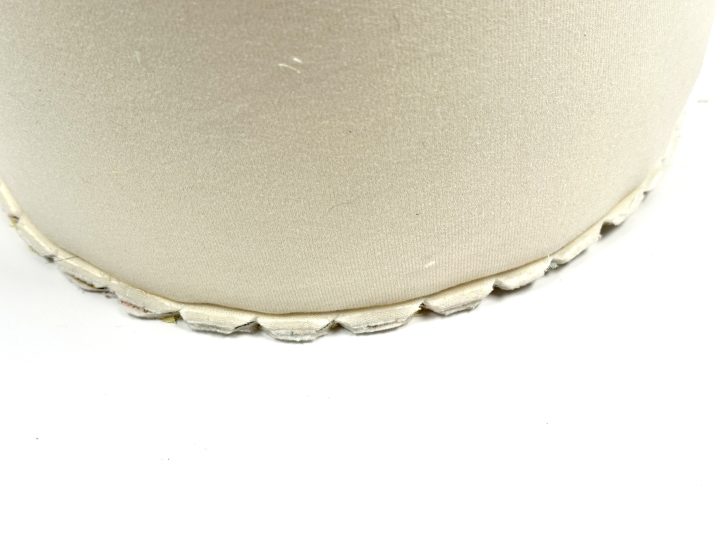
Bind the Top Edge to Finish:
- Finally, bind the top raw edge with your bias tape.