Quilting is an age-old craft that perfectly combines creativity with precision and mastering the art of quilting curves can bring a whole new look to your quilts. Incorporating curves into your designs adds depth and movement, along with visual interest. However, quilting curves can be intimidating for both beginners and experienced quilters alike. But with the tips and techniques below, along with practice, you will be able to conquer quilting curves with ease.
Here, are some essential tips and techniques to help you on your quilting curves journey.
Tips and Techniques for Quilting Curves
Start with the Right Tools:

Photography: Prime Publishing
Having the proper tools can make a difference in your ability to accurately cut, piece and quilt curves. You will want:
- Scissors: Dedicated for fabric.
- Rotary Cutter: An indispensable tool in quilting that offers accuracy, efficiency, versatility, and clean cuts in no time.
- Cutting Mat: Provides easy measurements, prevents slipping and helps with accuracy.
- Quilting Ruler: Which is transparent, allowing for easy alignment and marking of fabrics.
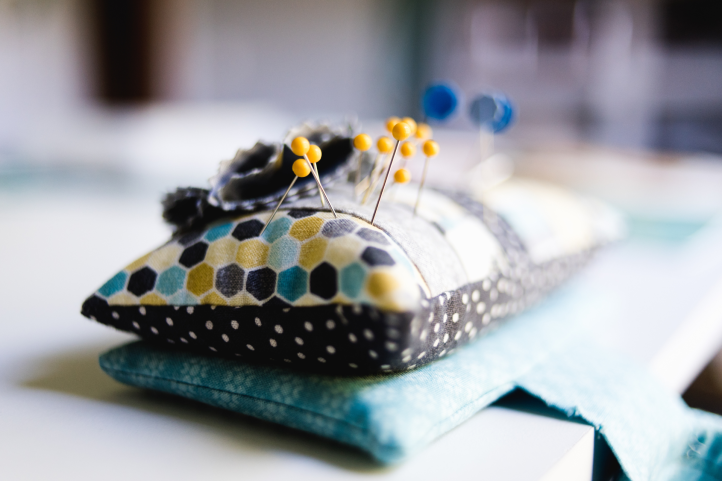
- Quilting Pins: They are longer and thinner than standard sewing pins, which makes them perfect for pinning multiple layers of fabric together when quilting.
- Sewing Machine: Preferably with a Walking Foot.
Specialty Tools to Consider:
Curved rulers and templates designed for quilting curves will help to streamline the process and ensure precision in your work.
Choose the Right Fabric:
Selecting the right fabric is important when quilting and especially when cutting and quilting curves. Look for fabrics with the tight weave such as Lightweight Cottons or Cotton Poly Blends that have minimal stretch. There are so many beautiful prints and colors available to choose from. Avoid fabrics are silky, stiff, or bulky as they can be challenging to manipulate around curves.
Start with the Basics:
Begin by mastering fundamental quilting skills, which includes accurate cutting, piecing, and pressing your fabrics to build a strong foundation.
Proper Cutting Techniques:
Accurate cutting is essential for successful curved quilting. Whether using a scissor and a pattern or a rotary cutter and clear plastic acrylic ruler, be sure to cut smooth precise curves. Take your time and slowly cut with even pressure to get consistent curves. Practice cutting curves on some scrap fabric before tackling it with your main project to build confidence and proficiency. These scrap pieces can be put together for a scrappy quilt or smaller projects such as hot pads or table runners.
Use a Walking Foot:
This can be a quilter’s best friend when it comes to sewing curves. A walking foot feeds the fabric layers evenly through the machine preventing shifting and puckering. It is especially helpful when working with multiple layers of fabric. Take the time to familiarize yourself with its functions for smoother more professional results.
Pinning, Piecing and Sewing:
- Pin the pieces together: Place two fabric pieces right sides together. Align the edges of the curved sections and pin them together perpendicular to the seam allowance. Use plenty of pins to secure the fabric pieces and prevent them from shifting while sewing.
- Start sewing: Begin sewing at the starting point of the curve, with a 1/4-inch seam allowance, unless your pattern specifies differently. Back stitch at the beginning to secure the stitches then slowly and steadily sew guiding the fabric along the curve with your hands.
- Pivot at pins: Pivot as you’re sewing and come to the pins that are holding the fabric together. When you reach a pin, stop with the needle position down in the fabric. Lift the presser foot and pivot the fabric slightly to adjust in the direction you are sewing. Lower the presser foot and continue sewing. Pivoting at each pin along the curve.
- Adjust as needed: Adjust the fabric as needed while sewing, ensuring that it lies flat, and the edge of the curve is aligned smoothly. Use your fingers to gently manipulate the fabric, easing in any excess fullness or tension along the curve.
- Continue sewing: Sew the entire length of the curve, pivoting at each pin until you reach the end. Be sure to maintain a consistent seam allowance, 1/4-inch, and stitch length to ensure that the stitches are even you have smooth curve.
- Backstitch: When you reach the end of the curve, backstitch to secure the stitches and prevent them from unraveling. Trim the thread tails close to the seam.
Pressing:
- Clip and press the seam: Clip along the seam allowance, being sure not to cut into the stitches. Press the seam allowance to set the stitches and smooth out any wrinkles or puckers using a hot iron and steam. Press the seam open or to one side depending upon your preference or the pattern instructions.
- Check for accuracy: Once the seam is pressed check the curve for accuracy and smoothness. If any adjustments are needed, carefully trim or clip a bit more along the seam allowance as necessary to improve the shape of the curve.
Squaring Blocks:
Square up quilt blocks after sewing curved seams to ensure they are uniform in size and shape maintaining the overall symmetry of your quilt block.
Try Different Techniques:
There is no one-size-fits-all approach to quilting curves. Don’t be afraid to experiment with different techniques. Try sewing curves both with a sewing machine and by-hand quilting. See which works best for you and to find the one that you enjoy the most.
Explore Different Types of Curve Patterns:

Photography: Unsplash
Such as gentle curves, sharp curves, and partial curves to expand your skill set and creative possibilities.
Practice, Practice, Practice:
Just like any skill, mastering the quilting curves takes time and practice. Don’t get discouraged by initial setbacks or imperfect results; instead, view each project as an opportunity to learn and improve your skills. Start with simple curved designs and gradually challenge yourself with more complex patterns. As your confidence grows, you’ll soon be mastering the art of quilting curves.
Take a Workshop:
Attending quilting workshops, in person or on-line, that are focused specifically on quilting curves and learning from experienced instructors can give you confidence as well as improve your skills.
Stay Organized:
Keep your workspace organized and clutter-free to minimize distractions and create smooth uninterrupted quilting sessions focused on mastering the curved techniques.
Curved Quilt Blocks to Try
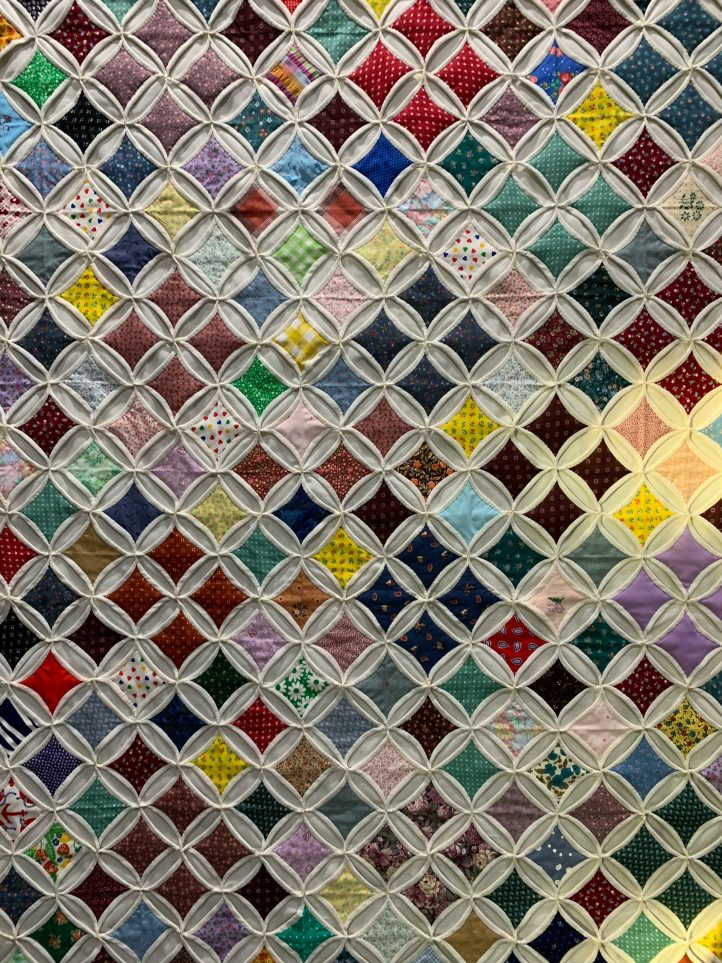
When you are just starting out with quilting curves, it’s helpful to begin with simpler curved shapes that are easier to cut, piece, and sew. Simpler blocks can inspire confidence and proficiency when mastering the art of quilting curves. Below are just a few of the easiest quilt blocks to start with that have simple curves.

Photography: Ashlee Cole for Prime Publishing
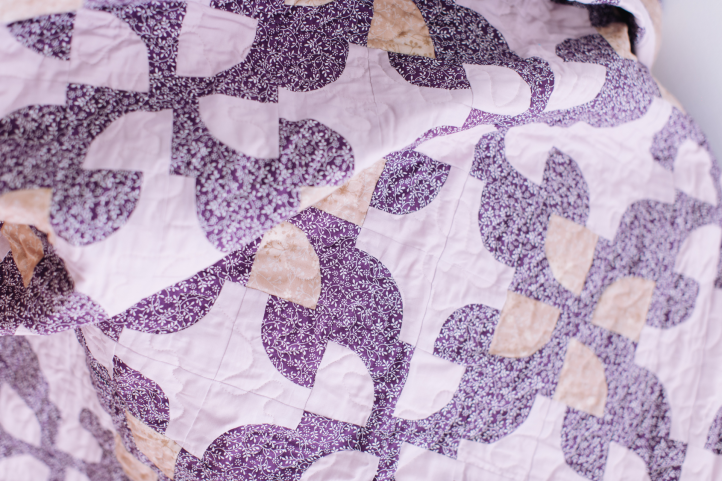
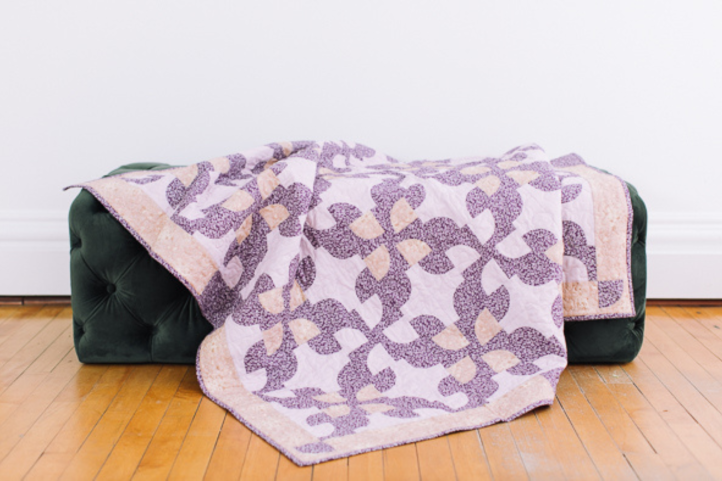
- Drunkards Path: Despite its name, the Drunkards Path quilt block can be a very beginner-friendly block, especially if you choose larger pieces. This block consists of two pieces, a 1/4 circle and a square that combined to form a curved design.
- Orange Peel: The Orange Peel block features curved pieces that resemble the segments of an orange. It is relatively easy with gentle curves.
- Grandmother’s Fan: The Grandmother’s Fan block features curved pieces arranged in a fan or semi-circle shape. It is a classic block that adds elegance and movement to quilt designs. While it might seem intricate, you can use larger pieces that can simplify the construction process and make it much more beginner-friendly.
- Clamshell: The Clamshell block features curved pieces that resemble clamshells that are arranged in rows or circles. While traditional Clamshell quilts can be very intricate, starting with a larger scale Clamshell can make the process more manageable for beginners.
- Bow Tie: The Bow Tie block includes curved pieces that form the bow shape while some variations may have sharper curves opting for gentle curves can simplify this block and make it easy to start with.
By starting out with easier curves to begin with, you can gradually build up your skills and confidence. Once you are comfortable with creating the simple curves, then you can progress to more complex curves, shapes, and designs. Keep in mind practice, patience and persistence are what you need for mastering the art of quilting curves.
