This is a term that you will find again and again in quilting patterns all over the world. As in most modern meme uses of the word ‘sandwich’, there are no bread or pickles involved. Instead it is referring to several layers of something (my dog likes a snuggle sandwich, for example) and in the quilting world, we are referring to the backing fabric, the batting and the top decorative layer.
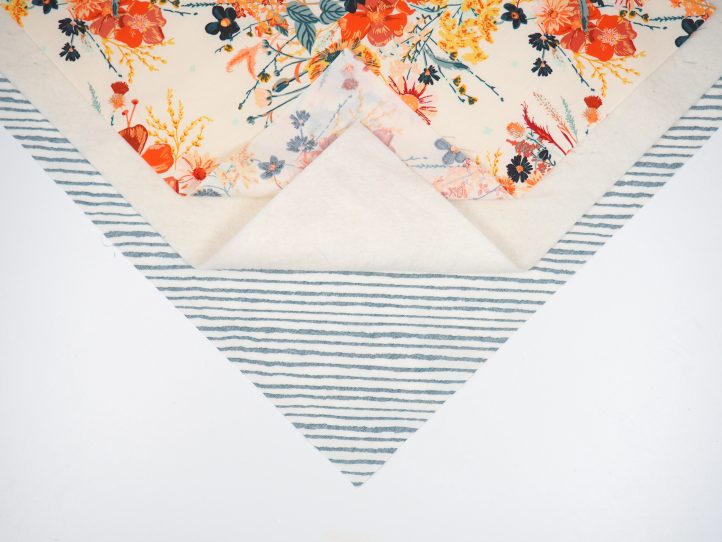
Let’s take a look at those three elements one at a time. The backing layer can be a single piece of fabric. This is often joined in a larger quilt and the new larger width fabrics are offering even more choices, not to mention less joining. Sometimes the backing is a hotchpotch of all sorts of fabric (almost another quilt), all joined to make a larger piece of fabric and sometimes it is just a plain piece of fabric because, with many applications, it is not going to be seen all that often. Think table runners and mats.
The one thing that the backing fabric ALWAYS is, is larger than the top layer in the sandwich by about one and a half to two inches all around (more in a larger project).
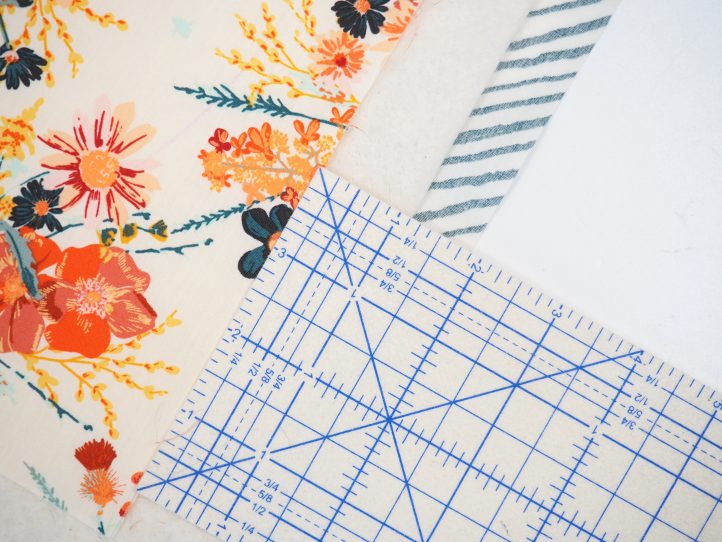
This may be even bigger if you are having your quilt professionally quilted. Each quilter will tell you how much they need it to be to suit their particular quilting machine.
And why does it have to be so big? In a word, physics. Fabric creeps because of the same laws of friction which keep it together while you are working on it. This is both a good thing and a bad thing but the worst thing that can happen when you are making a quilt is for the top and batting to move and find that you have not allowed enough backing. So it is the largest layer.
The middle layer is the batting. This can be thin or higher loft.
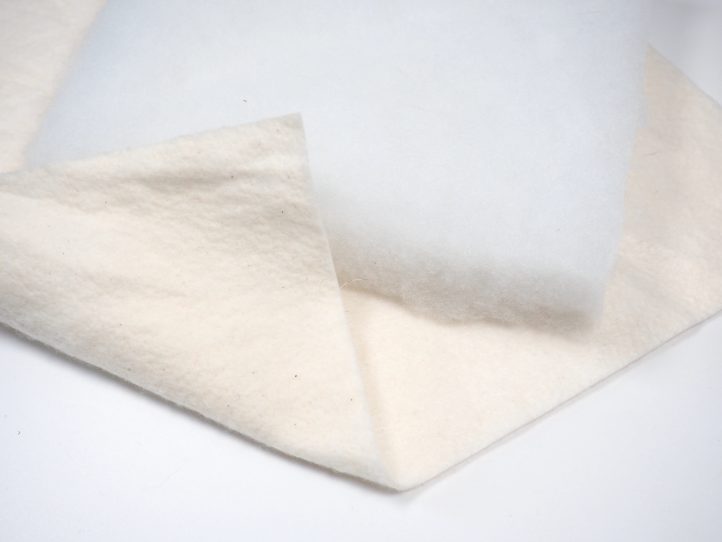
It can be cotton, polyester, or interesting mixtures of all sorts. As you go along your quilting journey, you will discover your favorite and may rarely deviate from it. I love a thin style batting because it is easy for anyone to work with on a home machine. For our pattern with this tutorial, I am using #279 80/20 cotton mix by Vlieseline.
The batting will be about one and a quarter inches larger than the quilt top all around.
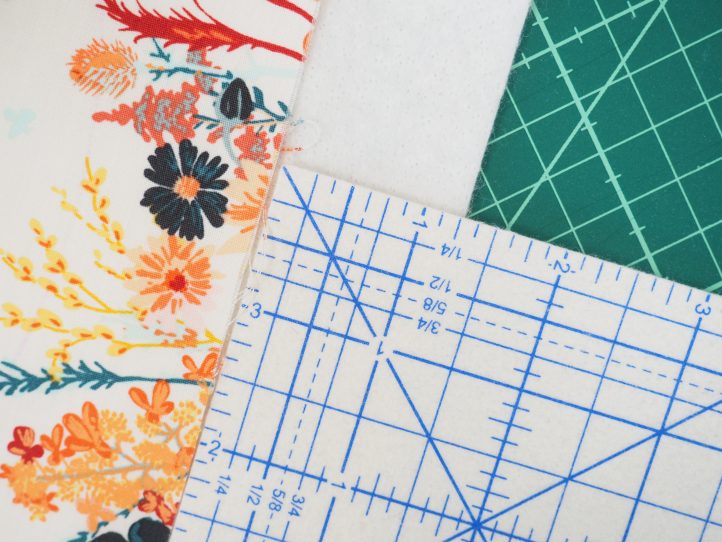
Don’t worry, your pattern should give you these measurements. If it doesn’t, use what I have told you here as a rule of thumb.
The more you can allow on the backing and batting, the better. You can always use the offcuts in another project.
The fun layer is the top one. This will be your patchwork layer. The layers that will be seen. Actually, it may not be patchwork. Our project this time is a whole cloth quilt and that means, as you may have guessed, only one piece of fabric. So you can see, patchwork and quilting are really very separate.
Patchwork (AKA piecing) is the cutting up and putting back together of small pieces of fabric and quilting is the bit where they are laminated together with thread to make a sturdy quilt.
Whole cloth quilts like our mat are fabulous for showing off a gorgeous piece of fabric that you could not bear to cut up. They are certainly not the poor cousins of the patchwork quilt. They are simply different.
So you have your three layers. To make the sandwich, lay the backing down with the wrong side up.
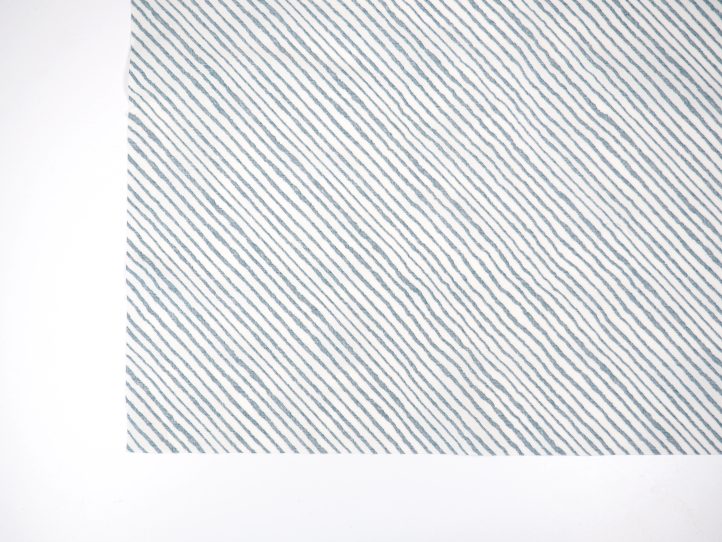
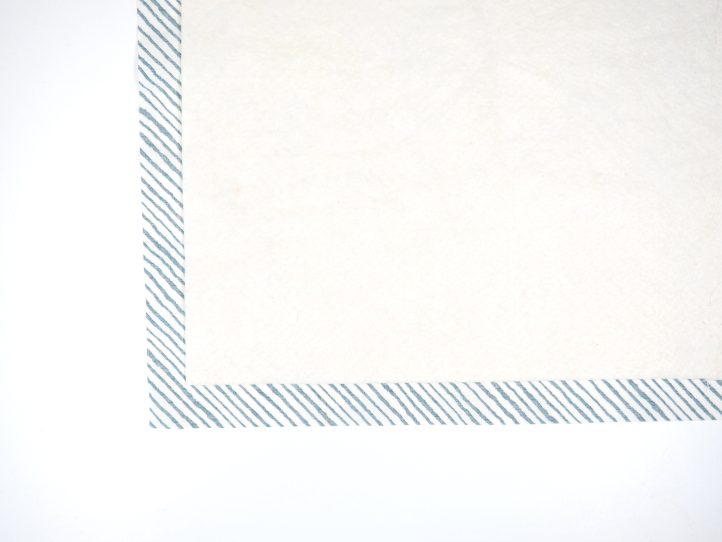
The batting goes on top of that and is centered well and the top goes next onto the stack – I don’t have to remind you to press the backing and top, do I? Don’t iron the batting though, mostly it won’t appreciate it very much.
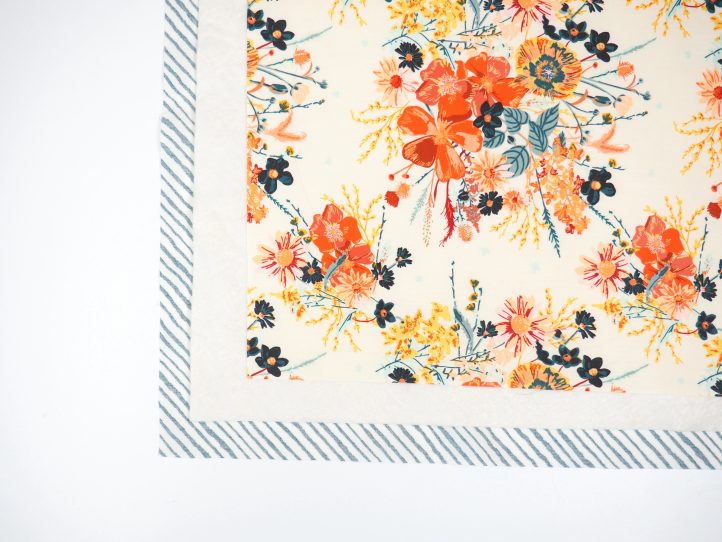
By the way, this method descries the procedure for a ‘normal’ bound quilt. The sort that people usually think of. If you are making a bagged out quilt (like the Retro Halloween Mug Rug Pattern), that is a slightly different story. But don’t worry, it is super easy and your pattern will tell you what to do.
The main thing is that on all the layers, the wrong sides of both the backing and the top are facing the batting.
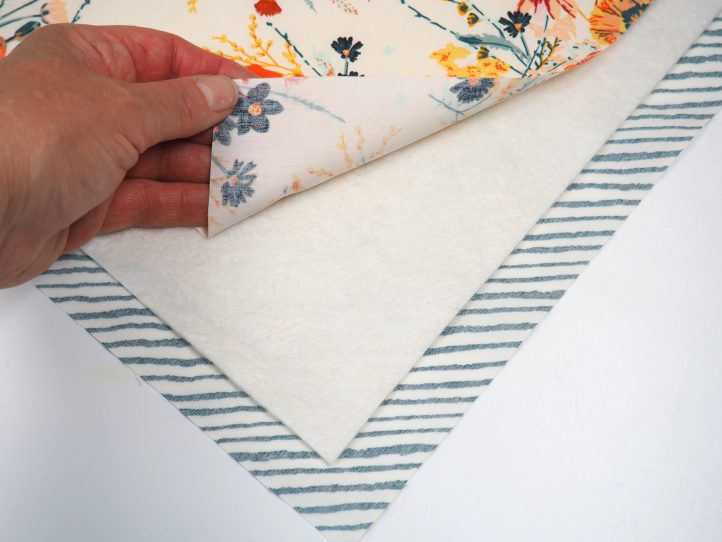
The next step is to pin (also known as basting) the three layers well.
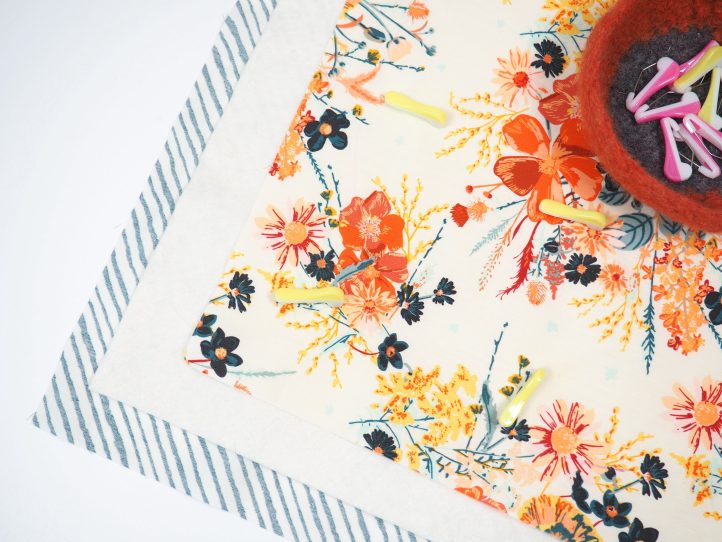
You can use pretty much any pin that will stay put and you can naturally buy special pins for this so that is one for the birthday list if you are building a kit. I love the Clover Wonder Pins and rarely use anything else.
The main thing to think about here is to be aware that the three layers are not going to be visible all the time. You need to keep checking the backing to make sure that it is not puckered or doing anything else wrong. Some people tape the backing to a hard floor just to remind it to behave during the basting process. You can also baste your quilt layers together using a running stitch in an easy to see color.
We only have a small project to begin with so we don’t have to use the nuclear options.
So what you have now should look like this; the backing and wadding are all visible from the top. On the back, it is lovely and flat. It is ready to quilt.
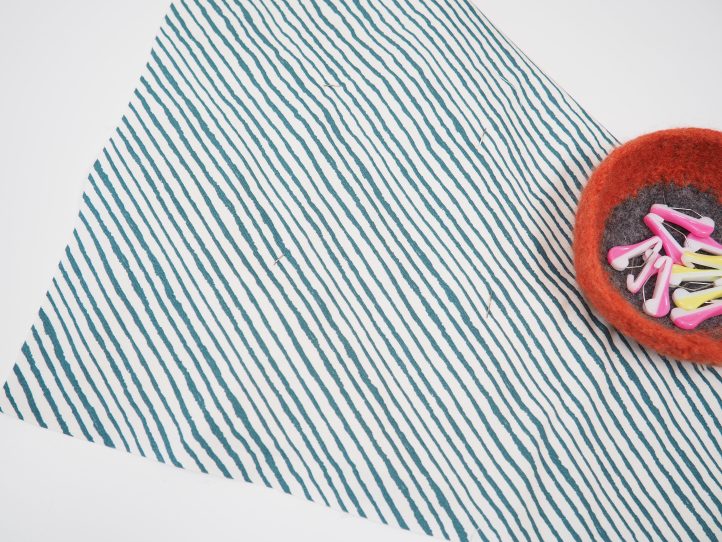
So the next question is, can my home sewing machine do this? The answer is almost certainly yes! But there are some provisos. Number one. If you have a very, very light machine, that may be in the category where your machine cannot quilt. But you can do as our ancestors did and learn to hand quilt with a running stitch. This is a great TV watching activity and super zen.
If your machine can cope without having a meltdown, which foot do you use? You are looking for a strange and alien-like creature called a Walking Foot (also known as a Dual Feed Foot).
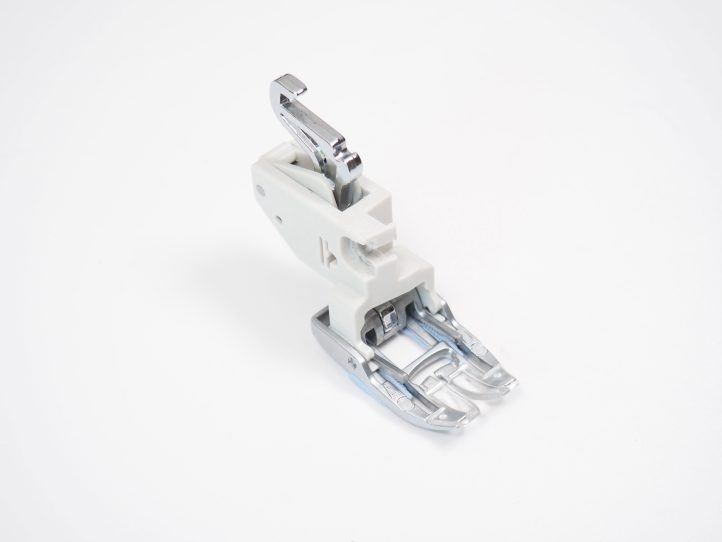
It will almost certainly be in that shoebox in the spare room with all of the other things that you thought you would never need. It will come with your machine if you have a pretty good one; otherwise, do an online search for one that will fit your model.
The Walking Foot has a feed dog set inside it, which means that the fabric traveling through your machine is fed from the top and the bottom at a more or less even speed. This means nice even stitches and less puckering of the layers. Don’t take your eye off THAT ball though, you need to keep checking.
Speaking of stitches, you will choose a straight stitch as a rule, just a bit bigger than normal. My Janome is factory-set at 2.4, so I choose a 3 or 3.5 for quilting.
And what pattern are we going to quilt? There are enormous amounts possible and it is way beyond the scope of this tutorial to cover them all so I am going to get you started with my signature pattern, which is a diagonal wave. It is super easy and almost impossible to get wrong.
To begin with, bring your sandwich to the machine and sew a wavy line which starts on the wadding and ends on the wadding.
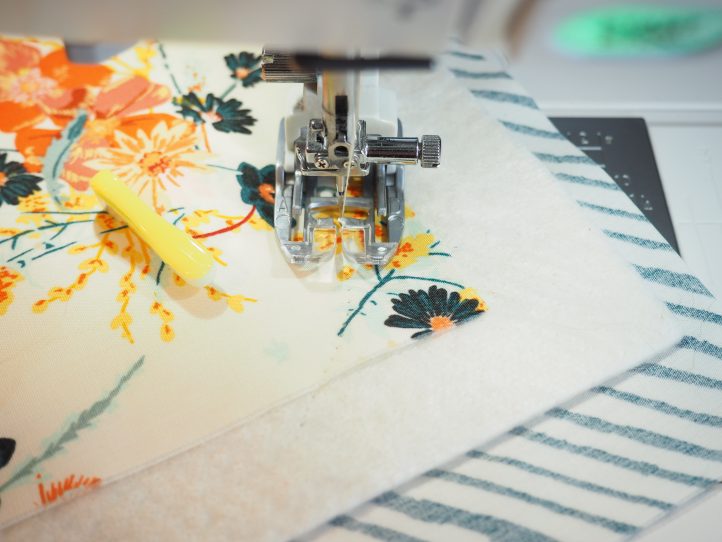
To get that wave going, very gently move the sandwich as you sew.
Now do that again a couple of times about a half inch apart and keep the lines waving.
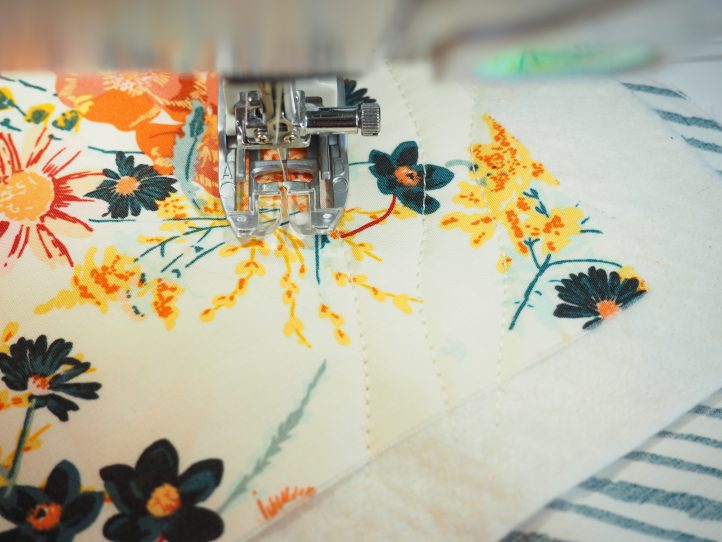
Keep going, varying the wave until your sandwich is laminated together.
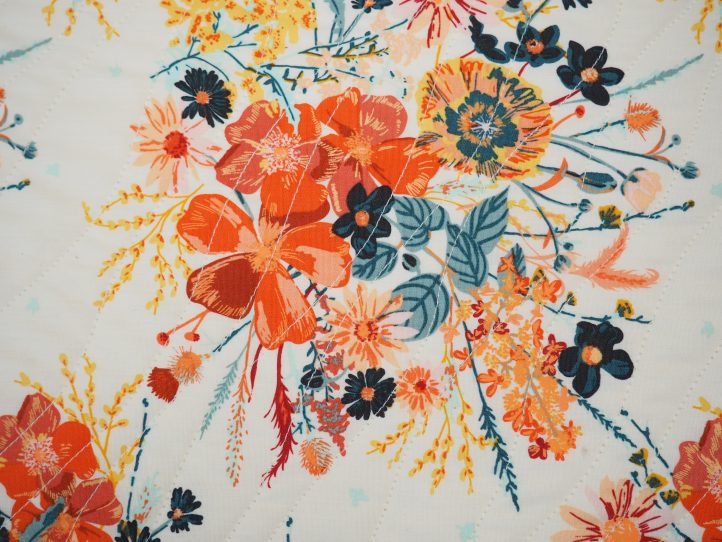
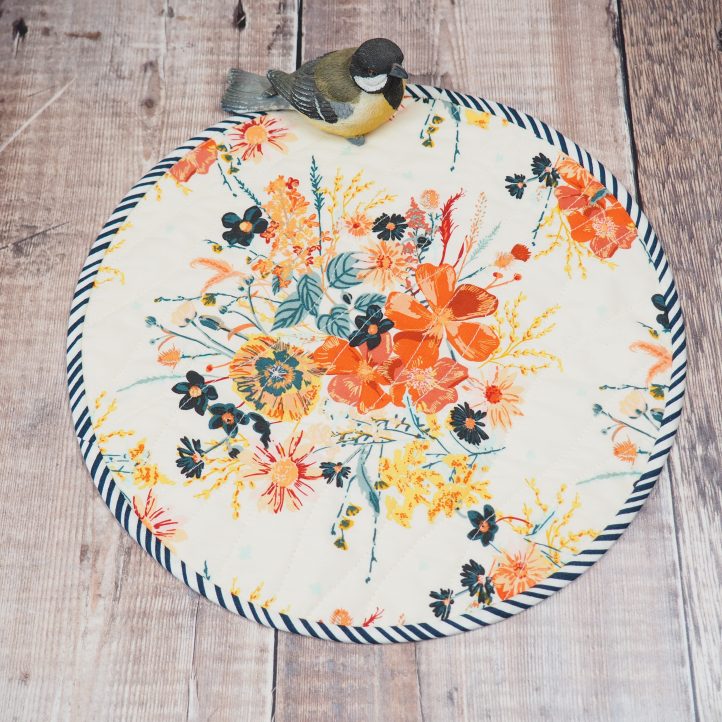
And that is pretty much it! You have quilted! I have a super easy mat pattern for you to put your skills into practice. These make great gifts and great market sellers too. They are fat quarter friendly and you can make them any size you want – from coasters to table toppers.
Whole Cloth Mat Pattern
Materials:
- Fabric:
- 13 1/2” sq. fabric for the top. I am using Painted Prairie Six from the Listen to Your Heart collection by Sharon Holland for Art Gallery Fabrics.
- 16 1/2” fabric for the backing. My favorite this time is Between the Lines Six, also from the Listen to Your Heart collection by Sharon Holland for Art Gallery Fabrics.
- Interfacing:
- 15 1/2” #279 80/20 cotton mix batting by Vlieseline
- TIP: Once you have done a bit of quilting, you can reduce the amounts of backing and batting because you will come to see how your favorite fabrics behave and what you can get away with. But for now, this formula is generous but safe.
- 15 1/2” #279 80/20 cotton mix batting by Vlieseline
- 35” of 1 1/2” wide bias tape
- A dinner plate about 10 1/2” diameter
- Wonder Pins (Clover)
- Walking foot
- Removable fabric markers
- Pins
- Scissors
Instructions:
- Lay the backing face down, the batting on top, centered well and the top fabric, face up.
- Pin so that no movement is possible and quilt with your favorite design.
- TIP: This time, we will be quilting the whole sandwich and then cutting out a circle, which is bound as a final step.
- TIP: Keep the offcuts for smaller pieced projects.
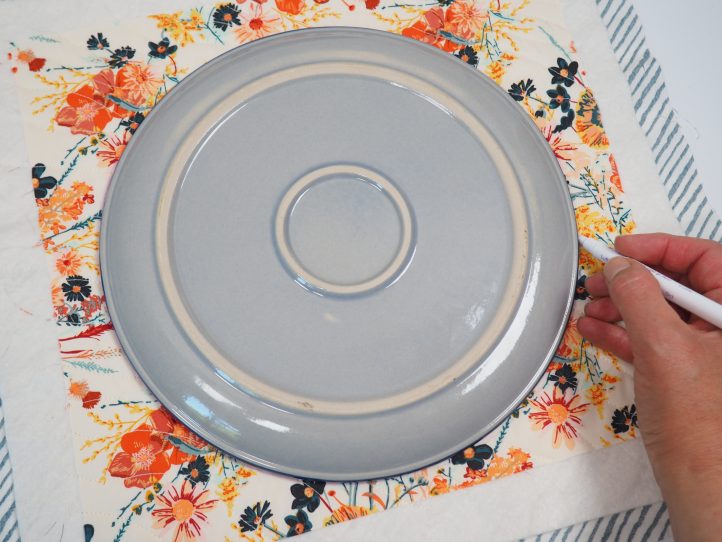
- Lay the plate onto the quilted sandwich and draw around it with the removable marker.
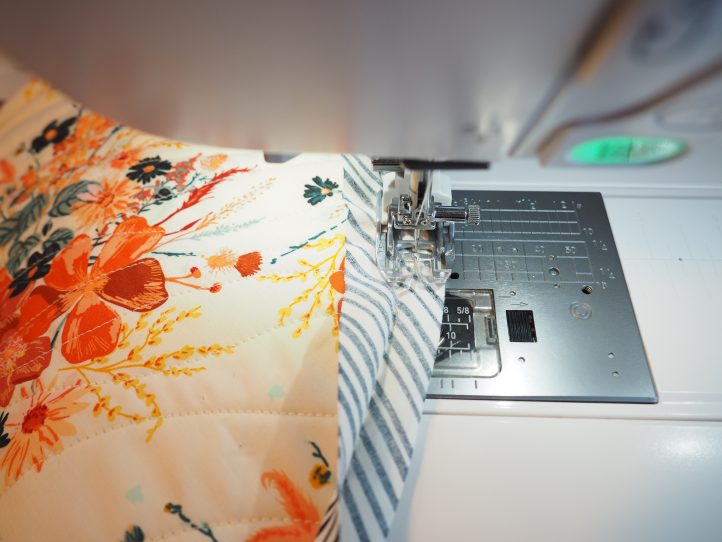
- Cut the circle out and bind with your bias tape to get rid of the raw edges.
