Double Fold Continuous Strips Binding
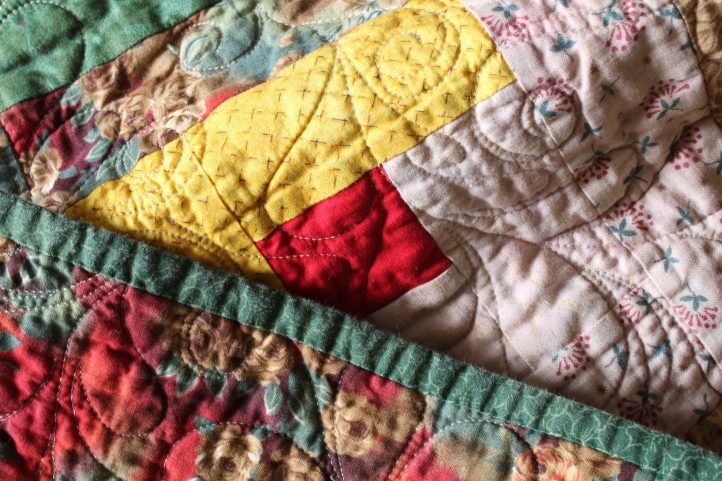
The double fold continuous strip binding method is a traditional way to finish a quilt with long strips of accent fabric which wrap over and enclose all the raw edges of the quilt layers.
Because the fabric strips are folded in half making the binding a double thickness of fabric, it is one of the most durable edges for continuous and often washed quilts.
- Prepare the binding by cutting 2 1/2” by WOF strips of fabric. Roughly measure the perimeter of the quilt and cut one additional strip of fabric to allow for attaching tails and mitering the corners (details below).
- Attach all strips together on the diagonal by overlapping the ends of each 2 1/2” strip RST perpendicular to one another on the short straight ends. Then sew diagonally from the top corner to the bottom corner to create an angled seam.
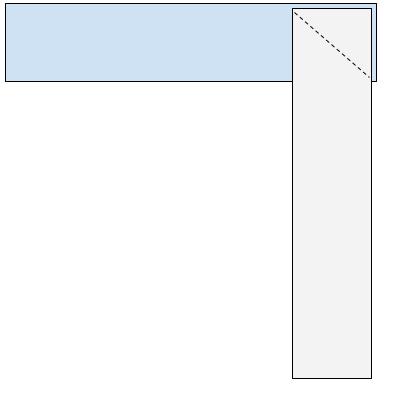
- Crease the strips by folding in half and trim off the outside triangles of the overlapping strips.

- Press strips wrong sides together in half lengthwise along the entire length of the binding to complete.
- Attach binding to the quilt sandwich by lining up all raw edges, mitering the corners as you go.
- To miter corners, sew into the corner stopping a 1/4 in from the end, backstitch, and remove the quilt from the sewing machine.
- With the quilt laying flat, fold the binding up and away from the quilt, making the binding straight with the unsewn side.
- Fold the binding down to the sewn side, leaving a diagonal fold on the underside of the binding and pin fold in place. (see Fig. 3 above)
- Place the quilt back into the sewing machine and sew down the fold and continue on sewing binding.
- Make a miter at each corner, adjusting the amount of fold as necessary.
- Join the ends of the binding together where they meet and attach to the quilt sandwich.
- Press and fold the binding over to the opposite side of the quilt to finish. Tuck the mitered corner flat, pinning into place as necessary.
- Finish the binding with your preferred method, either by hand stitching in place or machine stitching.
Fold Over or Self-Binding
This method uses the backing of the quilt to wrap up and over the quilt top and batting to enclose the edges. Less time consuming than creating the strips of binding, the fold over method is slightly less durable because there is only one layer of fabric enclosing the edges.
- Beginning on one side of the quilt, fold the backing fabric raw edge toward the raw edge of the patchwork quilt top.
- Bring the folded edge of the backing fabric over the edge of the patchwork top approximately 1/2” to completely enclose all raw edges. See Figure 4.
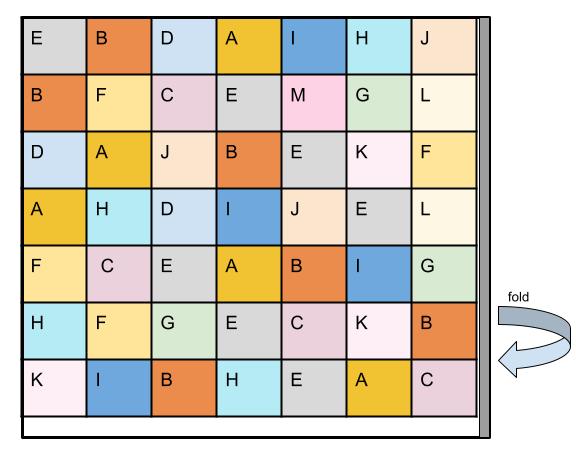
- Work around the quilt perimeter toward the corner, clipping or pinning frequently at approximately 3” intervals to hold the rolled backing fabric in place.
- Approximately 1” away from the corner, add a clip to hold the rolled backing fabric edge as the corner is folded into a miter.
- To miter the corner (or create a 45 degree fold), bring the folded edge of the backing fabric down to line up with the patchwork top on the opposite side of the corner forming an angle with the backing fabric as shown in Figure 6. Add a pin into the corner to secure in place.
- Fold the raw edge of the next side of backing fabric into the patchwork top as before.
- Bring the folded edge of the backing fabric over the edge of the patchwork top approximately 1/2” to completely enclose all raw edges as before and secure the corner with an additional pin. See Figure 5.
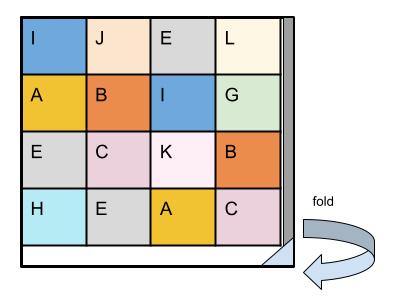
- Continue folding all edges and corners, clipping and pinning frequently until the entire perimeter has been folded over and all raw edges are enclosed.
- With the walking foot attachment, sew the rolled backing fabric edge in place around the entire perimeter of the quilt top 1/2” away from the exterior edge making sure to keep all raw edges enclosed while sewing. A zigzag stitch is recommended. Remove pins and clips as necessary.
Pillowcase or Enclosed Seam Binding
The Pillowcase method of binding a quilt is essentially a way to finish the quilt with no binding, but rather than to enclose all of the seams and raw edges inside of the quilt. Much like finishing a pillowcase, hence the name, the edge is finished by placing RST then sewing around the entire perimeter of the quilt, leaving a small opening to turn the fabrics right side out. This method is best used for hand quilting or tying a quilt, so the finished edges do not distort during machine quilting.
- Center the quilt top and batting right sides together on a piece of backing fabric.
- Add pins to each corner and approximately 2” around the entire perimeter to hold in place.
- Stitch around the entire outer edge of the quilt, batting and backing, pivoting the needle in the corners. Leave an approximate 4.5” opening on one edge to turn the unit right sides out after sewing. See Figure 6.
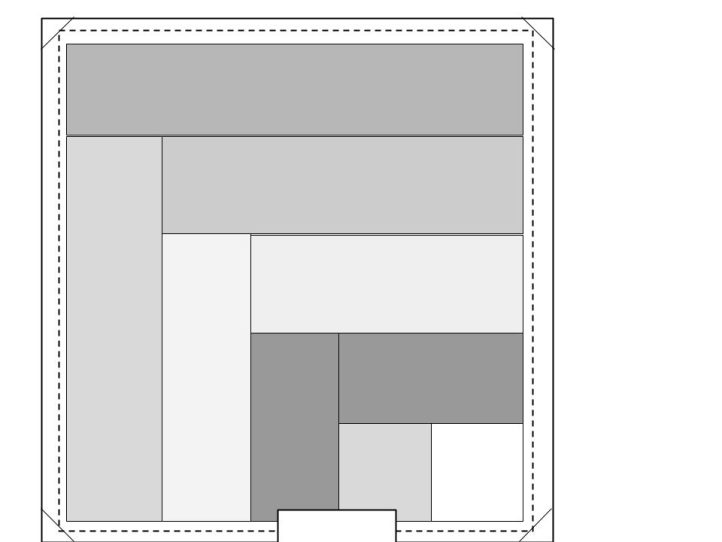
- Trim excess fabric from the corners of the quilt by cutting on a diagonal 1/4” to the outside of the stitch line. Figure 6.
- Using the 4.5” opening, reach your hands inside and pull the right sides of the fabric out. Use a blunt stick, such as a chopstick to gently poke out the corners and around the edge seam.
- Press the entire quilt perimeter flat with a hot iron.
- Sew a seam 1/4” from the edge of the quilt all of the way around the unit to close the turning opening and finish the seams. See Figure 7.

Excellent article