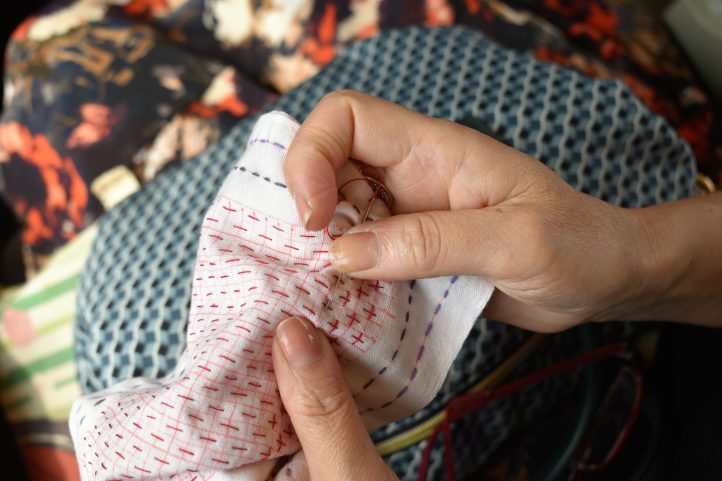
What Is Sashiko Embroidery?
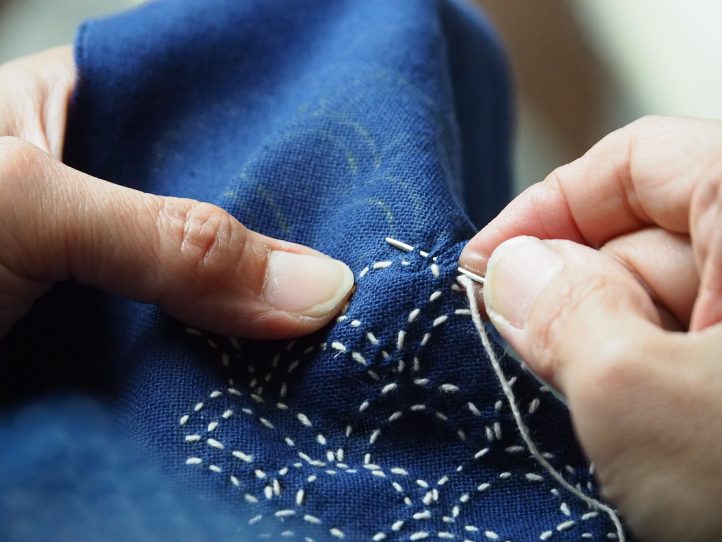
Sashiko embroidery is a traditional Japanese needlework technique that stems from the Edo period of the early 1600s. It’s used both as decoration and as a practical mending method, and typically features repeated running stitch patterns worked in white thread onto an indigo-colored background – however, other colors, particularly red, can also be used.
Sashiko (which translates to ‘little stabs’) originally became popular out of necessity, with farm workers using the stitches to strengthen and reinforce worn-out areas on their garments, and to patch together ripped items that would otherwise be thrown away. It was also used to add extra layers to winter garments for warmth, and was even worked onto the uniforms of firemen, as the thickened, decorated fabric could be soaked in water to keep the workers safe while they carried out their dangerous duties.
The designs used to create sashiko are often inspired by nature and can hold special symbolism, such as those used on the overalls of fisherman. Usually, designs can be divided into two categories. Hitomezashi patterns follow a structured geometrical grid, where as Moyōzashi patterns construct shapes from long lines of running stitches, to create a more flowing, fluid design.
Today, sashiko continues to be a popular art form and is practiced by stitchers all over the world. It can be used to decorate and mend garments, homewares, quilts, and more – in fact, it can be applied to almost any textile project!
How Can Sashiko Embroidery Be Used in Quilting?
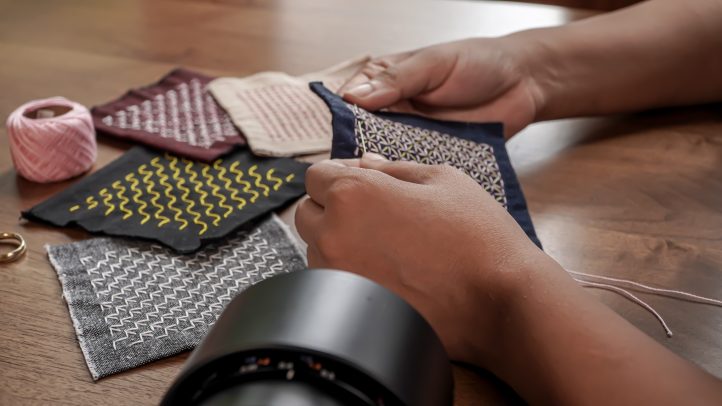
With almost endless designs to choose from, sashiko embroidery can make a beautiful addition to your quilting projects, in lots of different ways.
For example, you can use sashiko patterns to decorate your quilt top fabrics before you sew them together, or to attach appliqué designs to each block. You can also use sashiko stitching in place of regular hand quilting techniques, to hold your quilt sandwich layers together.
The extra time and care taken over the hand stitches can elevate the quilt from just another project to something you truly love and will cherish for years to come.
Can Sashiko Embroidery Be Used to Mend Rips and Tears?
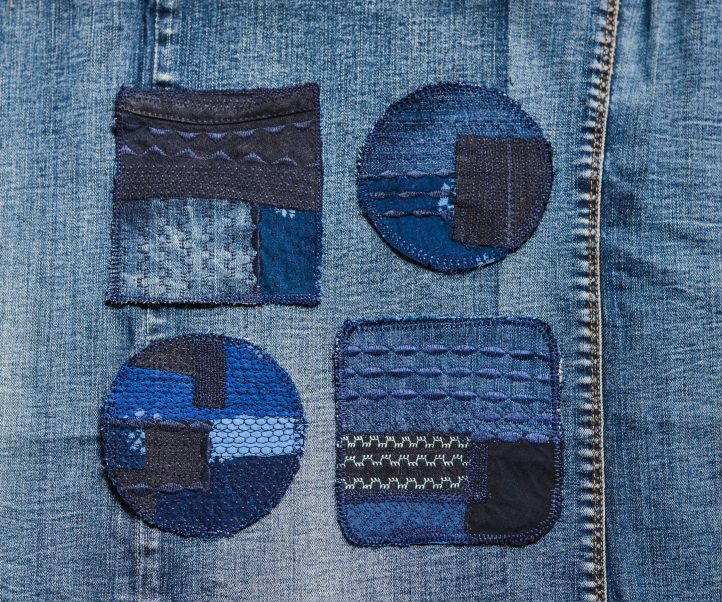
Yes! In fact, that’s one of its main uses – for hundreds of years, sashiko has been used to patch up ripped, torn, and worn garments to extend their use and give them extra strength.
Japanese culture takes pride in the philosophy of ‘wabi-sabi’, which finds beauty in imperfection and the time spent mending, and places an emphasis on ‘mottainai’, the feeling of regret over something going to waste. By mending, re-using, and patching up old garments, sashiko embroidery combines these elements into some thing really special.
What Materials Do I Need for Sashiko Stitching?
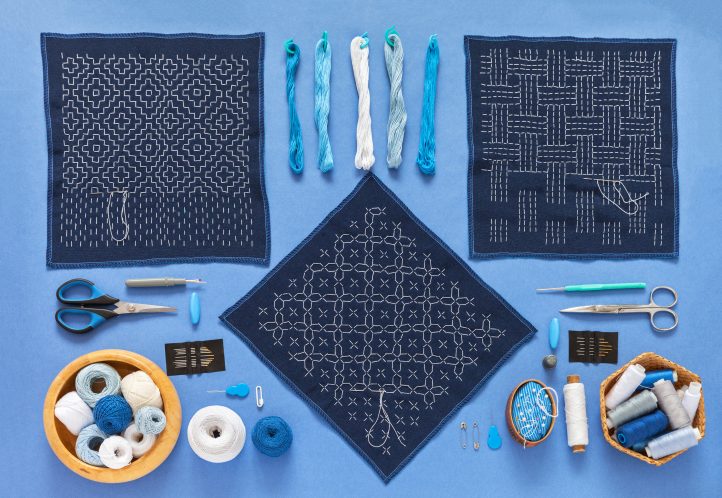
As it’s an entirely hand-worked technique, sashiko embroidery doesn’t require many special supplies – in fact, you might even have everything you need in your stash already! To start working your first sashiko design, you’ll need:
- Fabric: As it’s an all-over technique, you’ll need a strong, sturdy fabric with an open weave to use as a base. Cotton and linen are both popular choices, particularly in shades of indigo or navy blue.
- Thread: Traditional sashiko thread is tightly twisted from thick, white cotton. However, you could experiment with different colors to give your design a modern twist.
- Needles: Sashiko needles are longer than usual, and have a larger-than-average eye to accommodate the thicker thread. They also have a sharp point and a smooth shaft to help them glide through the material. If you can’t find sashiko needles in your local sewing store, a strong, long, large-eyed embroidery needle should also work well.
- Pattern Cards: These aren’t essential by any means, but for beginners, having a set of pre-designed sashiko patterns to follow is a great way to gather inspiration and get started without having to draft your own. The Ultimate Sashiko Card Deck by Susan Briscoe ($16.99, David & Charles) contains 52 different designs – enough to keep you busy for an entire year and beyond – as well as lots of must-know techniques, tips, tricks, and more.
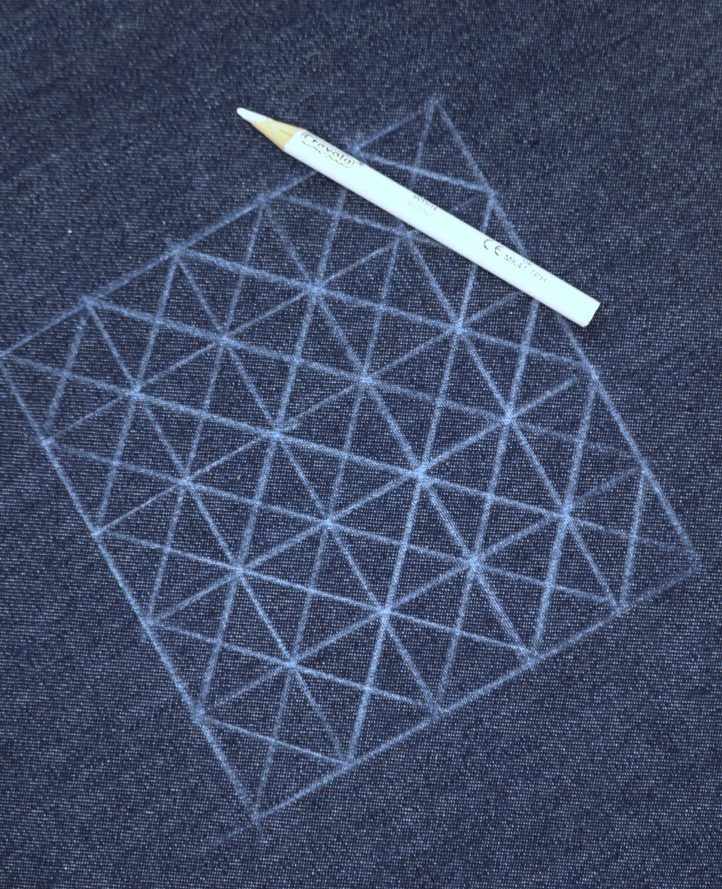
- Marking Tools: Once you’ve chosen your design, you’ll need to transfer it onto your fabric. As the material is usually dark blue, it can be hard to see regular pattern transfer pens or pencils. Use light-colored chalk or white dressmaker’s carbon paper instead to neatly and easily transfer your designs across.
- Embroidery Hoop: While not necessary, an embroidery hoop can help keep your fabric taut and make stitching more manageable, especially for beginners.
- Thimble: Again, this is another item that isn’t necessary, but might make the stitching process more comfortable by protecting your fingertips from sharp needle pricks.
How to Work Sashiko Embroidery
So you’ve chosen your design and you’ve got your fabric and thread ready to go. Follow these steps to get neat results and begin your own sashiko embroidery journey!
- Transfer your design. The easiest way to guarantee neat results is to draw your pattern out onto your fabric before you begin. Whether you create your own pattern or use a pre-made design, you can use white chalk, a light-colored tailor’s pencil, or pale dressmaker’s carbon paper to transfer it onto the fabric. Use a ruler to ensure the design is positioned straight on the grain of the fabric to ensure an even neater finish.
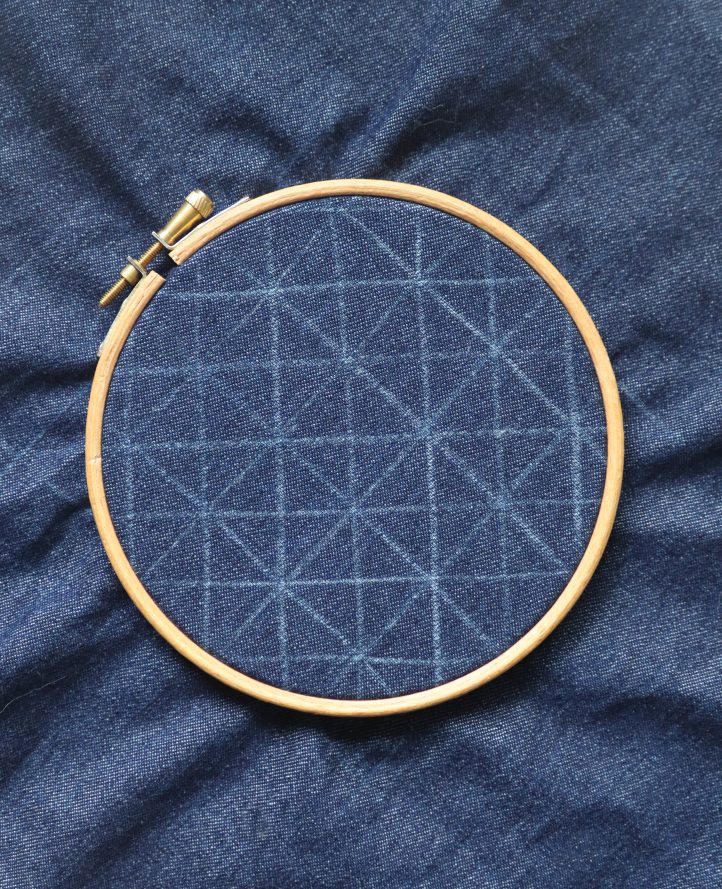
- Hoop your work. As mentioned above, this isn’t essential but we find that mounting your fabric in an embroidery hoop before starting makes it easier to see the pattern you’re working on, as well as keeping the fabric held taut and the stitches even.
- Thread your needle. Cut a mid-sized length of sashiko thread, ideally around 20-24” long. Thread it onto your sashiko needle (or a long, large-eyed, sharp embroidery needle) and take it through the fabric, leaving a 5” tail at the back of the work. You’ll come back to this later.
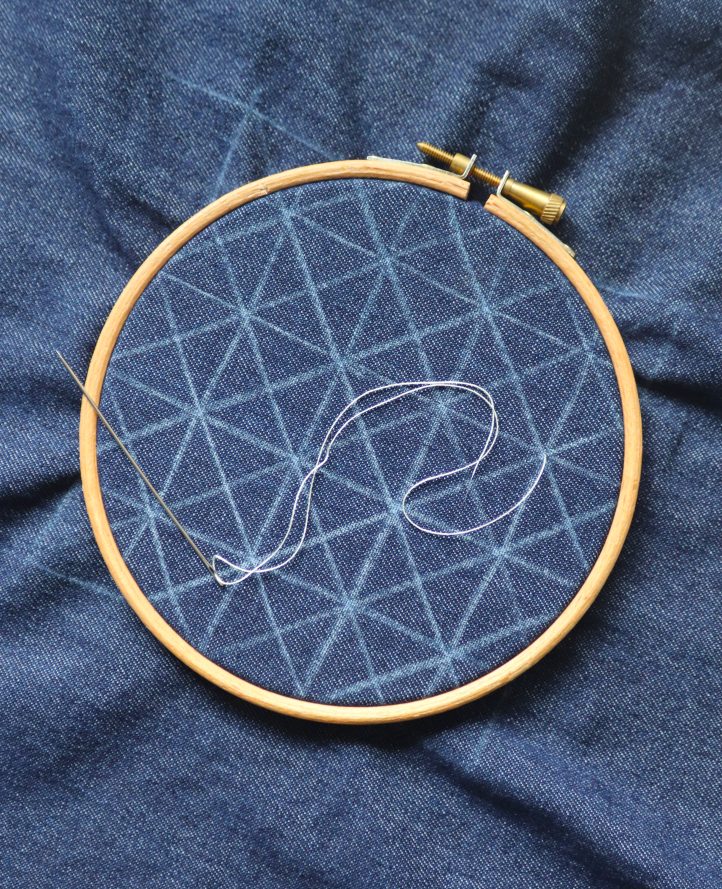
- Load the stitches. Sashiko is made up of straight running stitches, so start working your way along the design, loading several stitches at a time onto your needle. This helps to keep your work neat and regulated in size. Typically you can work more stitches for each needle pass on straight lines, than you can along curves.
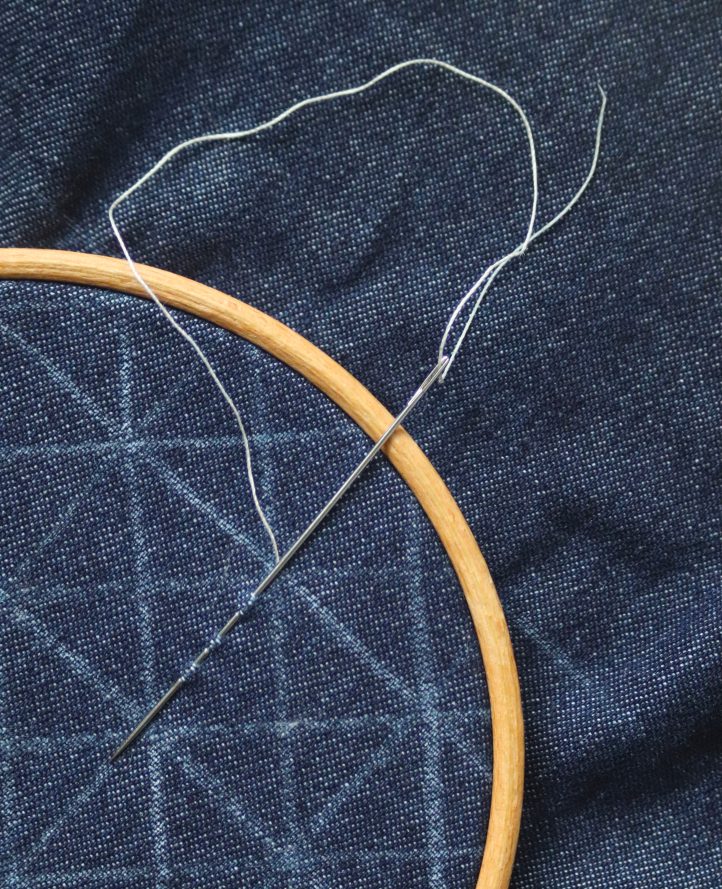
- Repeat the process. Continue to work the design carefully and steadily and take care to enjoy the process of stitching, rather than racing to the end result. Traditional sashiko stitches are equal in length with a gap between them that is about 1/3 the length of each stitch. It can take a little practice to get the proportions right, but the finished result is worth the effort.
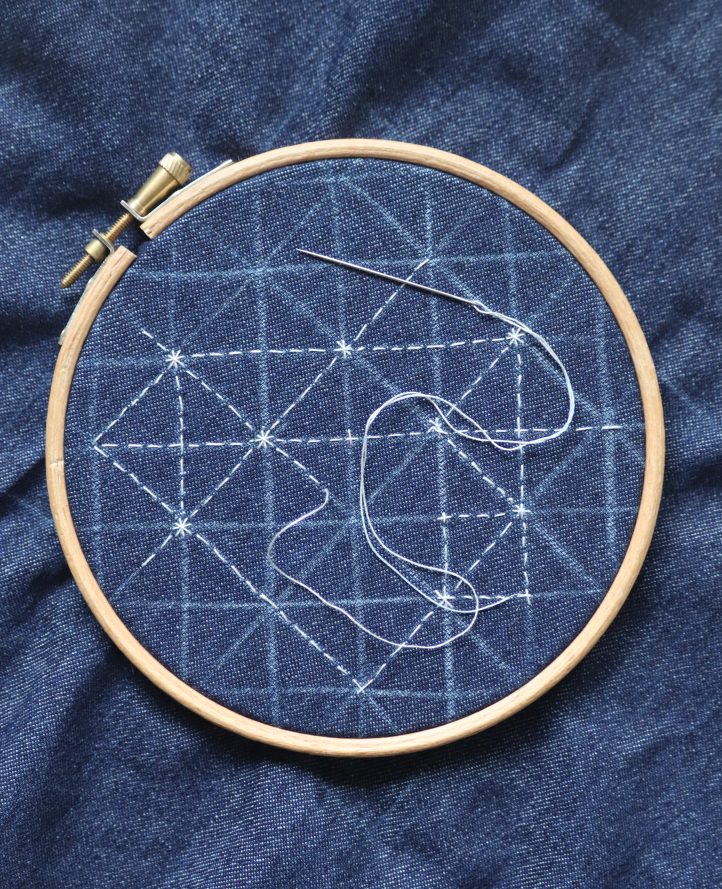
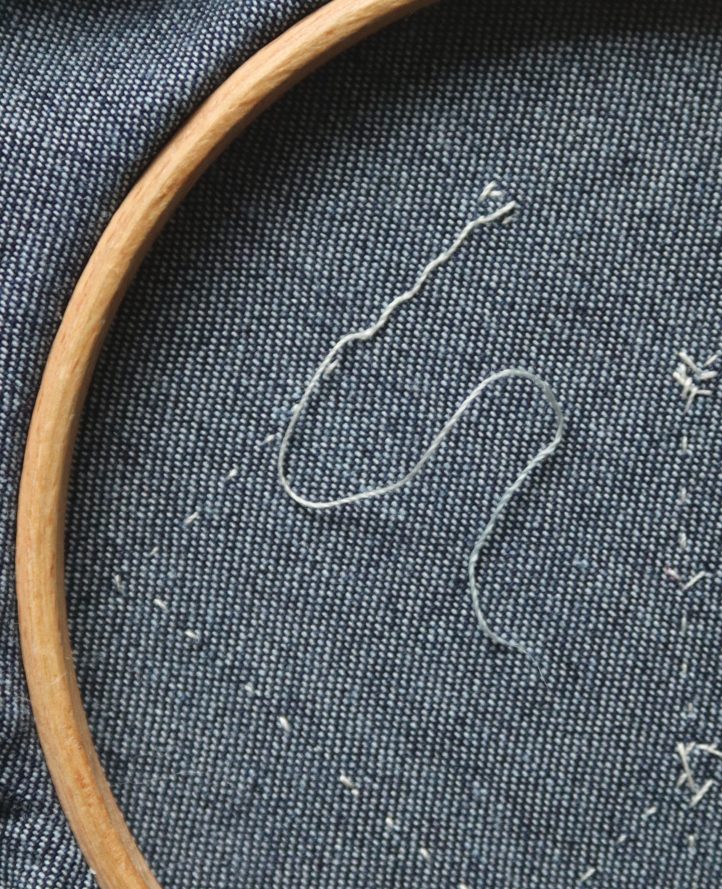
- Tie off your ends. Once you reach the end of a length of thread, you’ll need to secure it to stop the stitches from unraveling. Take the needle through to the back of the fabric and snip it off, once again leaving a tail of around 5”. Use the needle to weave the tail through the last few stitches several times to secure it, then repeat with the starter tail. Take a new length of thread and repeat the process from Step 1 to continue your design!
Tips for Stitching Sashiko like a Pro
- Practice makes perfect. Before starting on your design, practice the sashiko stitch on a scrap piece of fabric to get comfortable with the technique and make sure you like the finished look.
- Start simple. Begin with uncomplicated patterns and gradually progress to more intricate designs as you gain confidence in the technique.
- Don’t tie a knot. While you might normally tie a knot in the end of your thread to start off a hand stitched design, this is best avoided when working sashiko. Instead, leave a 5” tail and weave it back through the stitches later on to secure it.
- Stay taut. As you pull the needle through the fabric to make each set of stitches, be sure to smooth out the thread and the fabric so the tension is even and there’s no puckers.
- Relax and enjoy the process. Sashiko is a meditative and enjoyable craft. Take your time and savor the creative process to get the most out of this hands-on technique!
We’d love to see your sashiko designs – upload your photos on social media and tag us @WeLikeQuilting to share your latest makes.
