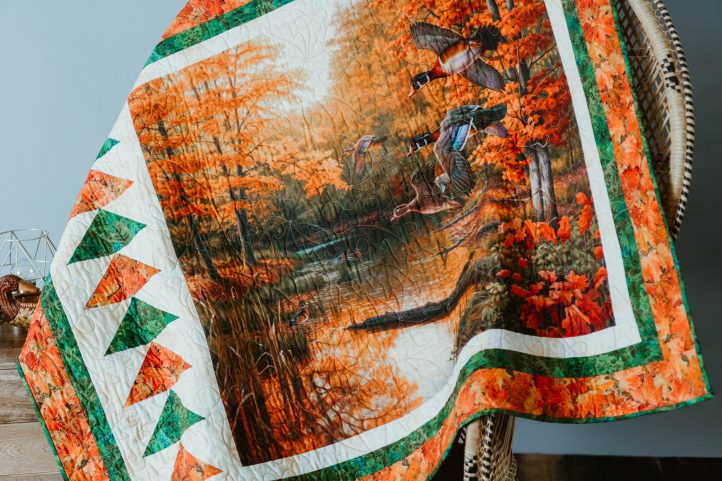
If you’re looking for a quick project, a quilt panel can be a friend indeed. They’re versatile (they can be used not only in quilts, but pillows, totes, runners, placemats, etc.), beautiful (I consider them art on fabric) and can inspire (with so many themed panels out there, whatever your special interest, you’ll most likely find one that “speaks” to you). This article has some thoughts and ideas regarding working with panels, primarily in quilts.
So, which comes first, the design or the panel? Either works. If the former, you may have decided on the project’s design, size, purpose and possibly its theme and colorway. If the latter, you may have a panel you love but are not sure what to do with it. (Panels range in size. I’m using singular in this article but you may be using more than one in a project, especially if the panels are small.)
If you’re starting with the design, the main consideration is its size; it needs to meet the requirements of that design. You may not find a size that’s precisely what you need, but fabric designers often allow for a bit of leeway in adjusting the size. The edges may have background images that can be cropped out without sacrificing the integrity of the overall image, or it may have multiple borders that may or may not be used. (Remember you will lose 1/4” of the image on all sides in the seams.) If you’ve found a panel that’s just a bit too small, consider adding small strips (essentially sashing strips, but called coping strips in this context) to bring it to the size needed.
Choosing Your Panel
If starting with a panel, consider these ideas:
- Buy a pattern using the size panel you have. There are lots to choose from. All the design work is done for you! (I’m a great fan of that option!)
- Just quilt it and bind it. Some are so beautiful that it would be like “gilding the lily” to do more. This works great for smaller projects such as baby quilts, placemats, etc. This panel looks great as is– it even has a “frame” around the image!
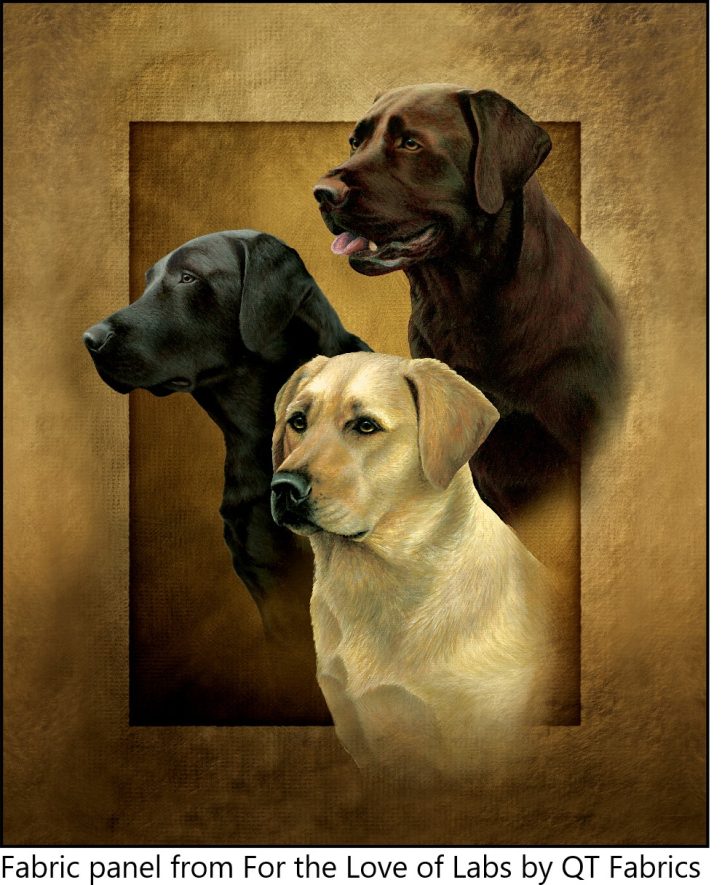
- Add a simple border or two around the panel. Think of the panel as a picture you’re framing.
- Add a pieced border, possibly combining it with plain borders. My Jack’s Quilt design is an example.

- Place the panel off-center, adding pieced/plain borders and sashing to create a design. The Magical Season quilt featured in this magazine is an example. Here’s another example.
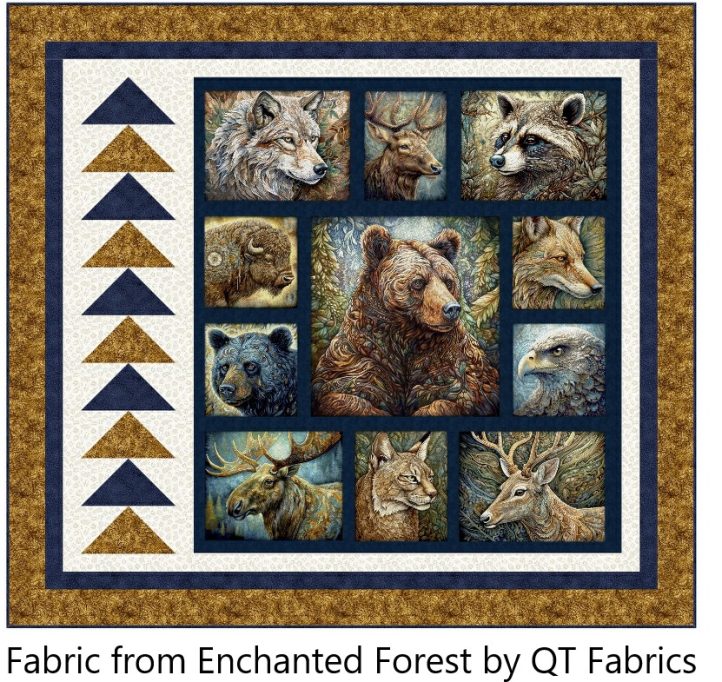
- Cut up the panel. Some may balk at this idea, but you can develop some great designs by considering this. For example, the Enchanted Forest panel could be cut into sections and used several ways. The panel could be cut into three horizontal sections, or one large and several single images/sets of images. Use all the images in one quilt or make 2 or more smaller quilts.
- Make a random design, filling in spaces with different size panels or fabrics. Look at t-shirt or memory quilt designs for inspiration.
- Smaller panels could be alternated with quilt blocks, with or without sashing. The Sweet Dream design alternates 10” panels with pieced blocks.
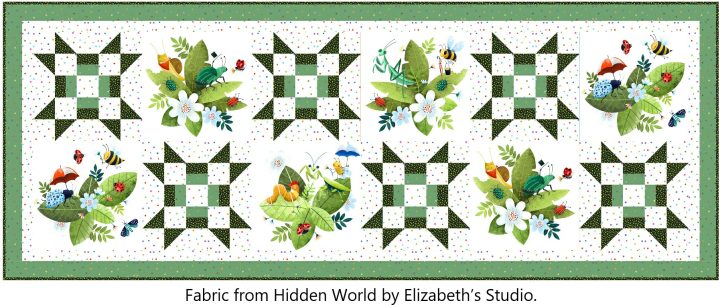
- They could also be incorporated in a block; a small project such as a pillow could be made from a single block.
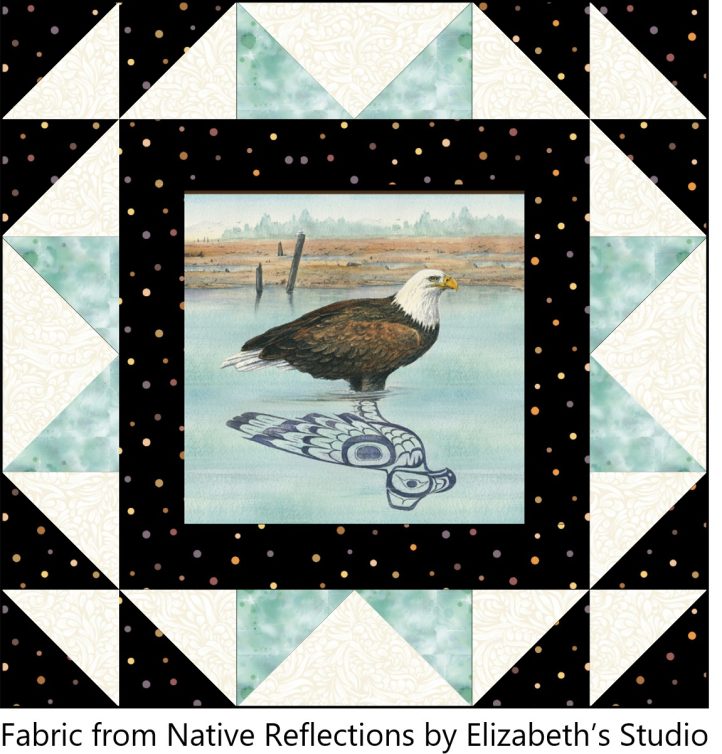
- They could also be incorporated in a block; a small project such as a pillow could be made from a single block.
- The panel itself can be your guide when choosing the coordinating fabrics. If it’s in the panel, it will work in the quilt. This is a good quilting trick in general. Pick your palette from your focal fabric. You may even end up discarding that fabric and the remaining fabrics will “play well” together. Some fabric companies make it super easy by having color markings in the selvage. These color swatches (usually circles) are of the colors used in the fabric.
Creating Your Panel Quilt
Once you’re ready to start your project and you have your panel in hand, check that it’s not “wonky” (not straight). This is not an imperfection of the panel; it was printed correctly but may have gotten misaligned when the fabric was rolled on the fabric bolt. There are several videos on YouTube that address how to straighten the panel. Search on YouTube for “QT wonky panel” to see one I particularly like.
When ready to quilt, think about the effect you want the quilting to have. This will determine the quilt design, how closely you quilt and the color thread you use. I try to use a design that coordinates or reflects the panel’s theme. The more dense the quilting, the more “stiff” and textured the quilt. If the thread contrasts too much with the panel, it may be too distracting. What thread would, overall, blend in the best? A medium tone often is the best choice.
If your project is going to be a wall hanging, don’t forget the hanging sleeve. Your quilt will hang better—and look better—than using clips. It’s also easier on the quilt. I like to sew the top of the sleeve on with the binding; it seems to be sturdier that way.
The magic of quilting is that it feeds your creativity. Panels can definitely spark some ideas.

my first article to read as a member and love how well written this is. thanks for sharing!!
Thanks so much for your kind comment, Pat! Have a great day 🙂 – Ashley, We Like Quilting