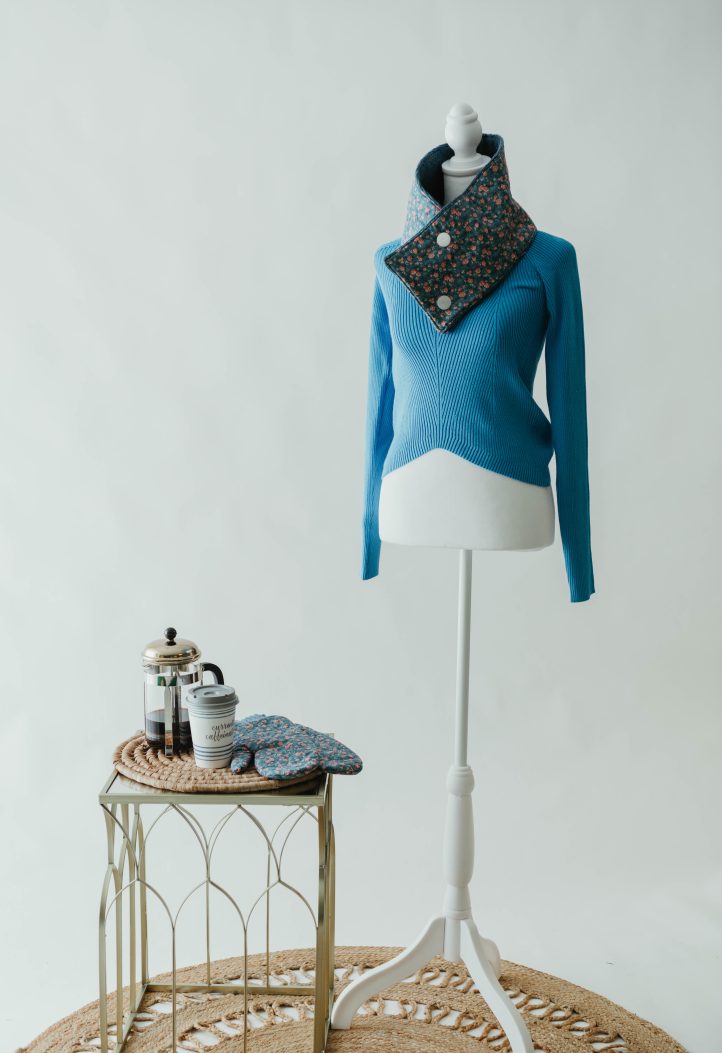
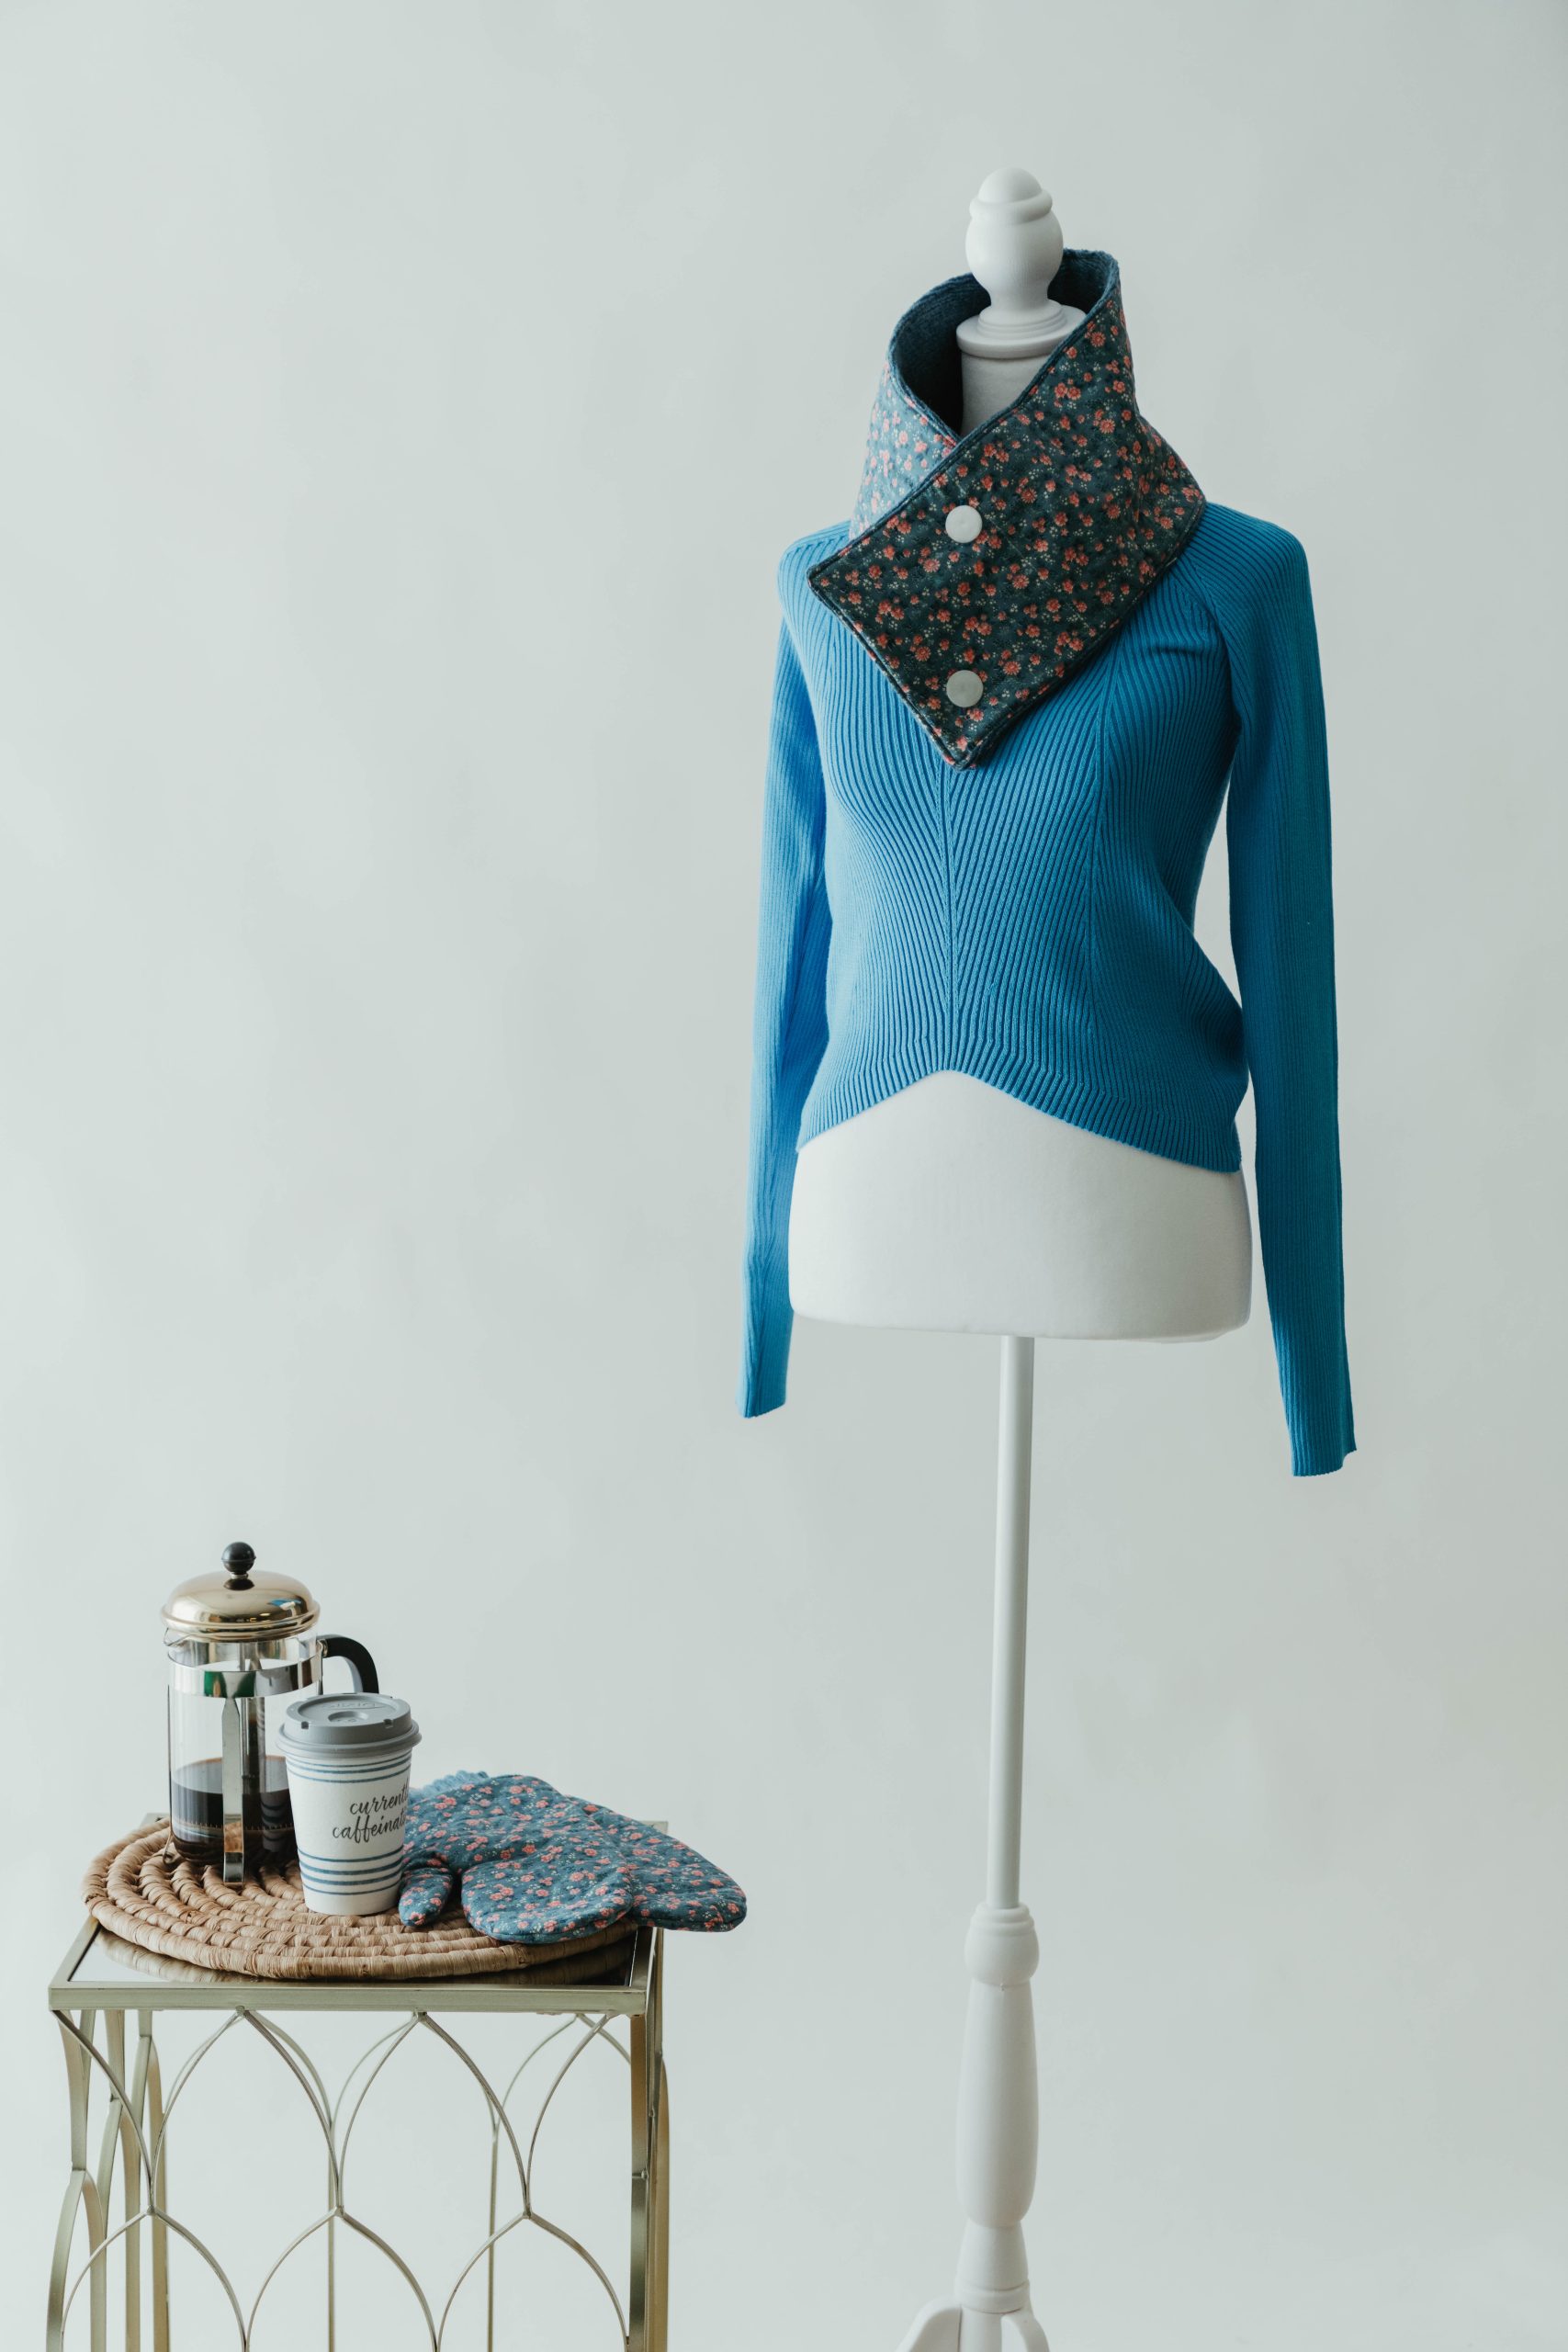
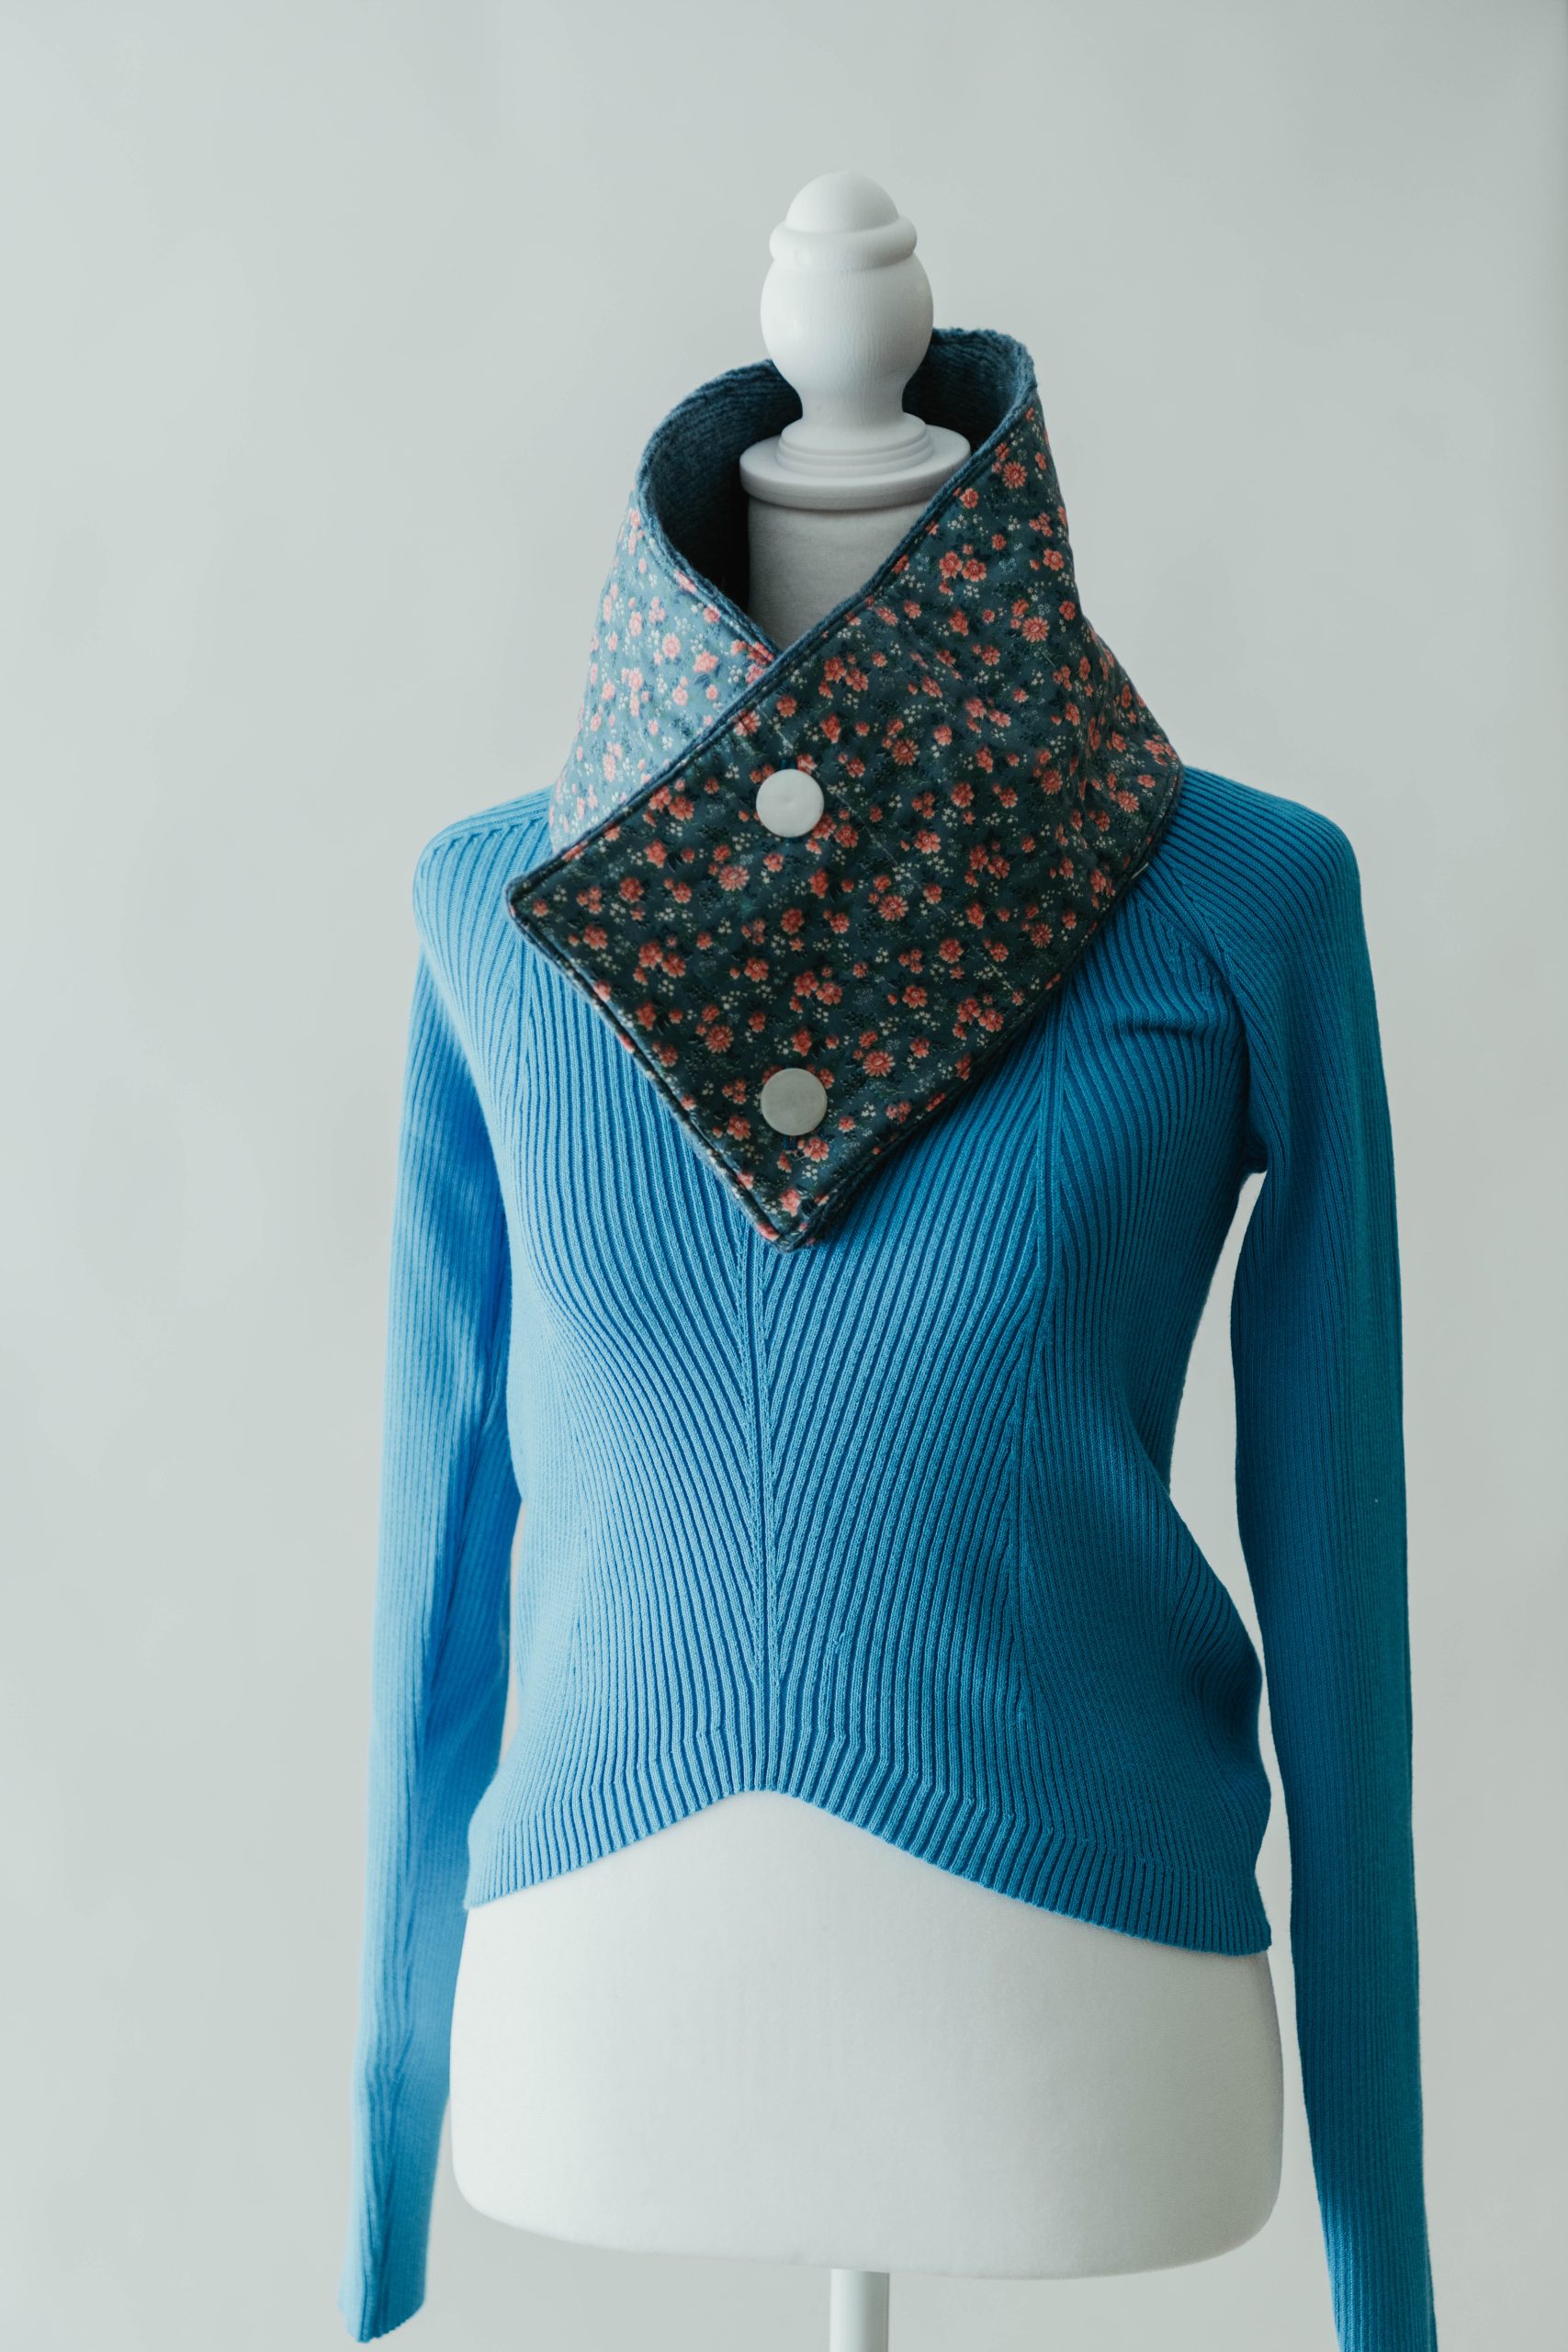
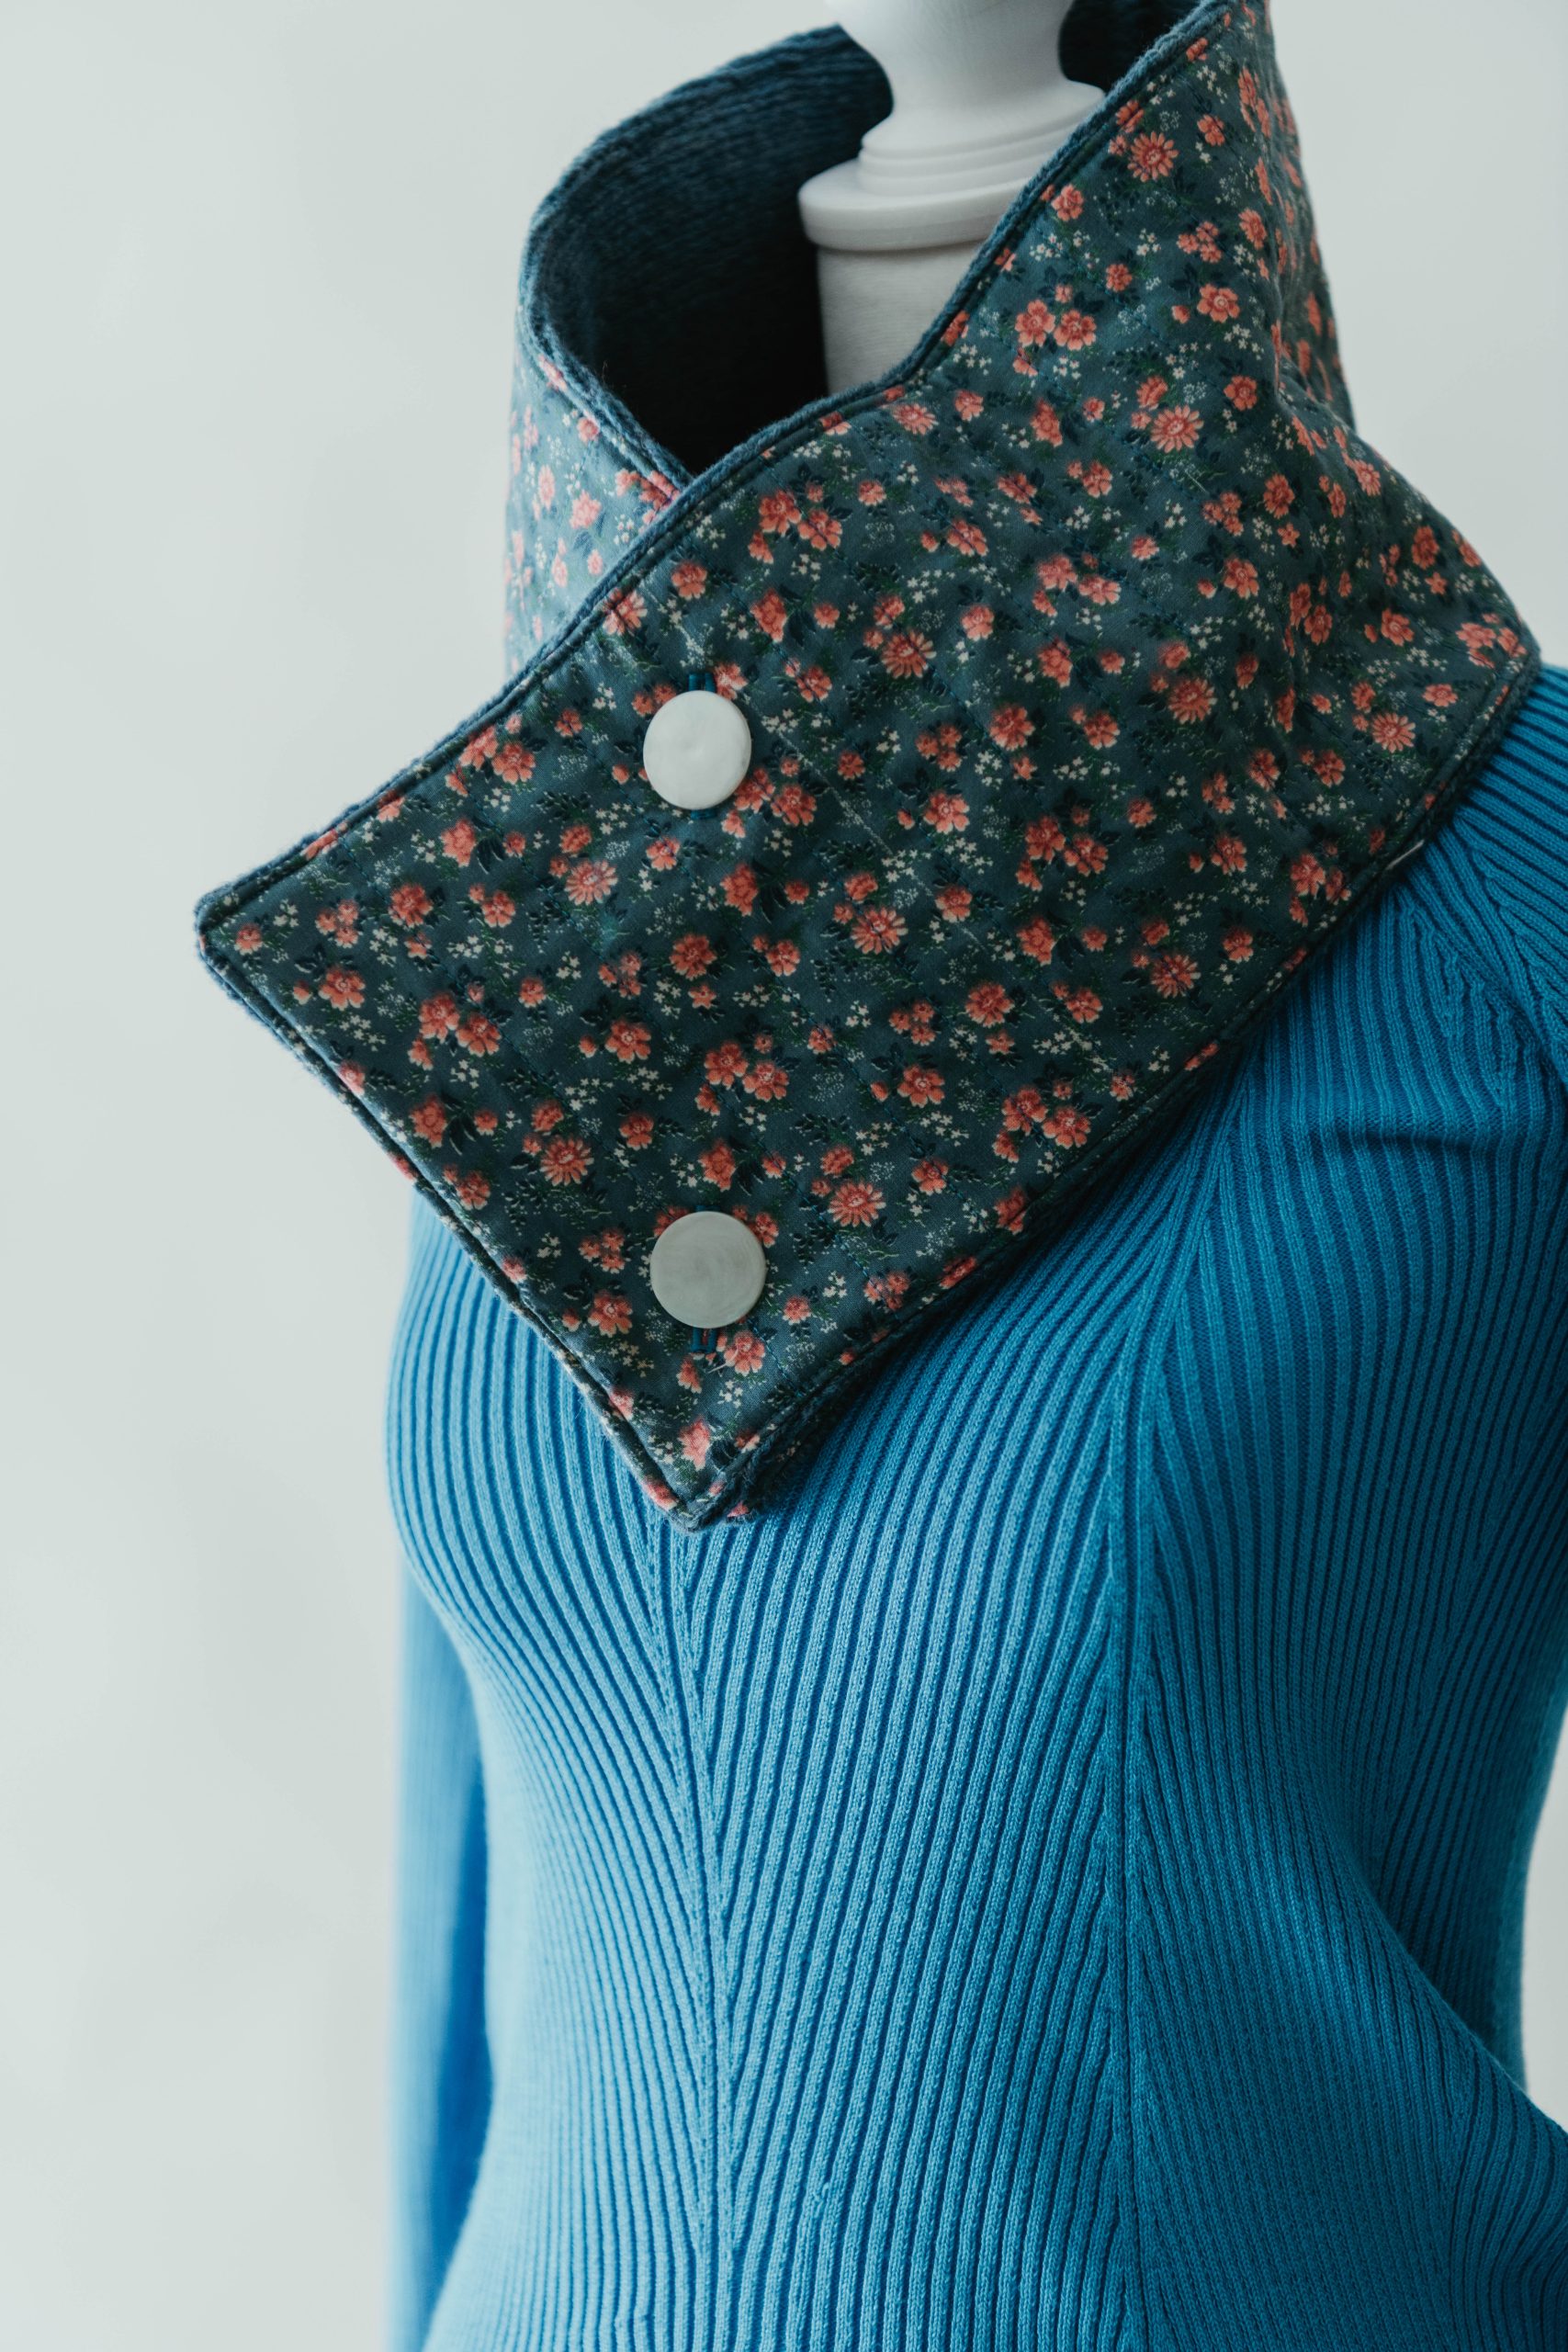
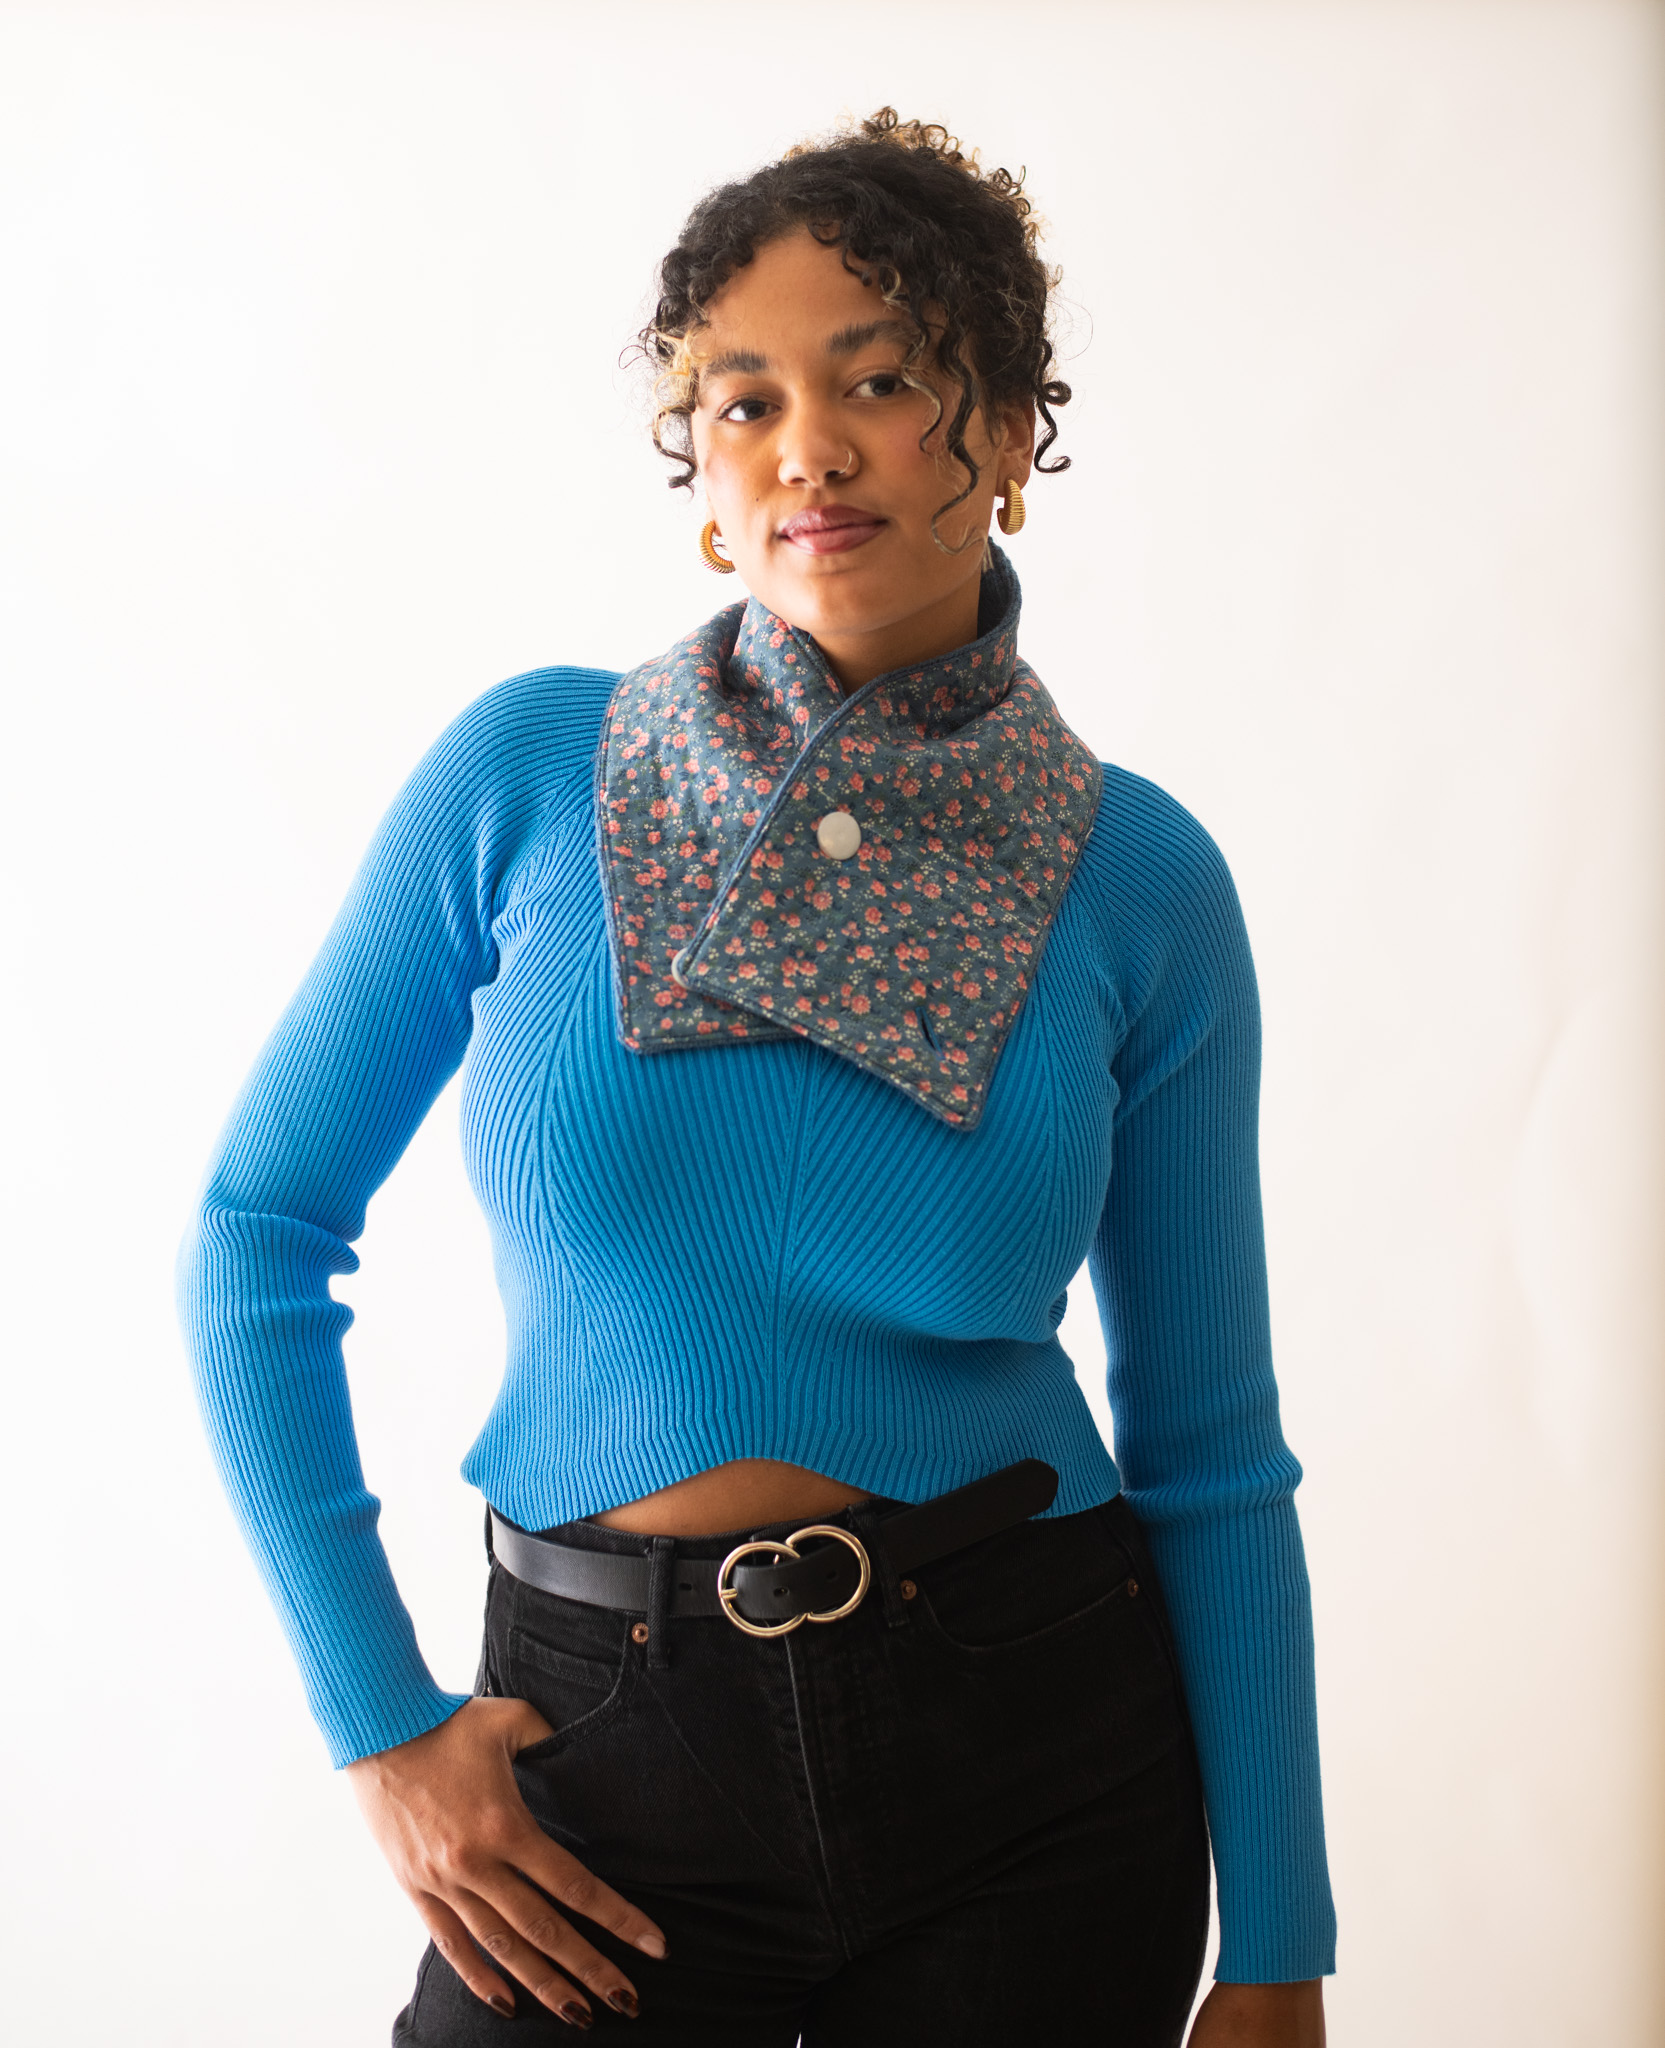
Chilly weather will be here soon, so start on your fall and winter quilting early with this cozy quilted collar from Janice Bailor. Inspired by classic Laura Ashley florals, this trendy quilted collar is a creative way to upcycle an old sweater to use as lining fabric, and its design is completed with button closures. If you love the look of this quilted collar, be sure to keep your eye out for next month’s issue, which features a coordinating set of quilted mittens!
Skill Level: Advanced beginner
Finished Dimensions: 31 in. long by 6 in. wide
Seam Allowances: 1/4”
Materials:
- Fabrics:
- 1/2 yard – Main print cotton
- 1/4 yard – Coordinating flannel
- Gently used sweater (cuffs and arms)
- 1/4 yard quilt batting
- Buttons
- Buttonhole foot
- Walking foot
Cutting Instructions:
- Cut 1 Main print cotton- 6 1/2 in. by 32 in.
- Cut 1 Quilt Batting – 12 in. by 34 in.
- Cut 2 sweater arms and join to make 6 1/2 in. by 32 in. rectangle.
Piecing Instructions:
- Cut sweater arms and join to create one length measuring 6 1/2 in. by 32 in. This is the lining side of the scarf.
- Lay the main cotton print right side up on the batting rectangle, then baste and quilt as desired. *Note: The closer the lines of quilting, the stiffer the scarf collar will become.
- Trim the quilted panel to a neat 6 1/2 in. by 32 in. length.
- Place the quilted panel RST with the sweater, pinning generously, and sew 1/4 in. seam around the perimeter, leaving an approximate 2 in. opening along one edge for turning.
- Trim away any excess fabric around the sewn edge, making sure to leave a 1/4 in. remaining. Dock corners by trimming at an angle approximately 1/8 in. from each corner seam. See Figure 1.

- Using the 2 in. opening, turn the fabrics right side out and use a rounded stick to help gently poke out excess fabric in the corners. Press flat with a hot iron.
- Top sew 1/4 in. from the edge around the entire scarf perimeter, making sure to close the turning opening.
- Mark 2 buttonholes at a 45-degree angle from one end of the scarf and use the buttonhole foot to create the two buttonholes following the specifications of the sewing machine. Open buttonholes with a razor or scissors. See Figure 1 above.
- Lay the buttonhole scarf end overlapping and perpendicular on the opposite side and mark for the buttons. See Figure 1. Hand stitch buttons in place to complete the scarf.

Love it, going to get busy making it!