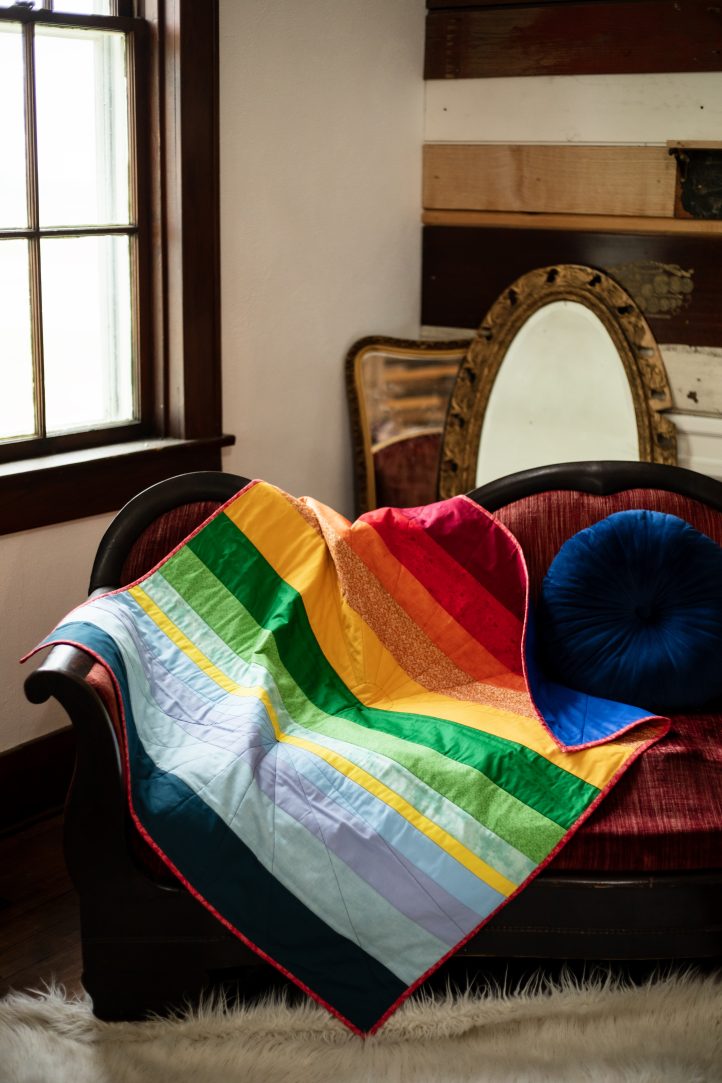
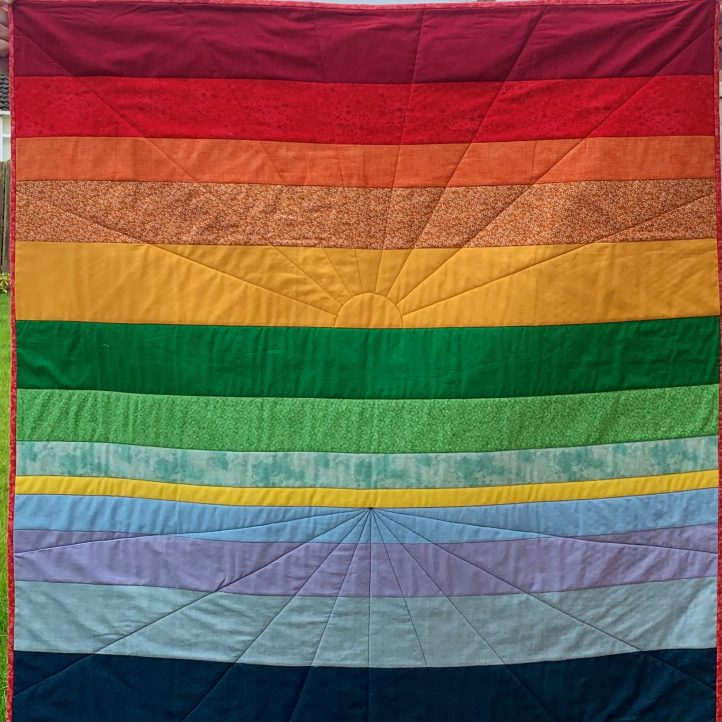
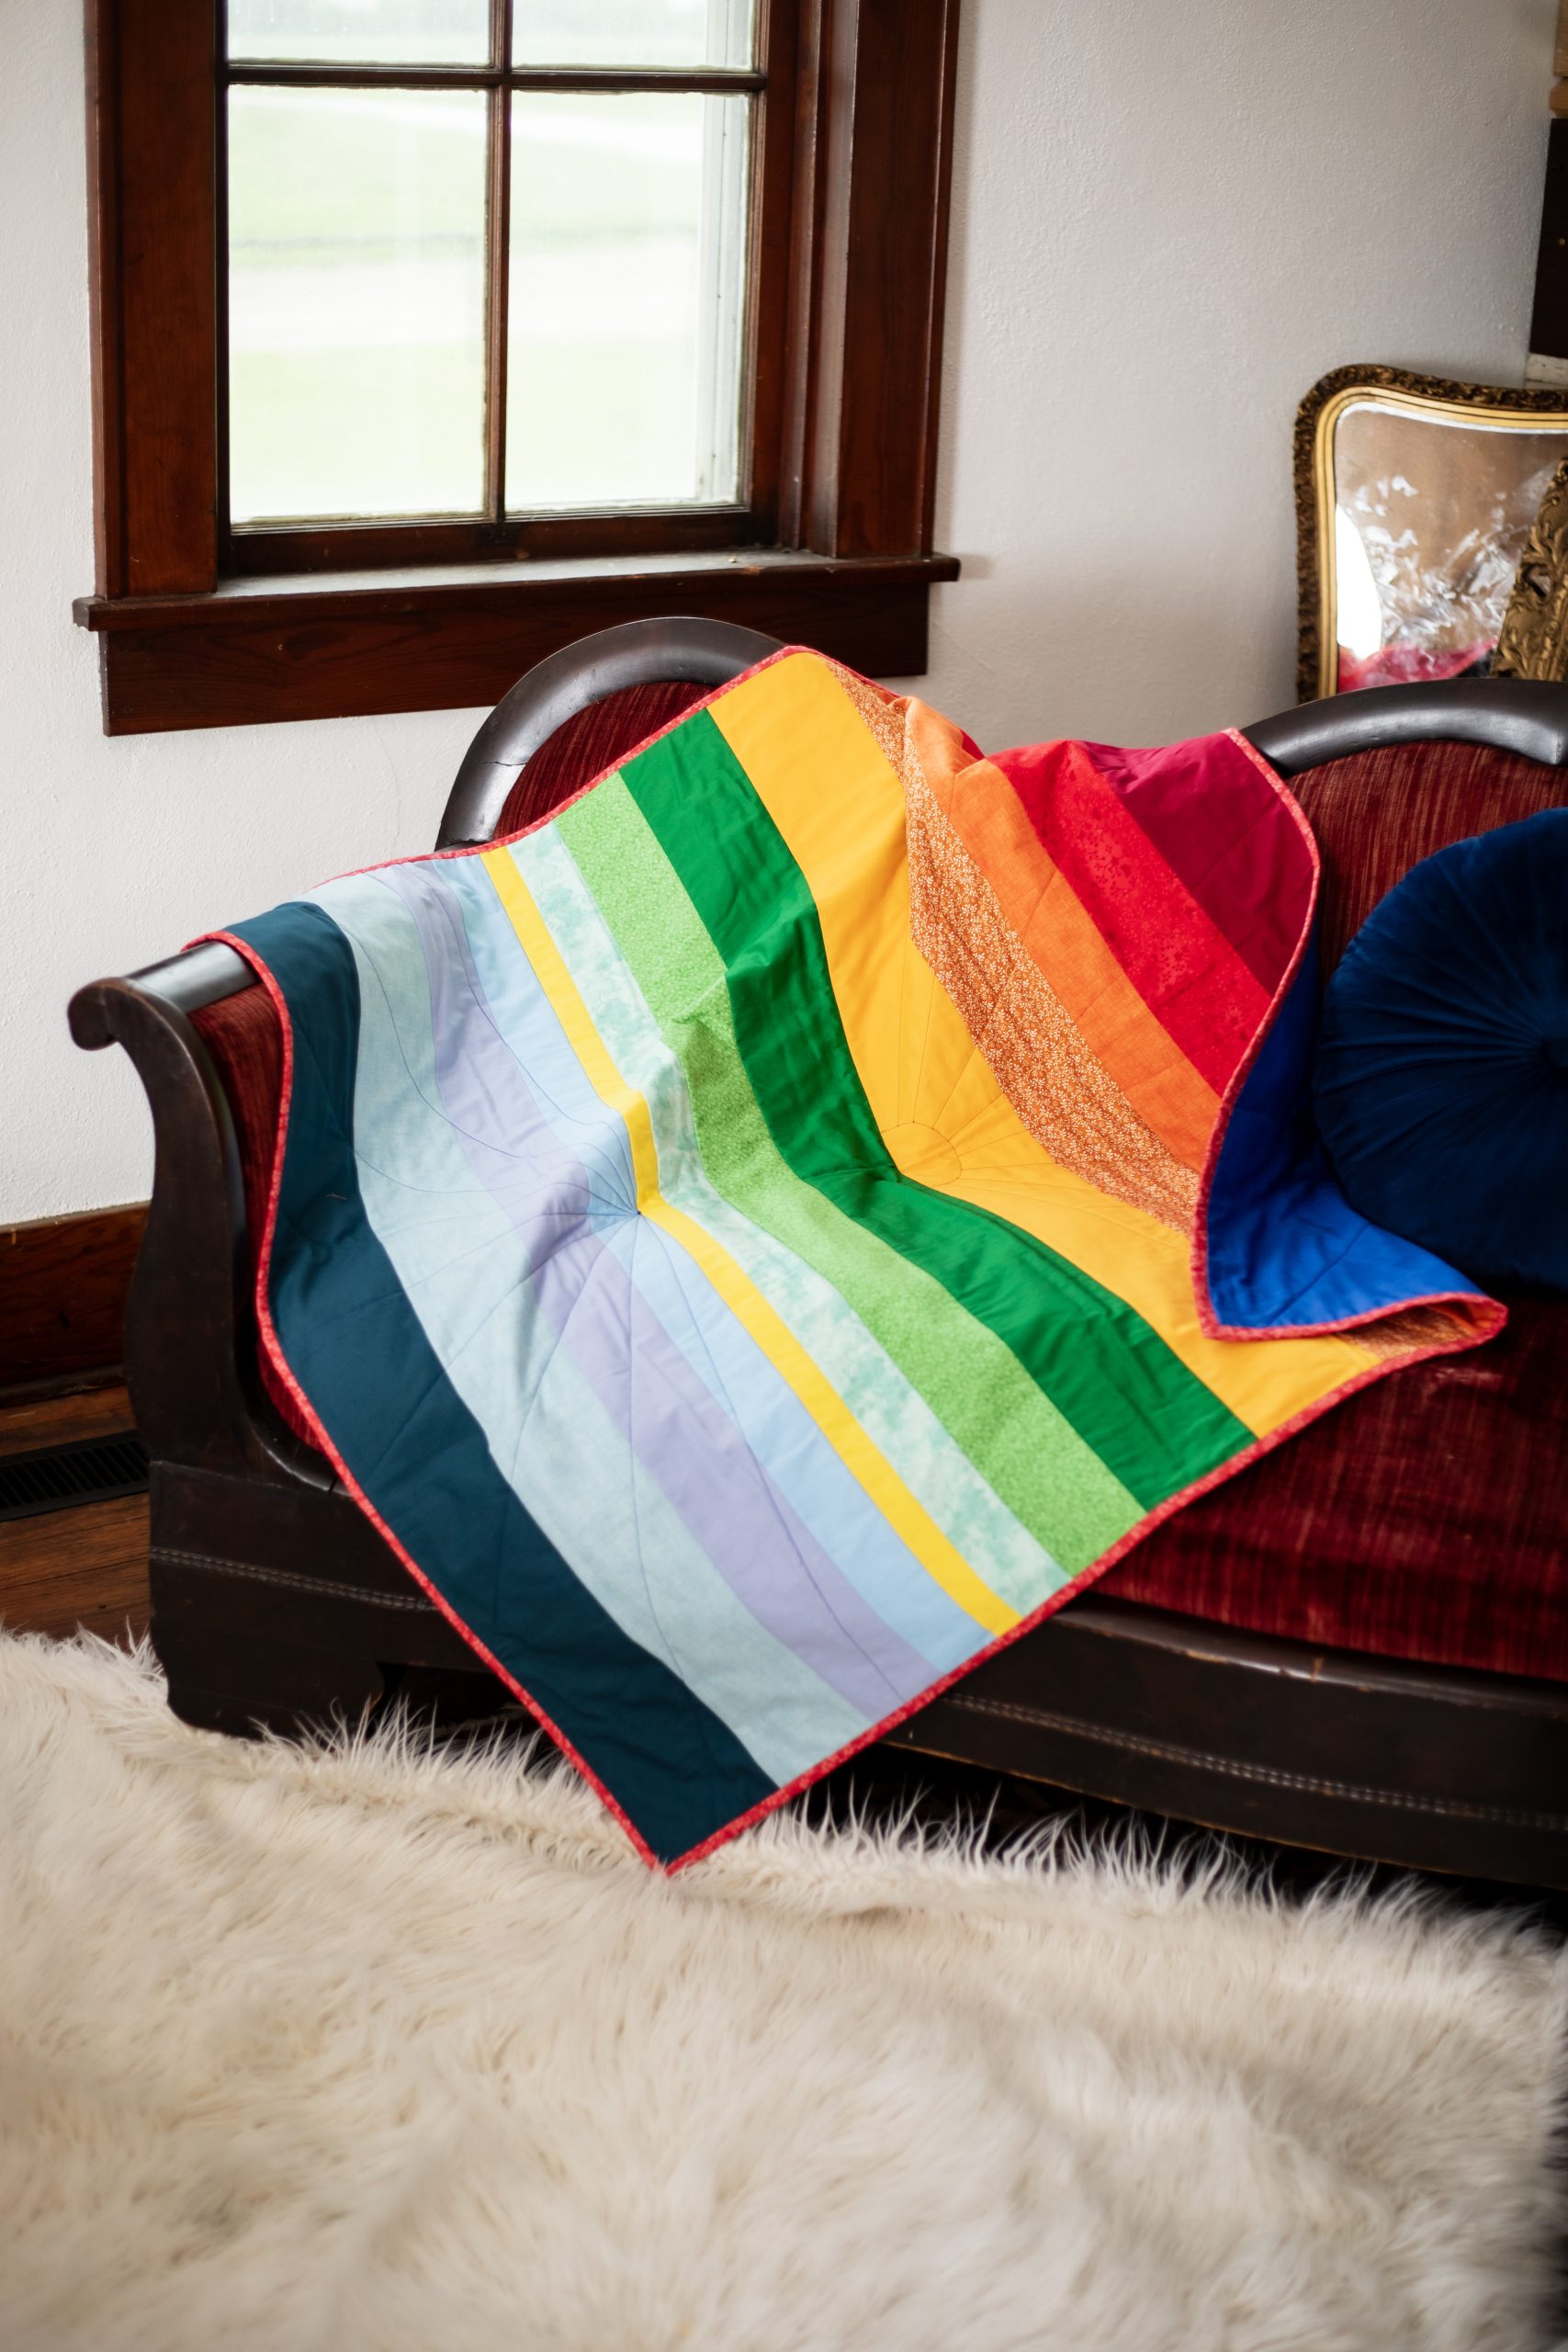
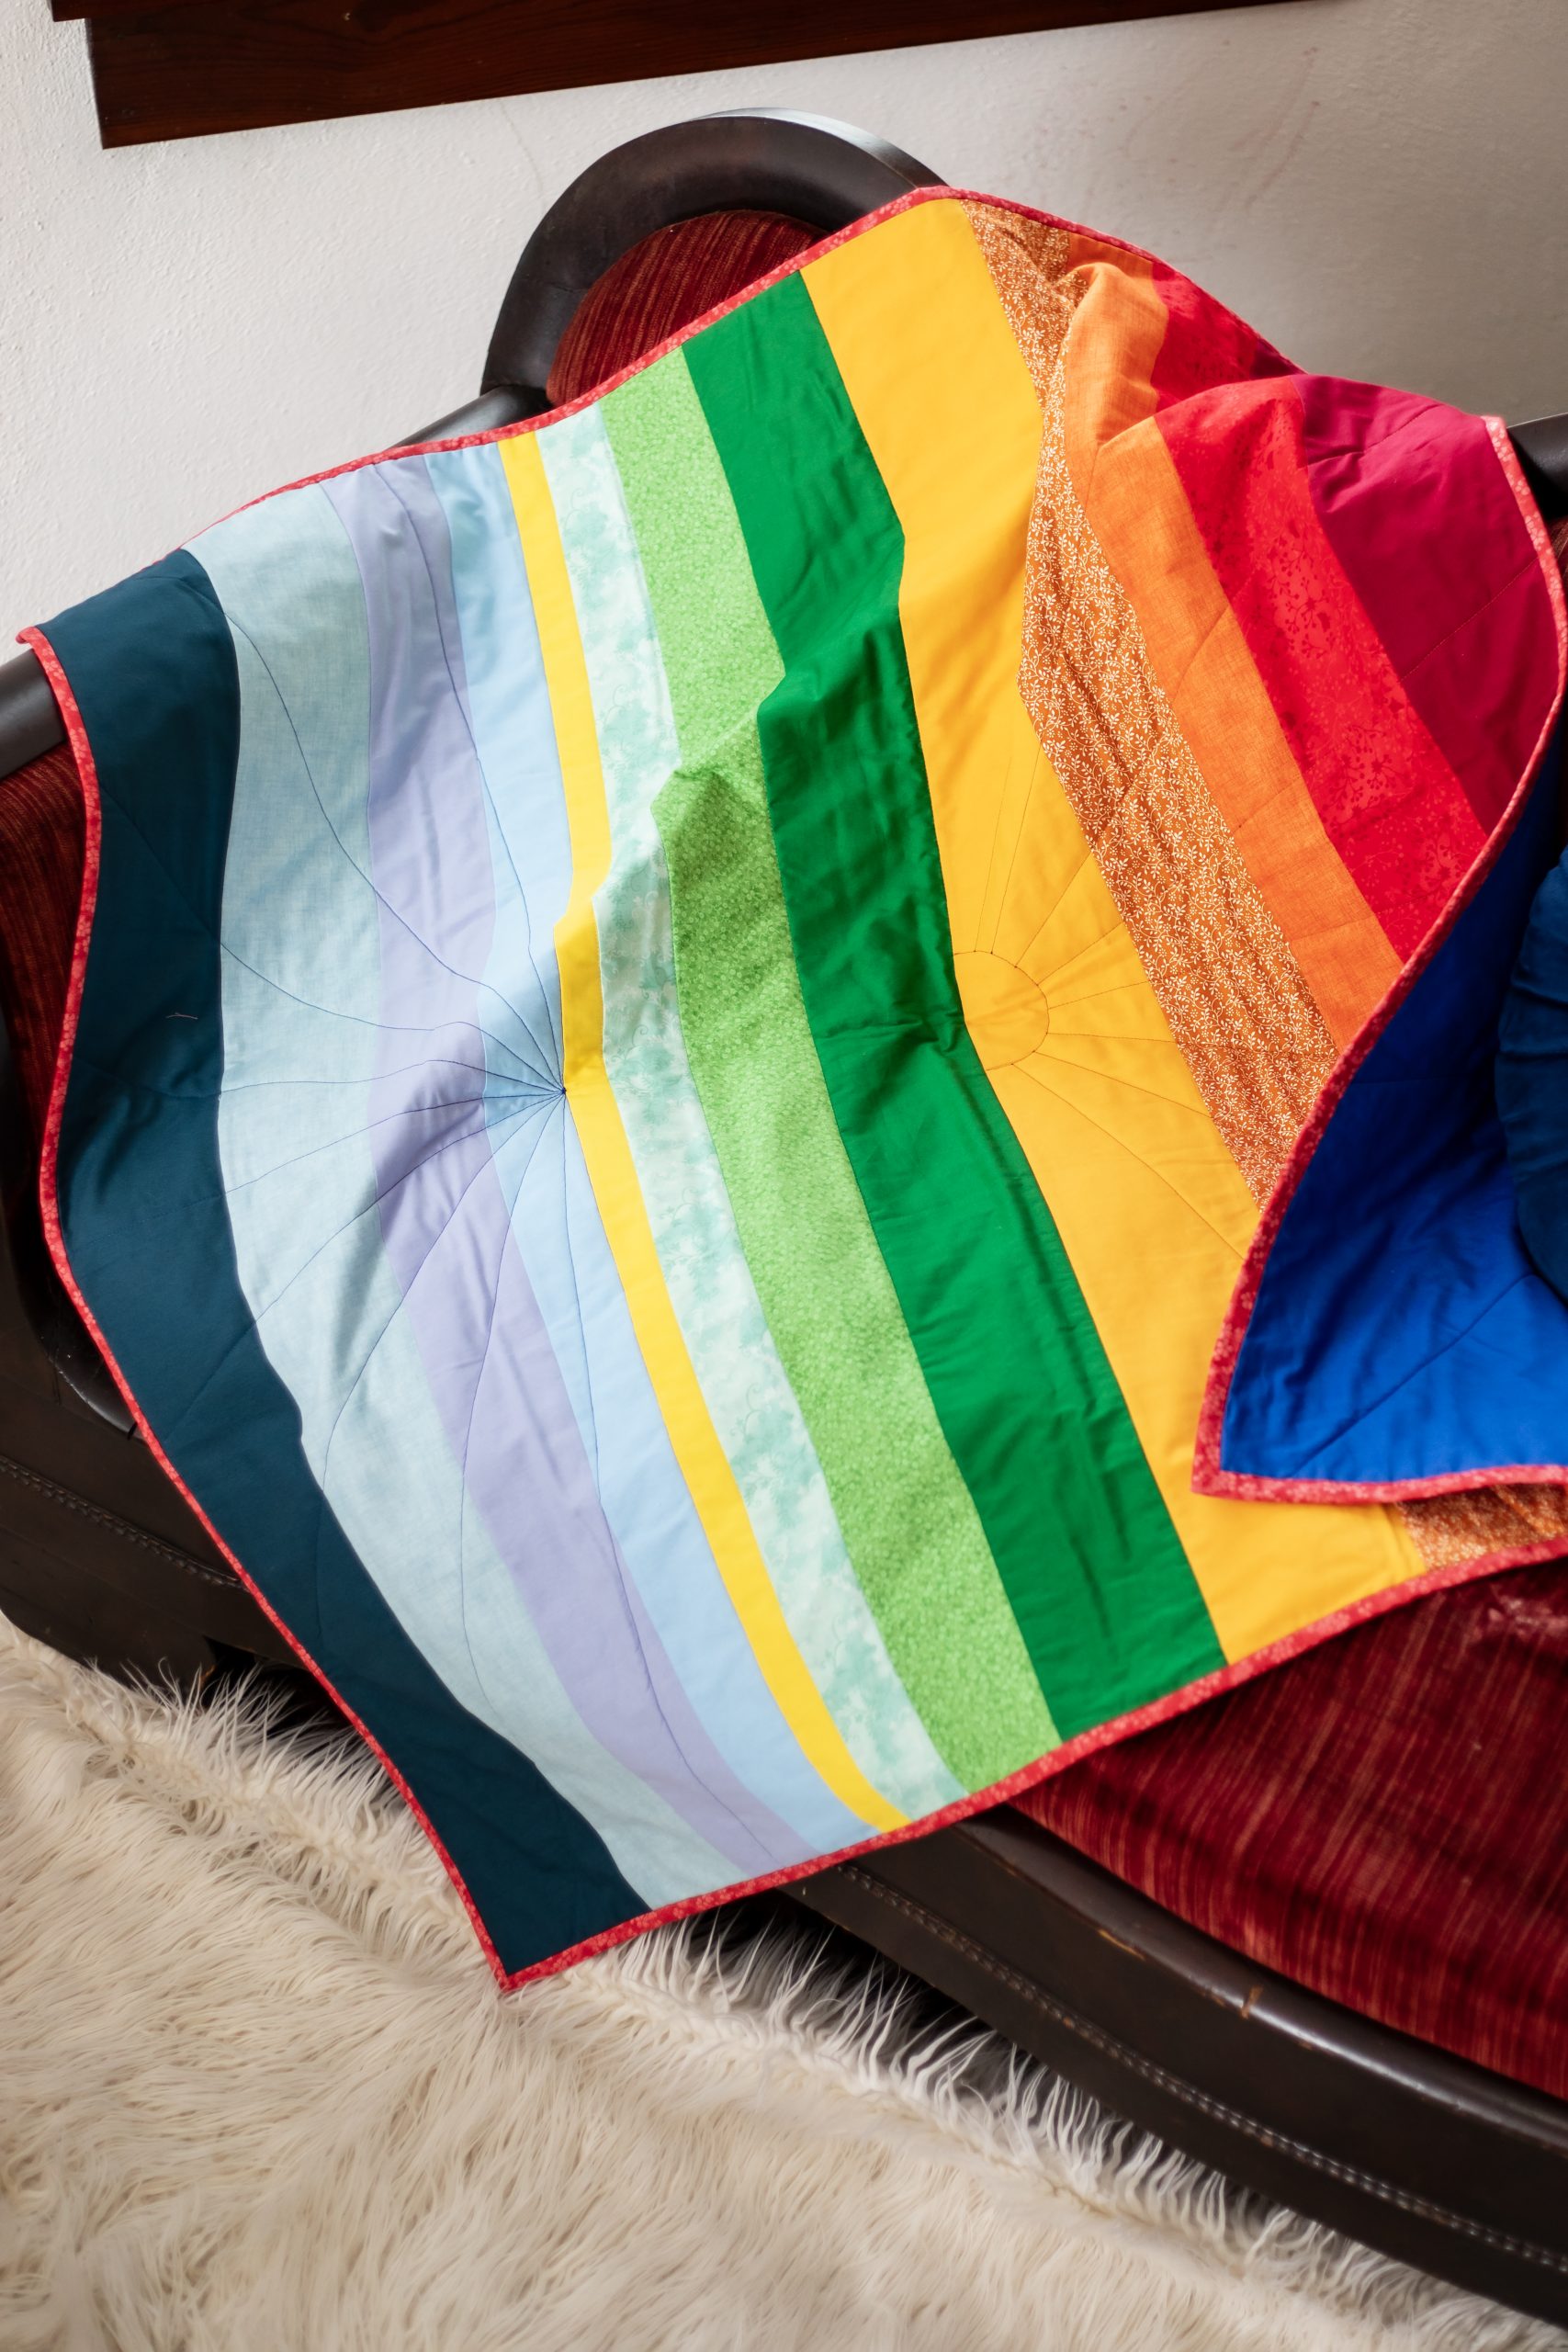
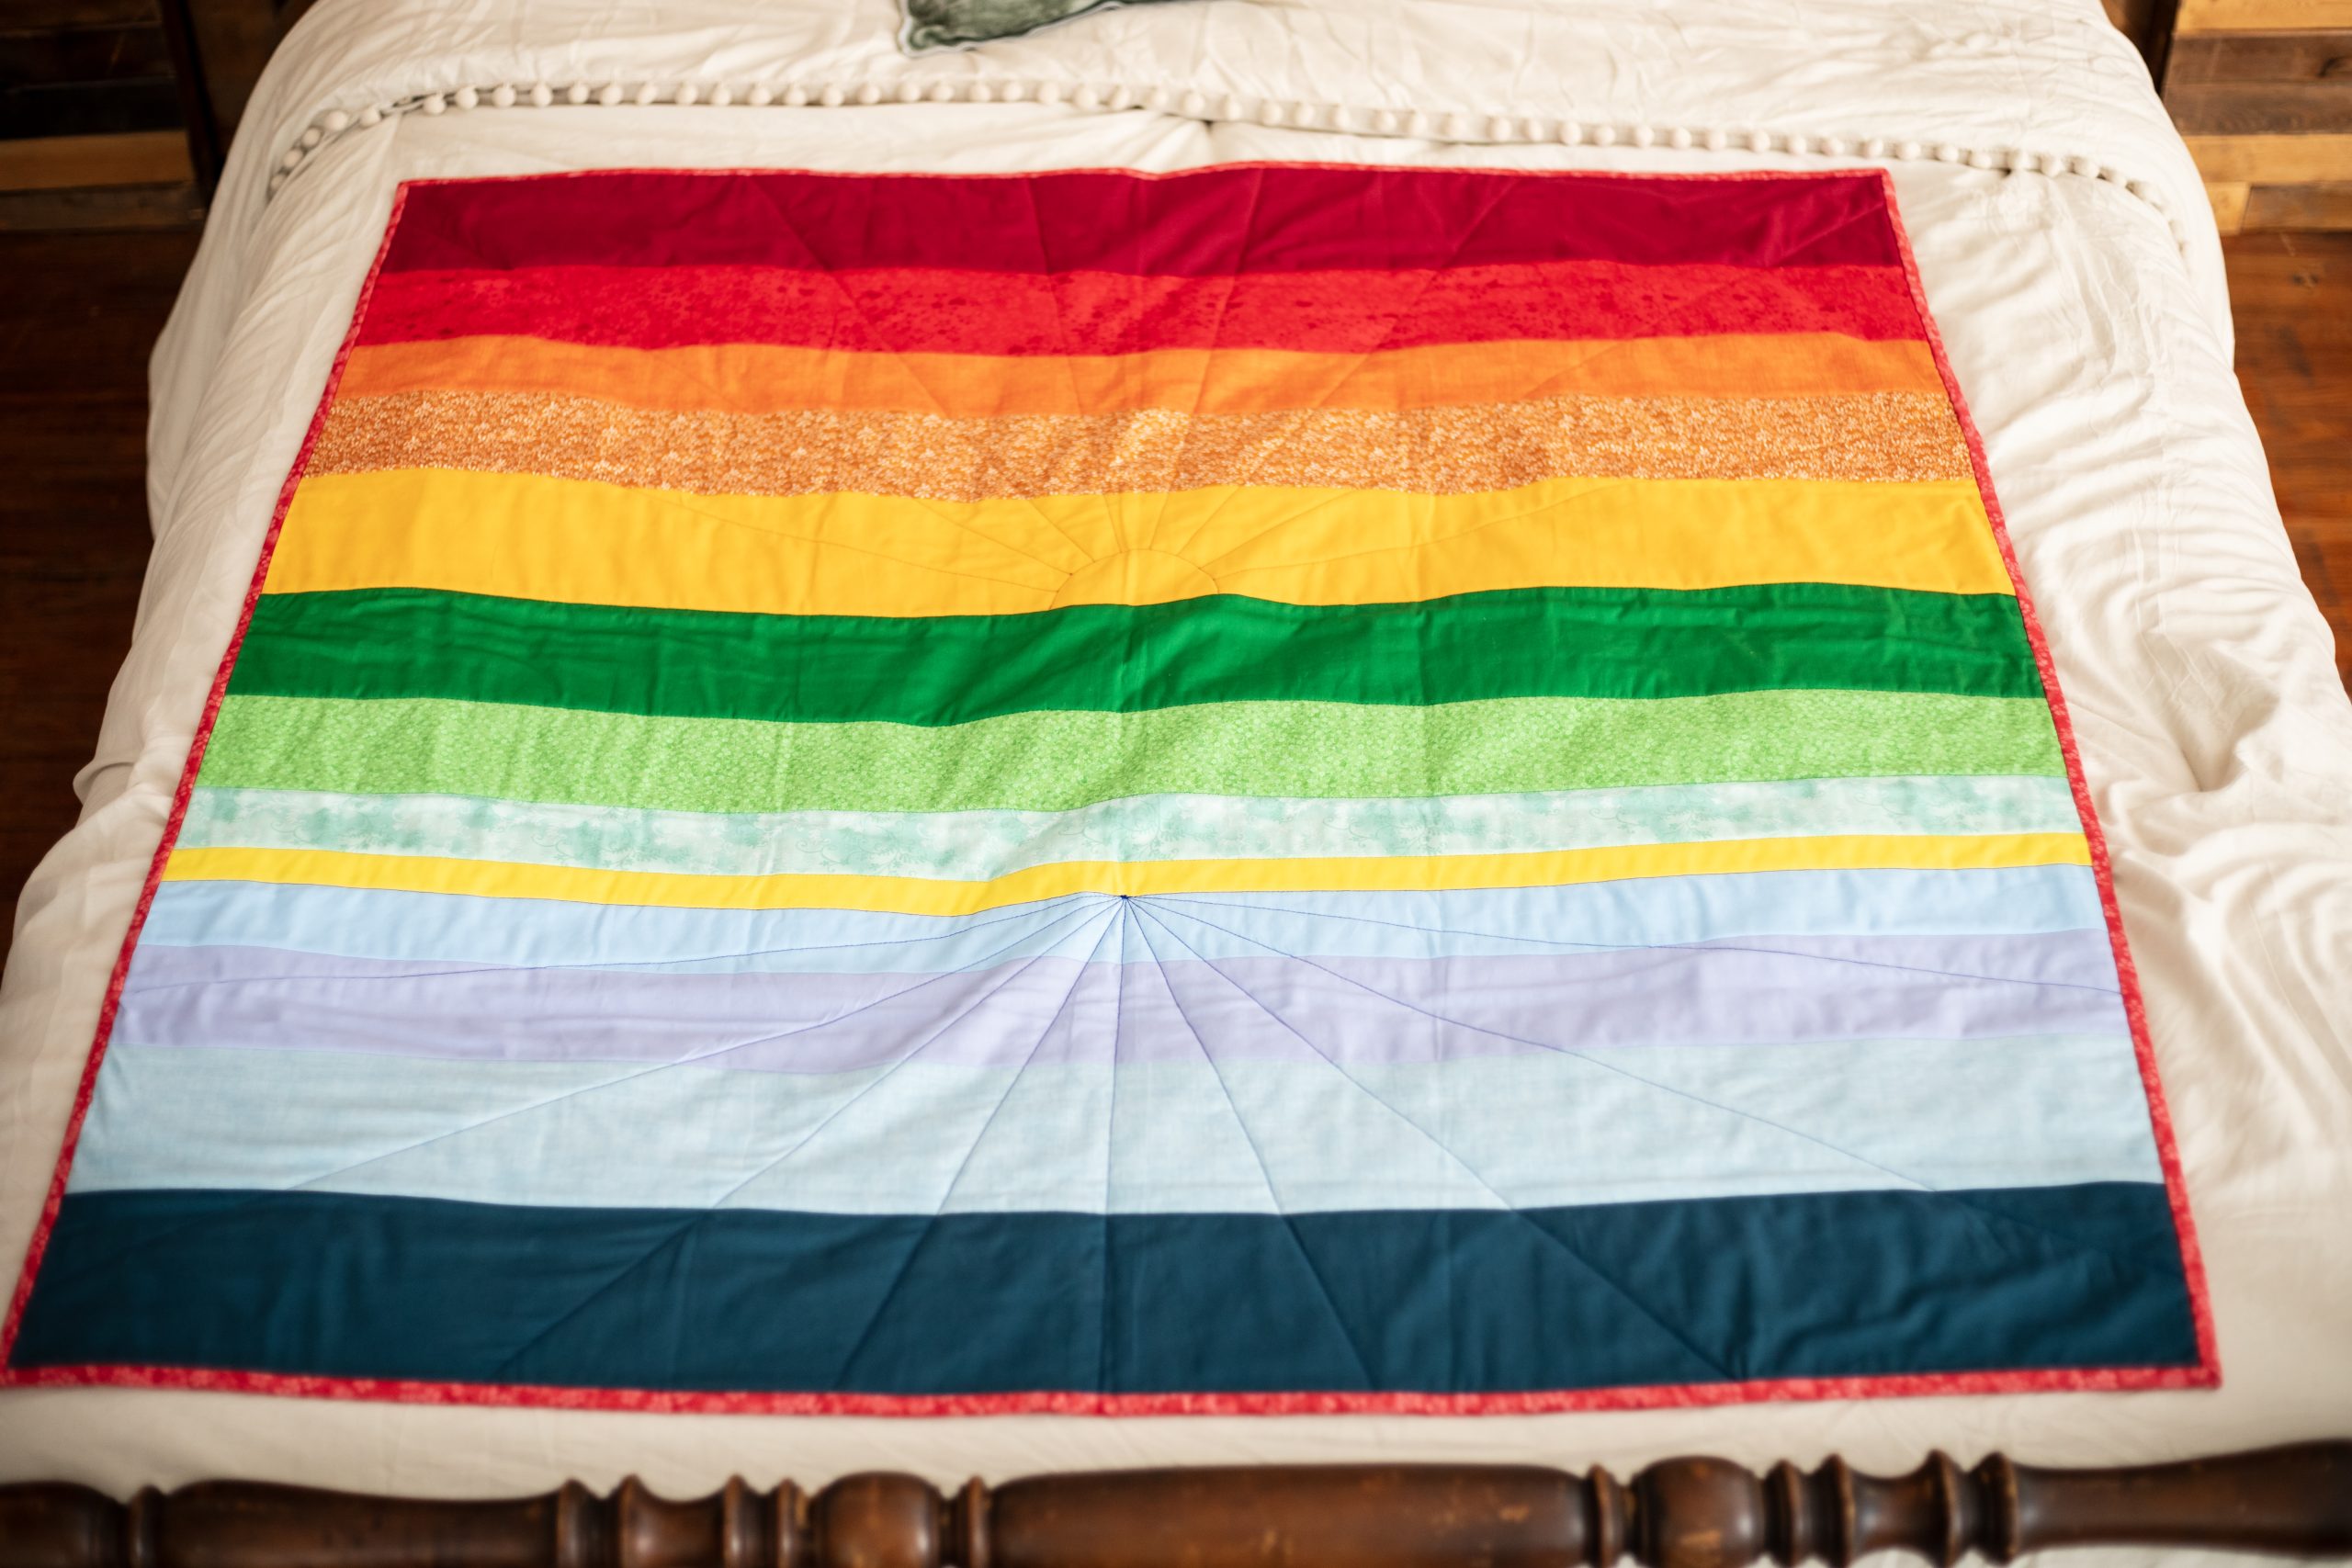
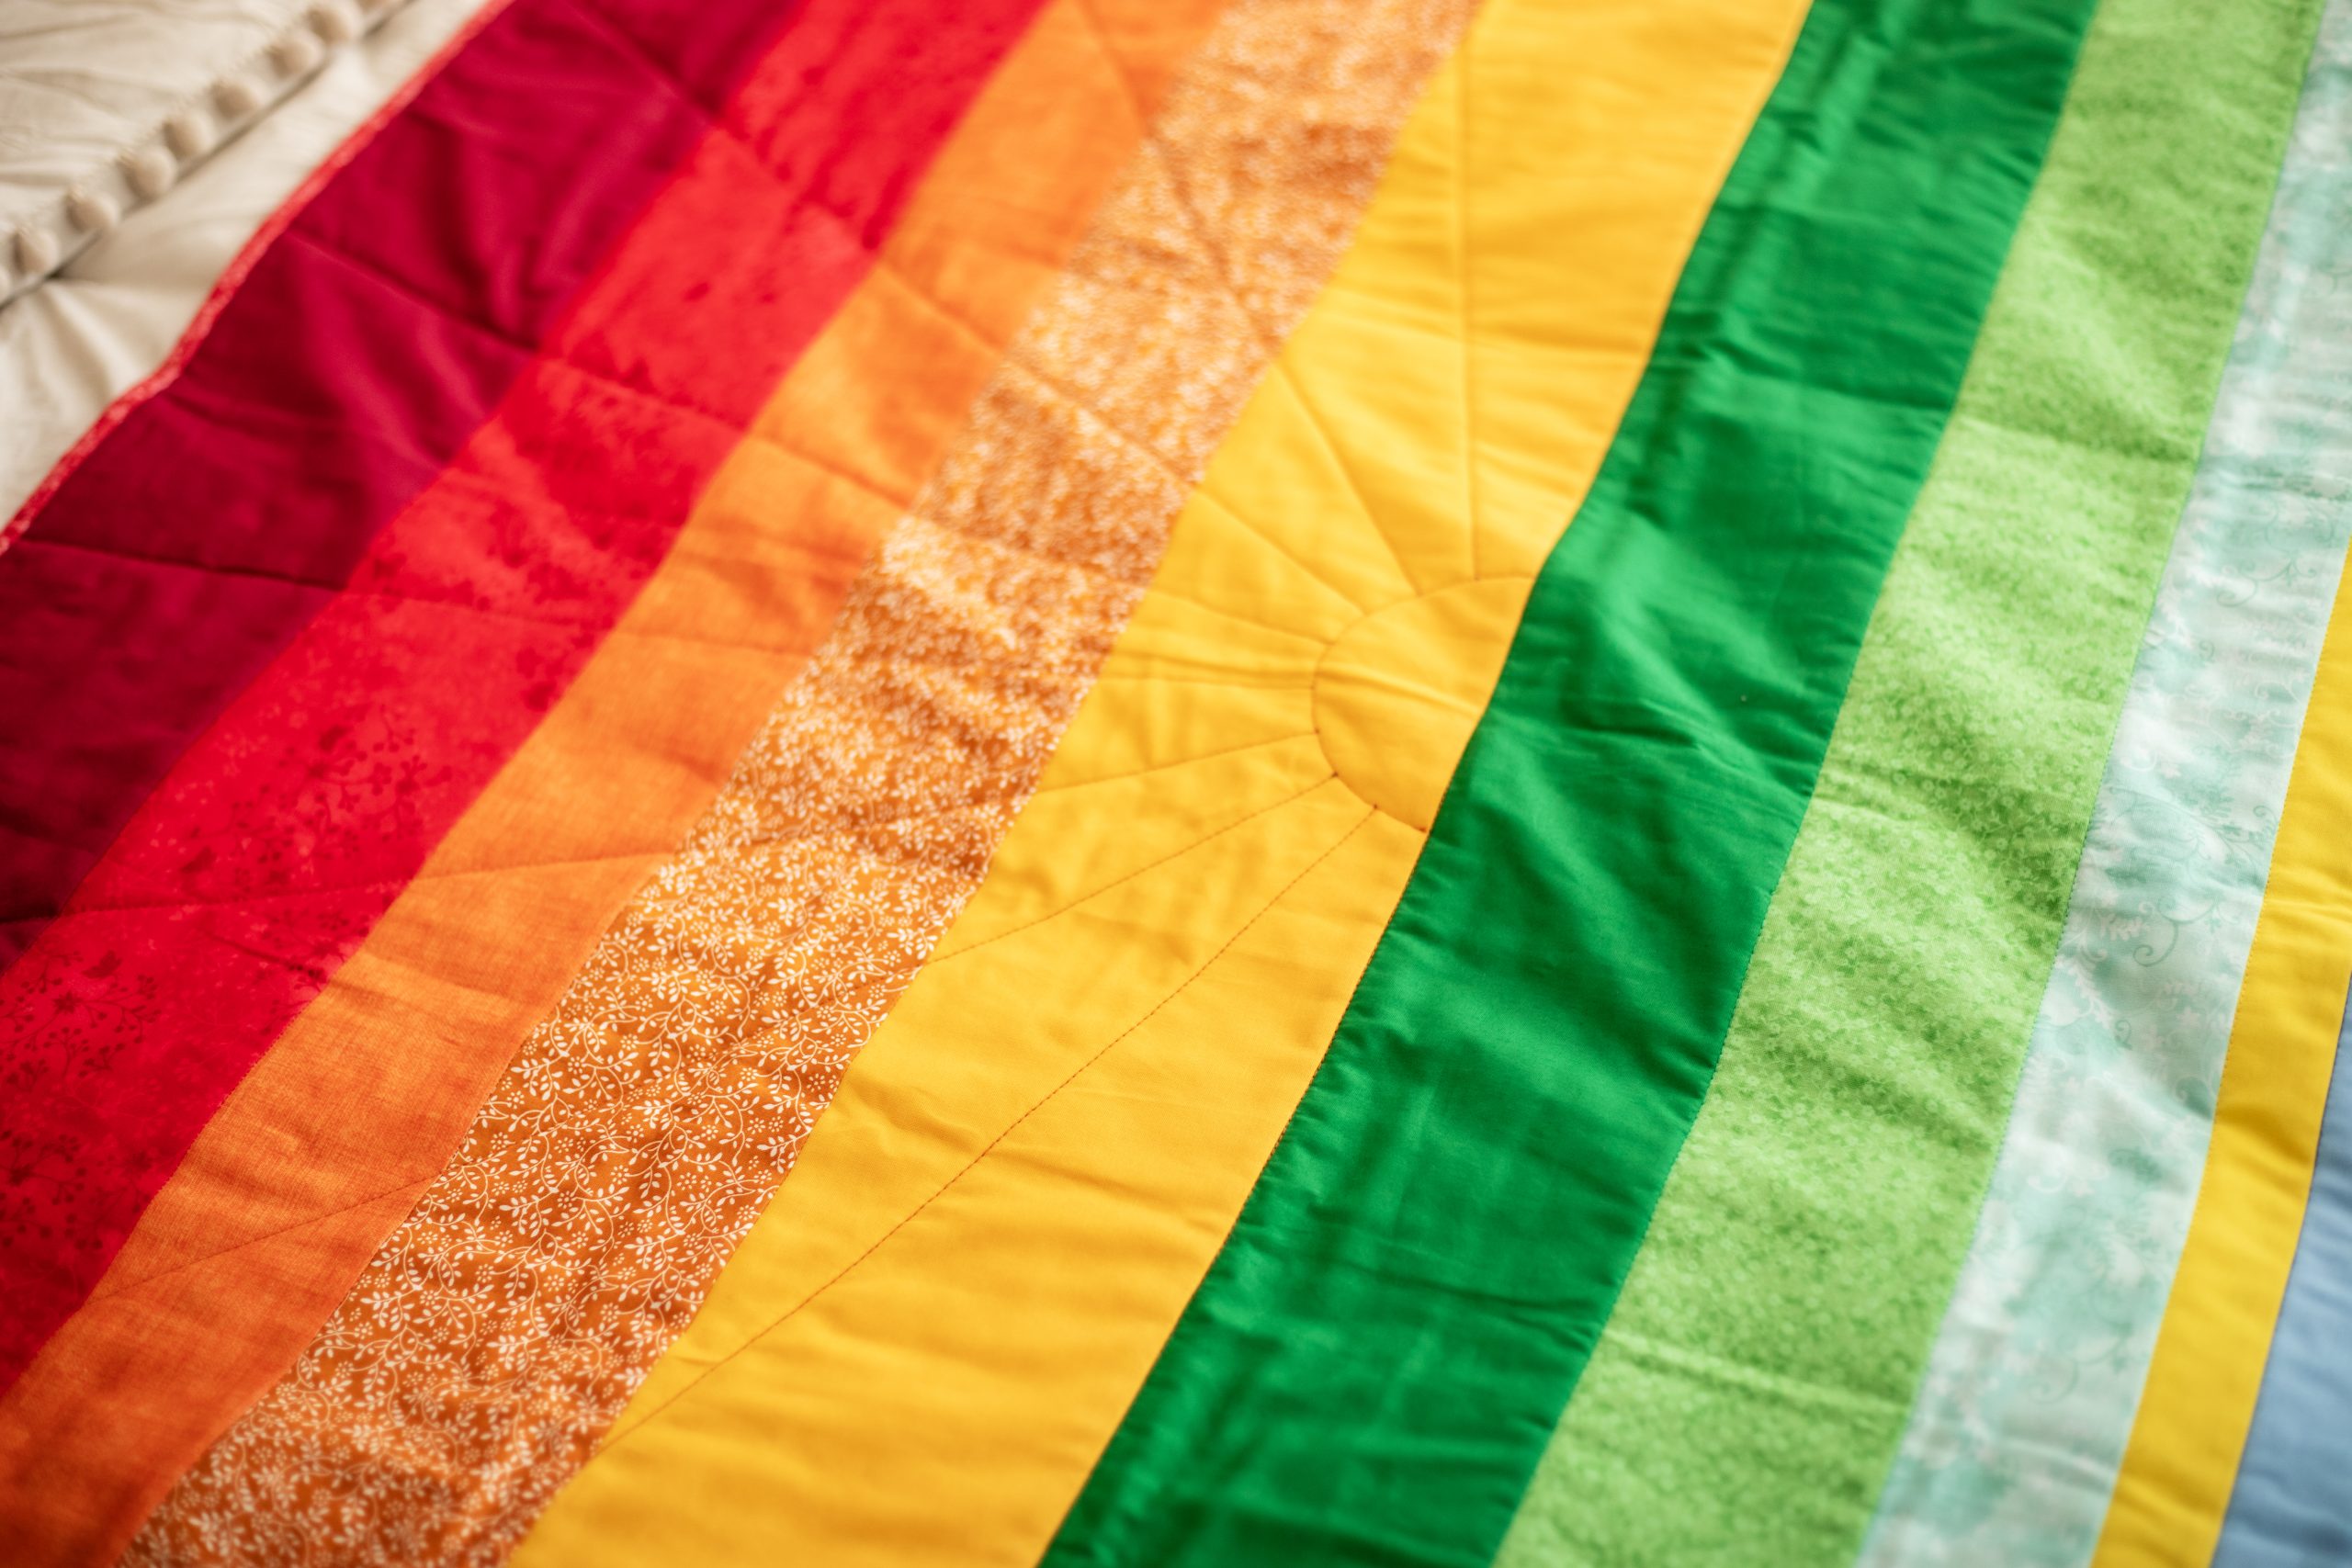
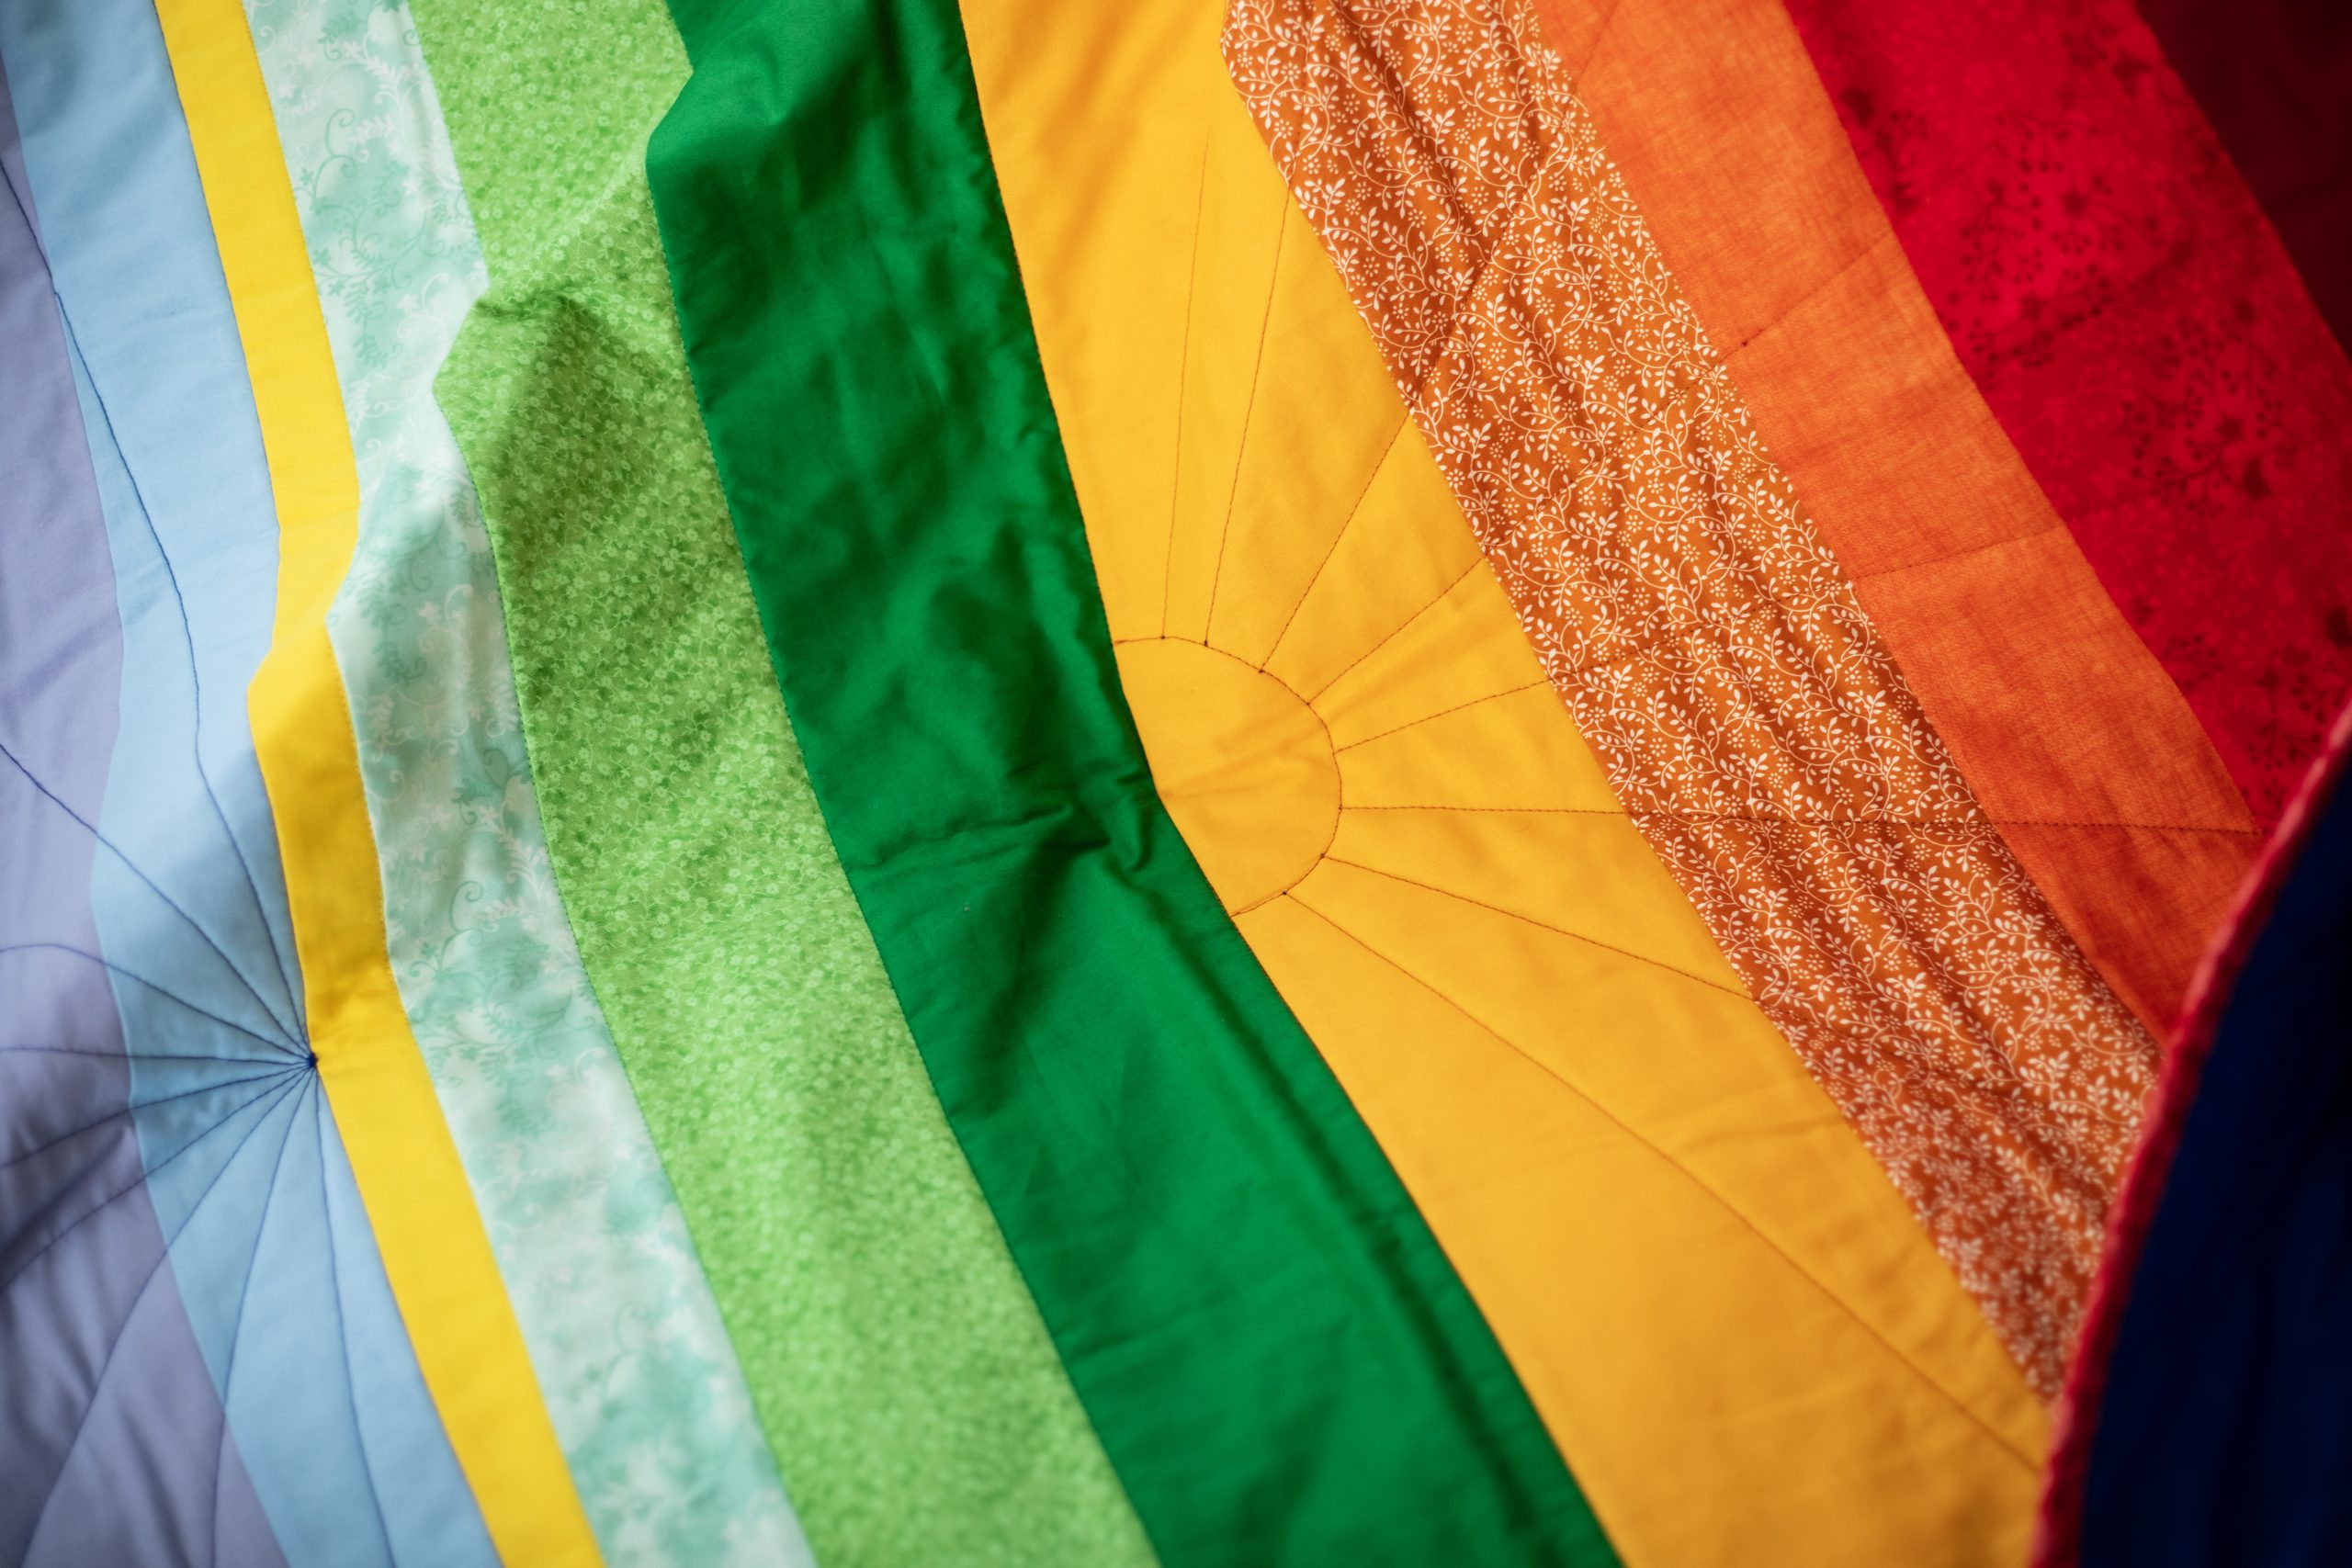
Few things are more beautiful than a late summer sunset, and this gorgeous strip quilt pattern from Zoe Ballard perfectly encapsulates this with a rich color palette and intricate design details. Designed for beginner quilters, this small throw quilt pattern finishes at a 42-inch square and uses a rainbow of fabric strips to mimic a setting sun over a peaceful field and lake. Finish your strip quilt pattern by adding decorative stitches that resemble sun rays at the close of the day.
Skill Level: Beginner
Finished Size: ~42” x ~42”
Designer Note: WOF – Width of Fabric
Materials:
- Fabric requirements:
- Long quarter (1/4 yard x WOF – based on 44” wide fabric):
- Two red
- Three orange
- Three green
- One yellow
- Four blue
- 1/2 yard red for binding (could use fabric from the quilt top and make scrappy binding)
- Long quarter (1/4 yard x WOF – based on 44” wide fabric):
Cutting Instructions:
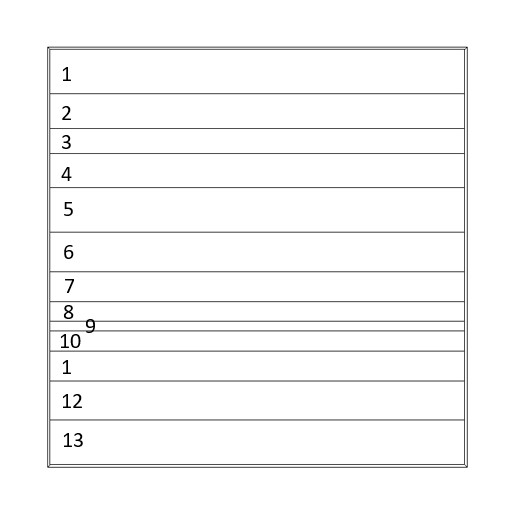
- Row 1 – red – 5” x WOF
- Row 2 – red – 4” x WOF
- Row 3 – orange – 3” x WOF
- Row 4 – orange – 4” x WOF
- Row 5 – orange – 5” x WOF
- Row 6 – green – 4 1/2” x WOF
- Row 7 – green – 3 1/2” x WOF
- Row 8 – green – 2 1/2” x WOF
- Row 9 – yellow – 1 1/2” x WOF
- Row 10 – blue – 2 1/2” x WOF
- Row 11 – blue – 3 1/2” x WOF
- Row 12 – blue – 4 1/2” x WOF
- Row 13 – blue – 5” x WOF
Piecing Instructions:
CONSTRUCTION:
Designer Note: Use a 1/4” seam allowance.
- With right sides together, stitch the strips into pairs (and a three) along the long edge.
- With right sides together, stitch the pairs into fours (and a five) along the long edge.
- With right sides together, stitch the three sections together.
- Press the seams in one direction.
- Trim the selvedges; the quilt top should measure ~42”.
LAYERING UP:
- Place the quilt top right side up on the middle of the batting and smooth out. The quilt is small enough to turn over so the backing can be placed on top, right side up, and smoothed out. Turn the whole back over so the top is showing and pin/baste well.
QUILTING:
- Quilt as desired.
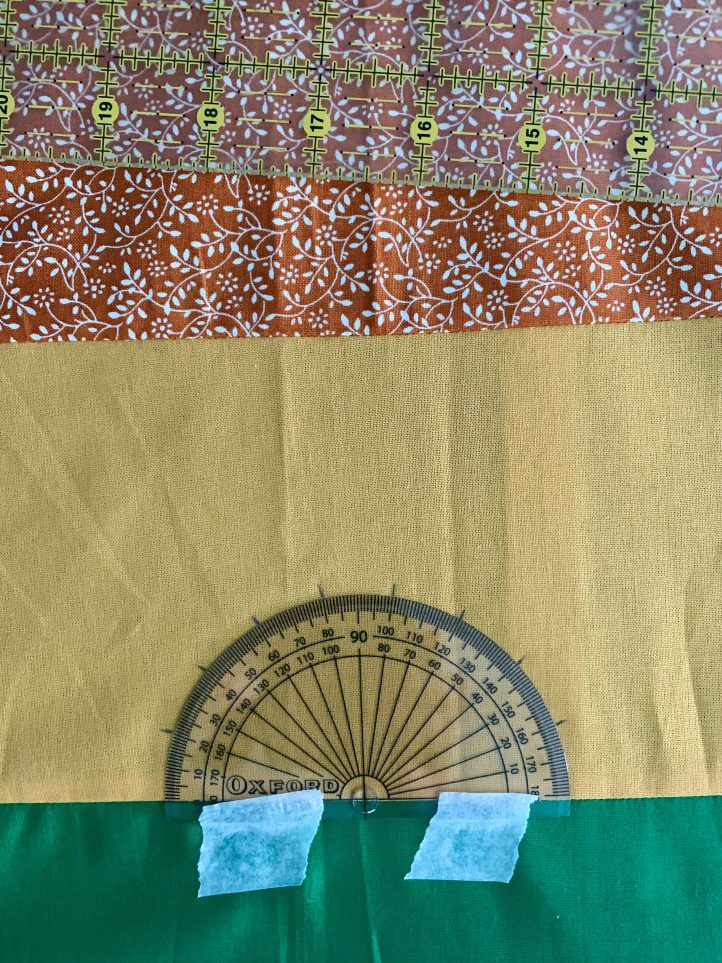
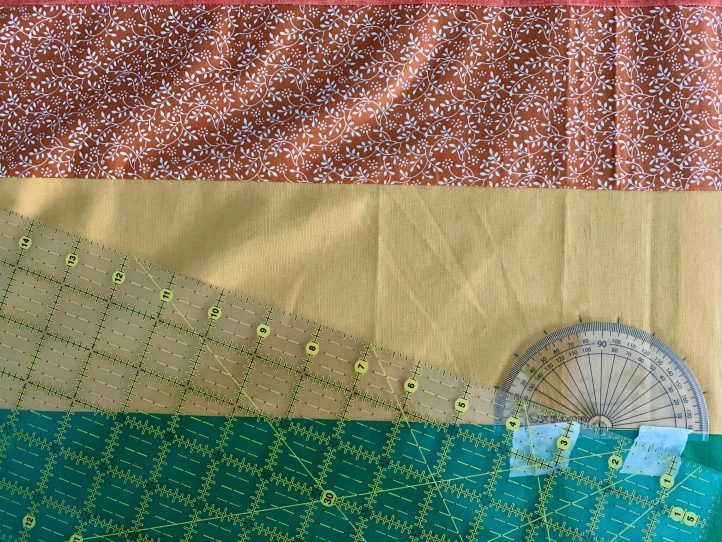
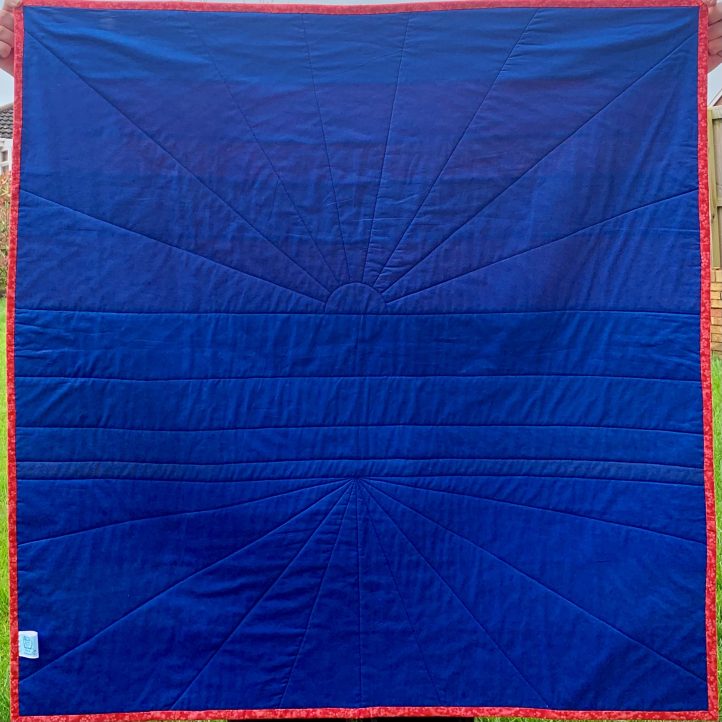
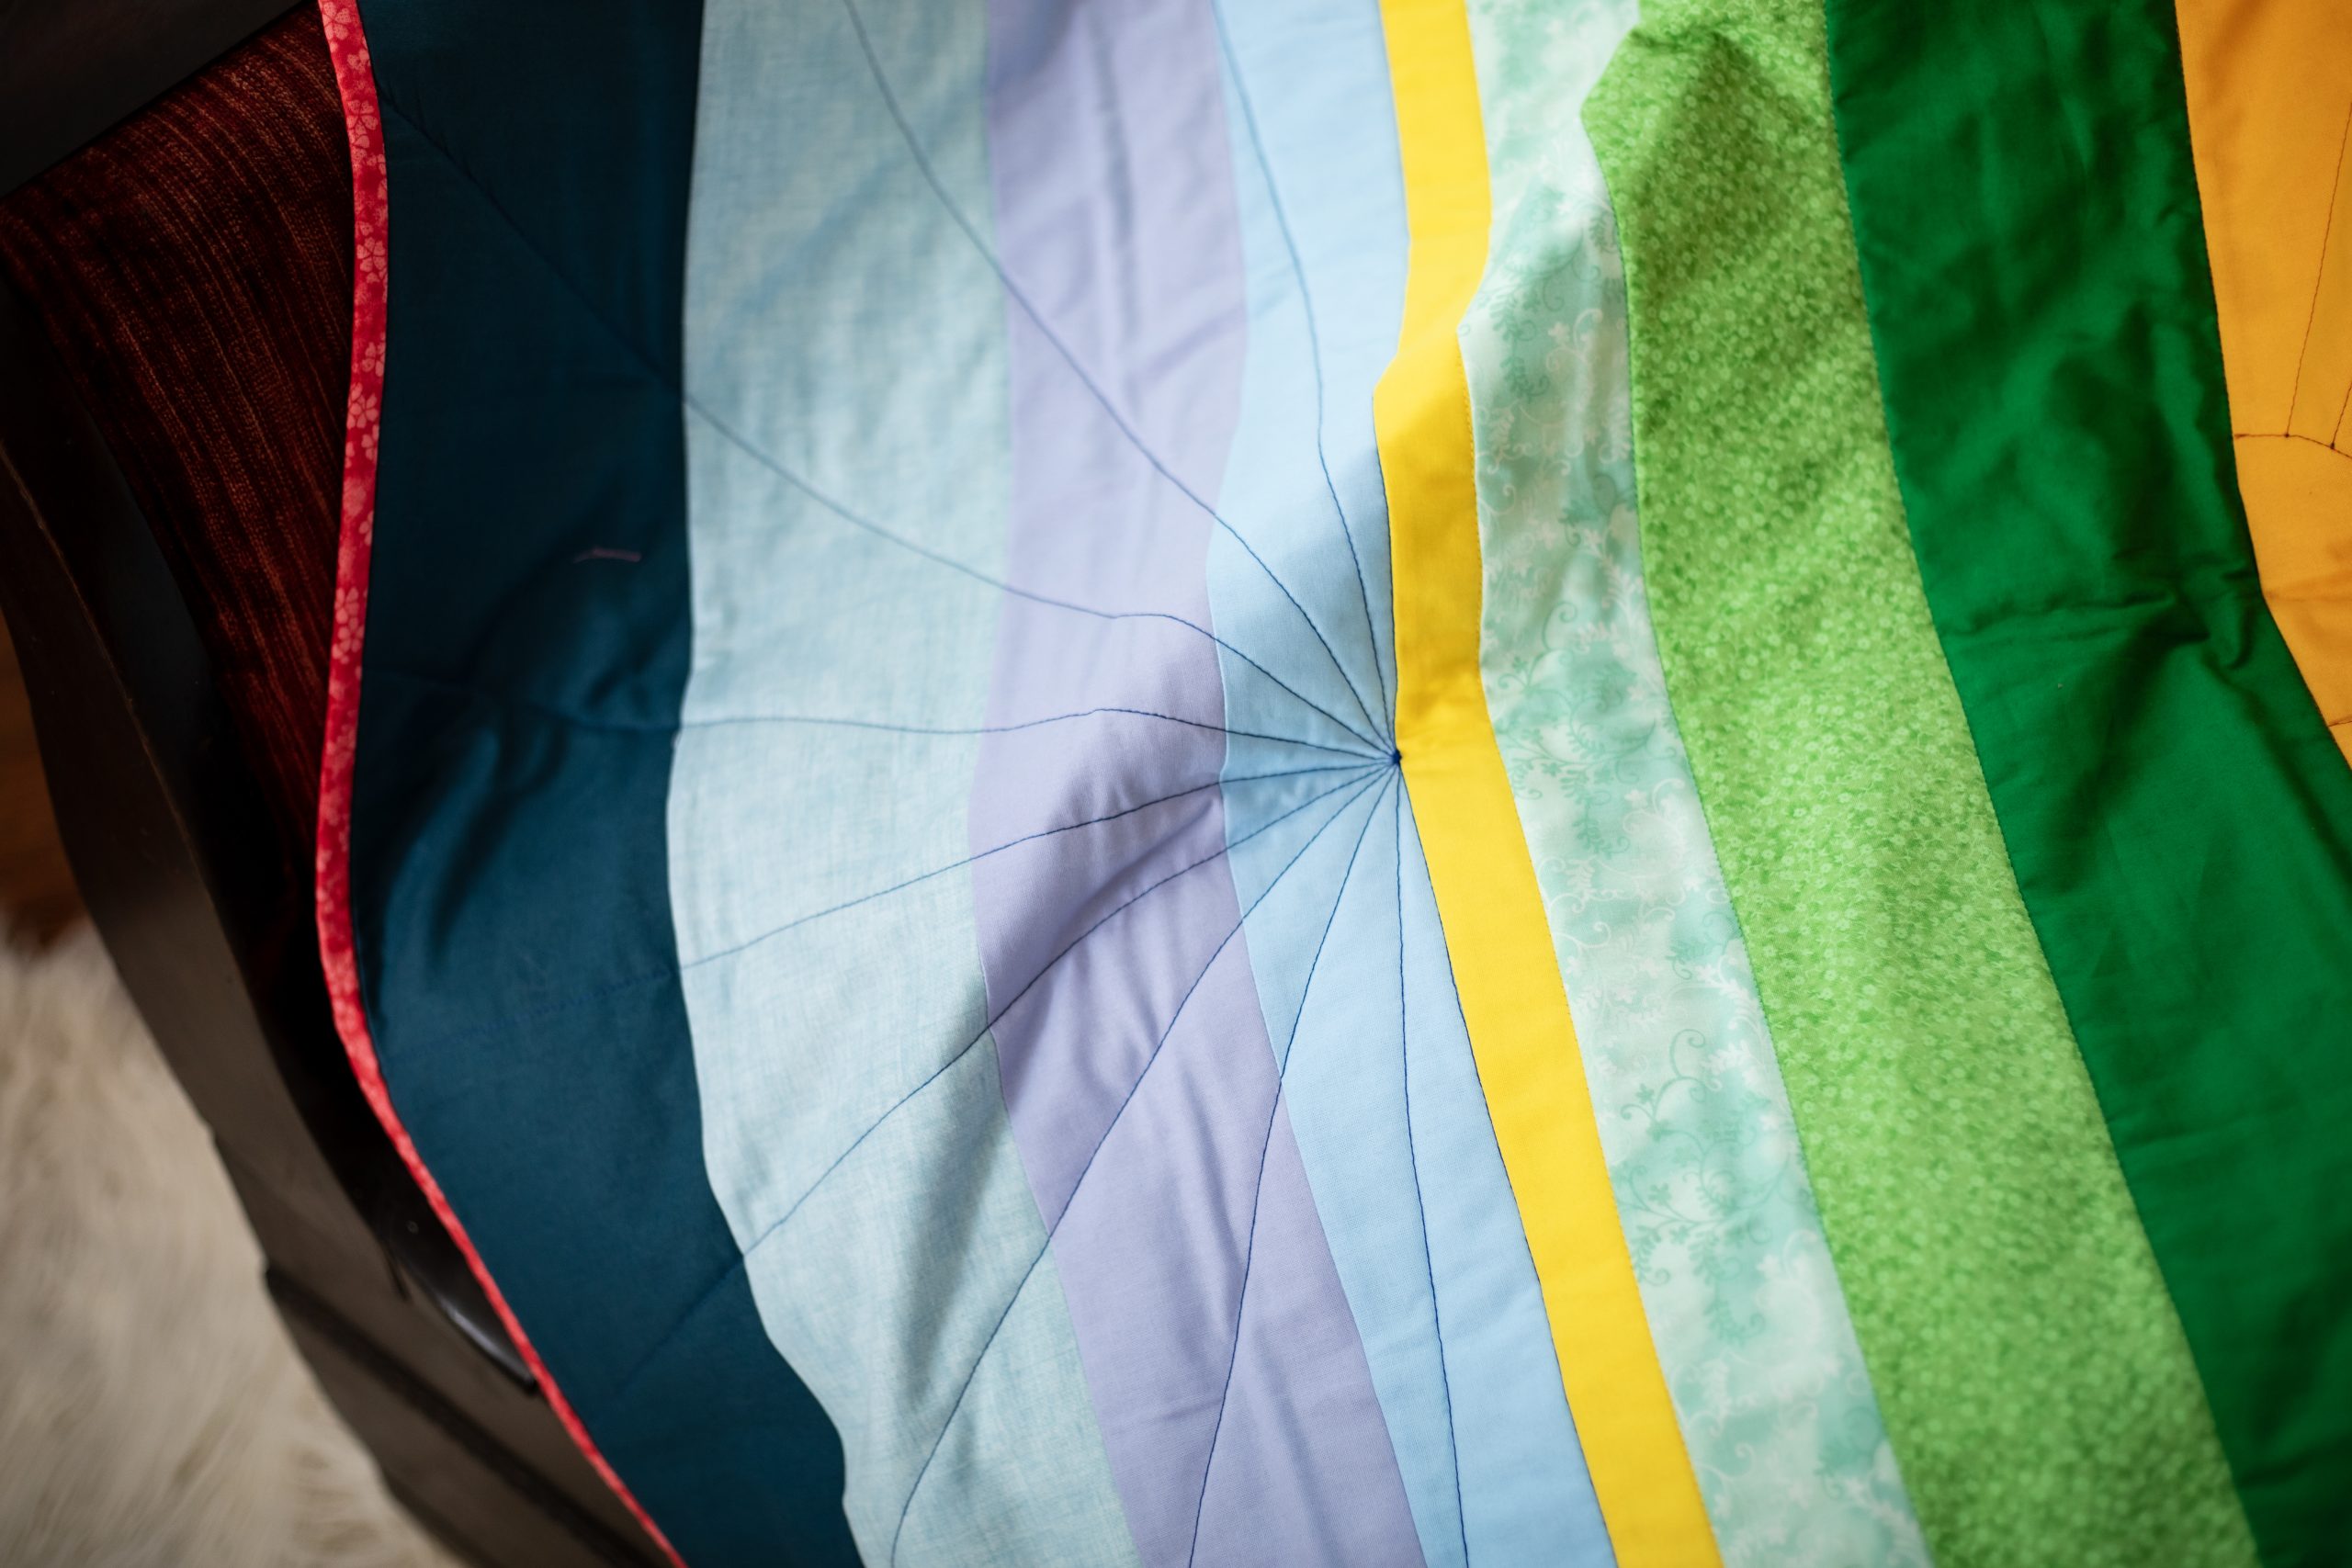
- Zoe used a protractor to measure angles for the upper and lower sections of the quilt.
- She then drew lines at 20°, 40°, 60°, 80°, 100°, 120°, 140°, and 160° on the upper section, starting at Row 5 and radiating up, as well as drawing around the curve of the protractor.
- Zoe stitched in the ditch on the middle, green section.
- She then drew lines at 10°, 30°, 50°, 70°, 90°, 110°, 130°, 150° and 170° on the lower section, starting at Row 10 and radiating down.
BINDING:
- Use your preferred method of binding. Zoe used double fold binding with one quilt. In different fabrics, you could bind the quilt with leftovers from the long quarters used in the quilt top.

I am excited to read ever month
Thank you so much for your kind comment, Karen! Have a great day 🙂 – Ashley, We Like Quilting