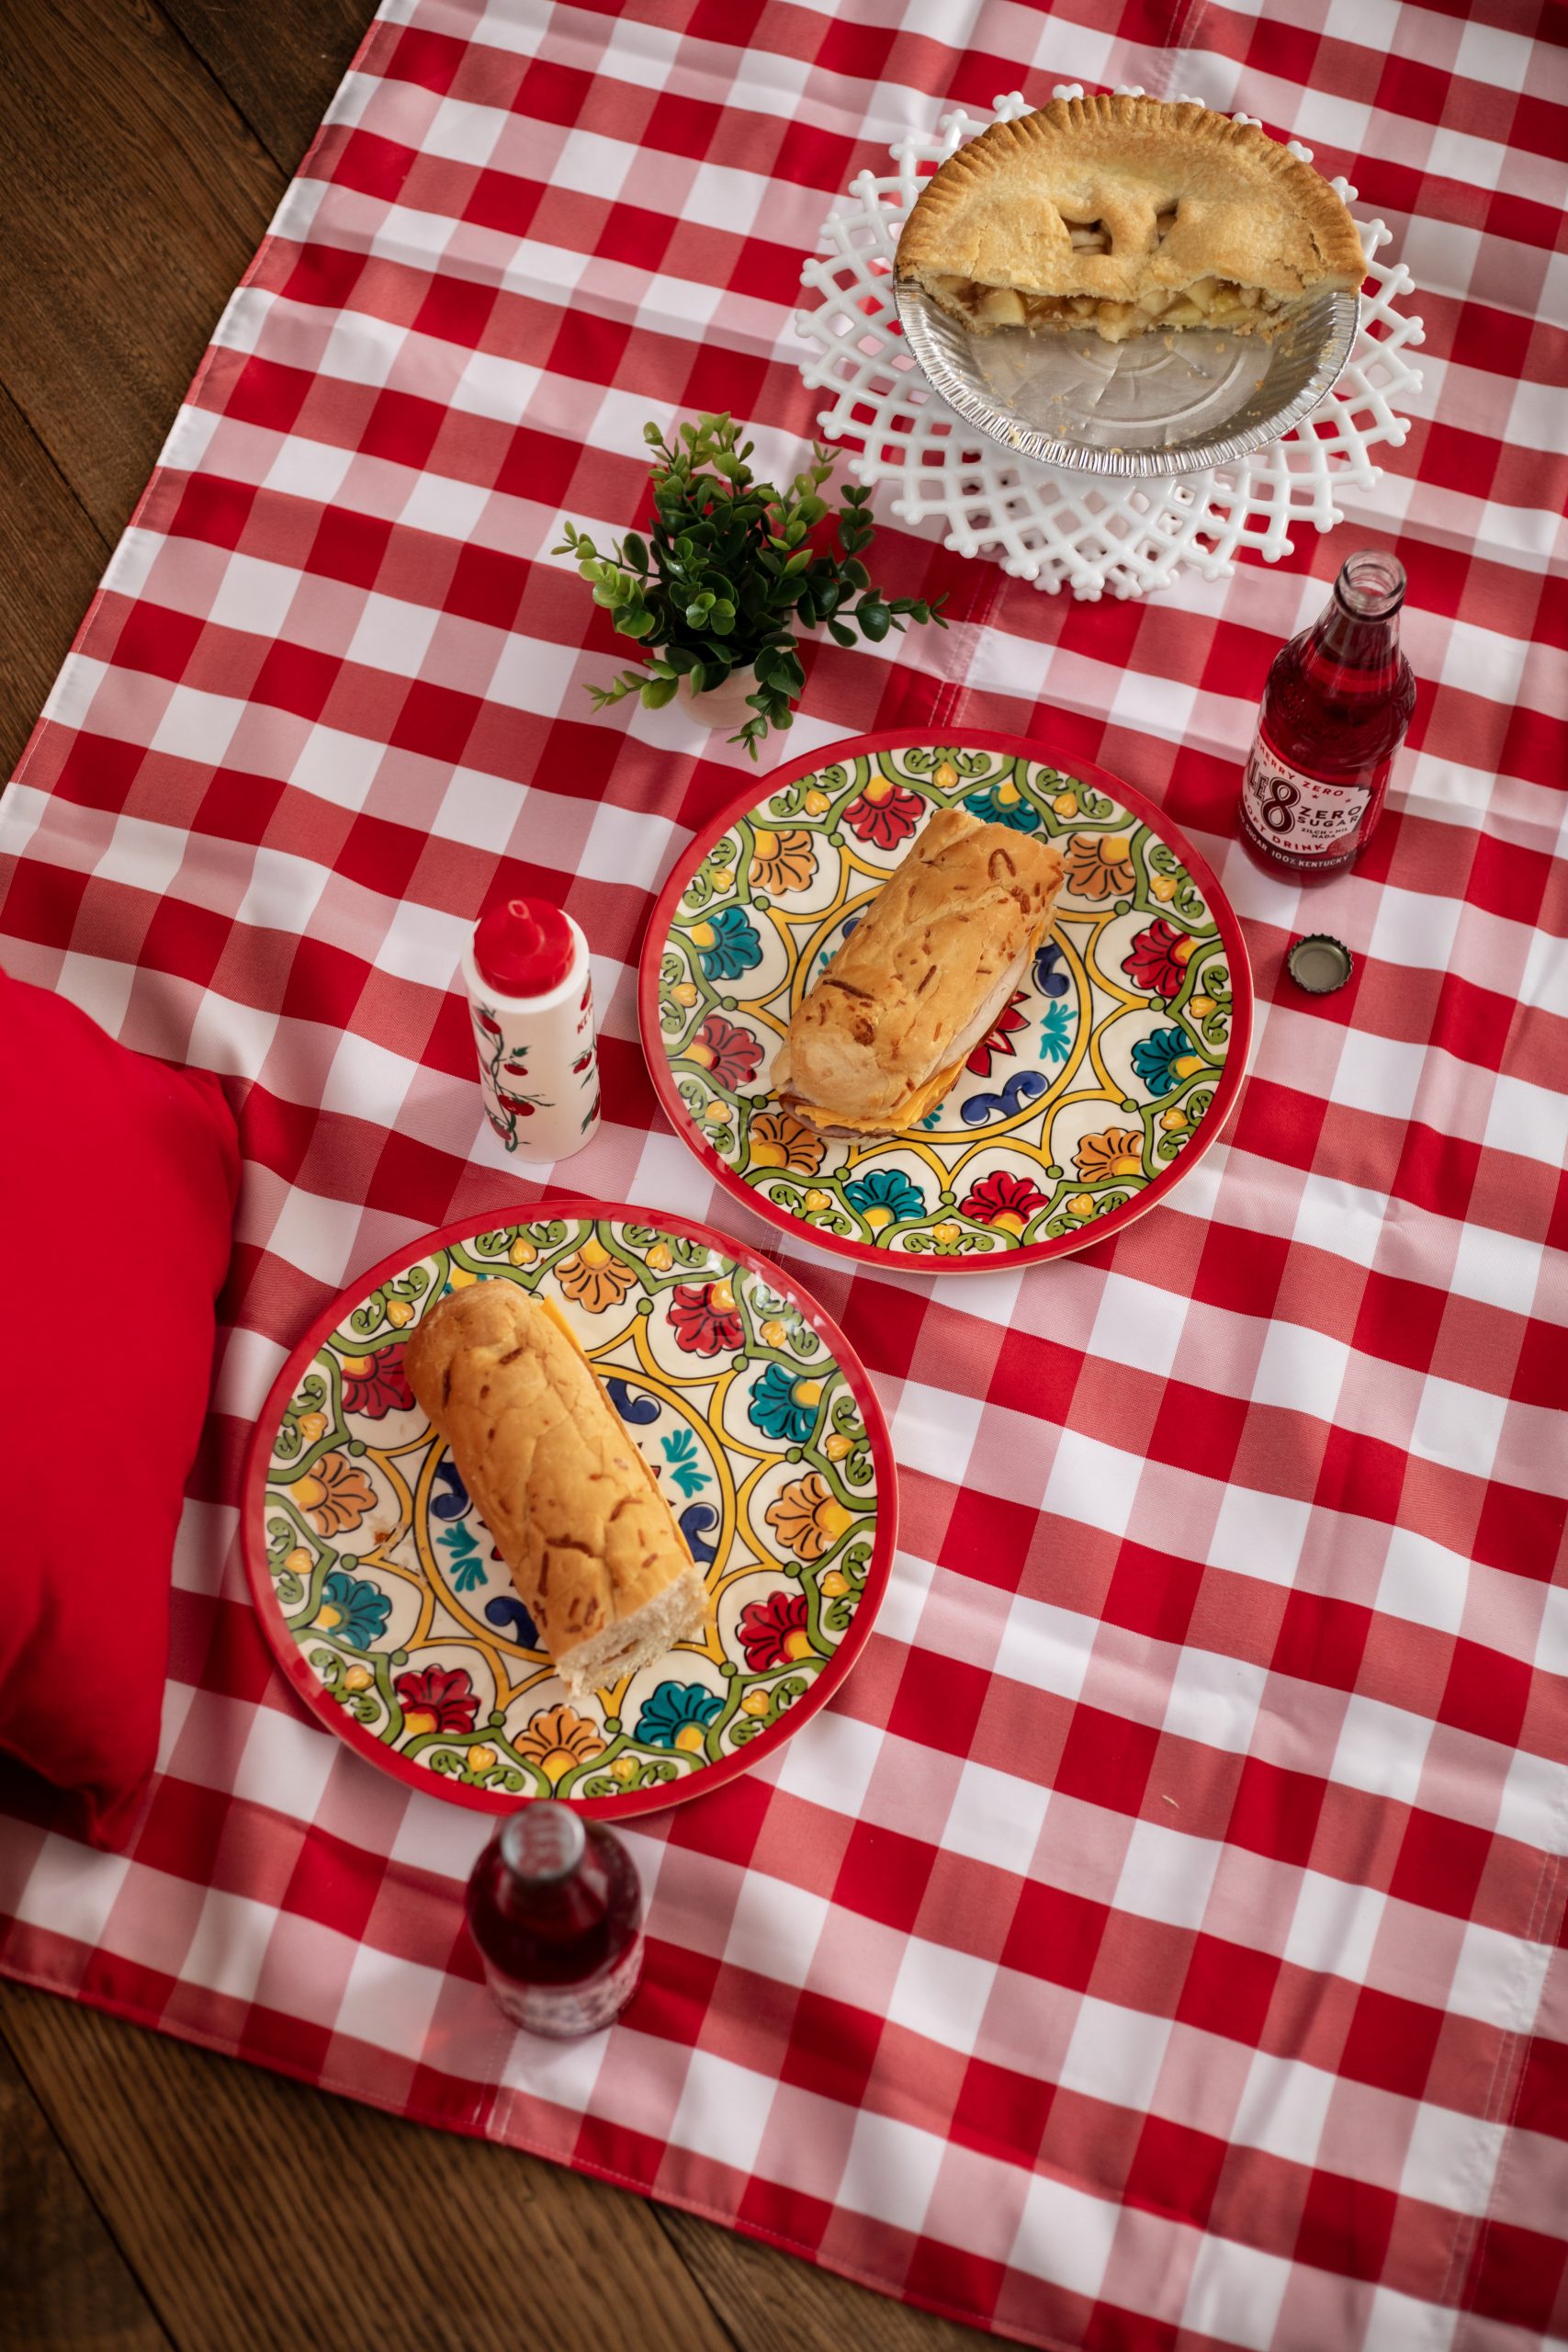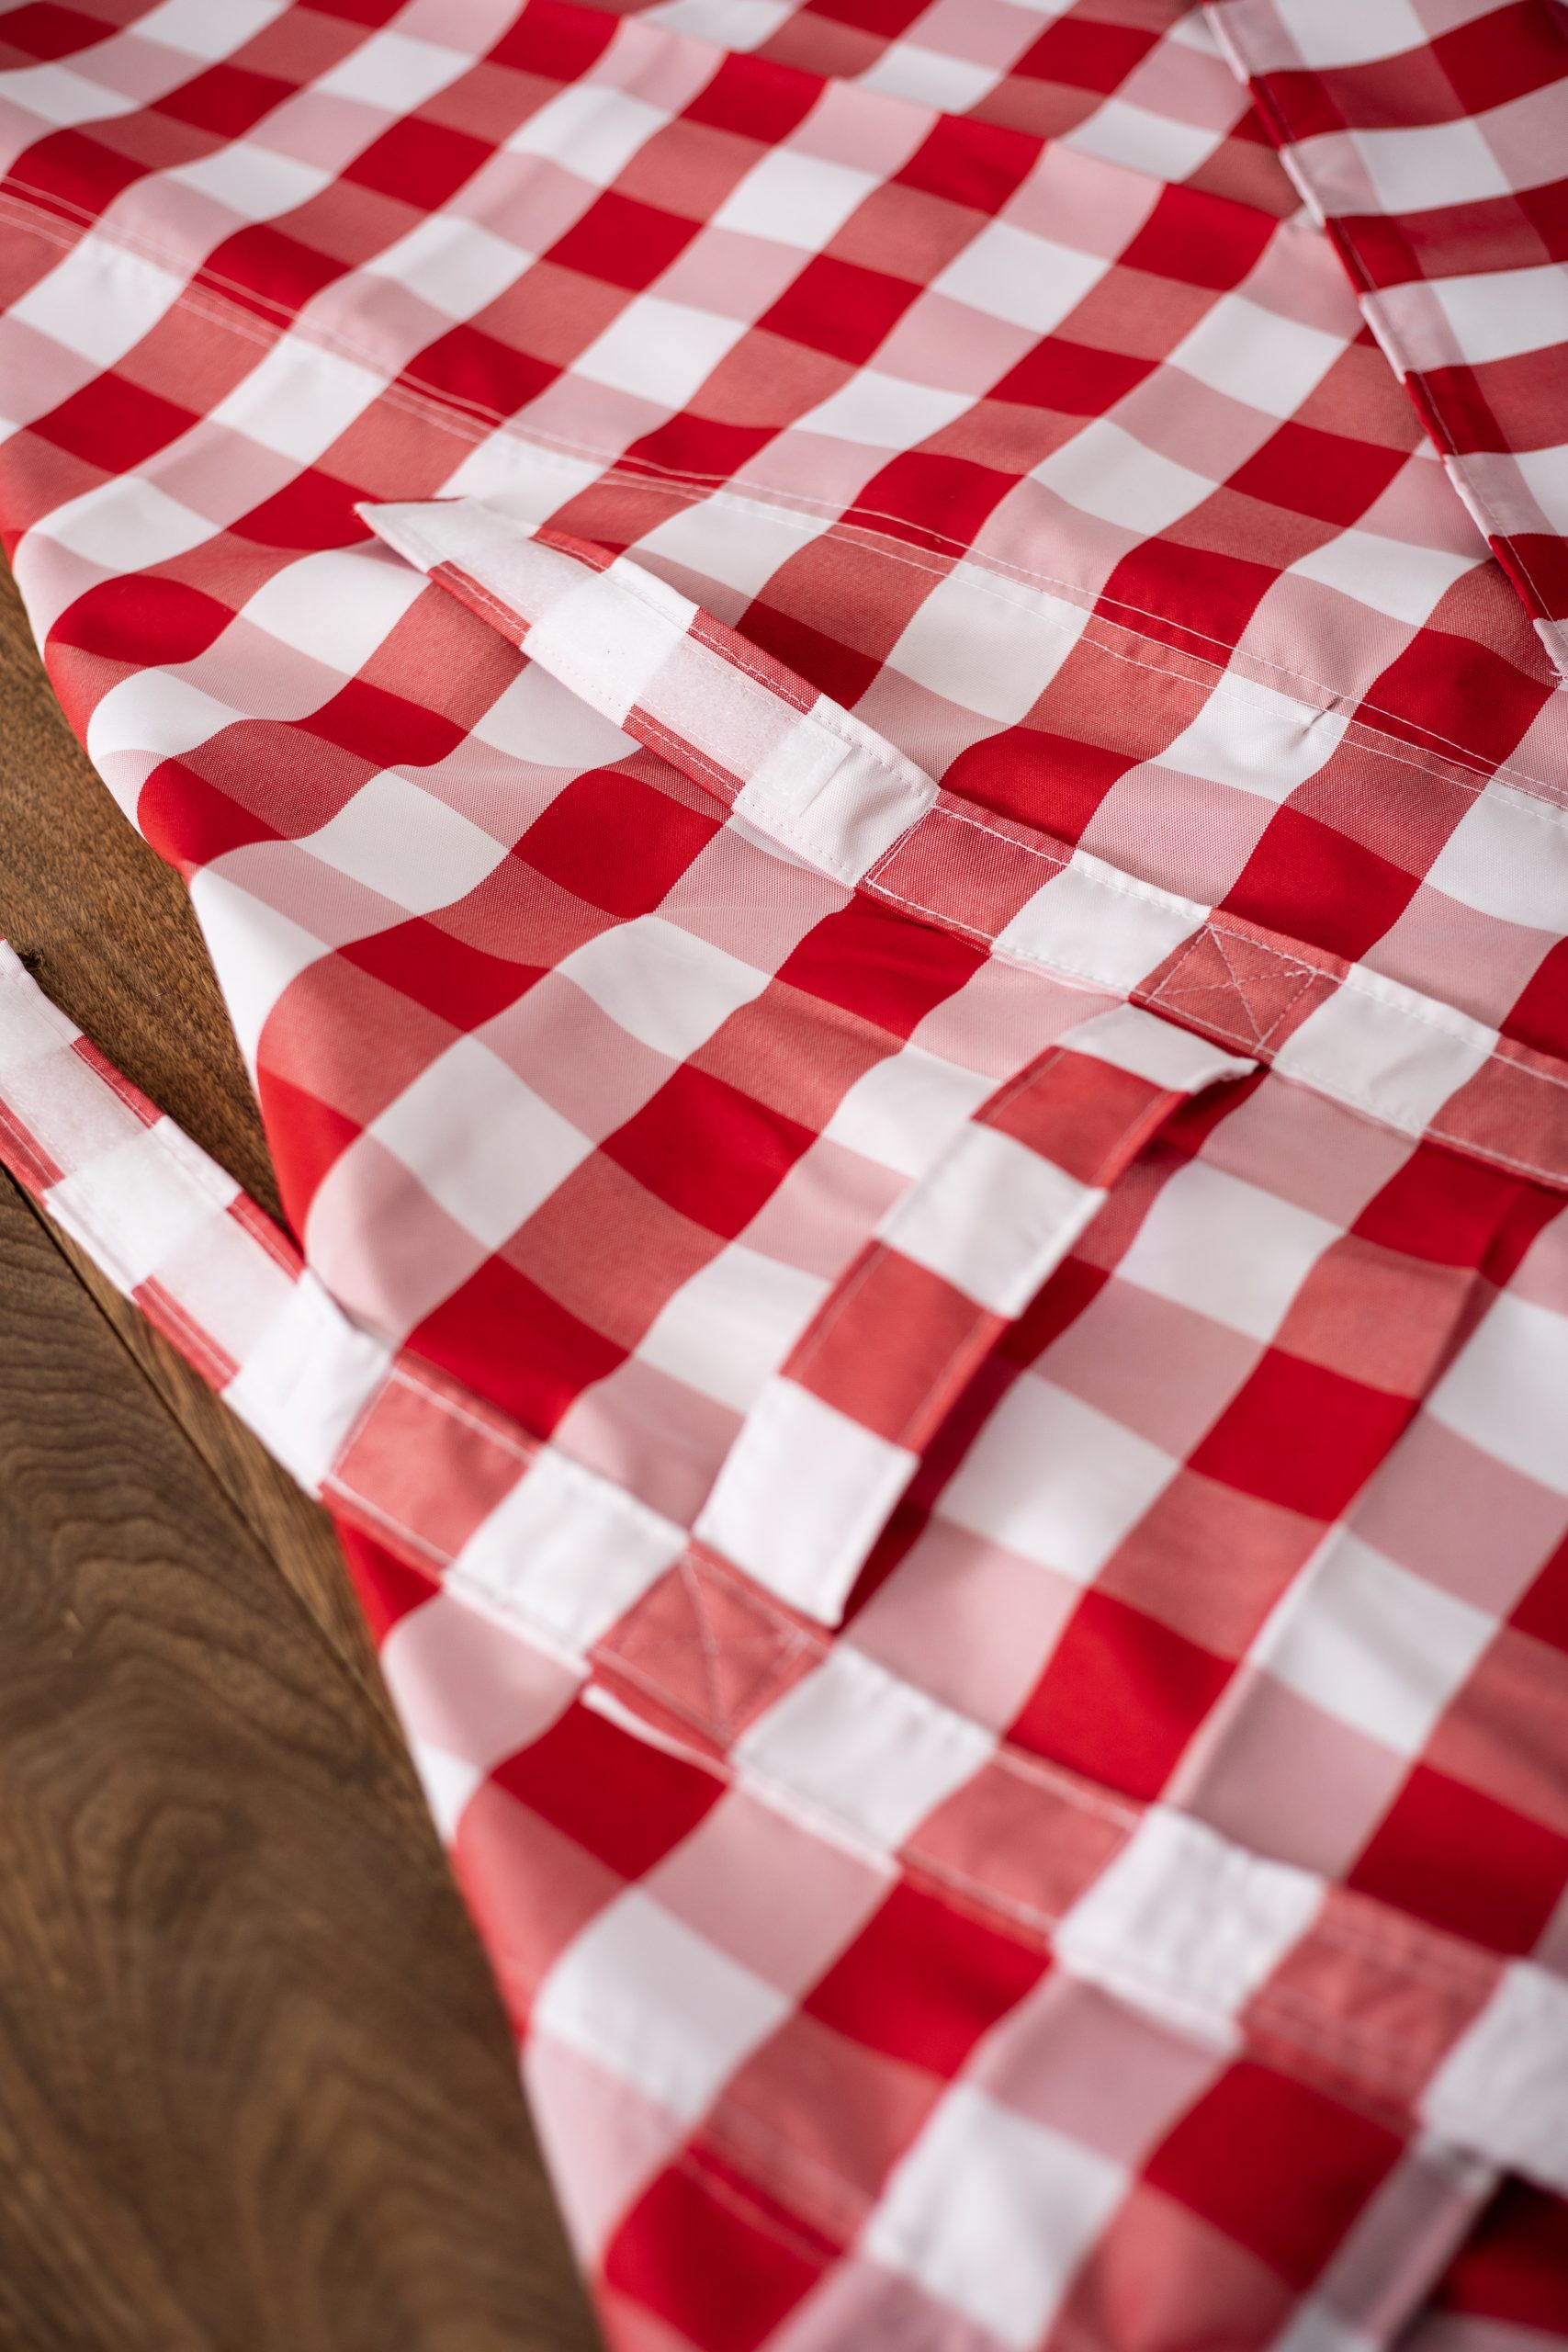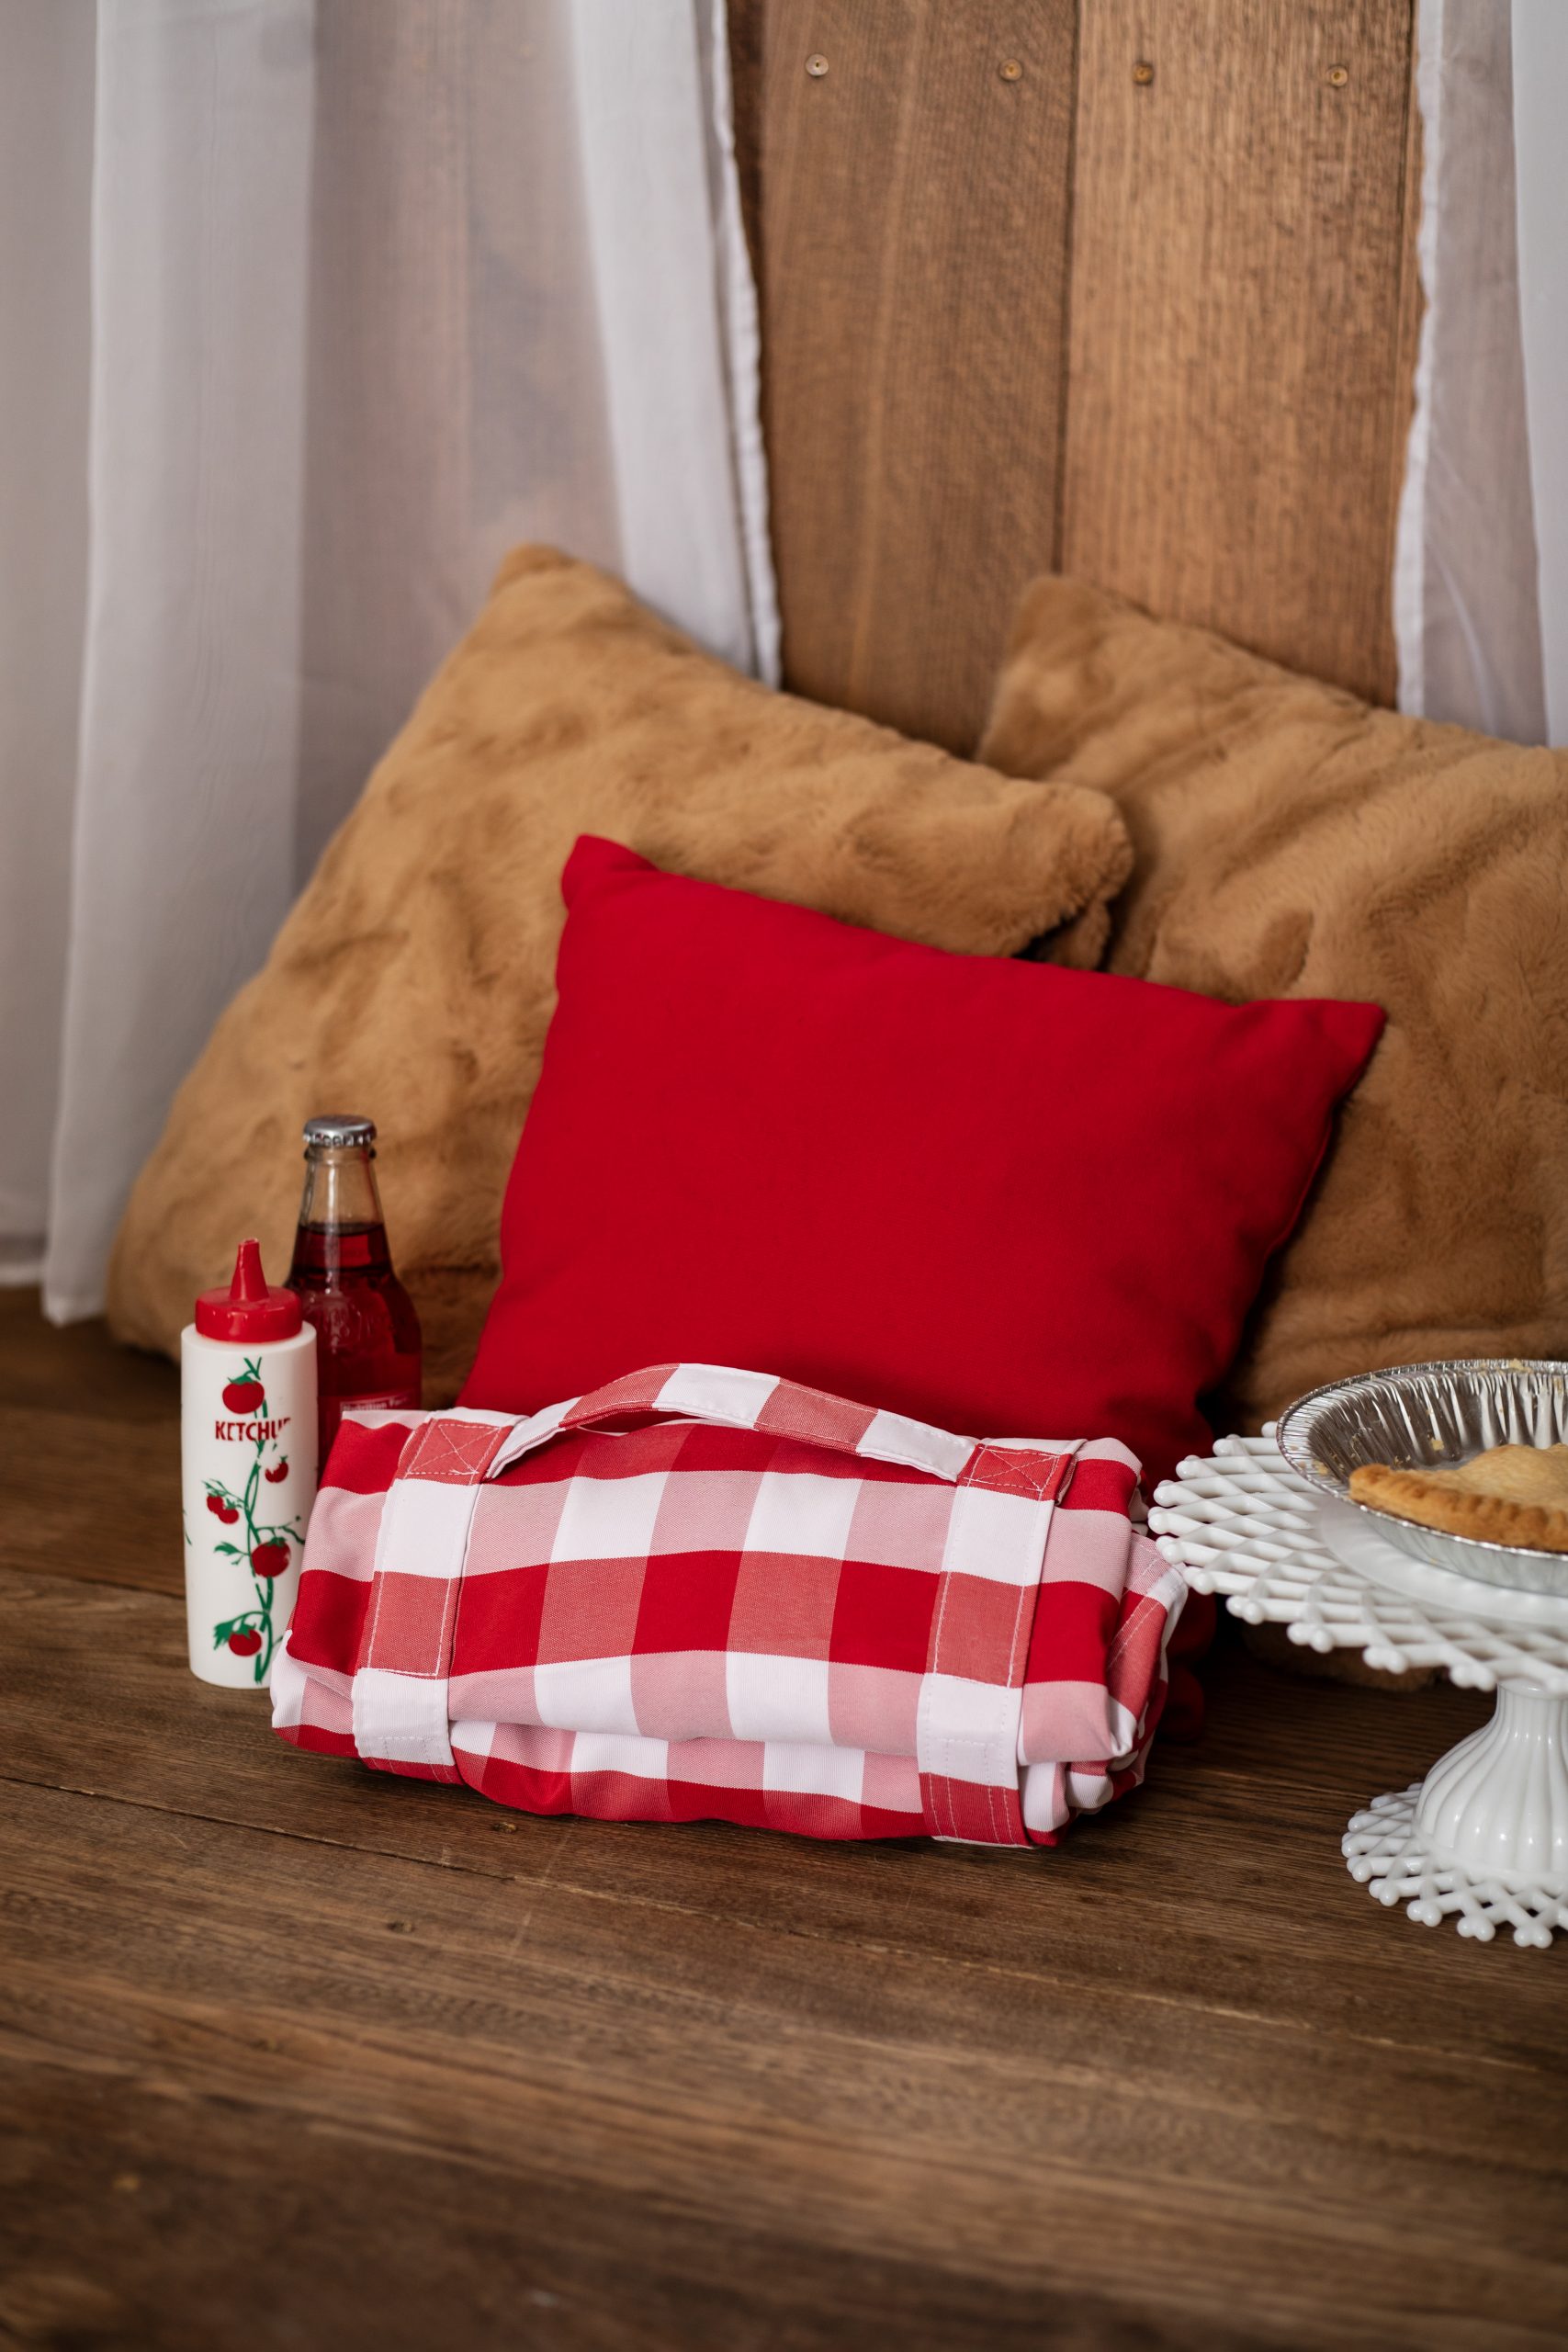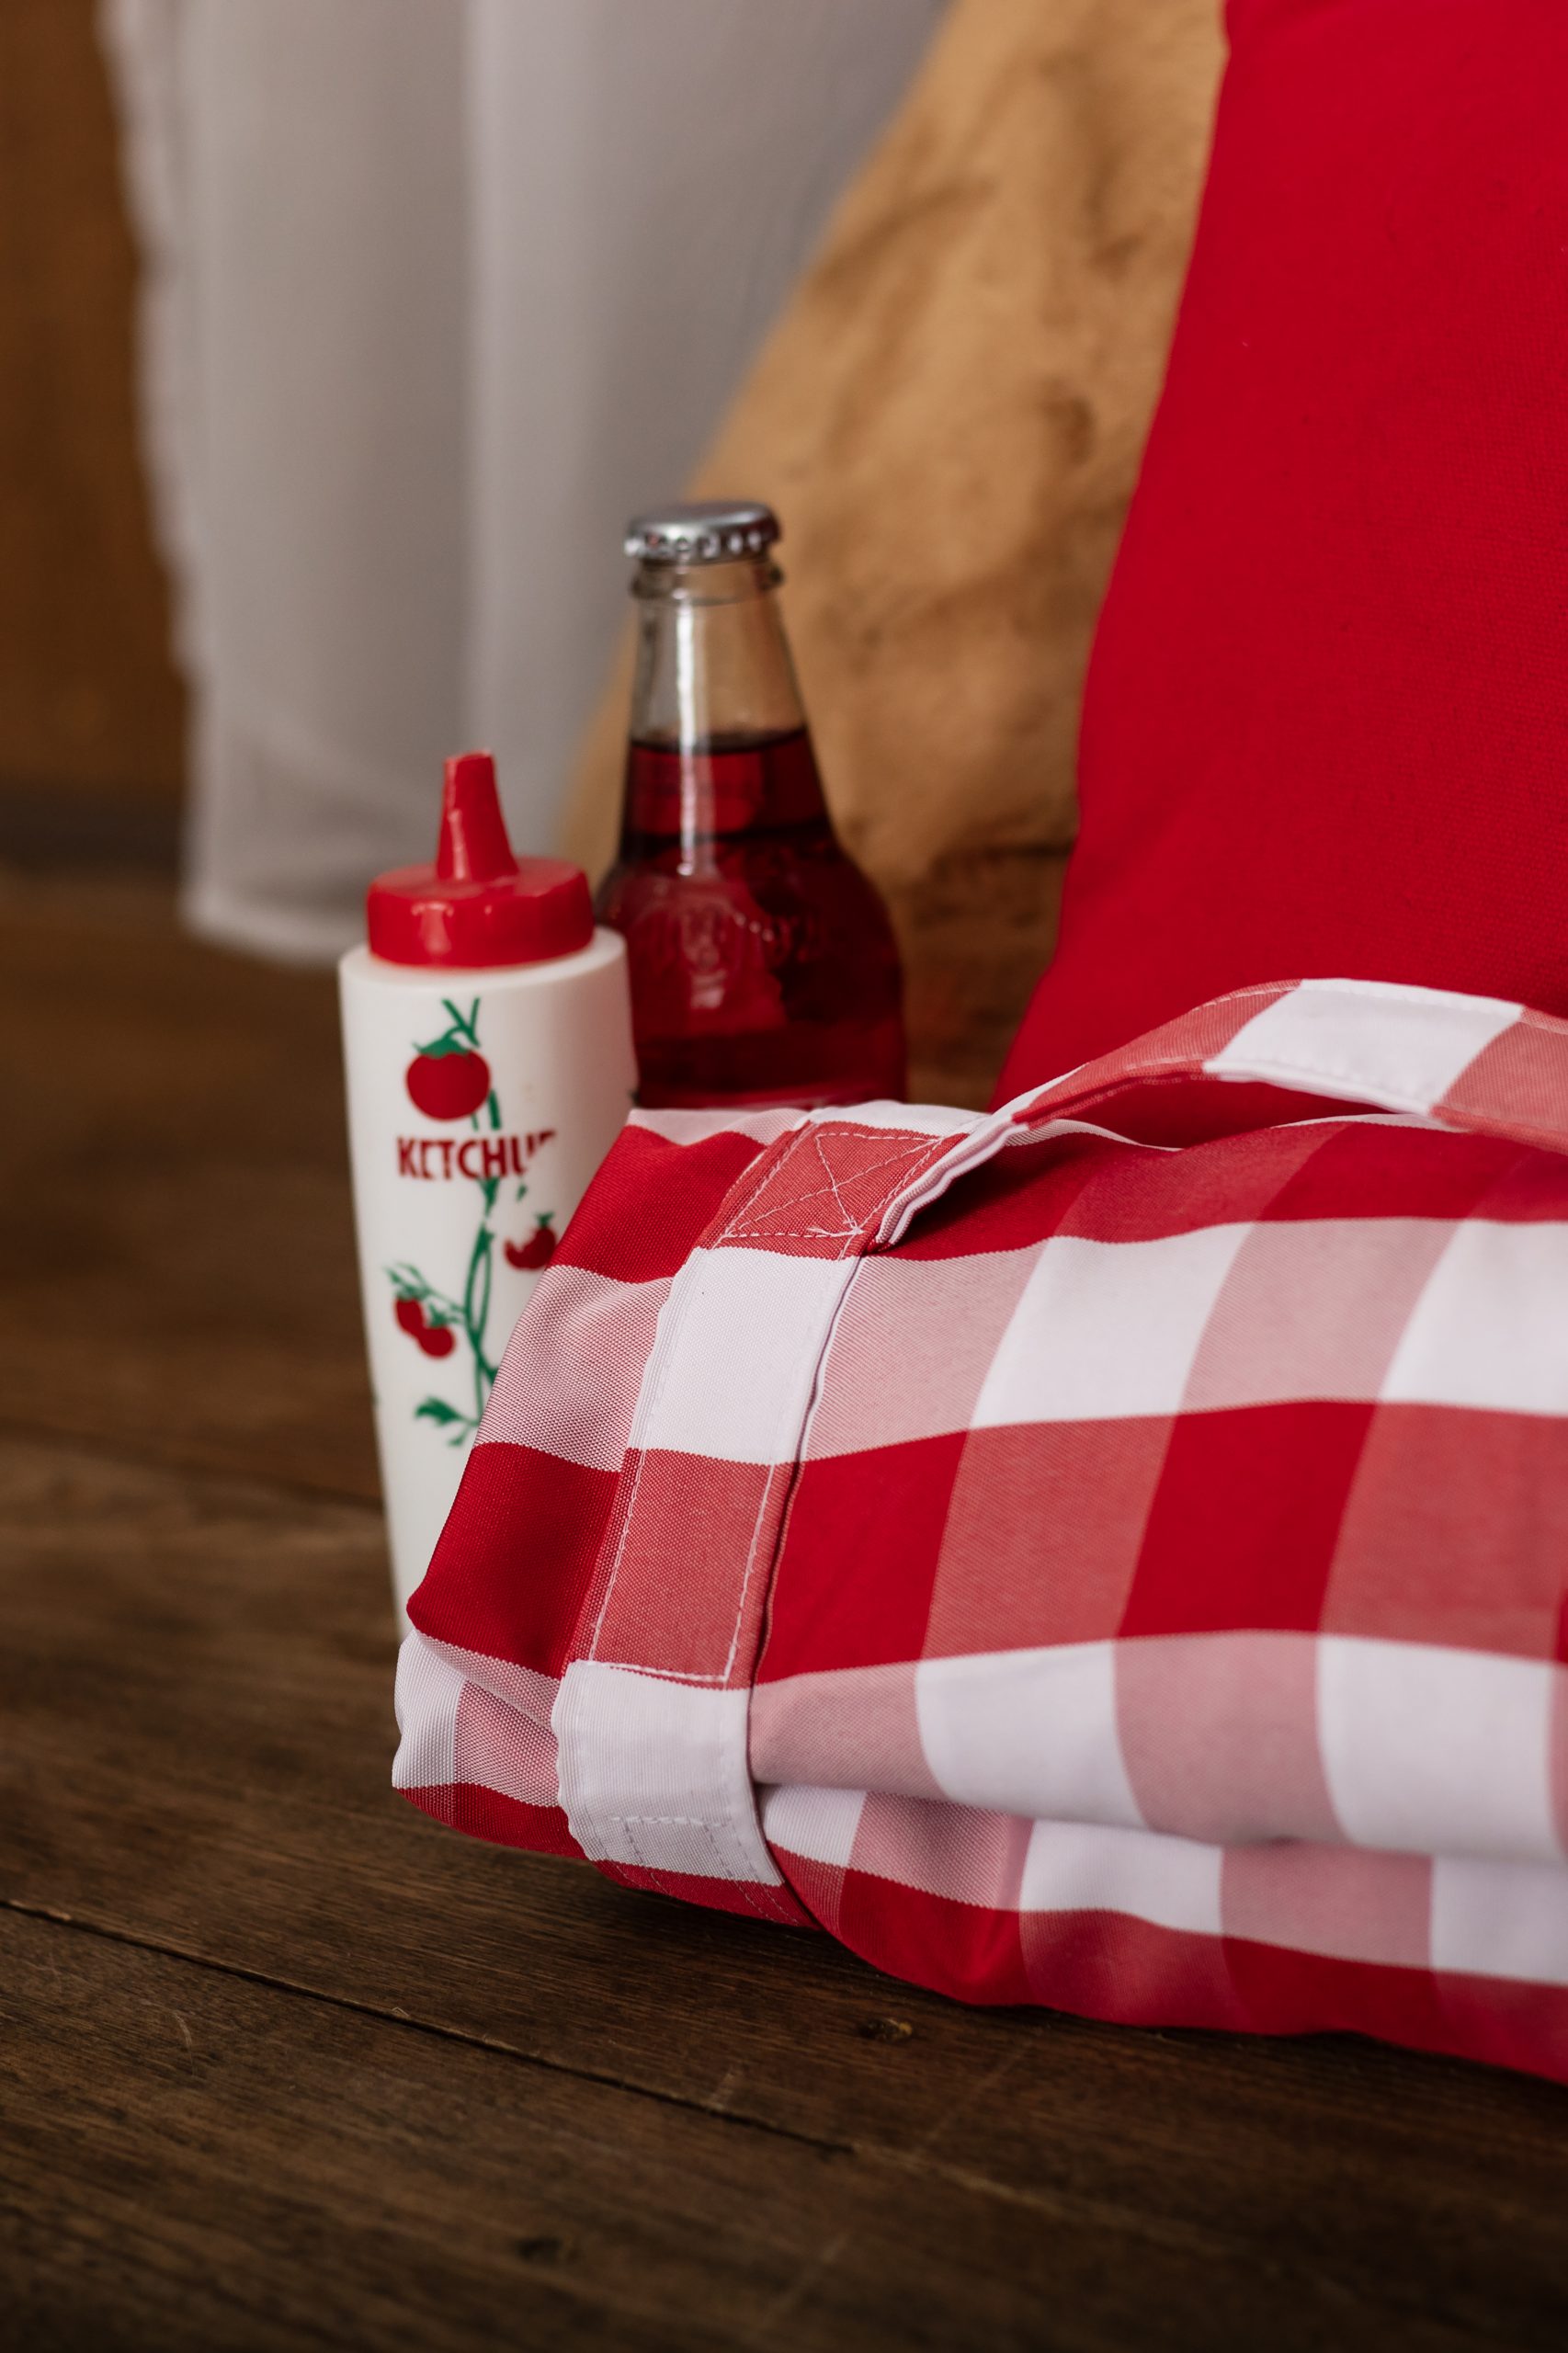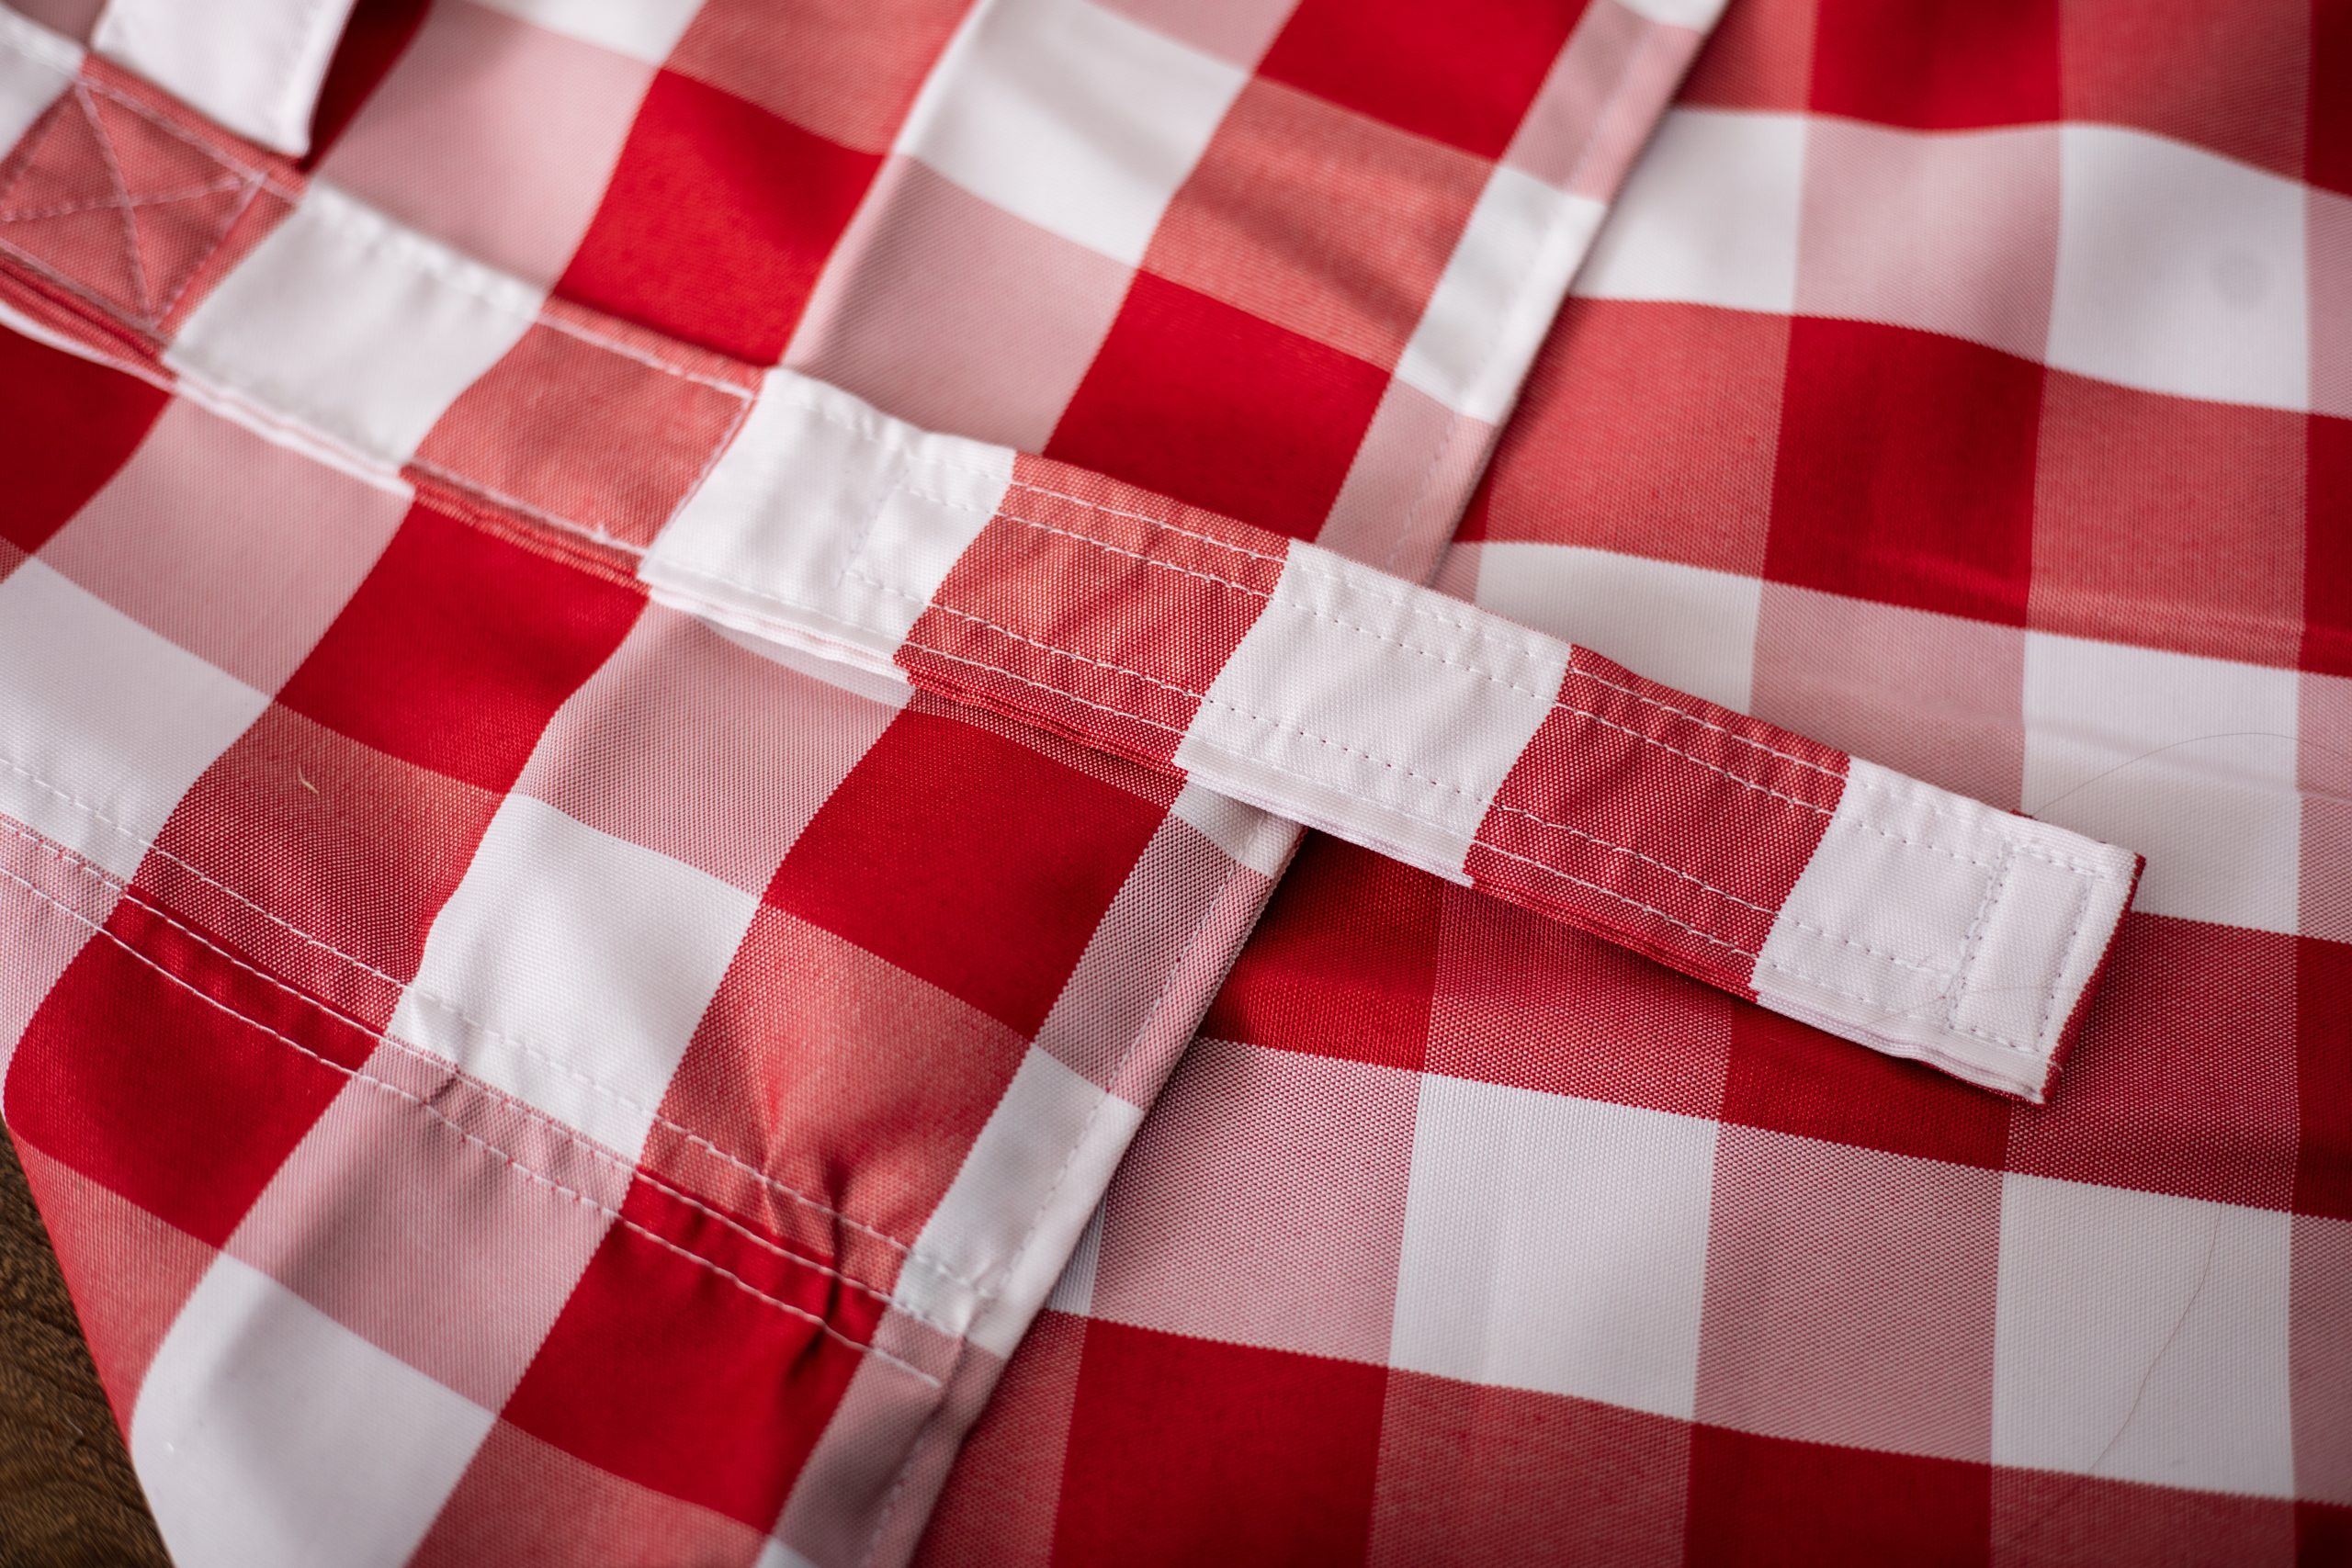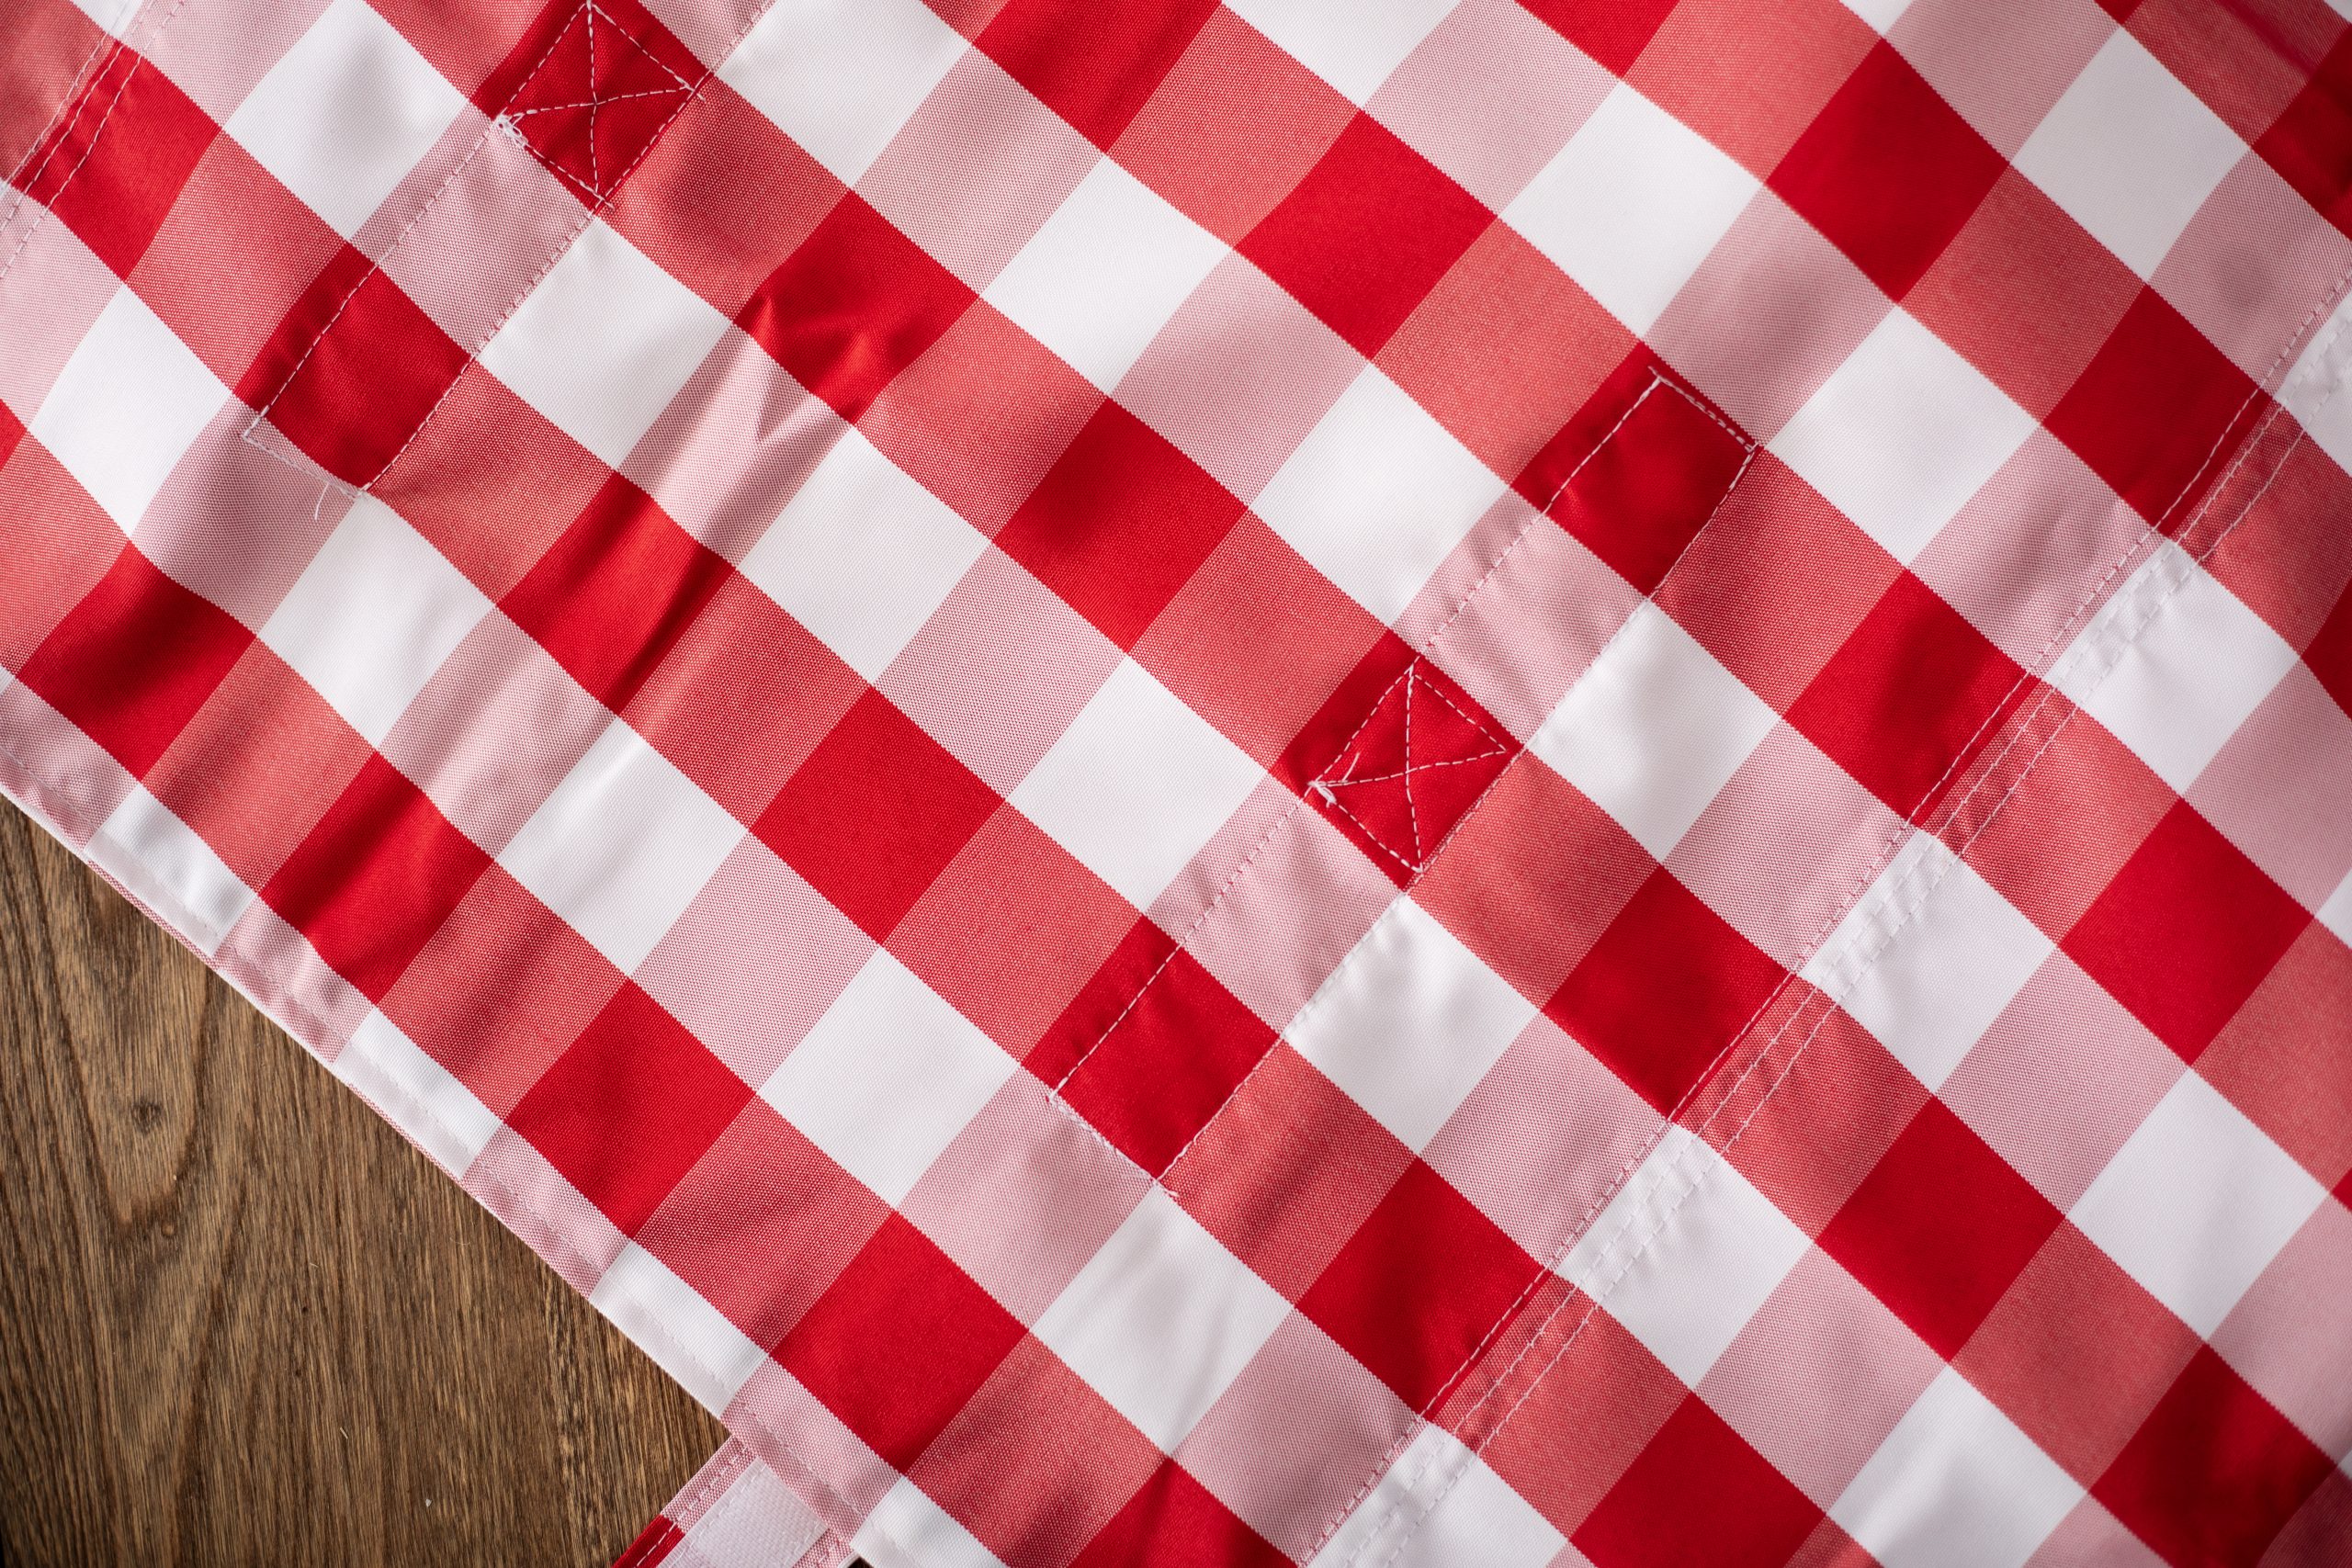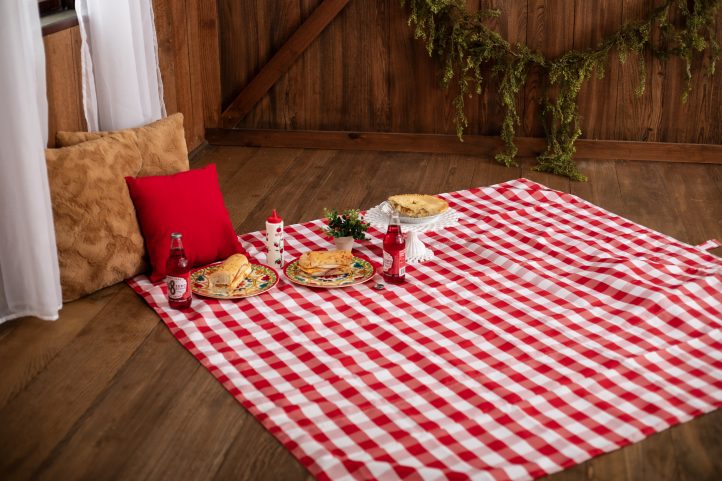
The first print that comes to mind when you think of summertime? Classic gingham! Make a timeless quilted picnic blanket with this pattern from Mallory Hill. Our favorite part of this picnic blanket pattern is that it rolls up for easy storage and features hook and loop closures, as well as a handle, so that travel is a total breeze. Take this DIY picnic blanket with you on your next family vacation or to your upcoming church potluck.
Materials:
- Fabric:
- Front – 2 yards 72” wide fabric
- Back – 2 yards 72” wide fabric
- 1 spool coordinating thread
- 12” of 1” wide Hook & Loop Tape
Tools:
- Sewing machine
- Scissors
- Rotary cutter and mat
- Iron and ironing board
Instructions:
- Cut fabrics using dimensions below. TIP: If you can’t find 72” wide fabric in a print you like, think about upcycling one of your favorite tablecloths to use as your next picnic blanket. You can also piece together narrower width fabric to create a wider base to start with.
- Front – 61” x 61”
- Back – 61” x 61”
- Place your Front and Back pieces Right Sides Together and pin along the entire outside edge.
- Sew around the outside edge using a 1/2” seam allowance. Leave a 10” – 12” opening along one side for turning. Backstitch well at the beginning and end.
- Trim corners and turn your blanket right side out through the hole left along one side. Push out corners and press the blanket along all outside edges.
- Edge stitch along the entire outside edge of the blanket, enclosing the opening left along one edge.
- Starting from the top middle of your picnic blanket sew a straight line from the top to the bottom of the blanket to keep the layers together during use and after washing. Repeat by sewing a line 1/4” from the first line on each side. You will have a total of three lines of quilting going down the center of the blanket.
- Working your way out from the center line, find the center point between your first line of stitching and the edge. For a 60” blanket, this will be 15” from each outside edge. Repeat Step 6, sewing a set of three lines from the top to the bottom. You will end up with three sets of sewn lines on your blanket. These will act as a folding guide when you use your blanket.
STRAP AND HANDLE:
To make your blanket more portable, you can make a strap that holds your blanket together and provides an easy carrying handle. TIP: You can also purchase webbing to coordinate with your fabric if you do not want to make your own fabric strap. Skip to Step 4 if you choose to use webbing.
- Cut fabrics using dimensions below.
- 2 – Long Straps – 6” x 24”
- 1 – Handle – 6” x 12”
- 1” Hook & Loop Tape – 2 – 6” pieces
- TIP: You may want to roll up your blanket and measure the width around the rolled-up area; you can adjust the strap length based on your final measurement.
- Fold each strip of fabric lengthwise matching raw edges and press, creating a center seam. Unfold and refold matching the raw edges to the center seam. Refold along the center seam, enclosing all of your raw edges. Edge Stitch along both long edges of the strap. Repeat for the other three pieces.
- Lay one of your long straps out on your work surface. Fold one short end 1/2” towards the wrong side, fold 1/2” again to enclose the raw edges of the short end. Pin in place. Repeat for the other short end and for both ends of the other long strap.
- Lay both of your long straps out on your work surface. Pin one side of your hook and loop tape in place on the wrong side of the left end of your strap, repeating for the left end of your second strap. Stitch in place by sewing around the outside edge of each piece of hook and loop tape.
- Flip your strap pieces over so the hook and loop tape is face down on your work surface. Repeat Step 4 by adding the other side of the hook and loop tape to the right side of the other end of each long strap.
- Lay your blanket down with the outside facing up. On the second column from the left, center the small handle strap 7” from the top of the blanket between the quilted lines. The ends of your handle should be about 2.5” from each line of stitching. The handle will not lay flat; you will want it to have space for your hand to fit through when carrying. Pin in place. Baste the two short ends of the handle in place.
- Find the center of one long strap and place it perpendicular to the handle strap and overlapping one short end. Pin in place. Repeat for the other long strap on the other end of the handle. Make sure your hook and loop tape is facing the same direction on each side.
- Sew a rectangle along the center of the long straps that extends approximately 2” above and 2” below the handle. Backstitch well and create an X box around the area where the long strap and the handle overlap.
- To fold your blanket, lay the blanket right side up, with the handle on the bottom, touching the floor. Fold both sides in towards the center along your stitching lines. Fold again along the center stitching line. Roll from the end without the straps towards the straps. Once it is rolled up, wrap the straps around the blanket and secure with the hook and loop tape.

