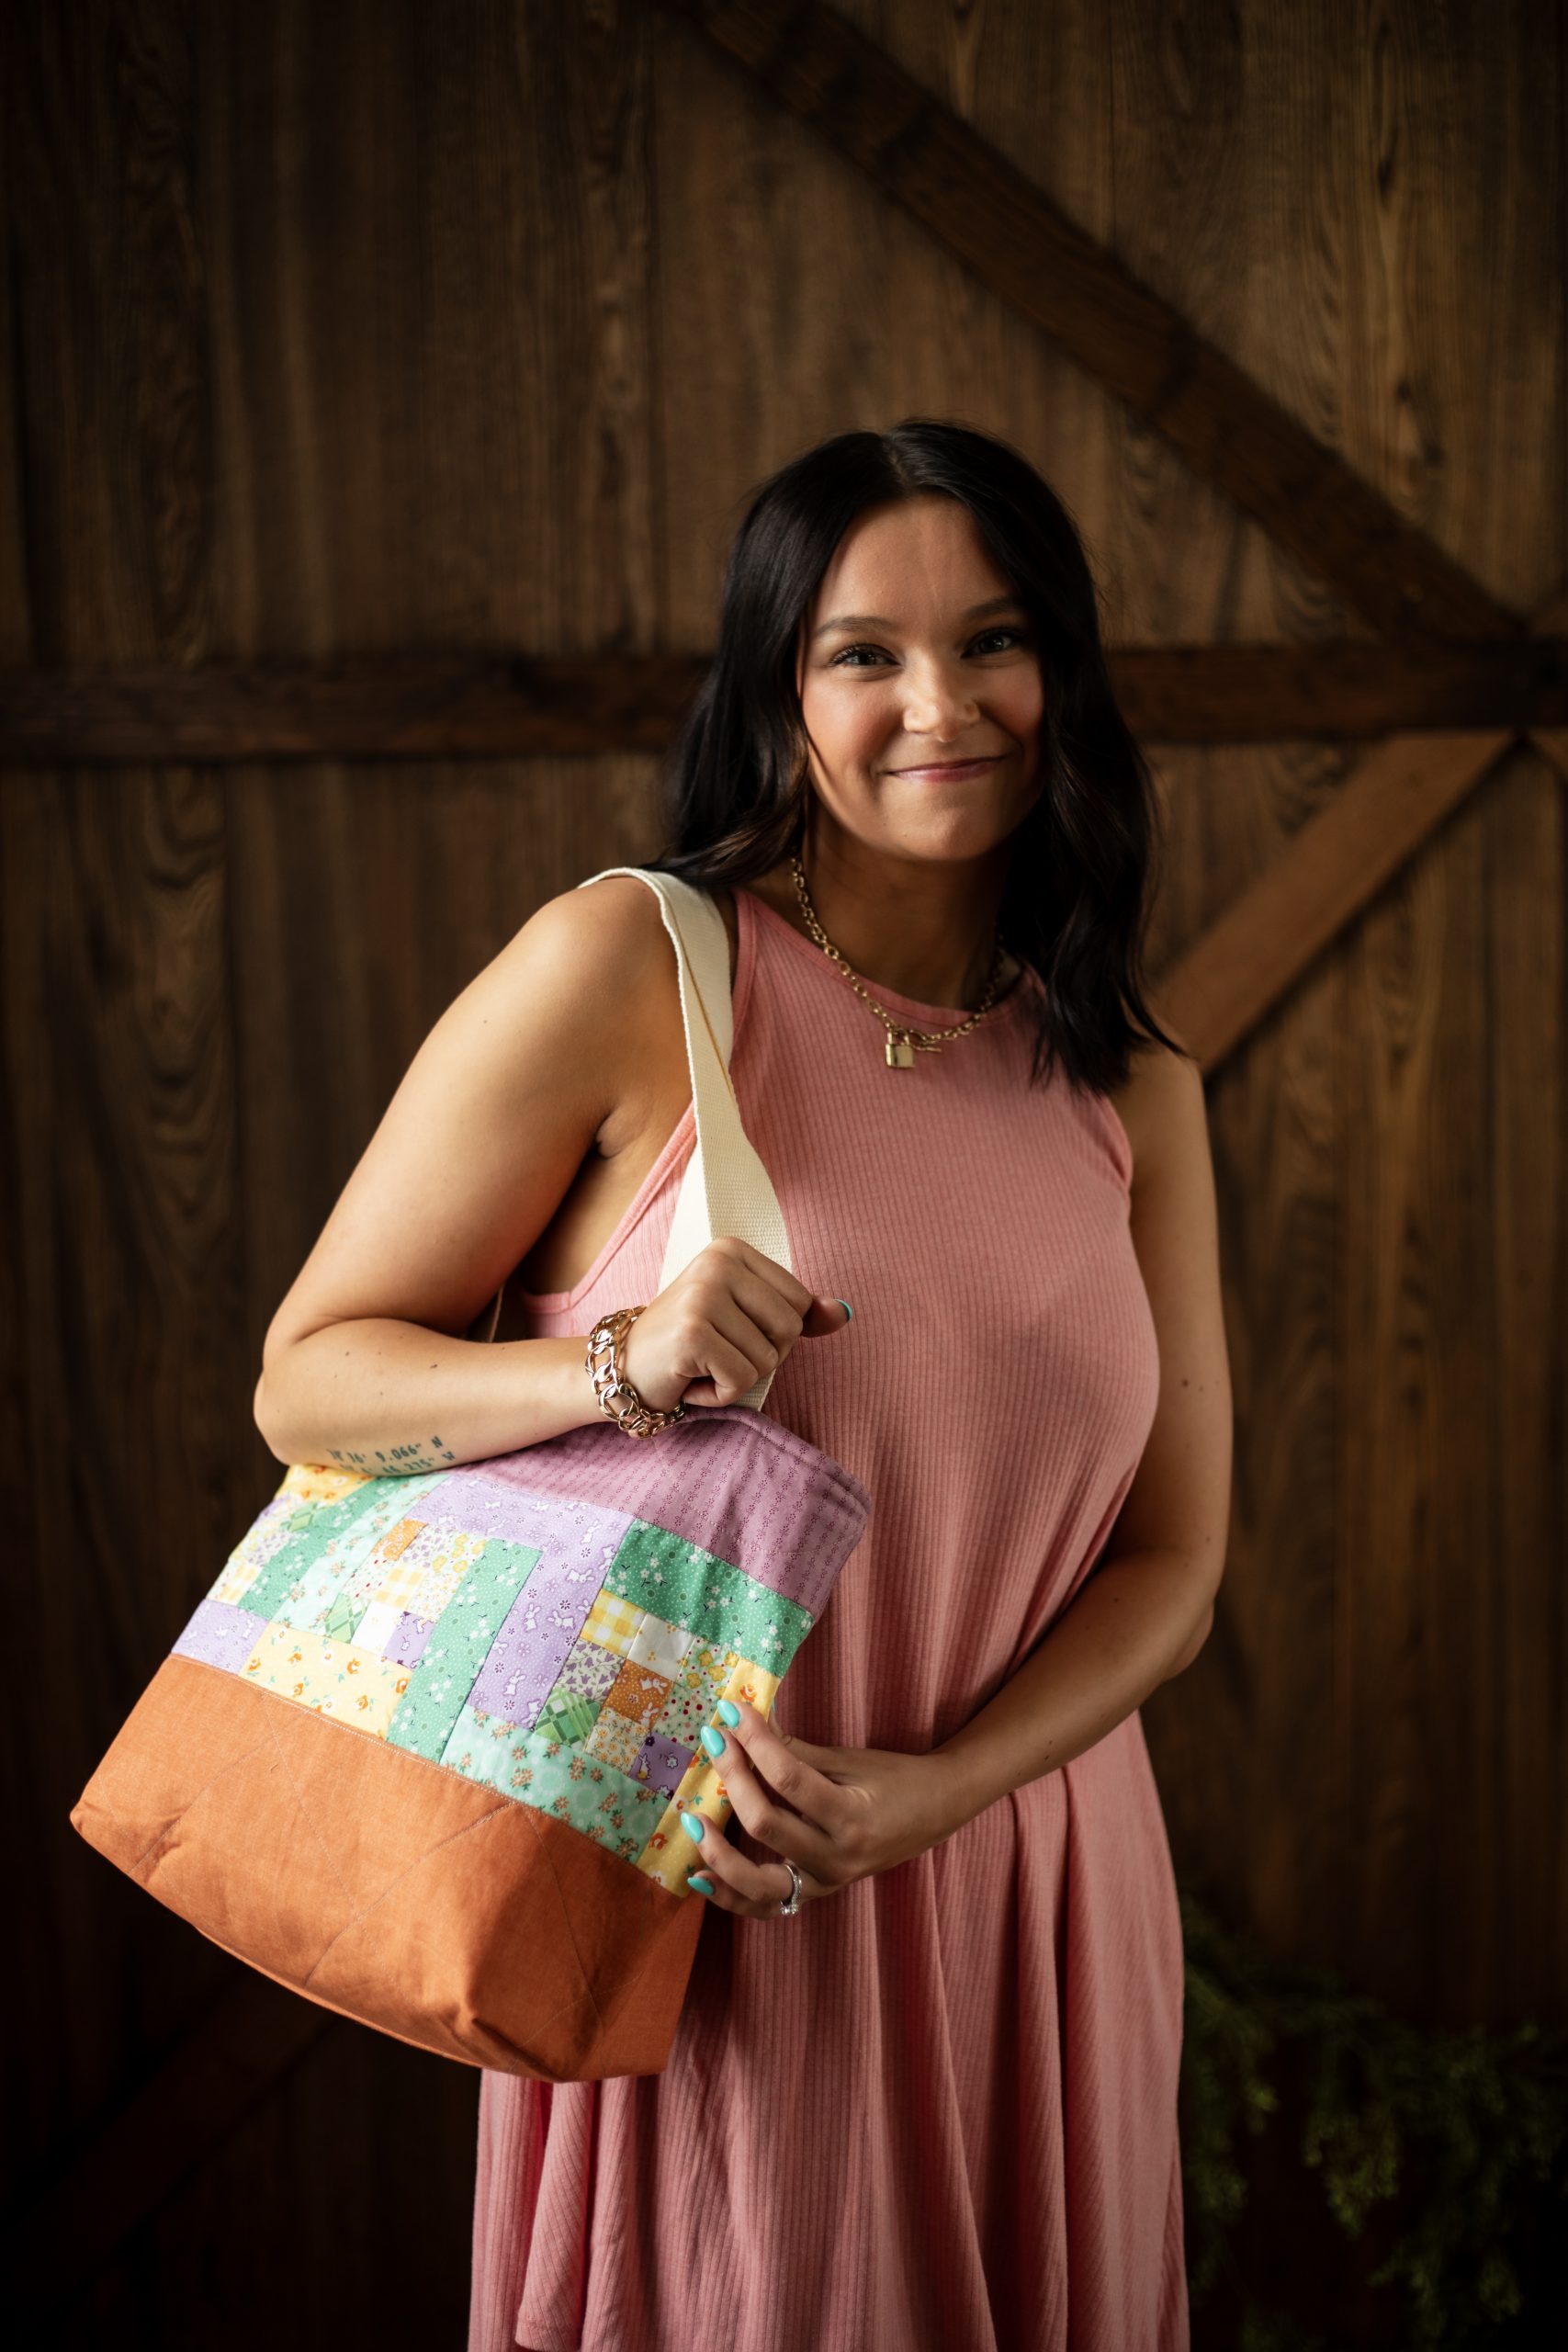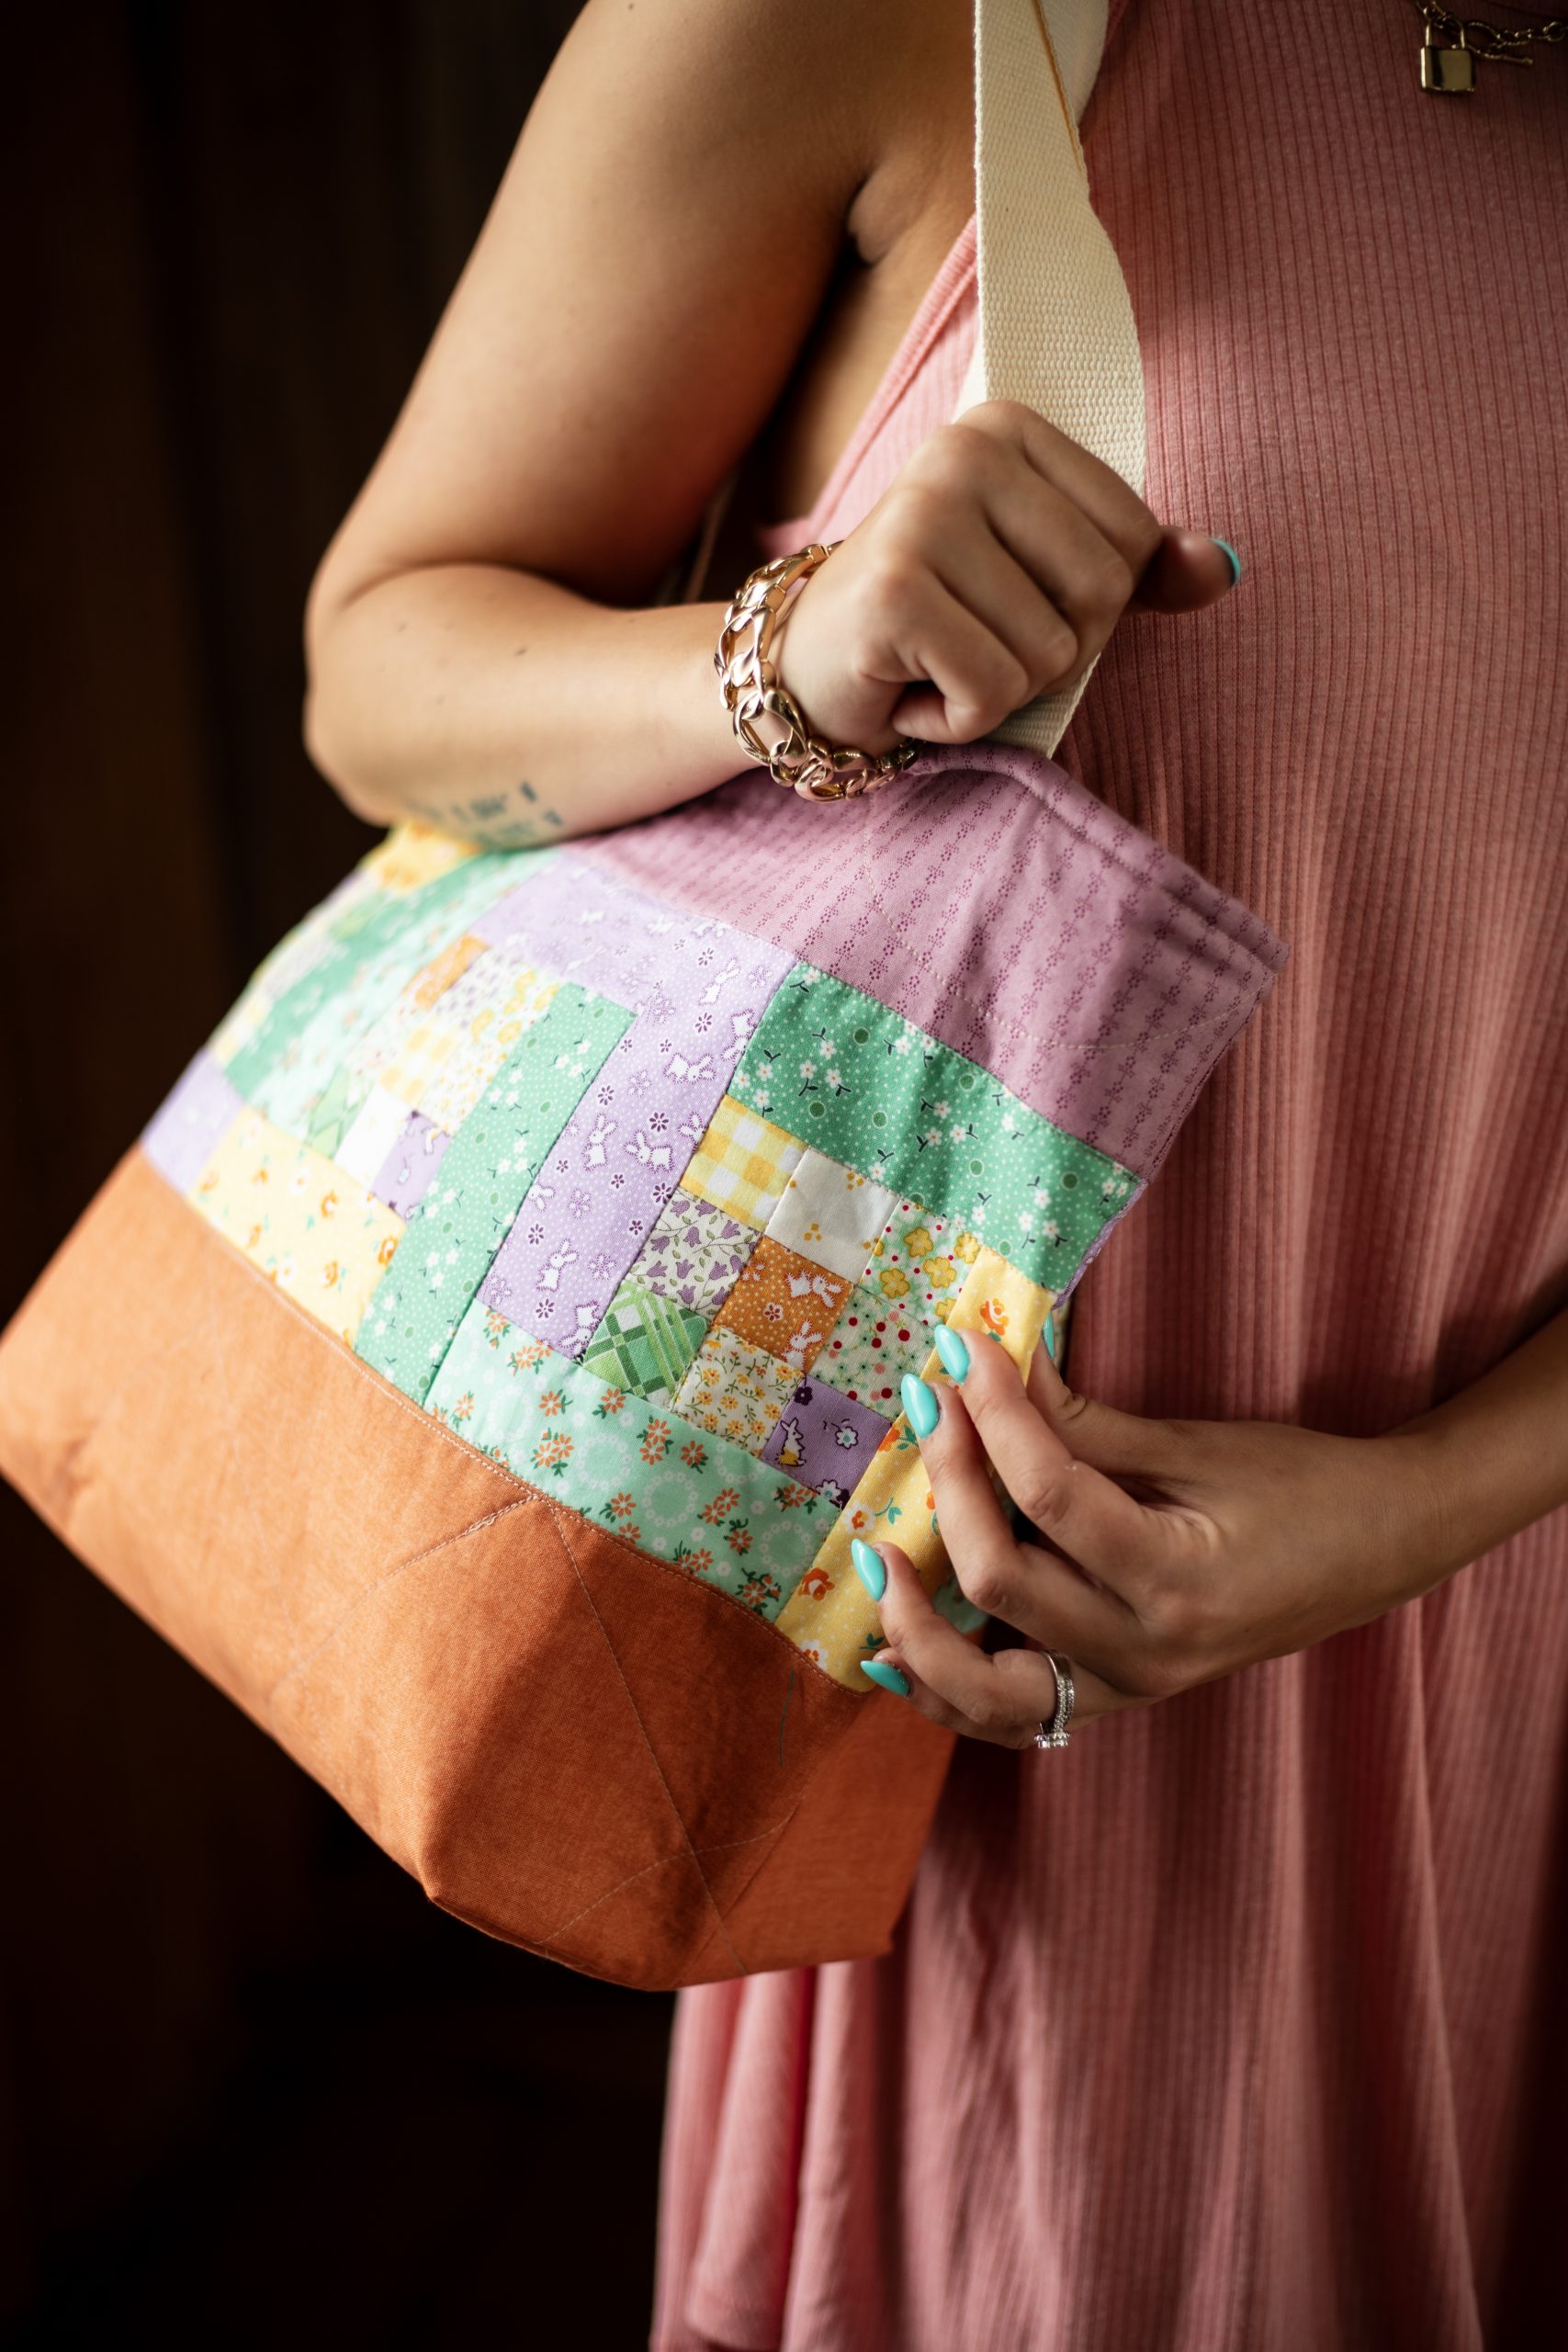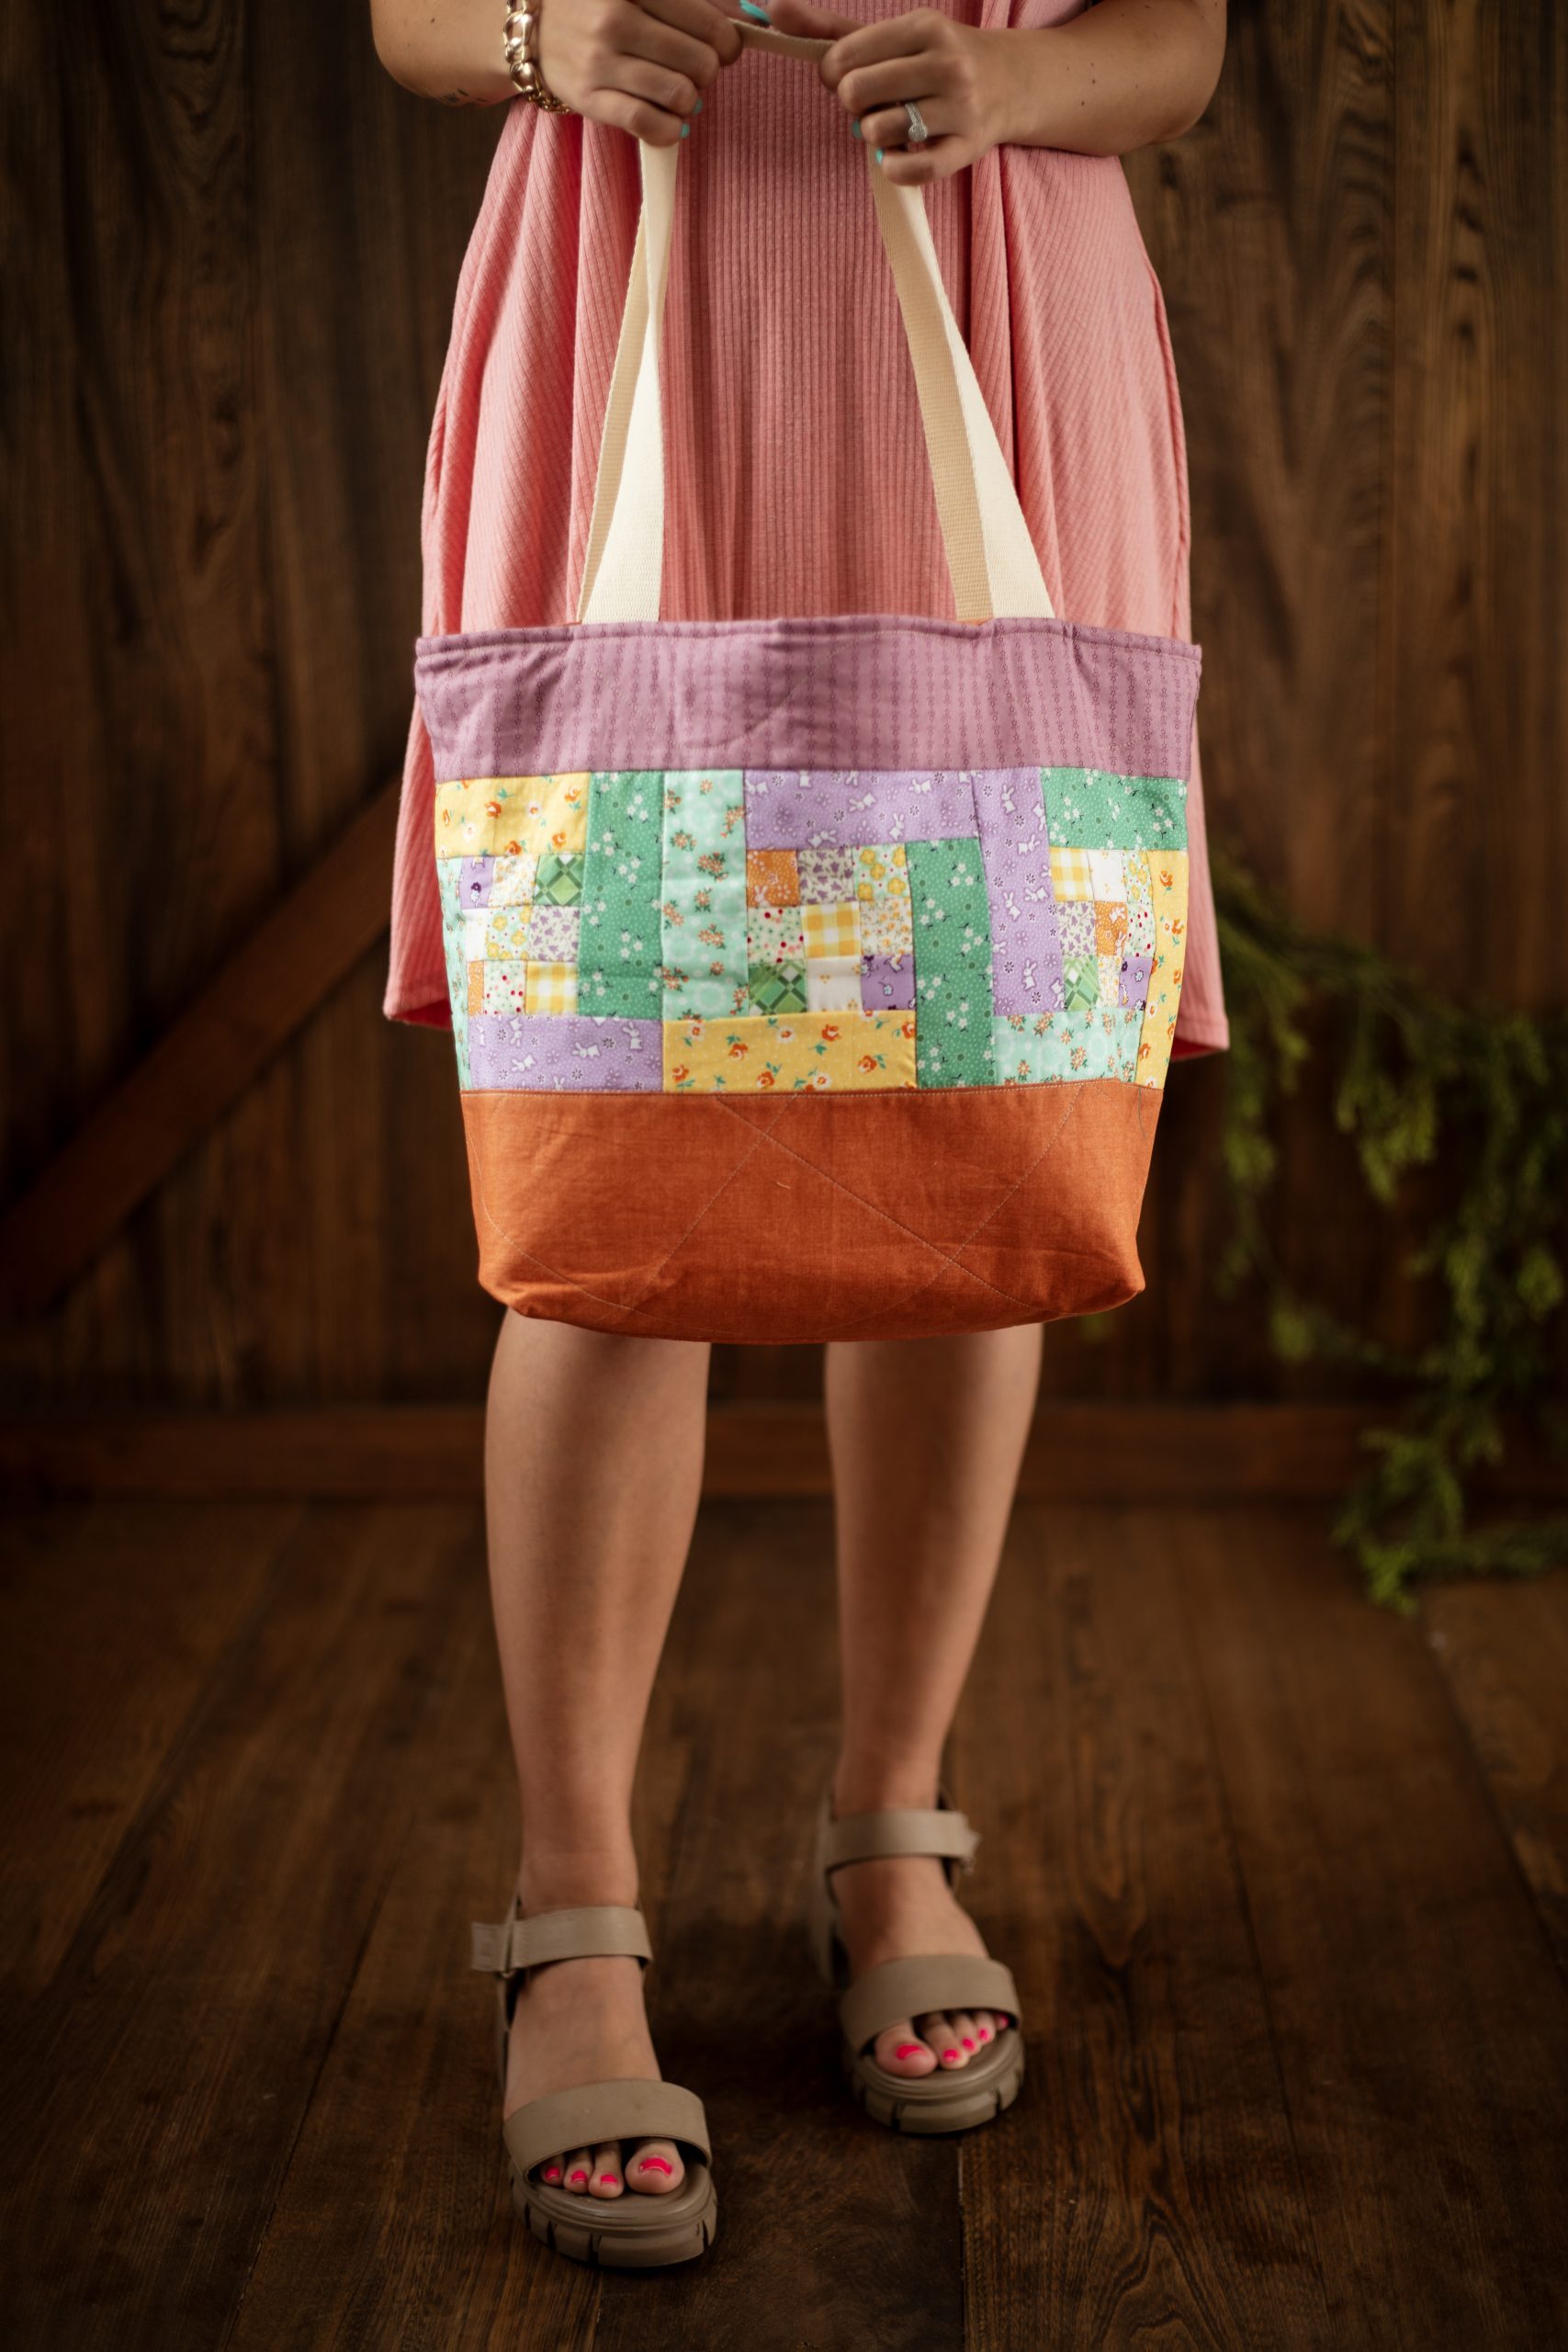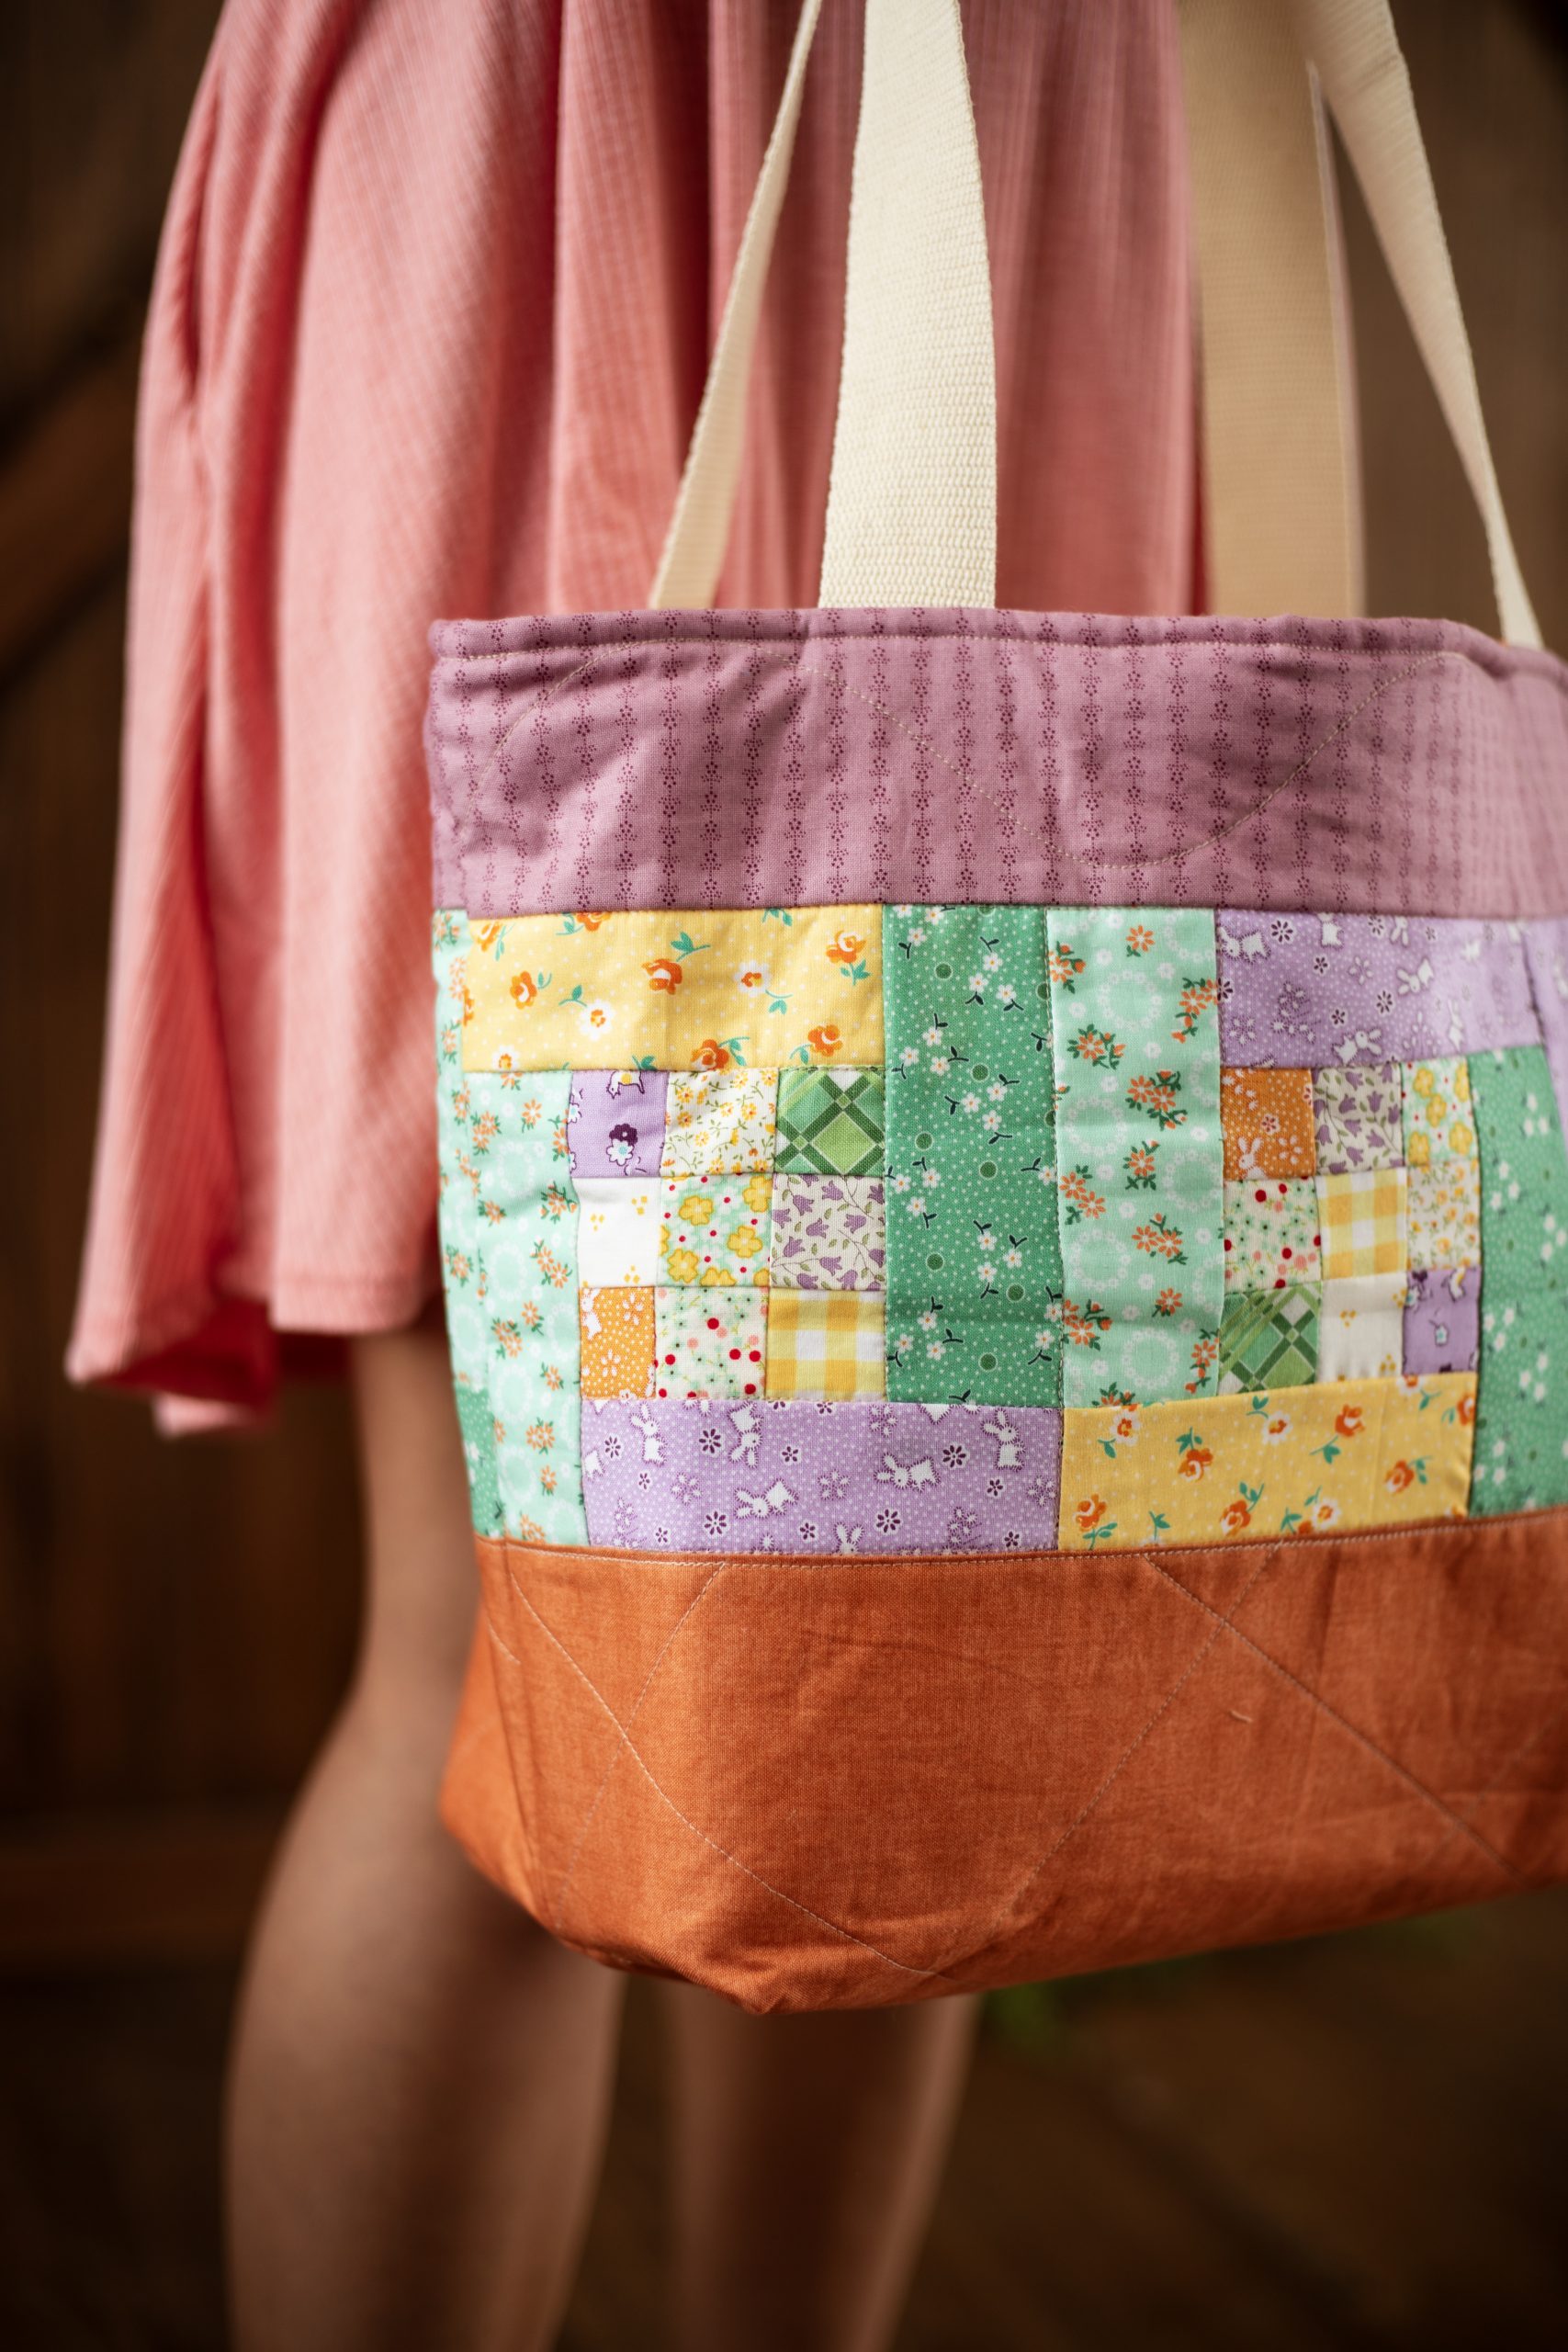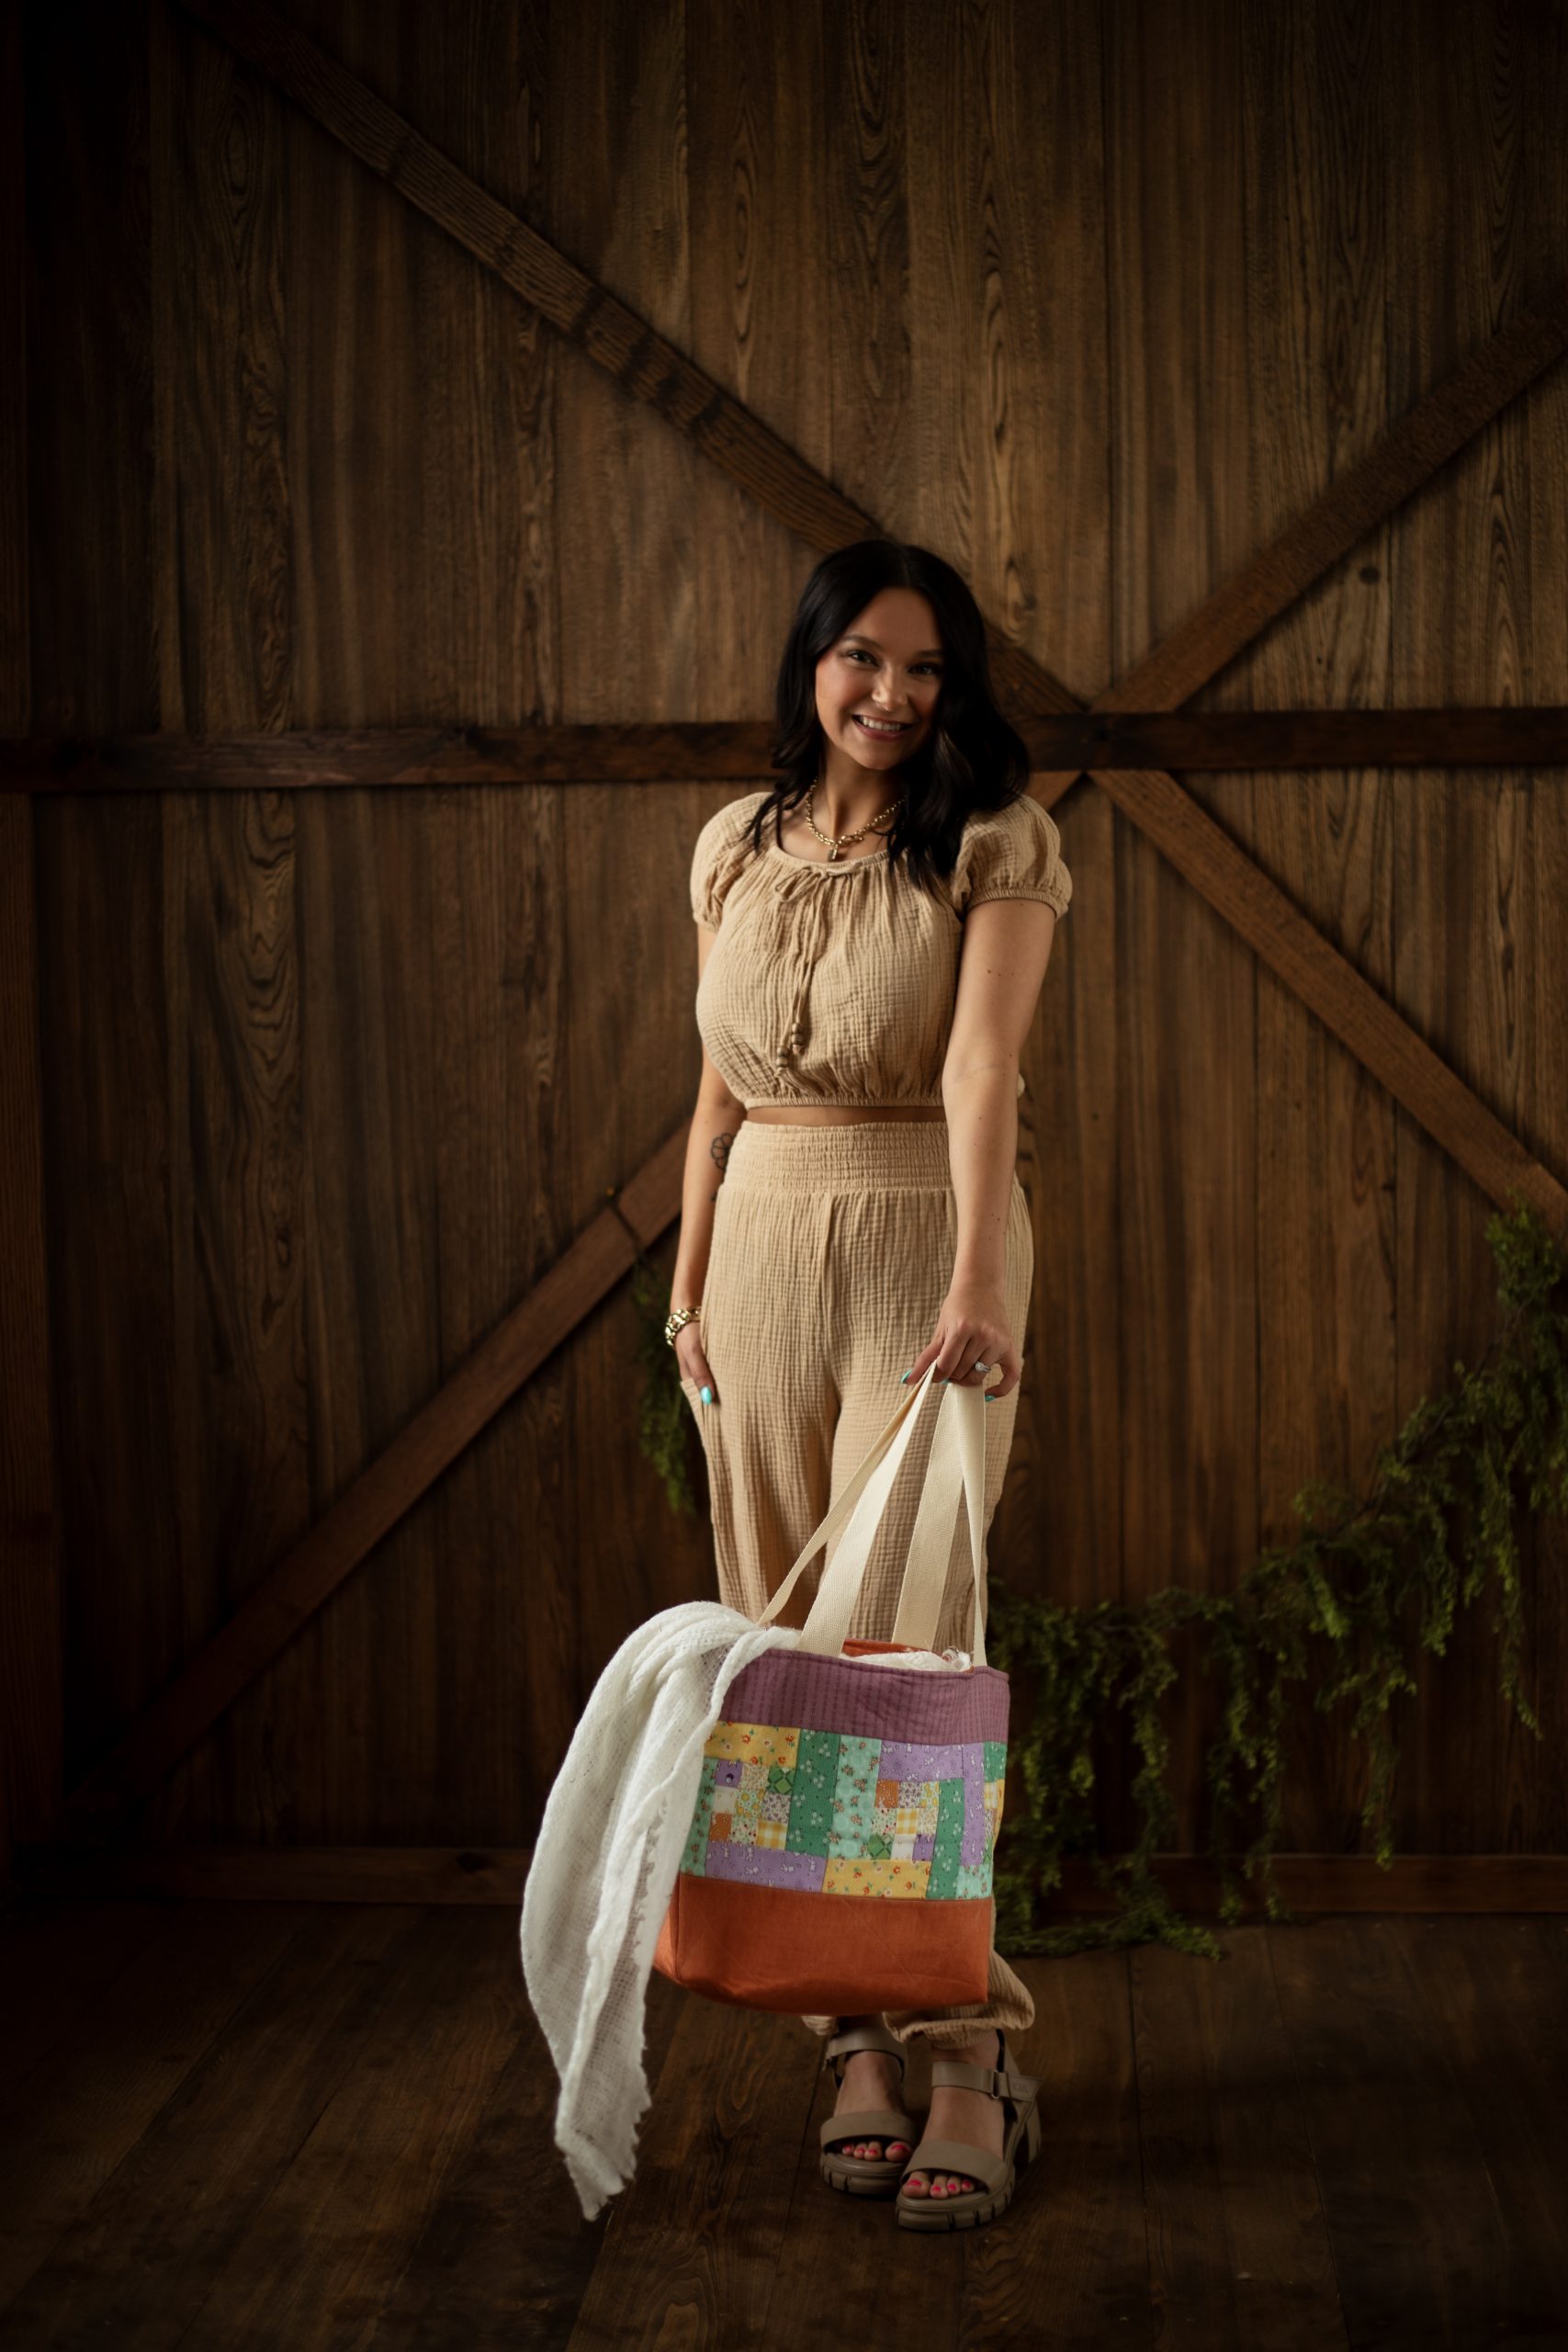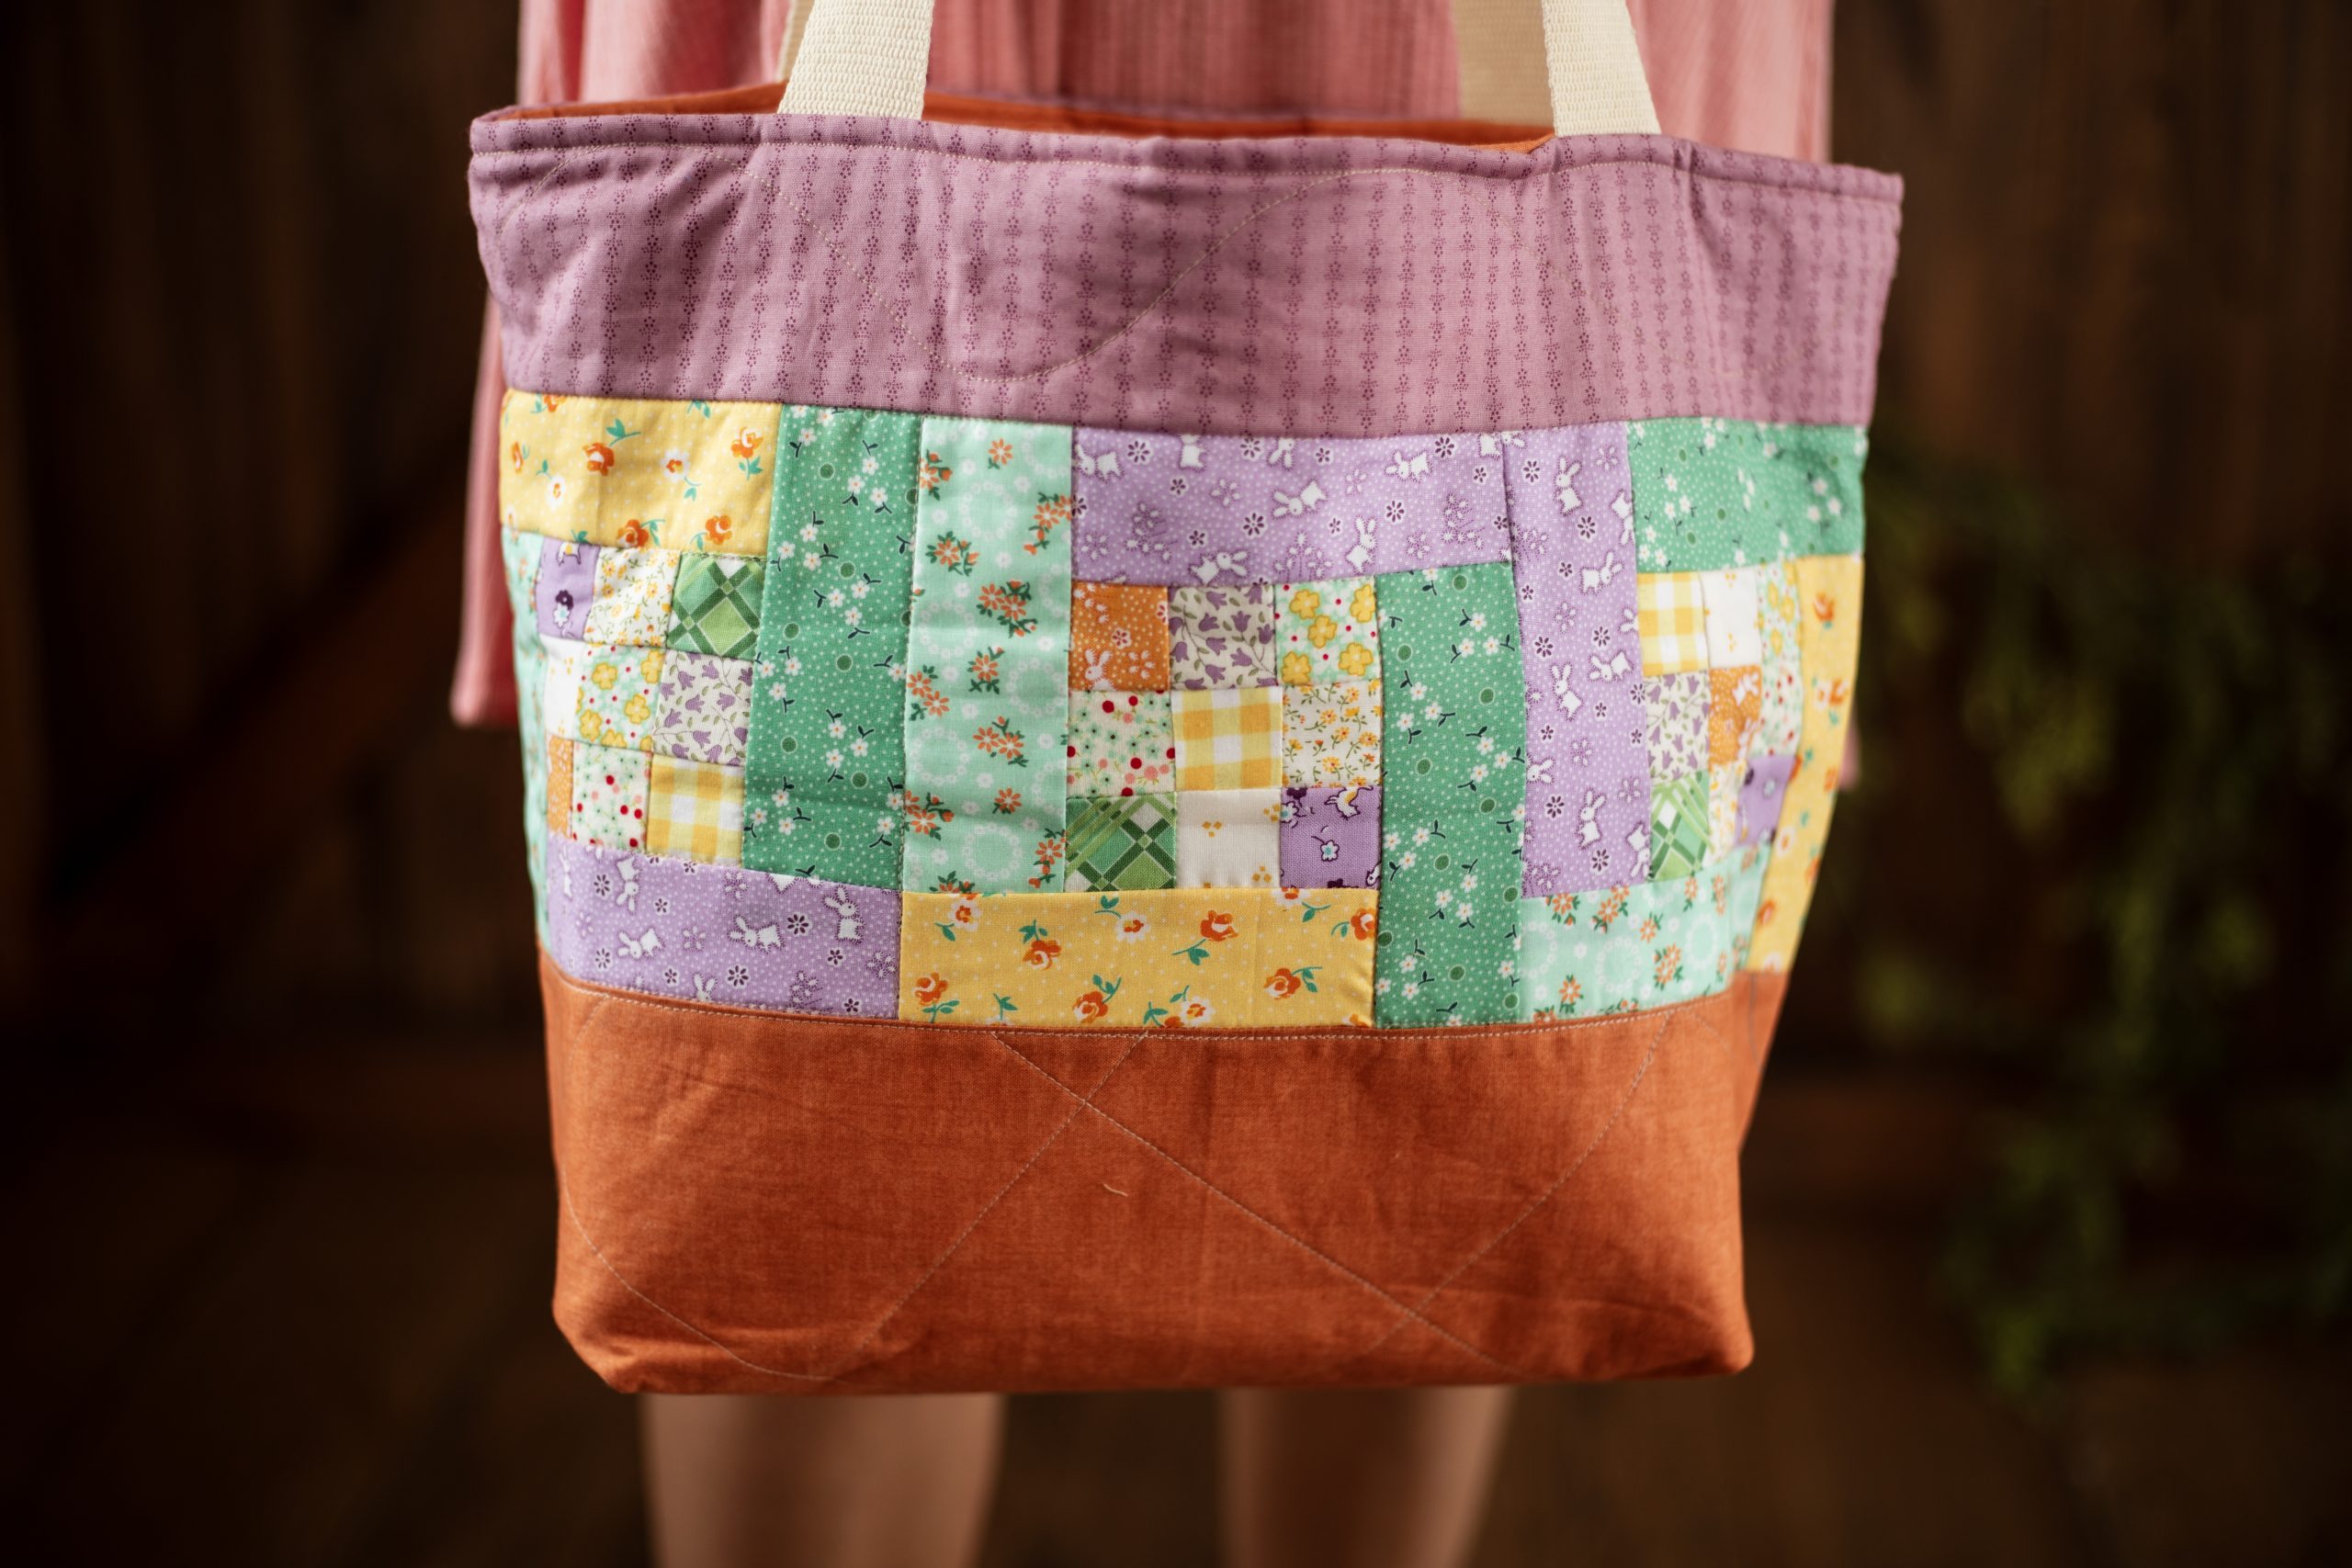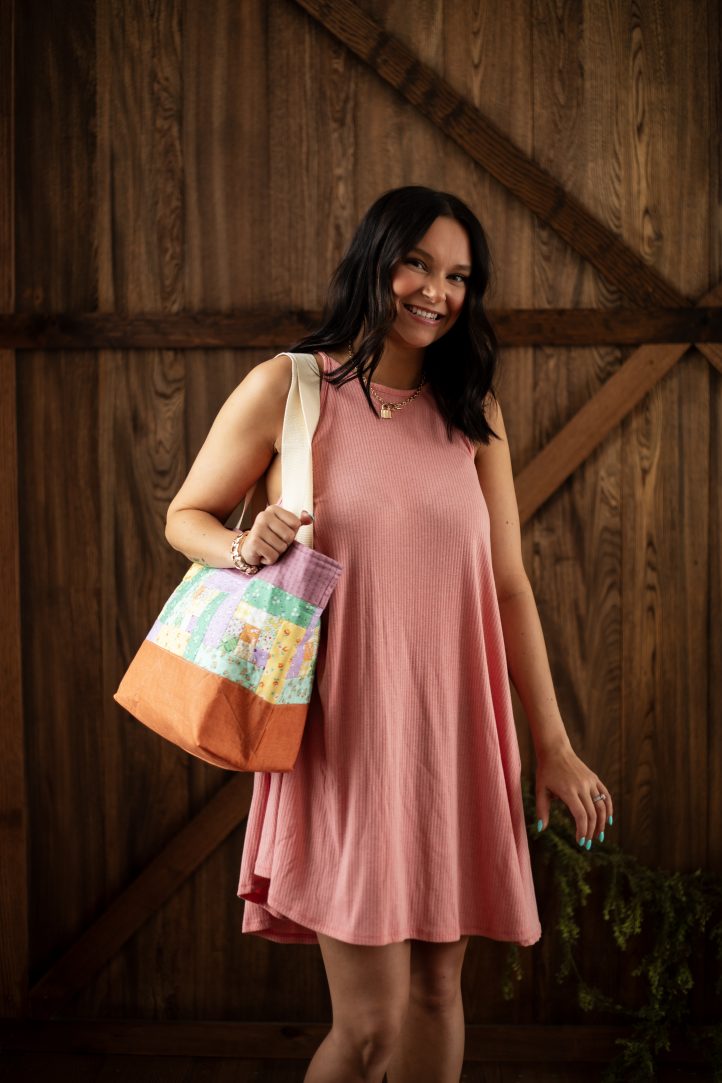
Complete your favorite summer outfit with a stunning quilted tote bag from Jennifer Carson. Made in soft colors reminiscent of a country garden like lavender and mint, this quilted tote bag pattern is ideal for emptying out your fabric stash and features tiny nine patch blocks at the center of its design. This roomy summer tote pattern has sturdy woven strapping for handles and easily holds all of your day-to-day necessities.
Materials:
- Quilting cotton in small prints, or whatever scraps you have! You’ll need to cut 54, 1 1/2” squares to make the center blocks, and 24, 2” x 5” rectangles for the outer block.
- 1/2 yard of Fusible fleece
- 7” x 18” quilting cotton for top bag border
- 1/2 yard quilting cotton for bag bottom
- 1/2 yard quilting cotton for lining
- 48” woven strapping for handles
- 1/2 yard of Pellon 71F Peltex—one sided fusible Ultra Firm Stabilizer* optional, but helpful if you want a bag that stands up by itself.
- Basic sewing supplies
Instructions:
Designer Note: All seam allowances are 1/4”.
- Cut 54, 1 1/2” squares.

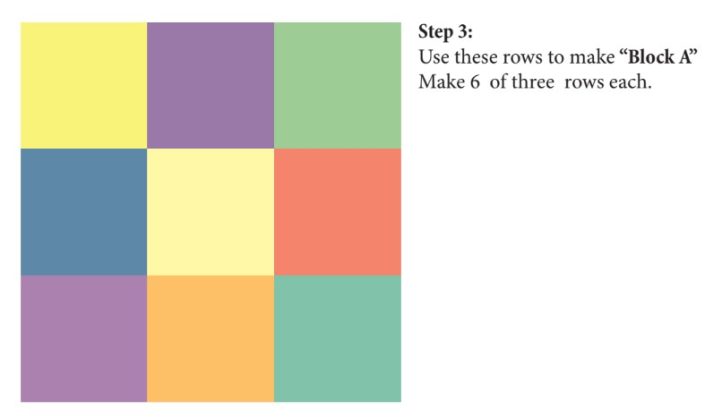
- Pin and stitch three of your squares together to make a row. You’ll need 18 rows. Press seams open as you go.

- Pin one row to another row and stitch. Pin and sew a third row to your first two and stitch. Press. Make six “3 row” blocks. We will call this block, Block A.
- Cut 24, 2” x 5” rectangles.

- Match one rectangle to one side of an A block and stitch.
- Match a second rectangle to the side of your A block where your first rectangle started (the side that is even with your A block) and stitch.
- Pin and stitch a third rectangle to the side of you’re a block (on the even edge) and stitch.
- Match your last rectangle to the A Block and stitch up to a 1/4” away from your first rectangle.
- Pin the short end of your fourth rectangle, to the long, unsewn end of your first rectangle and stitch.
- Repeat to add the outer rectangles to the remaining A blocks. Press. We will now refer to these as B blocks.

- Match one B block to another B Block and stitch.
- Match a third B Block to your first two to make a row of three B Blocks. Repeat so that you have two rows of three B blocks sewn together. Press and set aside.

- Cut your top bag border. You’ll need two strips that are 3 1/2” wide by 18” long.
- Stitch your top bag border to the top of each of your B block rows. Press and set aside.
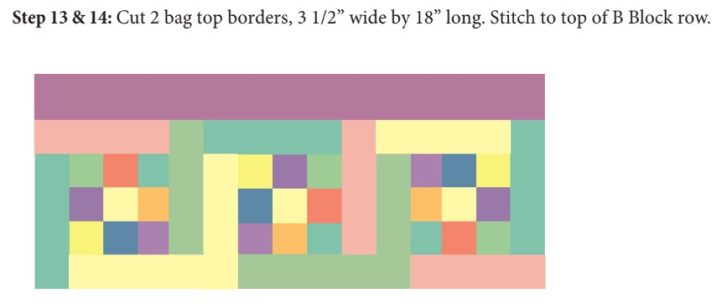
- Cut your bag bottom. You’ll need two 7 1/2” tall by 18” wide rectangles.
- At the bottom of these rectangles, mark a 3” square at each corner and cut the square out.

- Pin and stitch the top edge of your bag bottom (the edge without the squares cut out) to the bottom of each of your B block rows.

- Pin one side edge of your bag to the side edge of another and stitch. Press the seam open.

- Lay your bag exterior pieces on your fusible fleece and trim your fleece close to the edge. Press fleece in place. Trim edges again if needed.
- Quilt your bag exterior as you desire.
- After quilting, match and stitch the sides of the bag.
- Match and stitch the bag bottom seam.
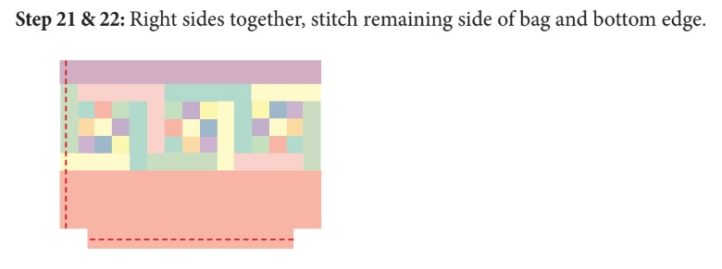
- Match the seam of the bag side together with the seam of the bag bottom. Pin. Stitch to close the bag corners.

- Cut your lining from your lining fabric, 17 1/2” wide by 16” tall. Mark your 3” squares in the bottom of it and cut those out.
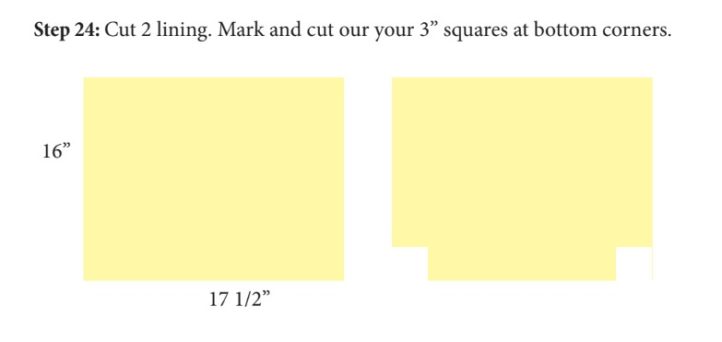
- Press your Pellon stabilizer to the wrong side of your lining fabric.
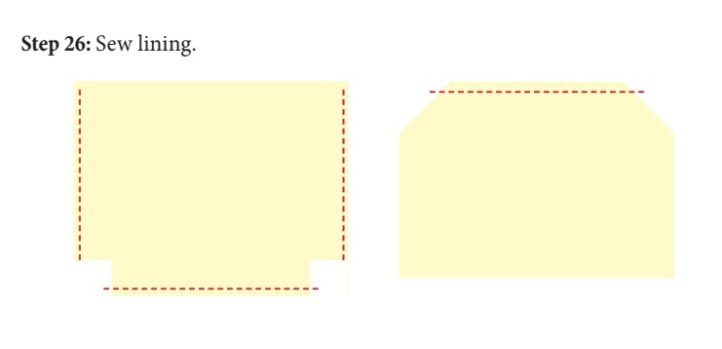
- With right sides, together pin and stitch the lining sides and bottom edge. Now sew the corners as you did the bag exterior.
- Measure 4” from the side of your bag exterior and mark with a pin—this is the center of your handle. Do this for all four sides.
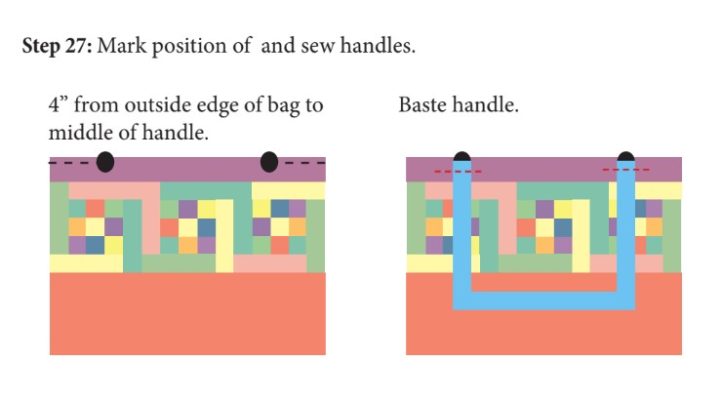
- Cut two handles 24” long. Pin the handles to the bag exterior, matching the center of each handle with the pins you placed. Baste handles in place.
- With right sides together, insert bag exterior into bag lining. Pin the top of the bag exterior to the bag lining.
- Stitch around the top of the bag using a 3/8” seam allowance and leaving the space in between one bag handle open for turning.
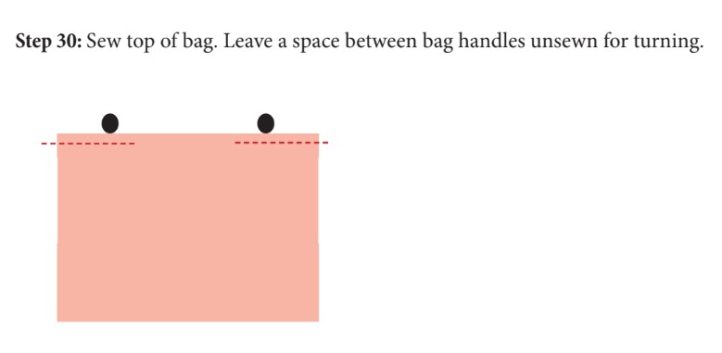
- Turn bag inside out.
- Turn in your unsewn edge between the bag handle, and topstitch around the edge of the bag.

