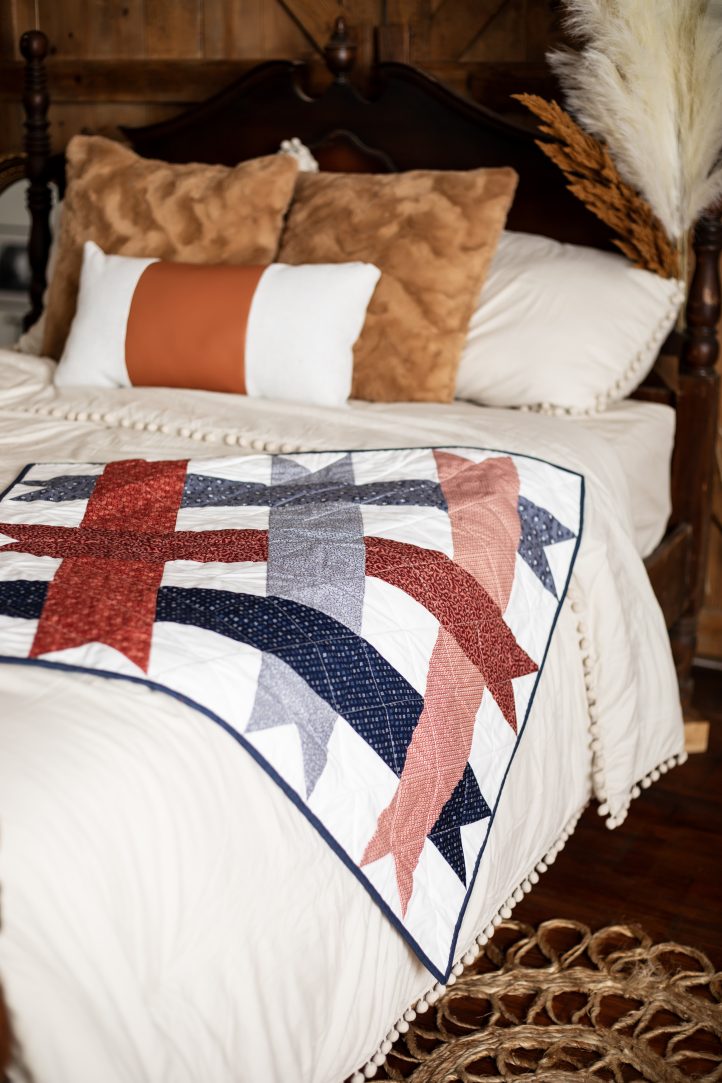
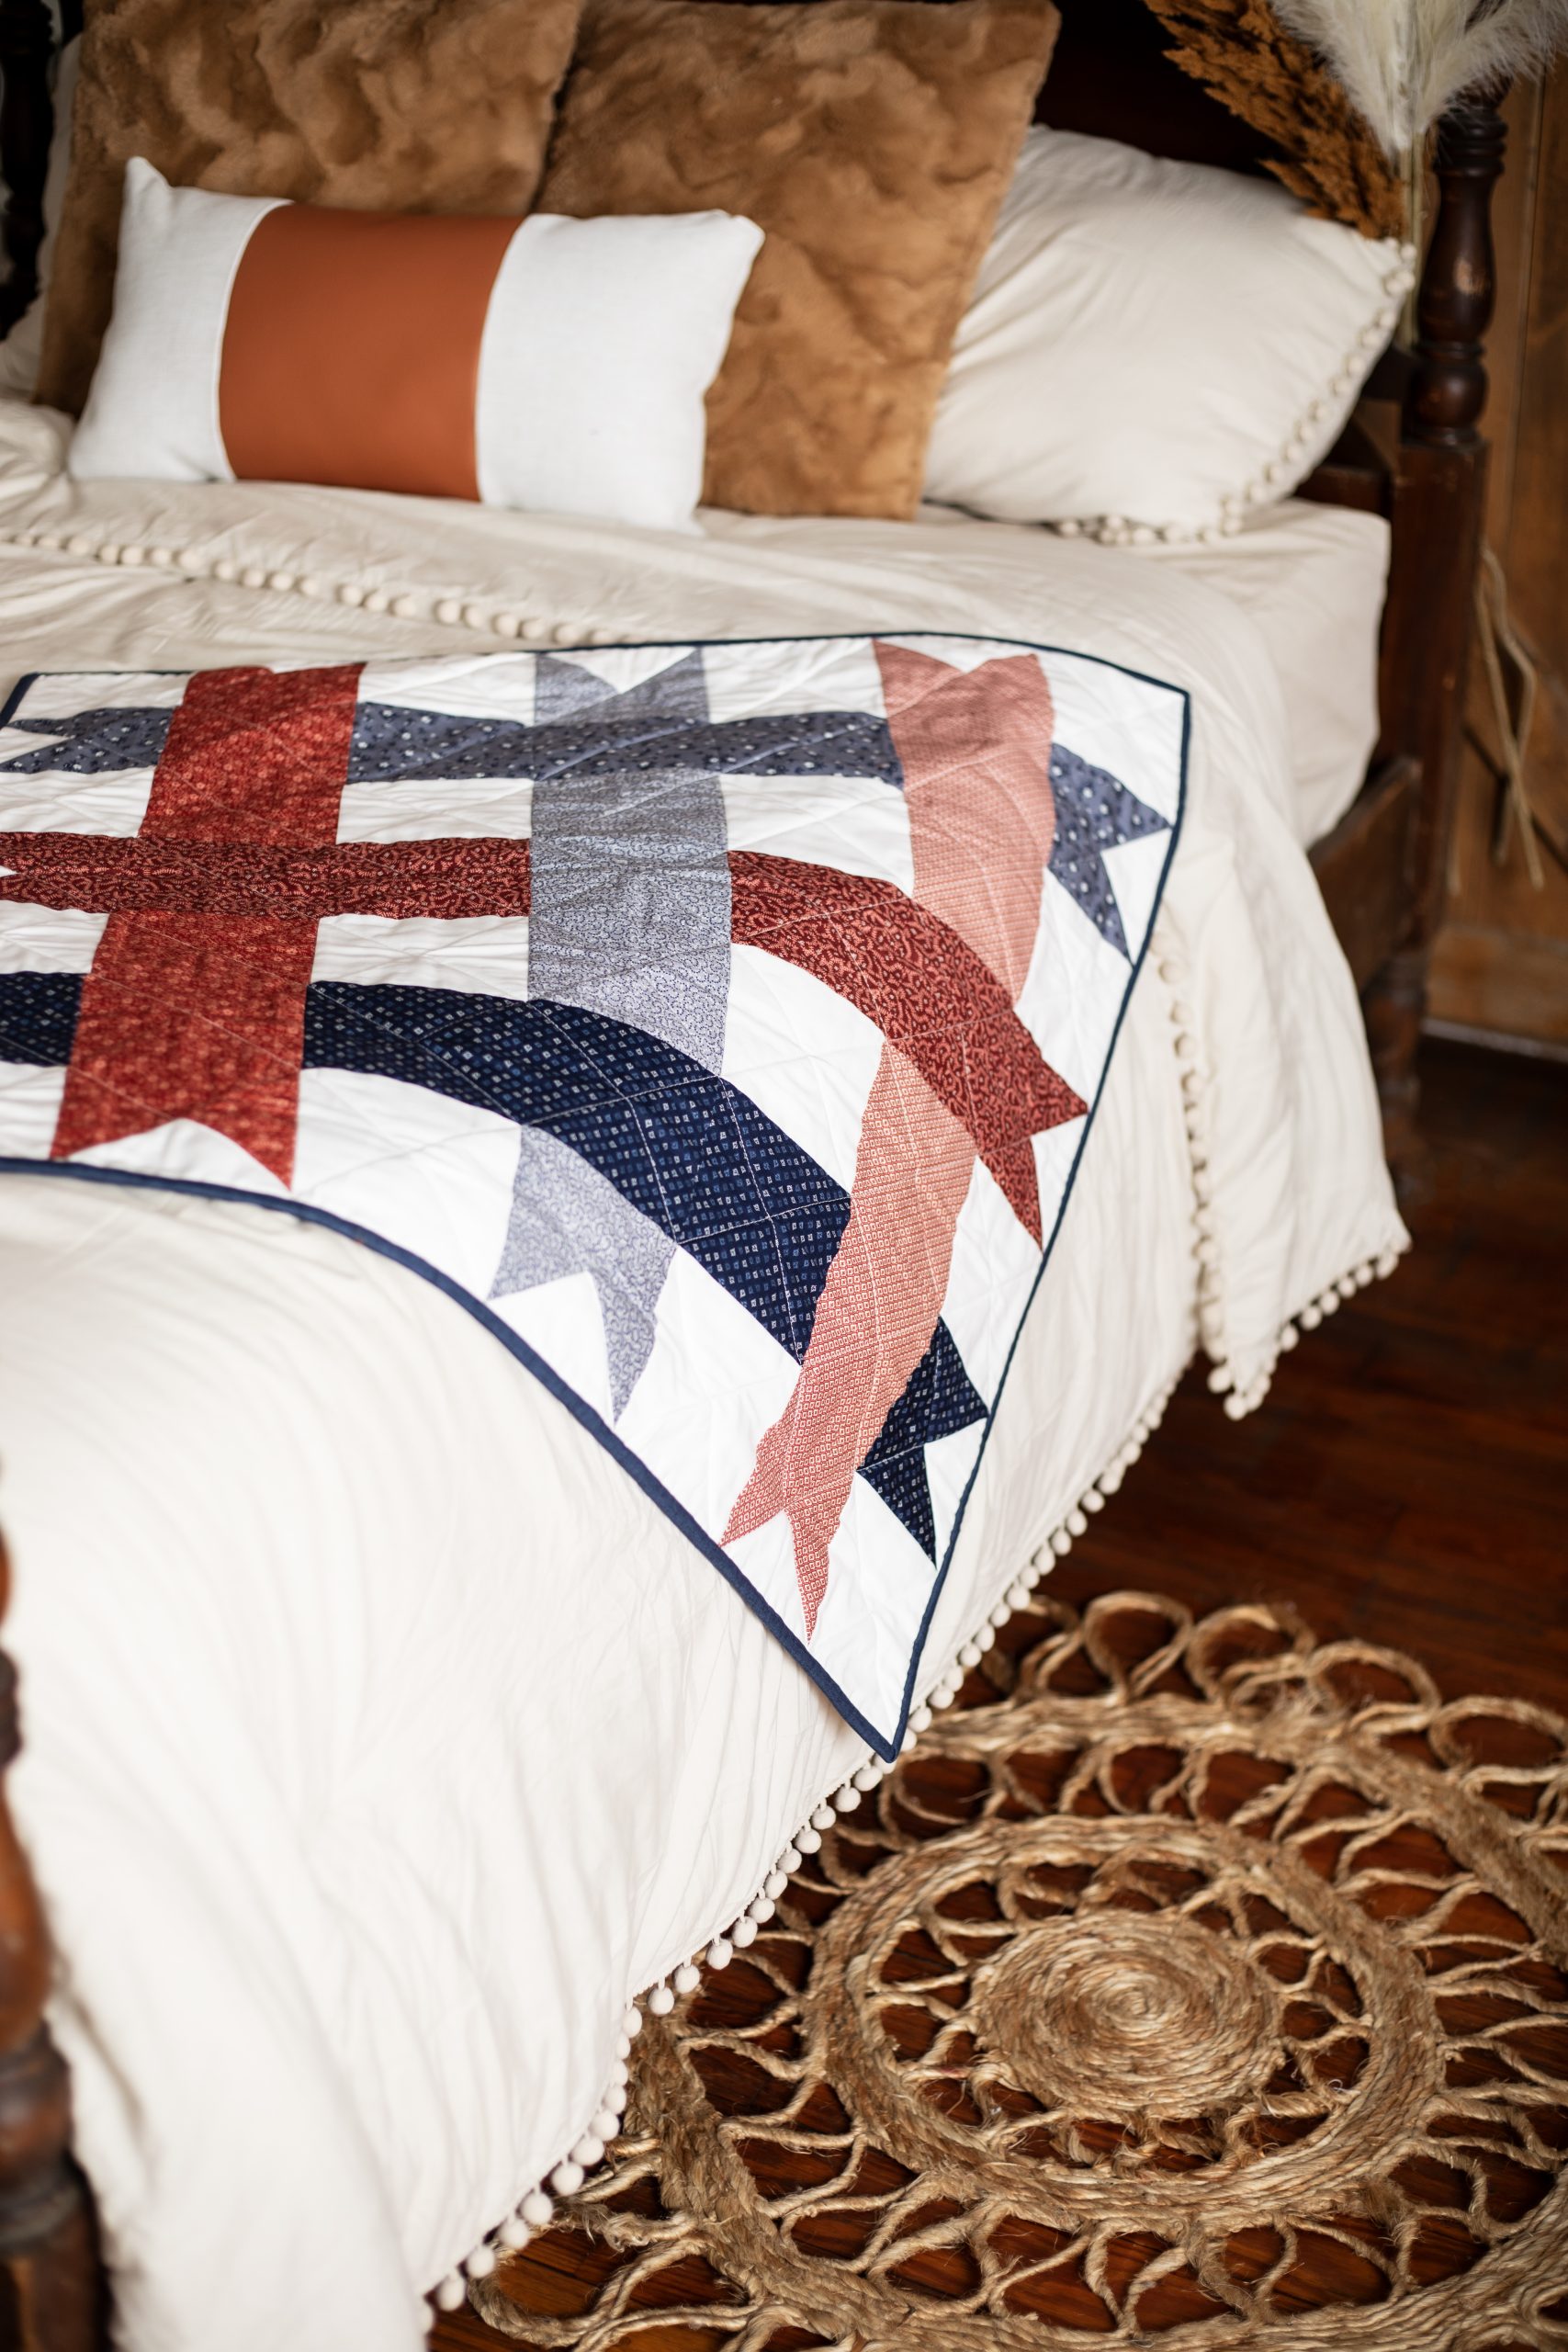
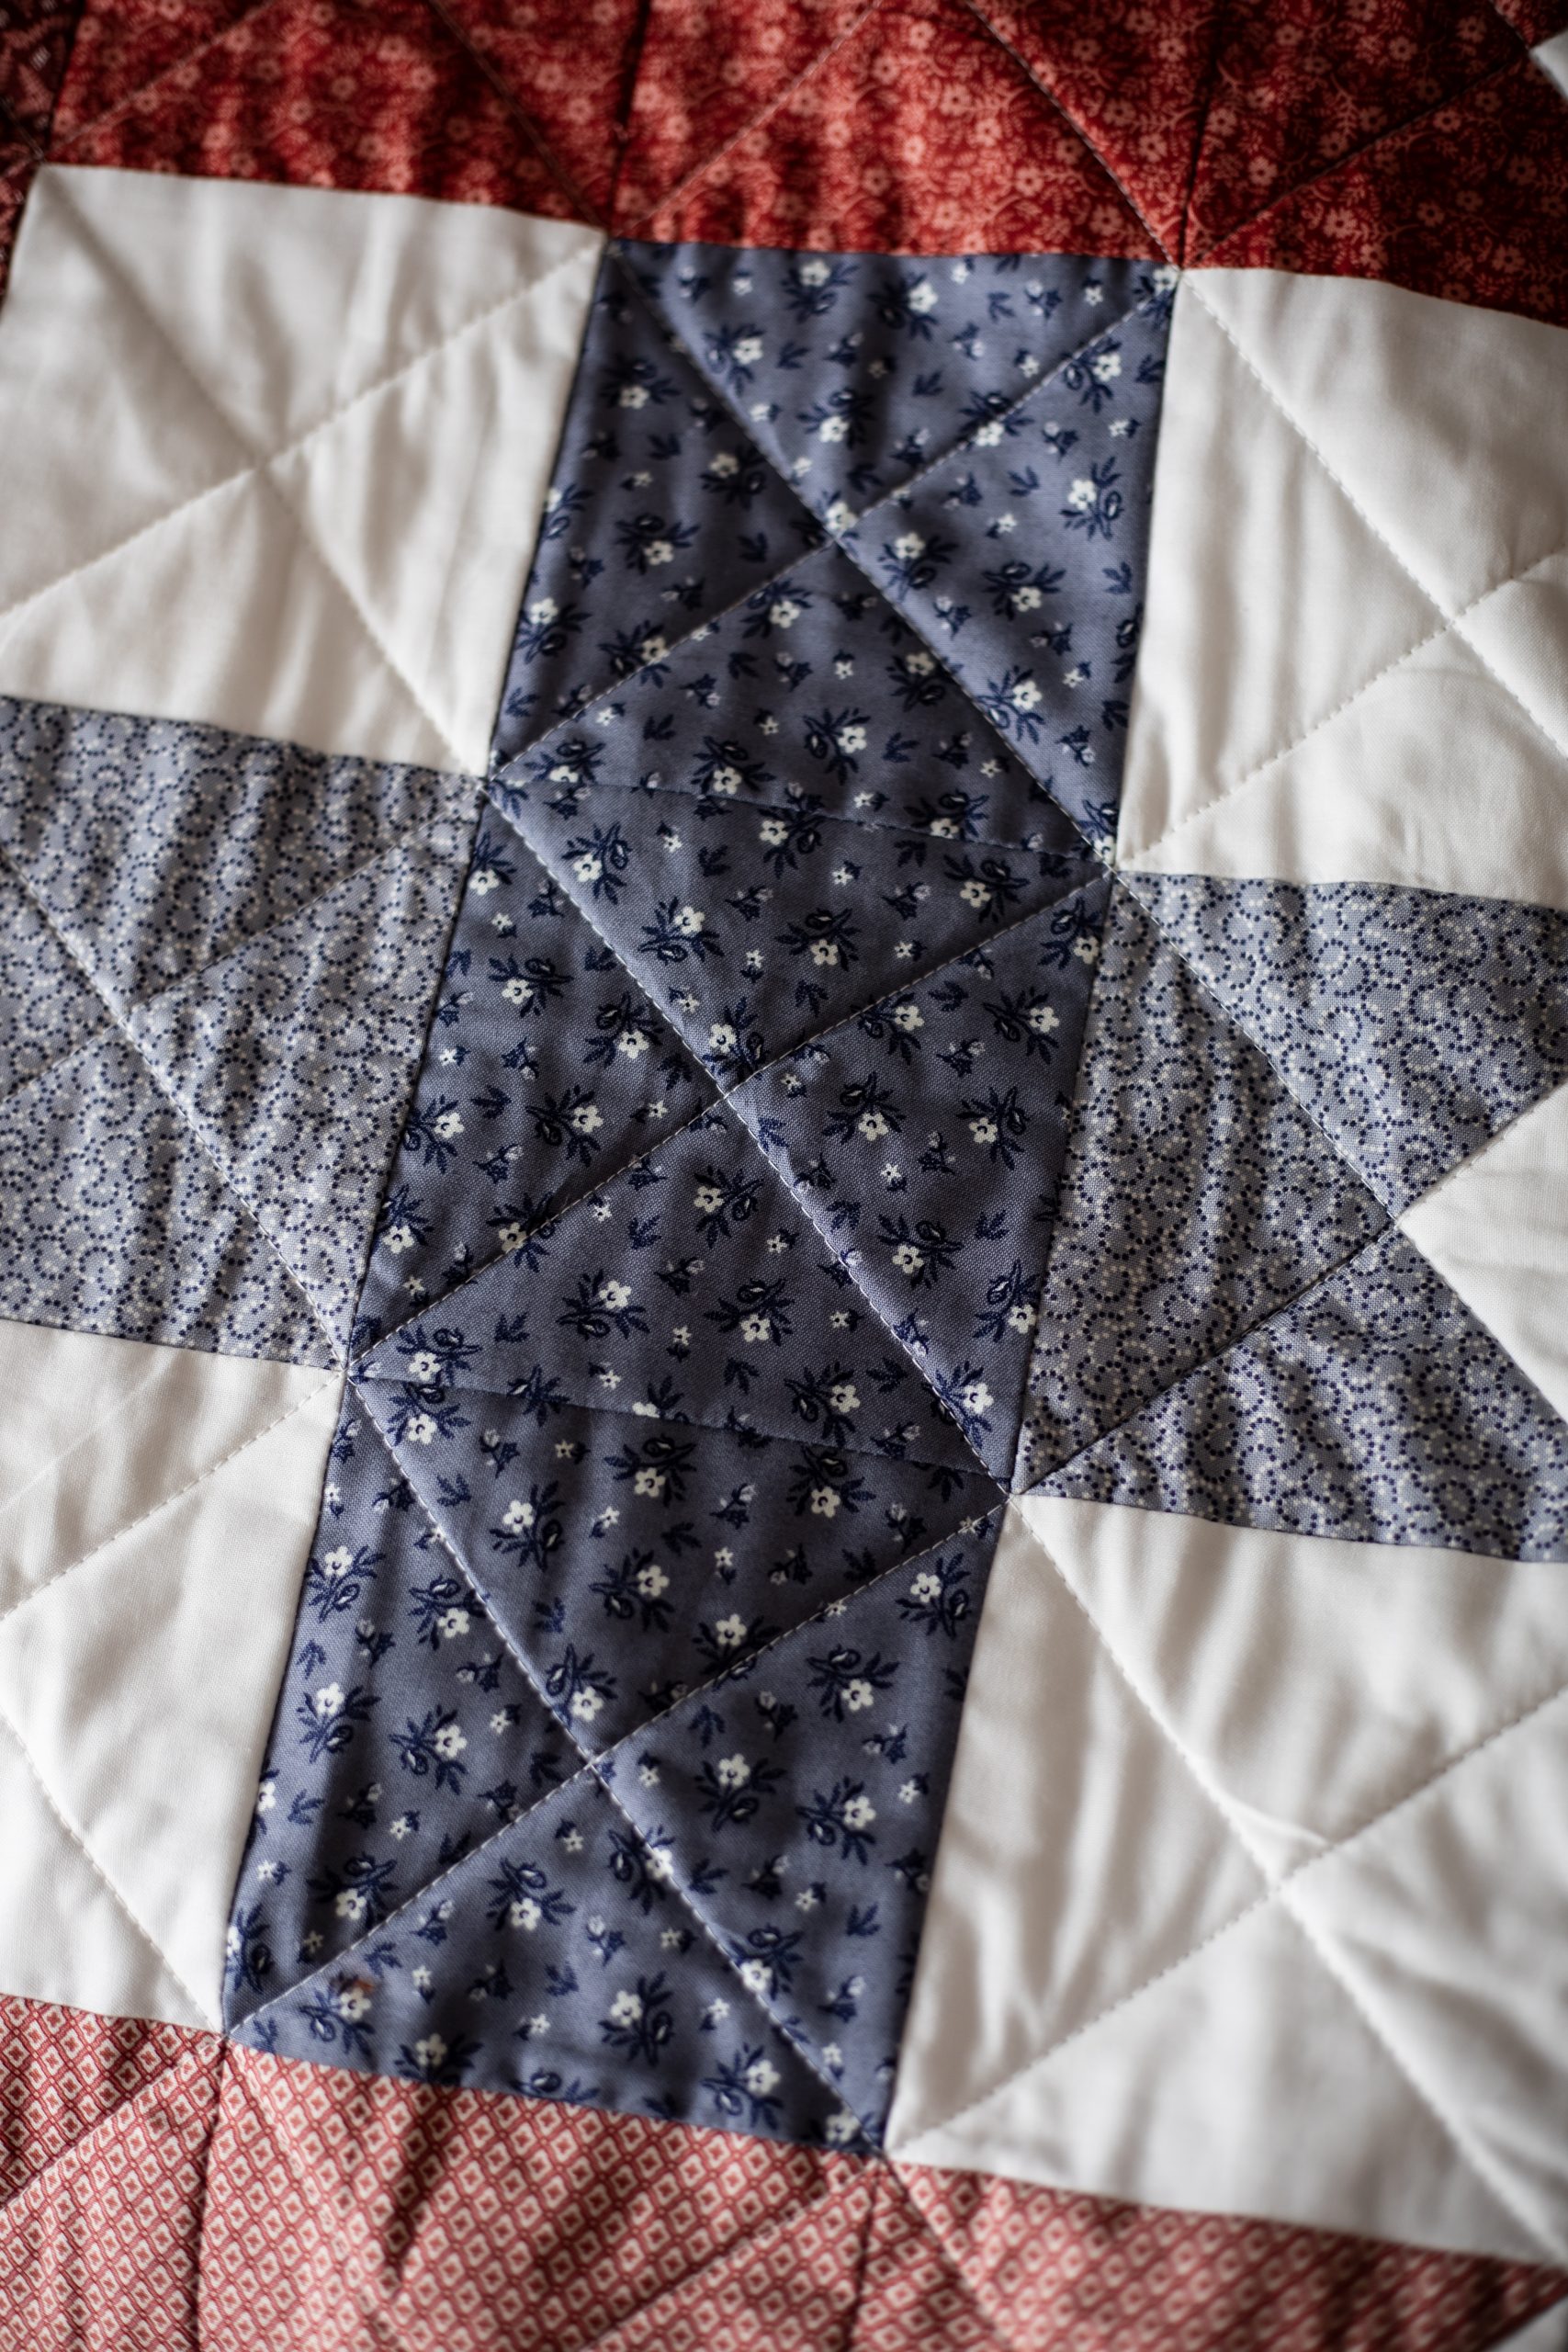
Sew a quilted wall hanging that’s blue ribbon-worthy with this rustic quilt pattern from Rachel Nielsen. Capturing the spirit of an all-American county fair, this wall hanging pattern features elegant ribbon designs in red and blue against a crisp white background. This fat quarter friendly quilt project finishes at a 31 1/2” square, and can be displayed as a mini quilt or wall hanging to give your home a cute country look.
Designer Note: Please read all instructions before beginning.
Materials:
Note: Fat quarters work great for the red and blue fabric.
- 1/4 yard EACH in 3 coordinating red prints (Red #1, #2 & #3)
- 1/4 yard EACH in 3 coordinating blue prints (Blue #1, #2 & #3)
- 3/4 yard white fabric
- 1/3 yard fabric for binding
- 1 yard fabric for backing
- 1 yard batting
Fabrics Used:
- Kona White
- Quilt top – Used fabrics from Hometown Americana Vol.3 line, listed below:
- Red #1 – Brick
- Red #2 – Dusty Rose
- Red #3 – Barn Red
- Blue #1 – Dk Grey Blue
- Blue #2 – Navy
- Blue #3 – Soft Grey Blue
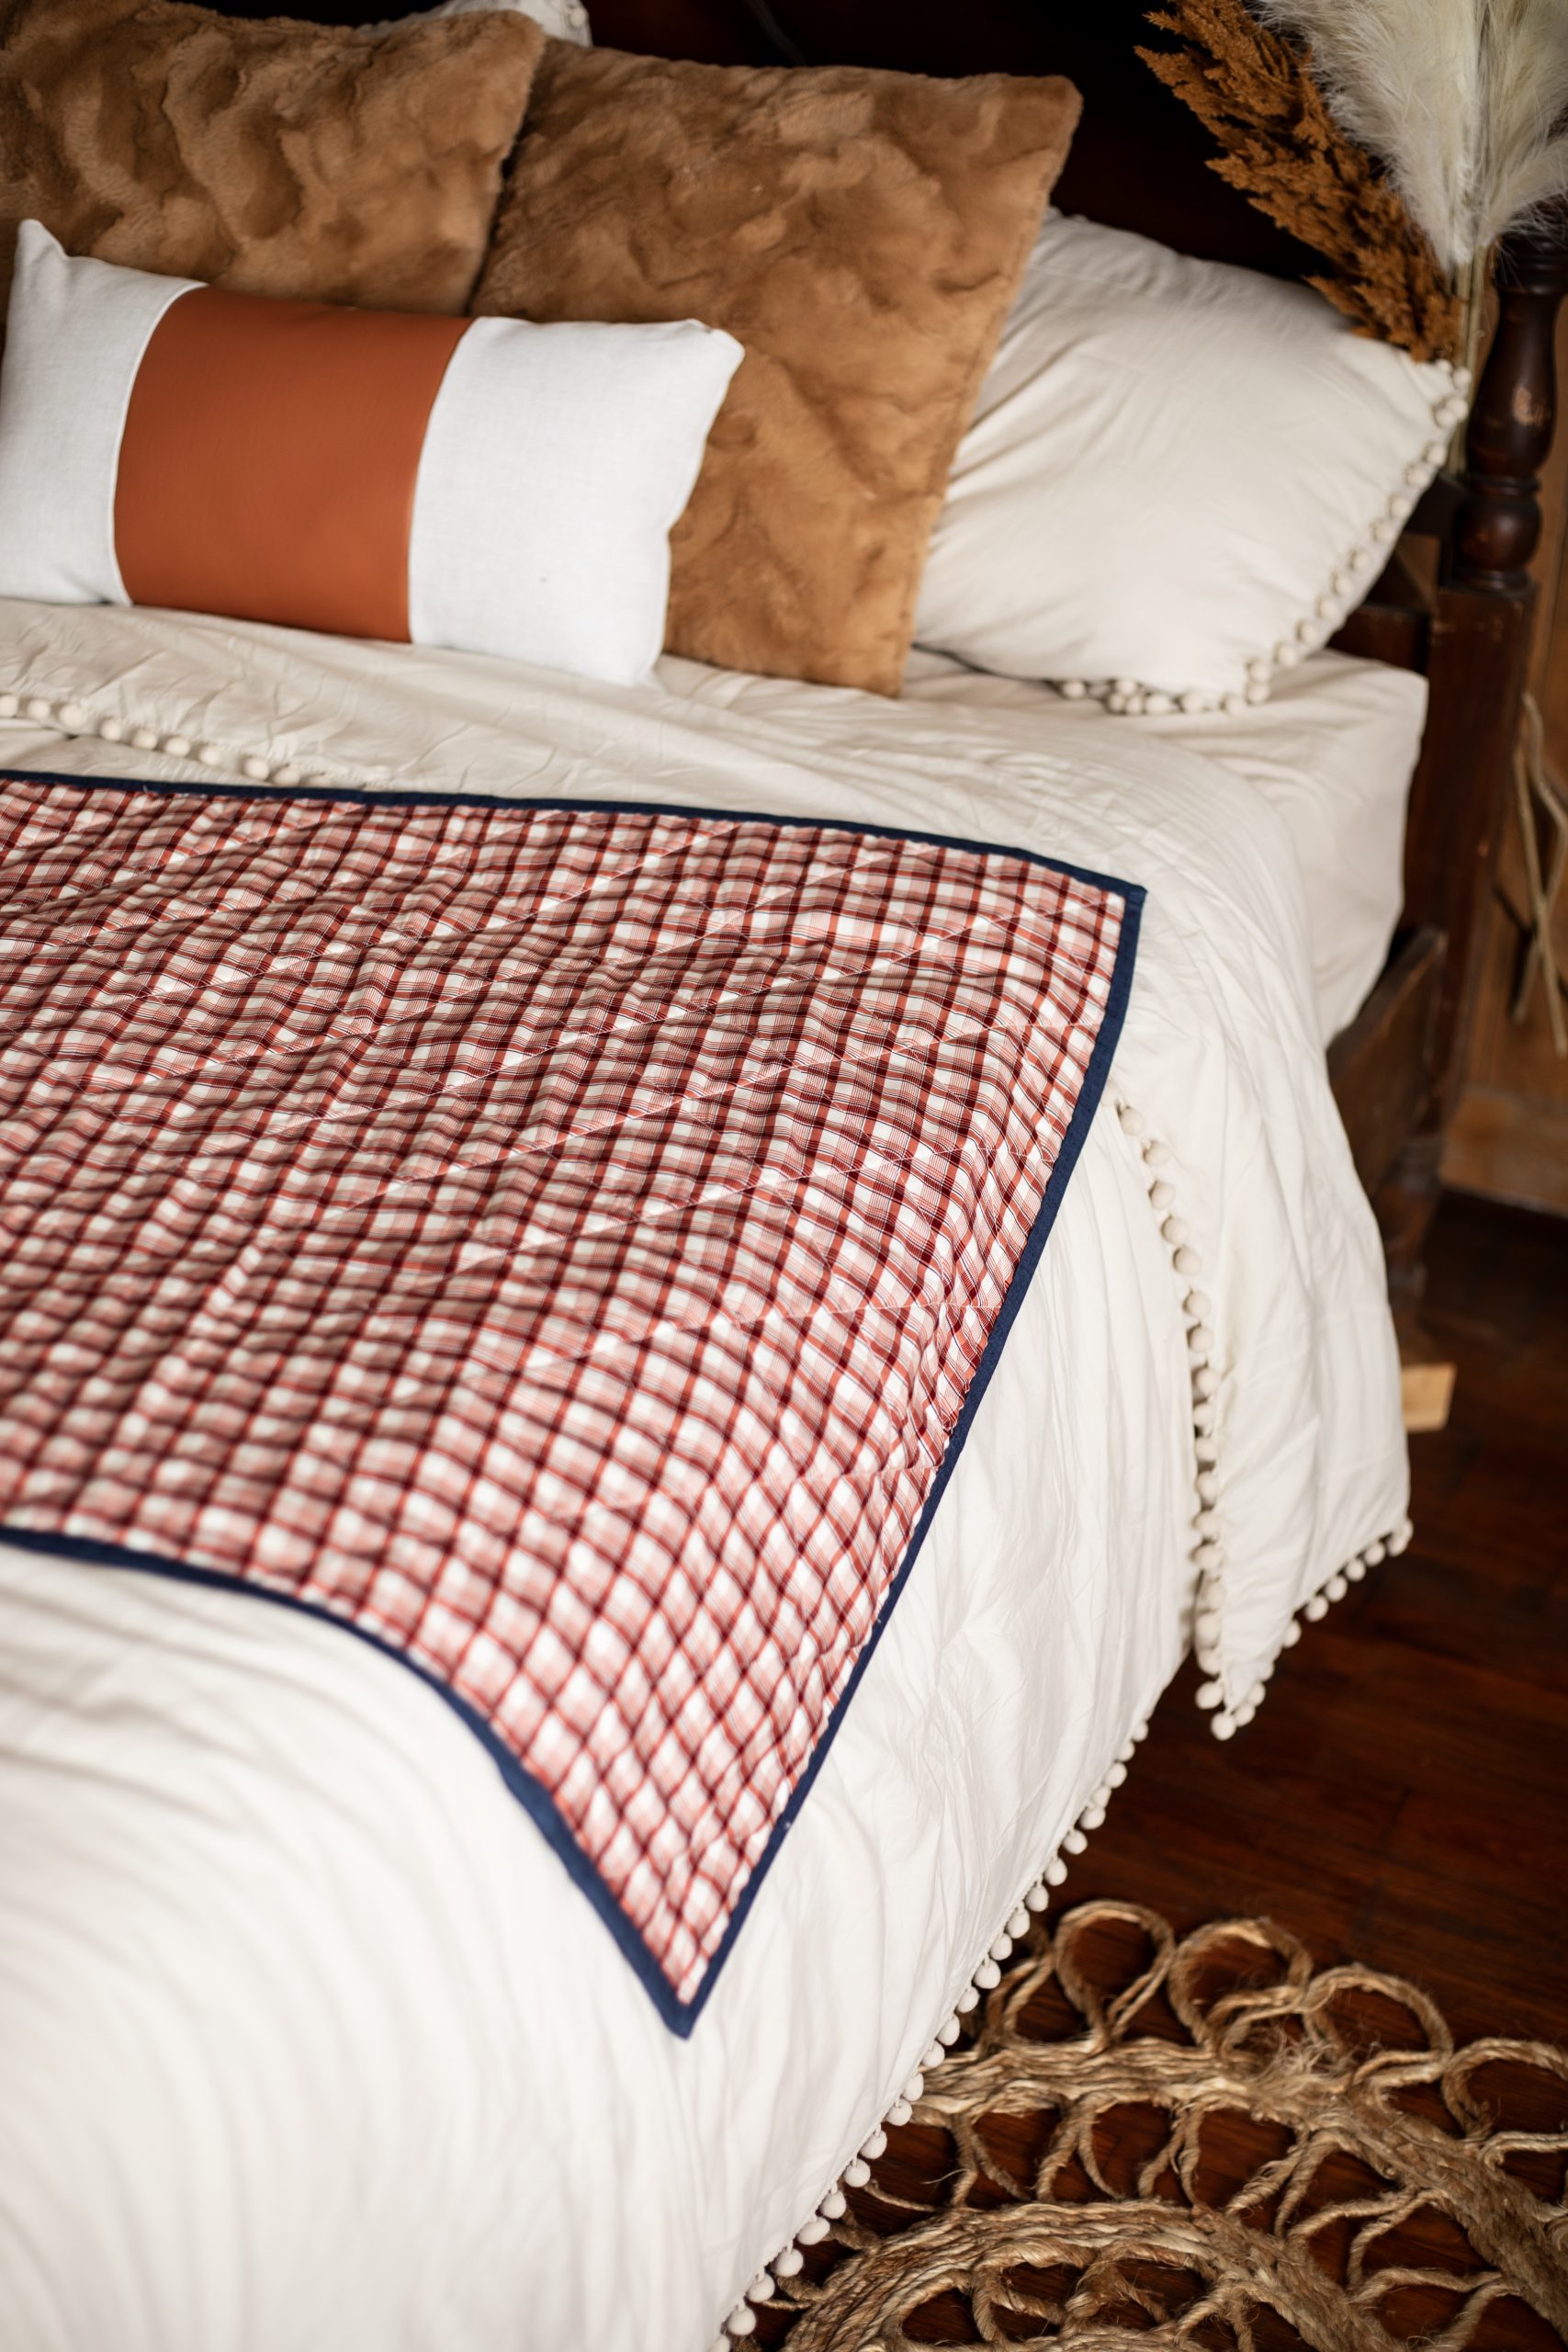
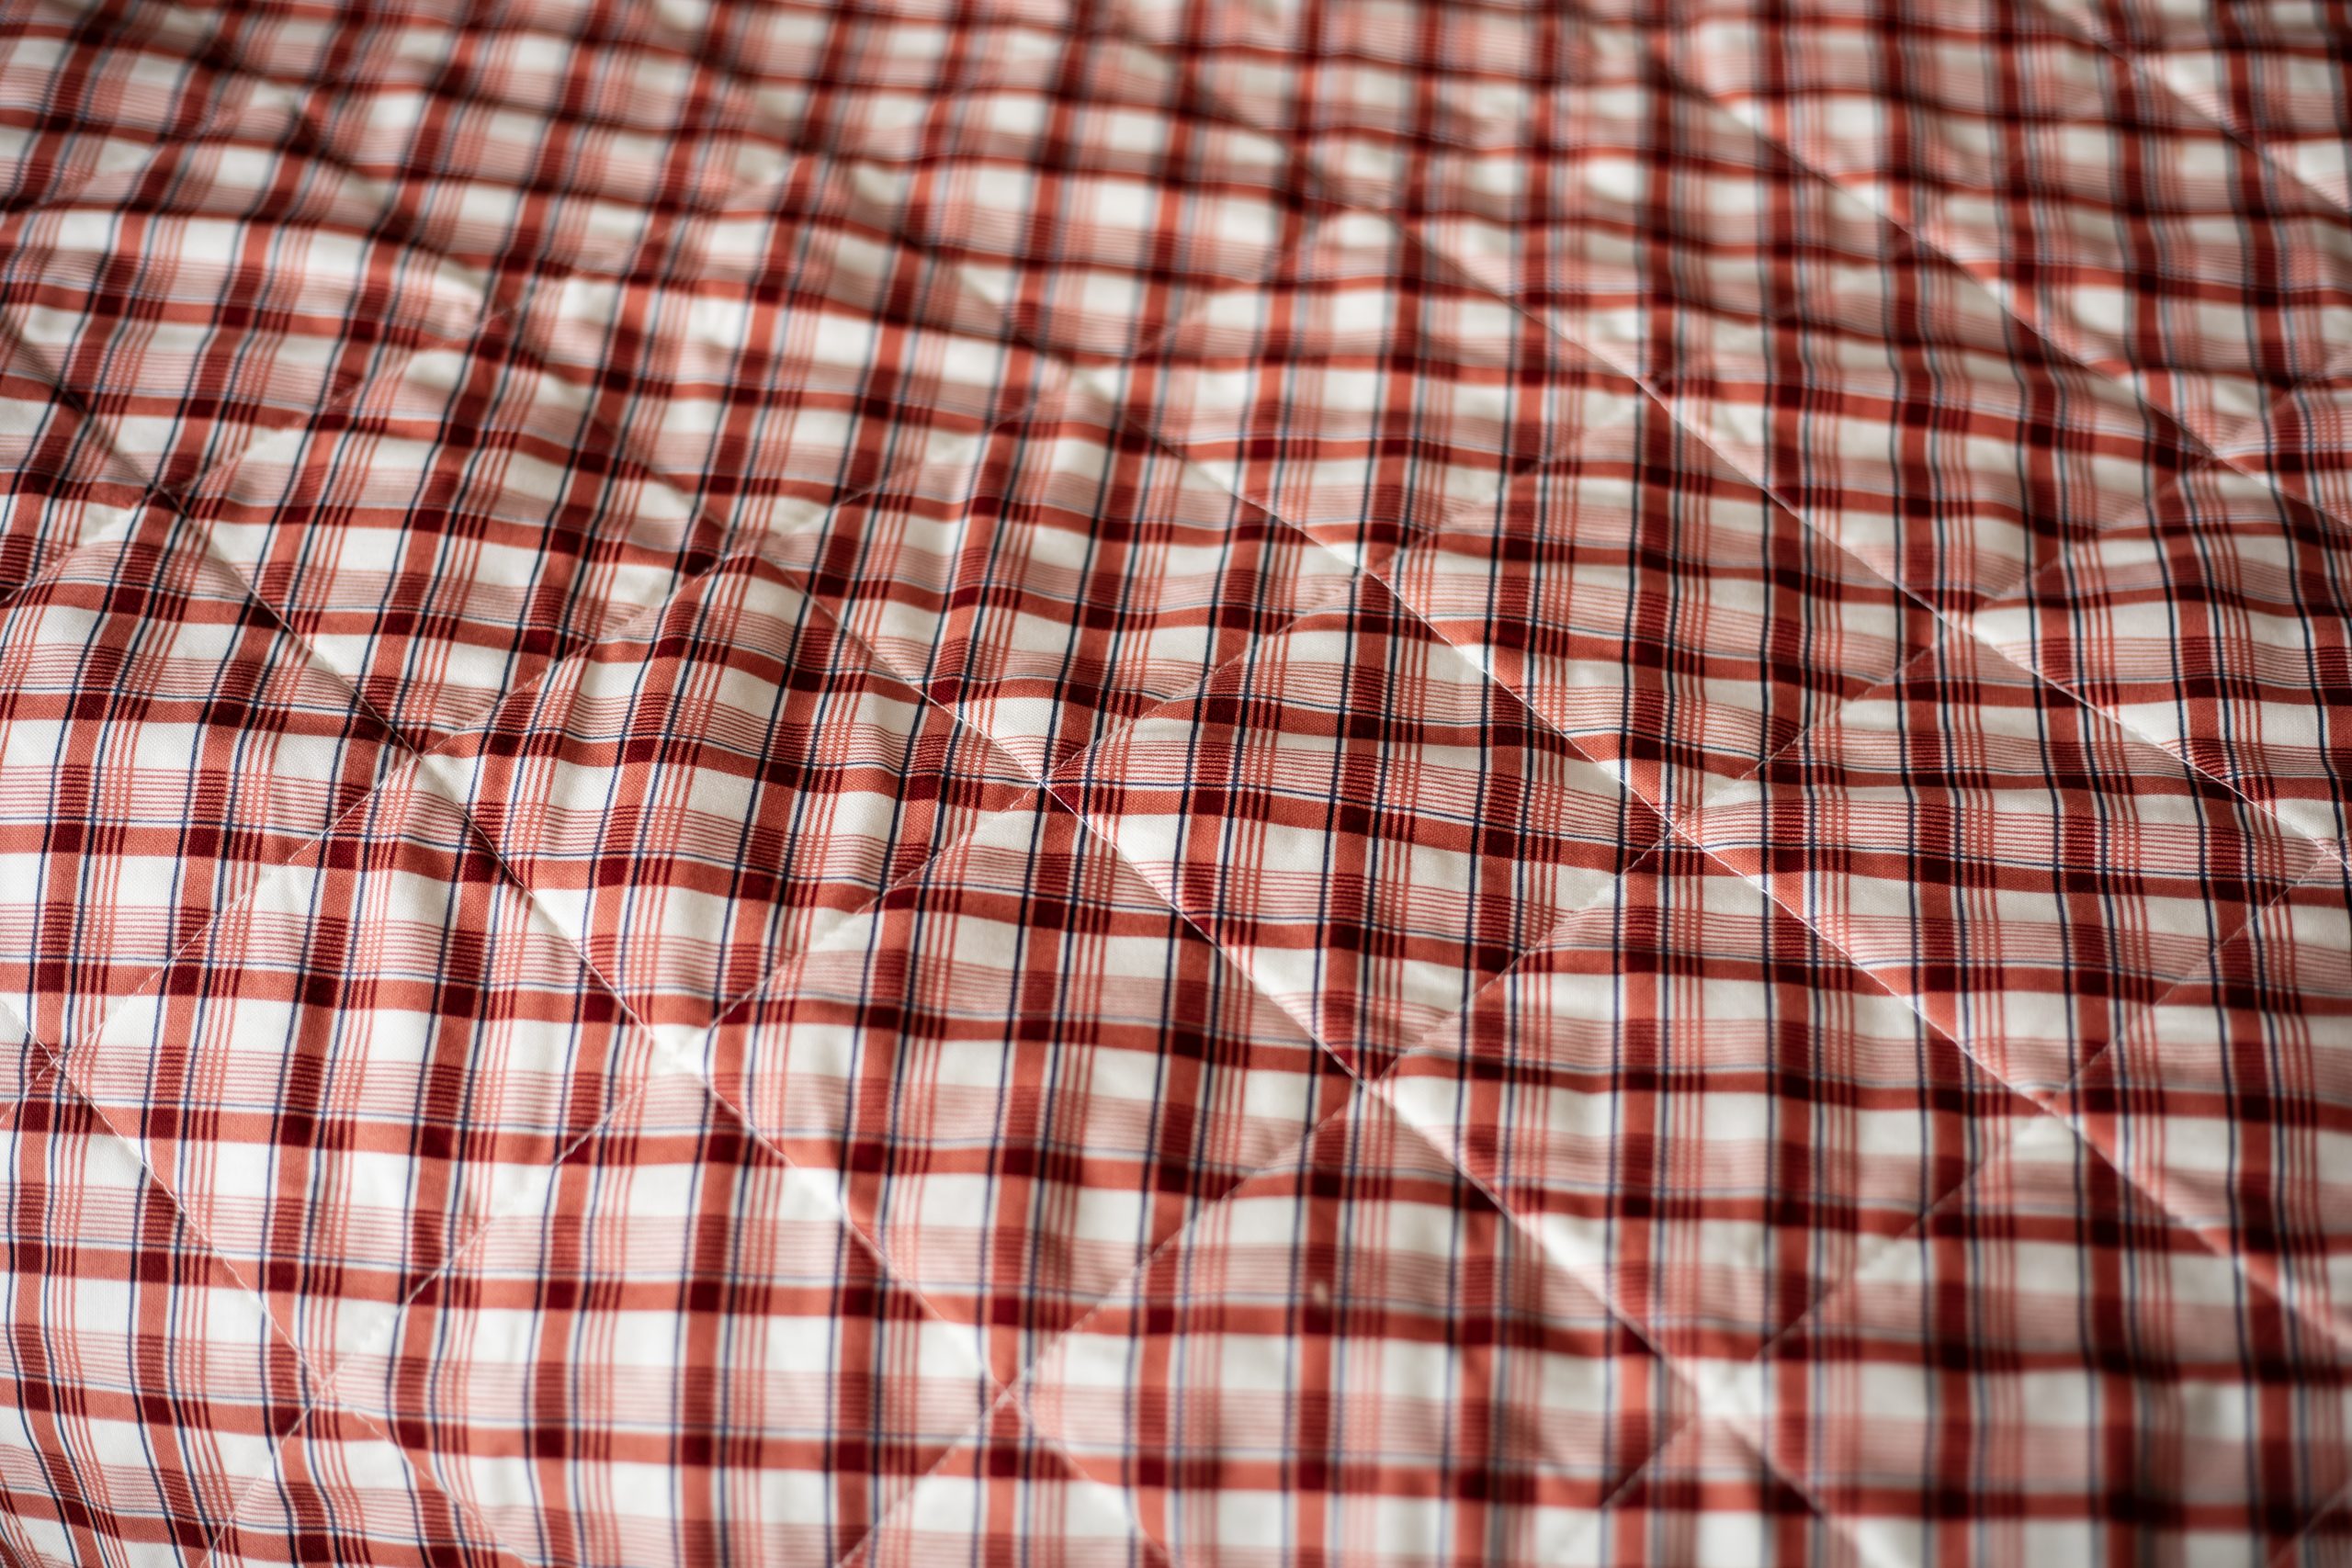
- Quilt Back – “Friday Harbor” by Janet Nesbitt of One Sister Designs for Henry Glass & Co.
- Binding – Navy fabric
Supplies:
- Sewing machine
- Thread
- Scissors
- Pencil
- Iron / ironing board or mat
- Cutting board / rotary cutter / straight edge ruler
- Half square triangle square up ruler
Cutting Instructions:
Cut 4) – 5 inch squares from Red #1
Cut 4) – 5 inch squares from Red #2
Cut 4) – 5 inch squares from Red #3
Cut 3) – 5 inch squares from Blue #1
Cut 3) – 5 inch squares from Blue #2
Cut 3) – 5 inch squares from Blue #3
Cut 16) – 5 inch squares from White
Cut 6) 6 1/2 inch squares from White
Cut 6) 6 1/2 inch squares – ONE from EACH color (Red #1,#2 & #3 and Blue #1, #2 & #3)
Cut 6) 6 inch squares – ONE from EACH color (Red #1, #2 & #3 and Blue #1, #2 & #3)
Piecing Instructions:
MAKING THE RIBBON END BLOCKS:
- Begin by making a half square triangle. (Also known as HST)
- Select a white 6 1/2 inch square and Red #1 6 1/2 inch square.
- With a pencil draw two lines, each 1/4 inch away from the center.
- Using a marked quilting ruler is ideal for this. Line up the 1/4 inch mark of the ruler from point to point on the square. Then use the edge of the ruler to draw the line.

- With right sides together, sew the two squares together, stitching along both lines.
- Cut the square from corner to corner between the sewn lines.
- You will only need one of these.
- Press the block open with the seam toward the colored fabric.
- The square should be 6 inches.

- Next, create another half square triangle unit using the HST you just created as one of the squares.
- Select the 6 inch Red #1 fabric as the other square.
- Draw two lines 1/4 inch from the center of the HST. Make sure you draw these lines perpendicular to the seam you have already sewn.
- Sew along both drawn lines. Cut from corner to corner between the two lines.

- Press open each HST, pressing the seams toward the solid-colored side.
- Trim the block to 5 inches.
- Repeat this process for Red #2, #3, Blue #1, #2 & #3.

LAYOUT AND ASSEMBLY OF QUILT:
- Layout all the blocks as designated in the image below.

- Pay careful attention to the placement of each color in order to create the woven ribbon effect.
- It’s helpful to lay out the quilt close to the sewing machine so you don’t have to move the pieces (and possibly mix them up) until you’re ready to sew.
SEWING THE BLOCKS TOGETHER:
Note: Use 1/4 inch seam allowance with right sides together.
- Chain stitch the blocks together as described below.
- Select the 1st block from Row 1 and sew it to the 2nd block from Row 1.
- Then, select the 1st block from Row 2 and sew it to the 2nd block from Row 2.
- Next, select the 1st block from Row 3 and sew it to the 2nd block from Row 3.
- Continue sewing the 1st and 2nd blocks for all seven rows.
- Before clipping any of the threads, lay the squares back in place, and make sure they are in their proper place. Then, clip the connecting threads.
- Follow the same pattern as before, but this time you will be sewing block 2 to block 3 in each row. Then, block 3 to block 4 until you have completed each row and have 7 long rows.
- Once each row is sewn together, it’s time to press the seams.
- Press all seams in each row in the same direction. ALTERNATE which directions the seams are pressed on each row.
- For example, press all the seams to the right for Row 1, then all the seams to the left for Row 2, then all the seams to the right again for Row 3, etc.
- This will allow you to nest the seams as you sew the rows together and keep everything lined up.
- Sew each row together, nesting seams as you go.
- Once all the rows are sewn together, press the seams to one side.
- The finished quilt top should be approximately 31 1/2” X 31 1/2”.
FINISHING THE QUILT:
- Trim your backing and batting to be 2-3 inches bigger on each side of your quilt.
- Sandwich the quilt by placing the backing piece right side down, the batting piece, and then the quilt top with the right side up. Pin in place to secure.
- Quilt as desired.
- Trim batting and backing to match the top.
BINDING THE QUILT:
- Cut strips of fabric 2 1/2 inches long along the width of the fabric.
- Sew strips together end to end. Fold and press the fabric in half lengthwise with the right side out to create the binding.
- Bind the quilt using your preferred method.

I’m a new member and was just looking at back issues. Can you please supply the pattern for larger sizes like for beds? I’d love to make one of these for my son and his wife but for their bed.
Please let me know.