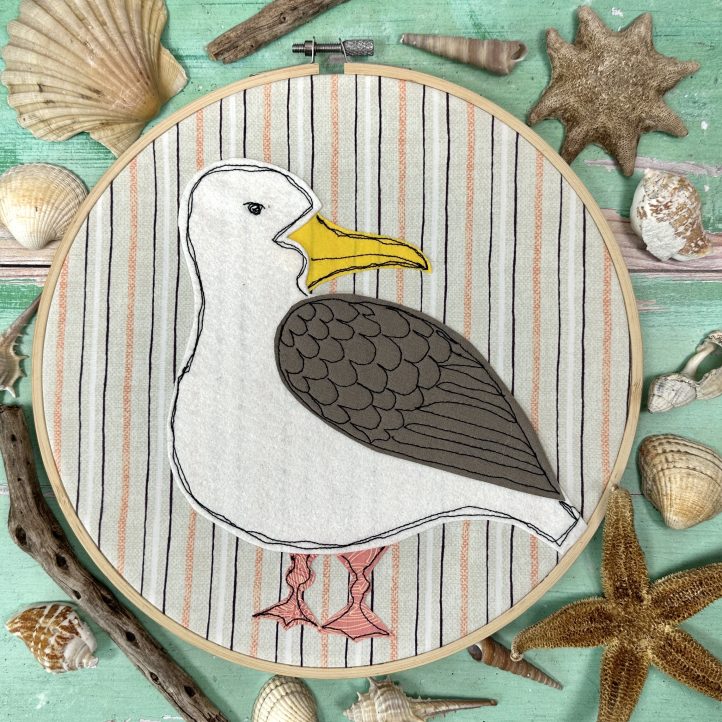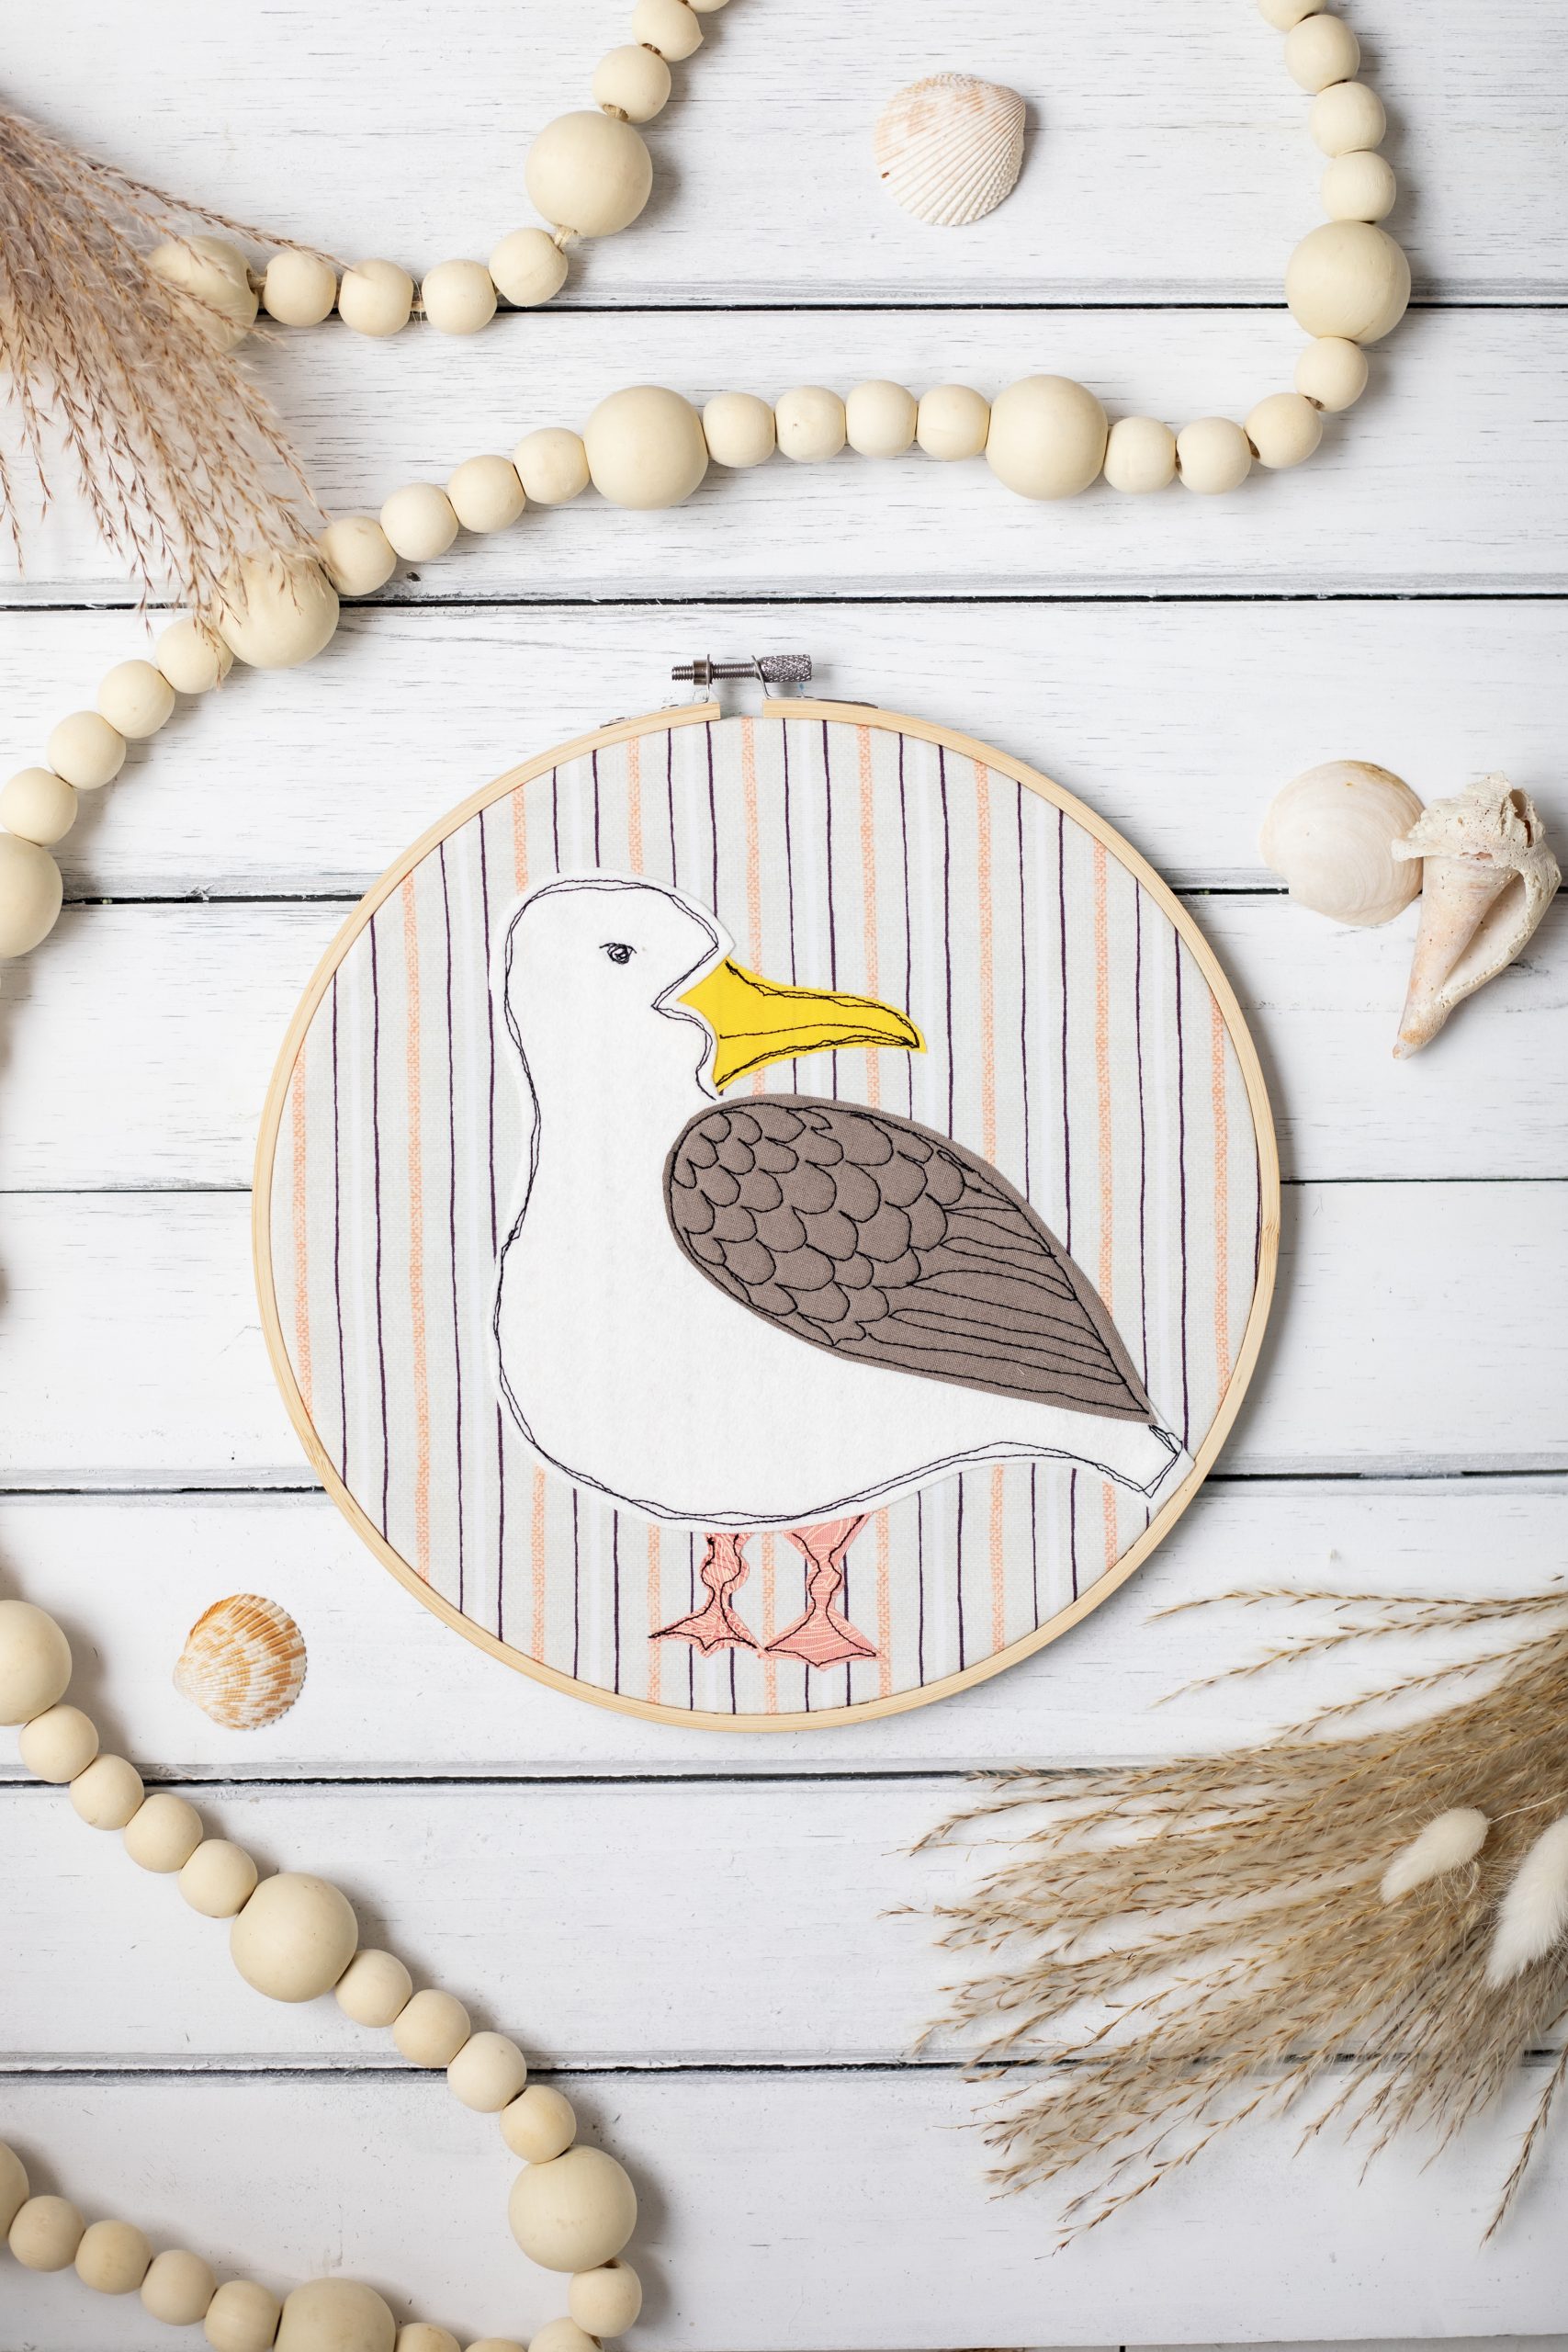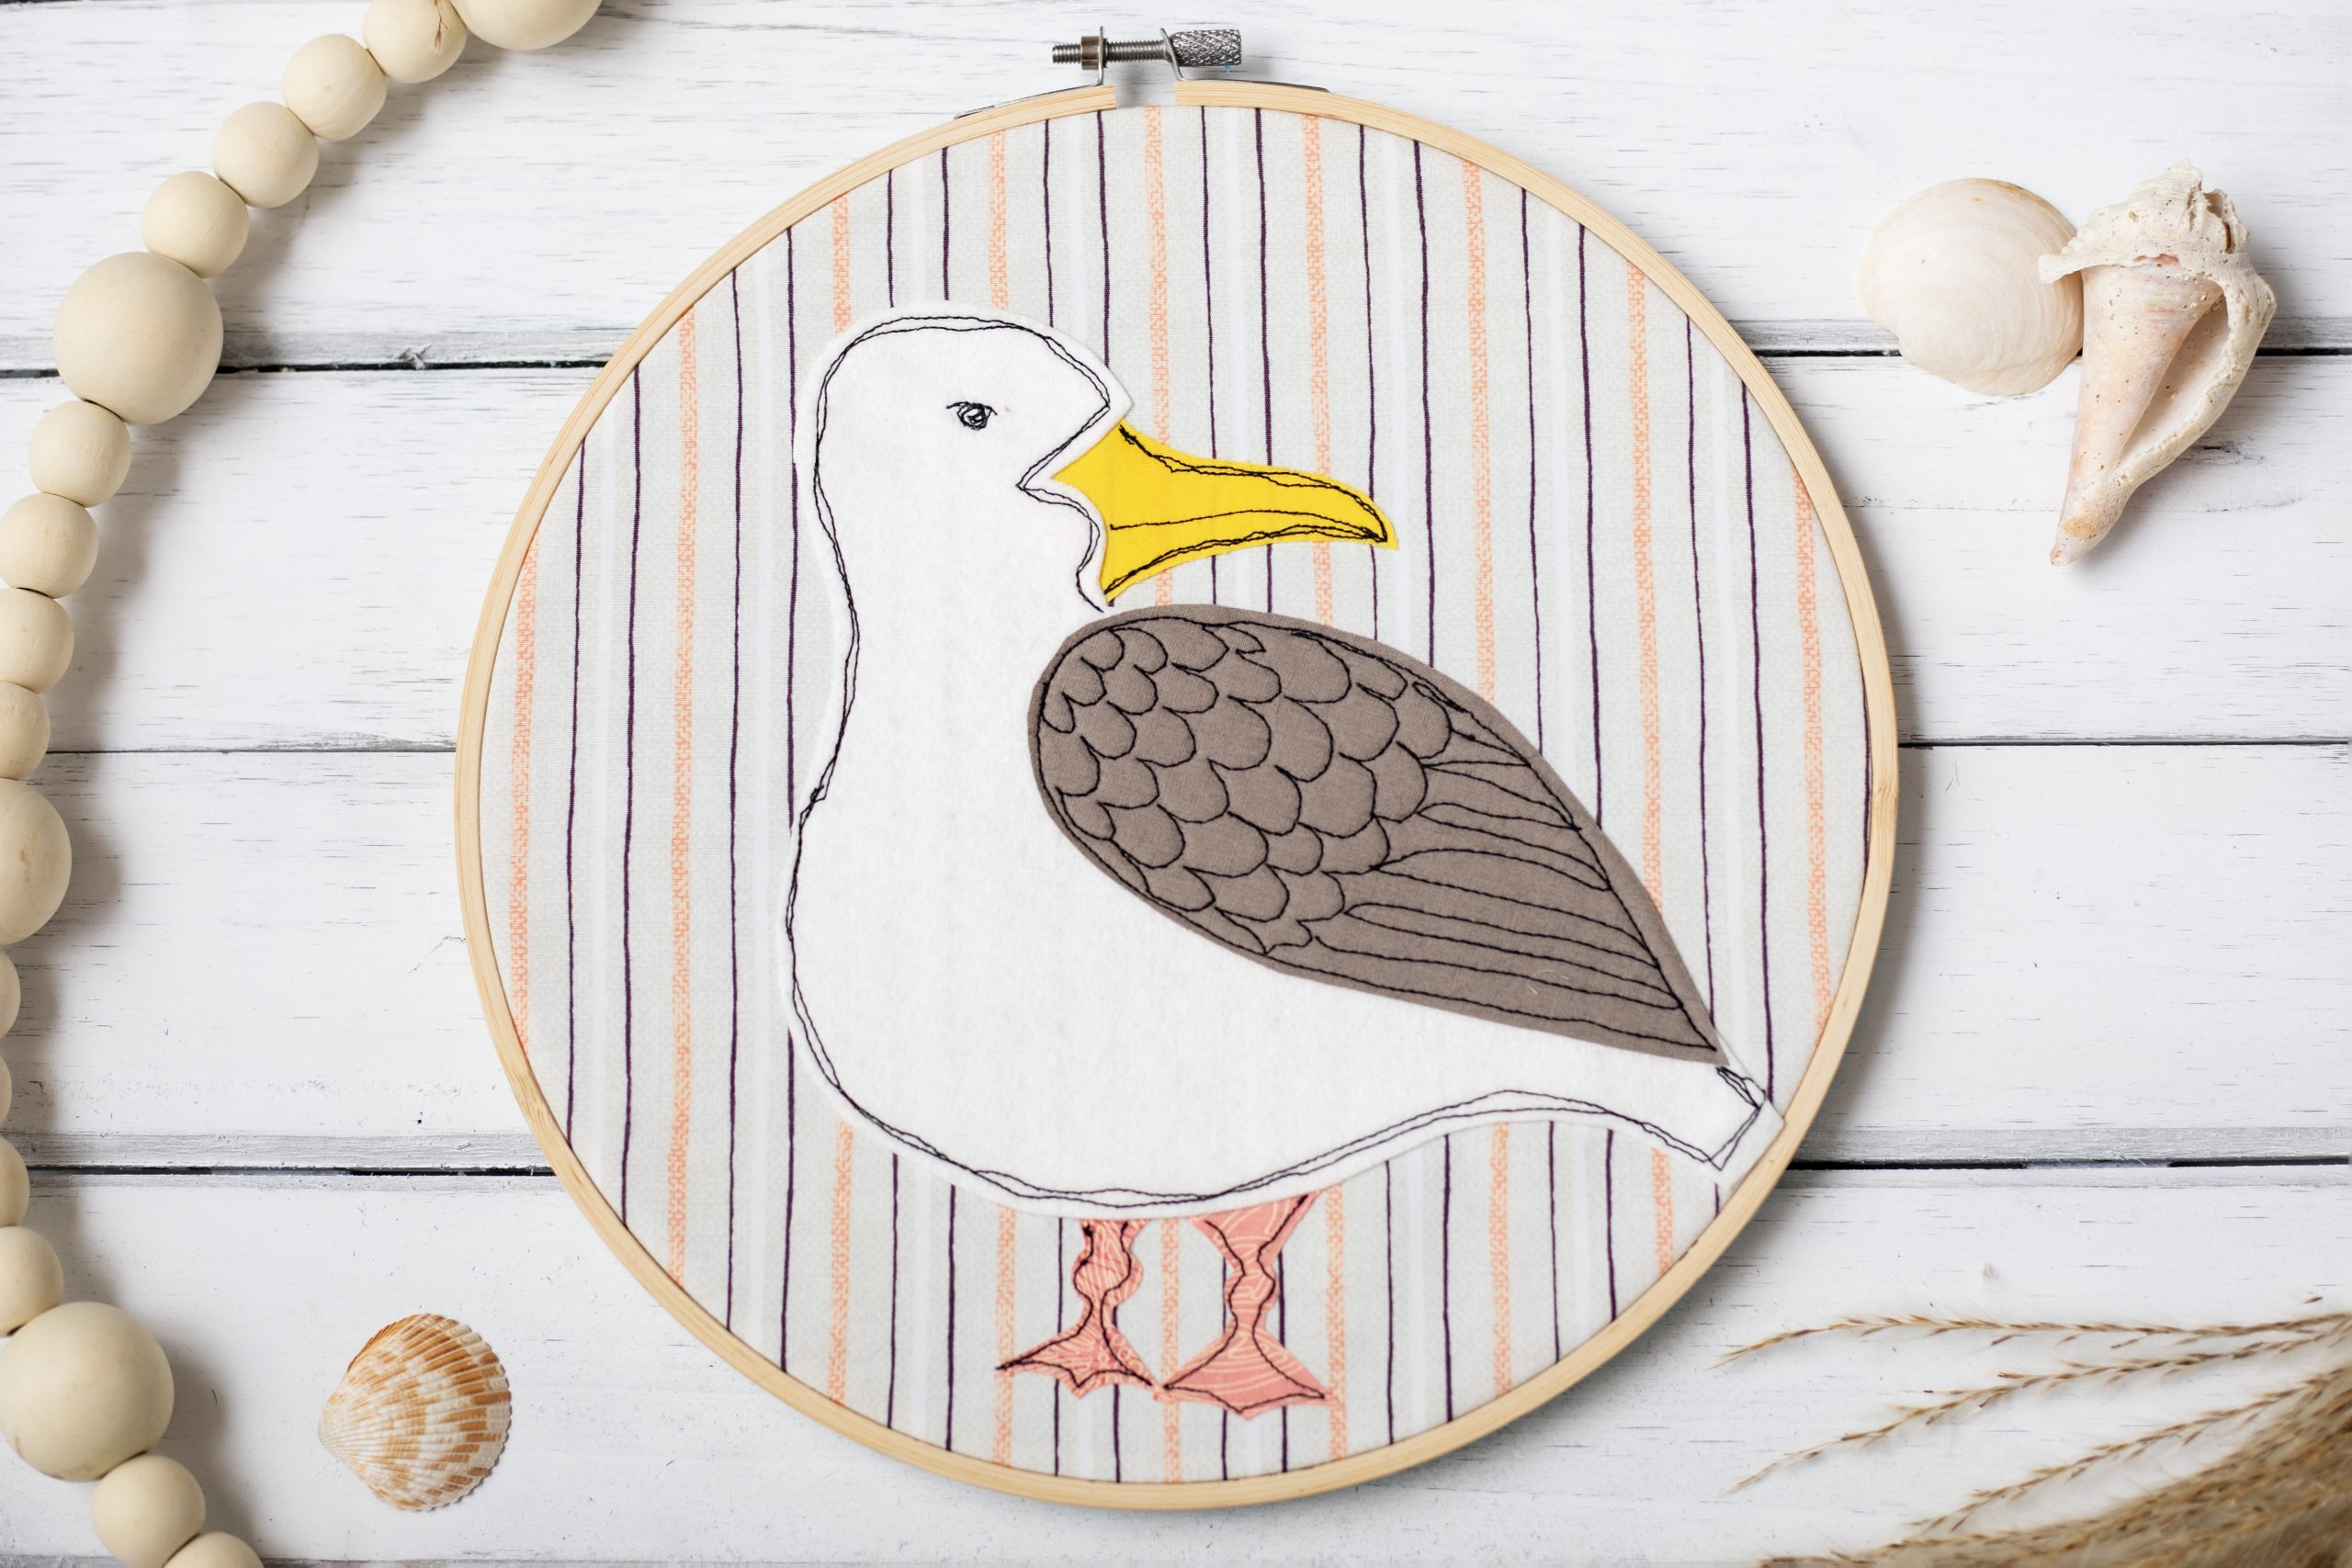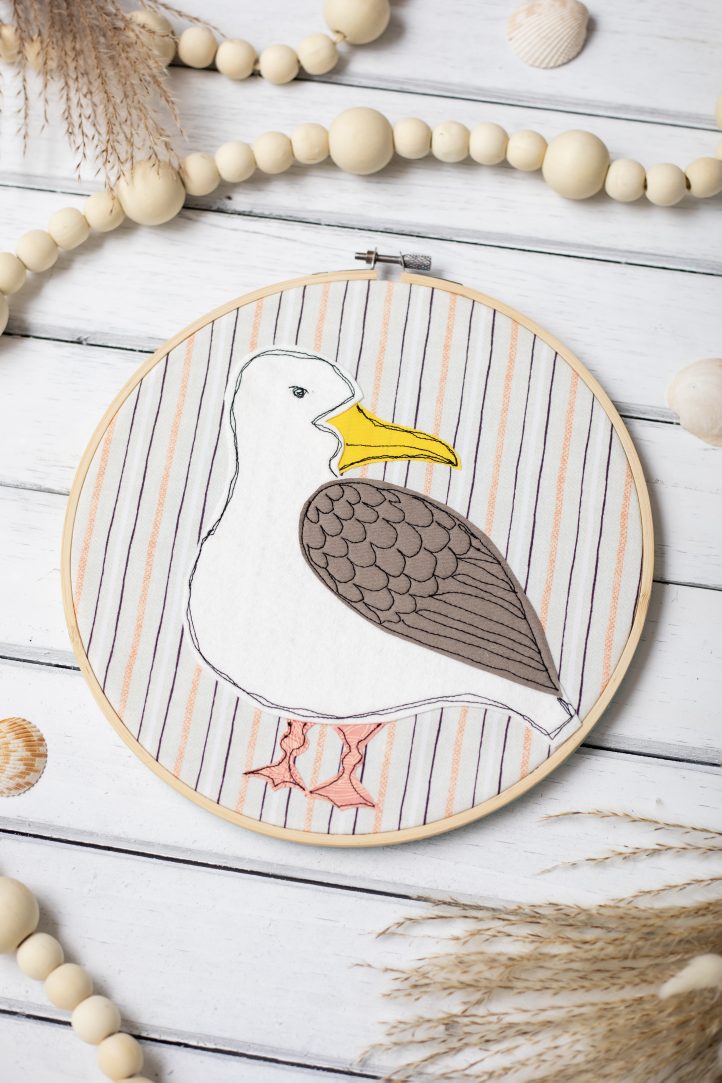
You don’t have to look very far before you come across Free Motion Embroidery or FME as it is known in the business. FME usually goes hand in hand with raggy edge appliqué and the two of them together make a huge style impact.
There are a few appliqué methods available to the modern sewist and raggy edge has to be one of the best. You cut your pieces out and attach them to the fabric in order (your pattern will help with this) and then you do precisely nothing at all about the raw edge. This is where FME comes in. FME is worked with the tiniest and most close together stitches that your sewing machine will allow and this means that the stitches cannot easily become unraveled and they stop the raw edge on the appliqué from fraying to the point of nothingness too. FME and raggy edge appliqué are a marriage made in heaven.
Short of cutting out and attaching the appliqué pieces, as I mentioned, you don’t do anything at all. This article is all about that important FME. The part of the show keeping everything together.
Beginner Basics of Free Motion Embroidery
Firstly, just about any modern machine can do FME. You need a darning foot and this allows you to freely embroider curves and shapes.
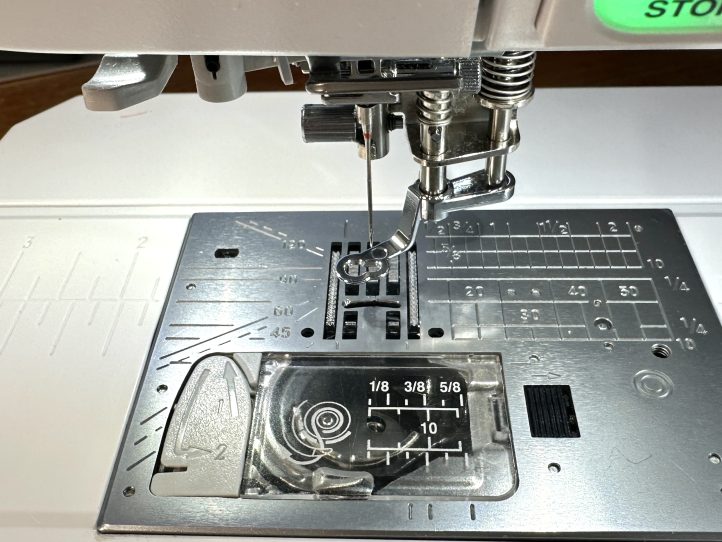
Next, you will need to drop the feed dogs or set your stitch length to zero. This will depend on which model sewing machine you have and it is impossible to say here so my best advice is to check your manual and go from there.
Thread your machine with a contrasting thread- usually black is the choice and this gives a nice scribbly look to your work.
On this last point, one of the best things about FME is that you don’t have to worry about being neat! I will wait while you read that again: actually, the idea is to be quite free and a bit messy. You can go around large shapes twice and just allow the lines to wander a bit, just like scribbling with a pen.
So, you have set your machine up according to your model and attached your darning foot. Have the appliqué ready, too.
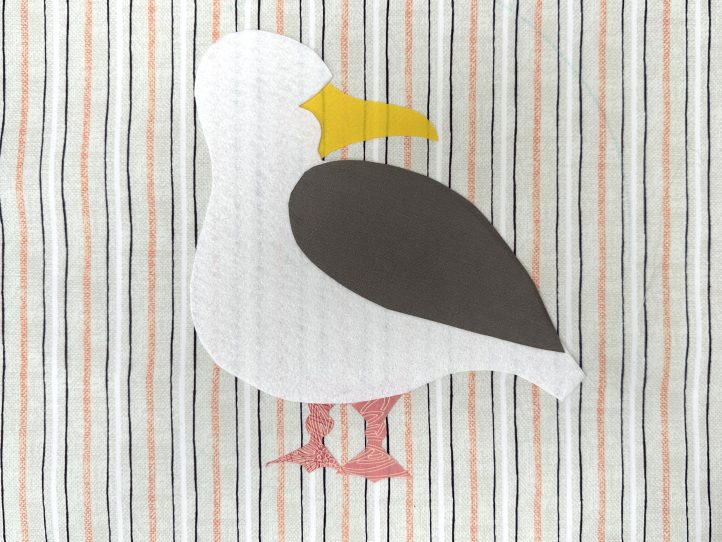
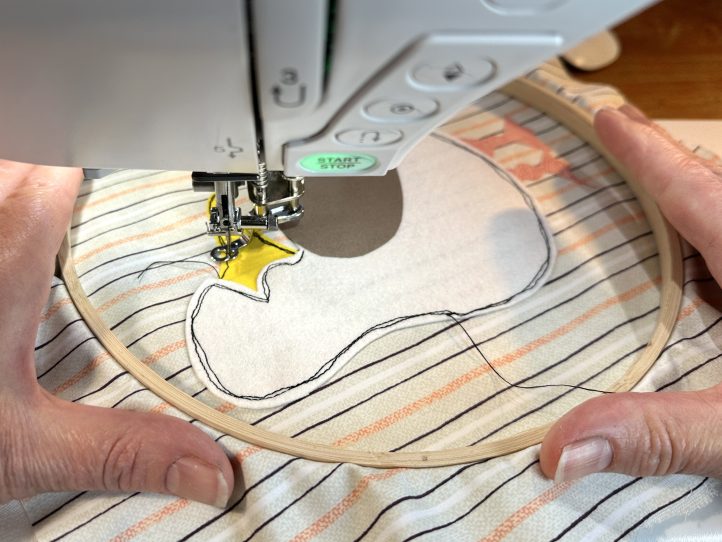
TIP: Our embroidery has a display hoop and we can also use this to ‘steer’ the project as we embroider. To do this, put the hoop on upside down.
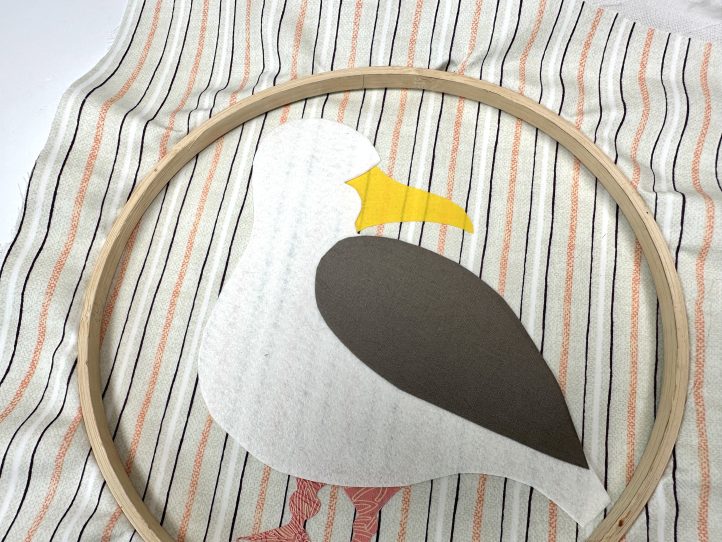
Sew around the appliqué shapes about 1/8” in from the edge.
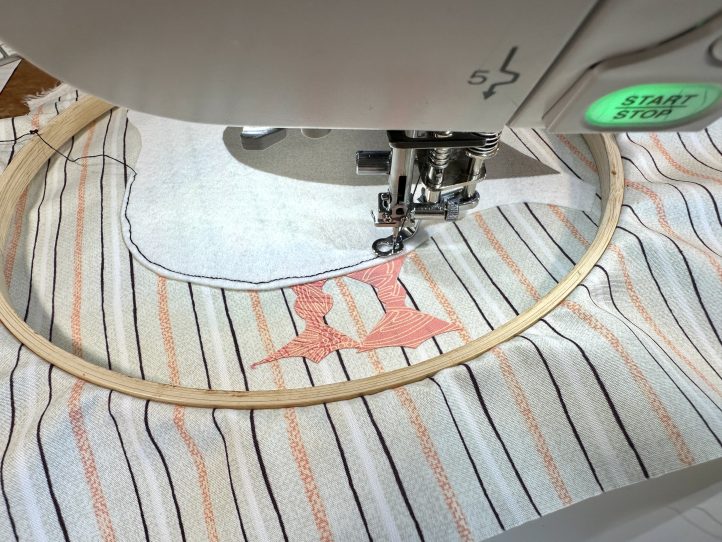
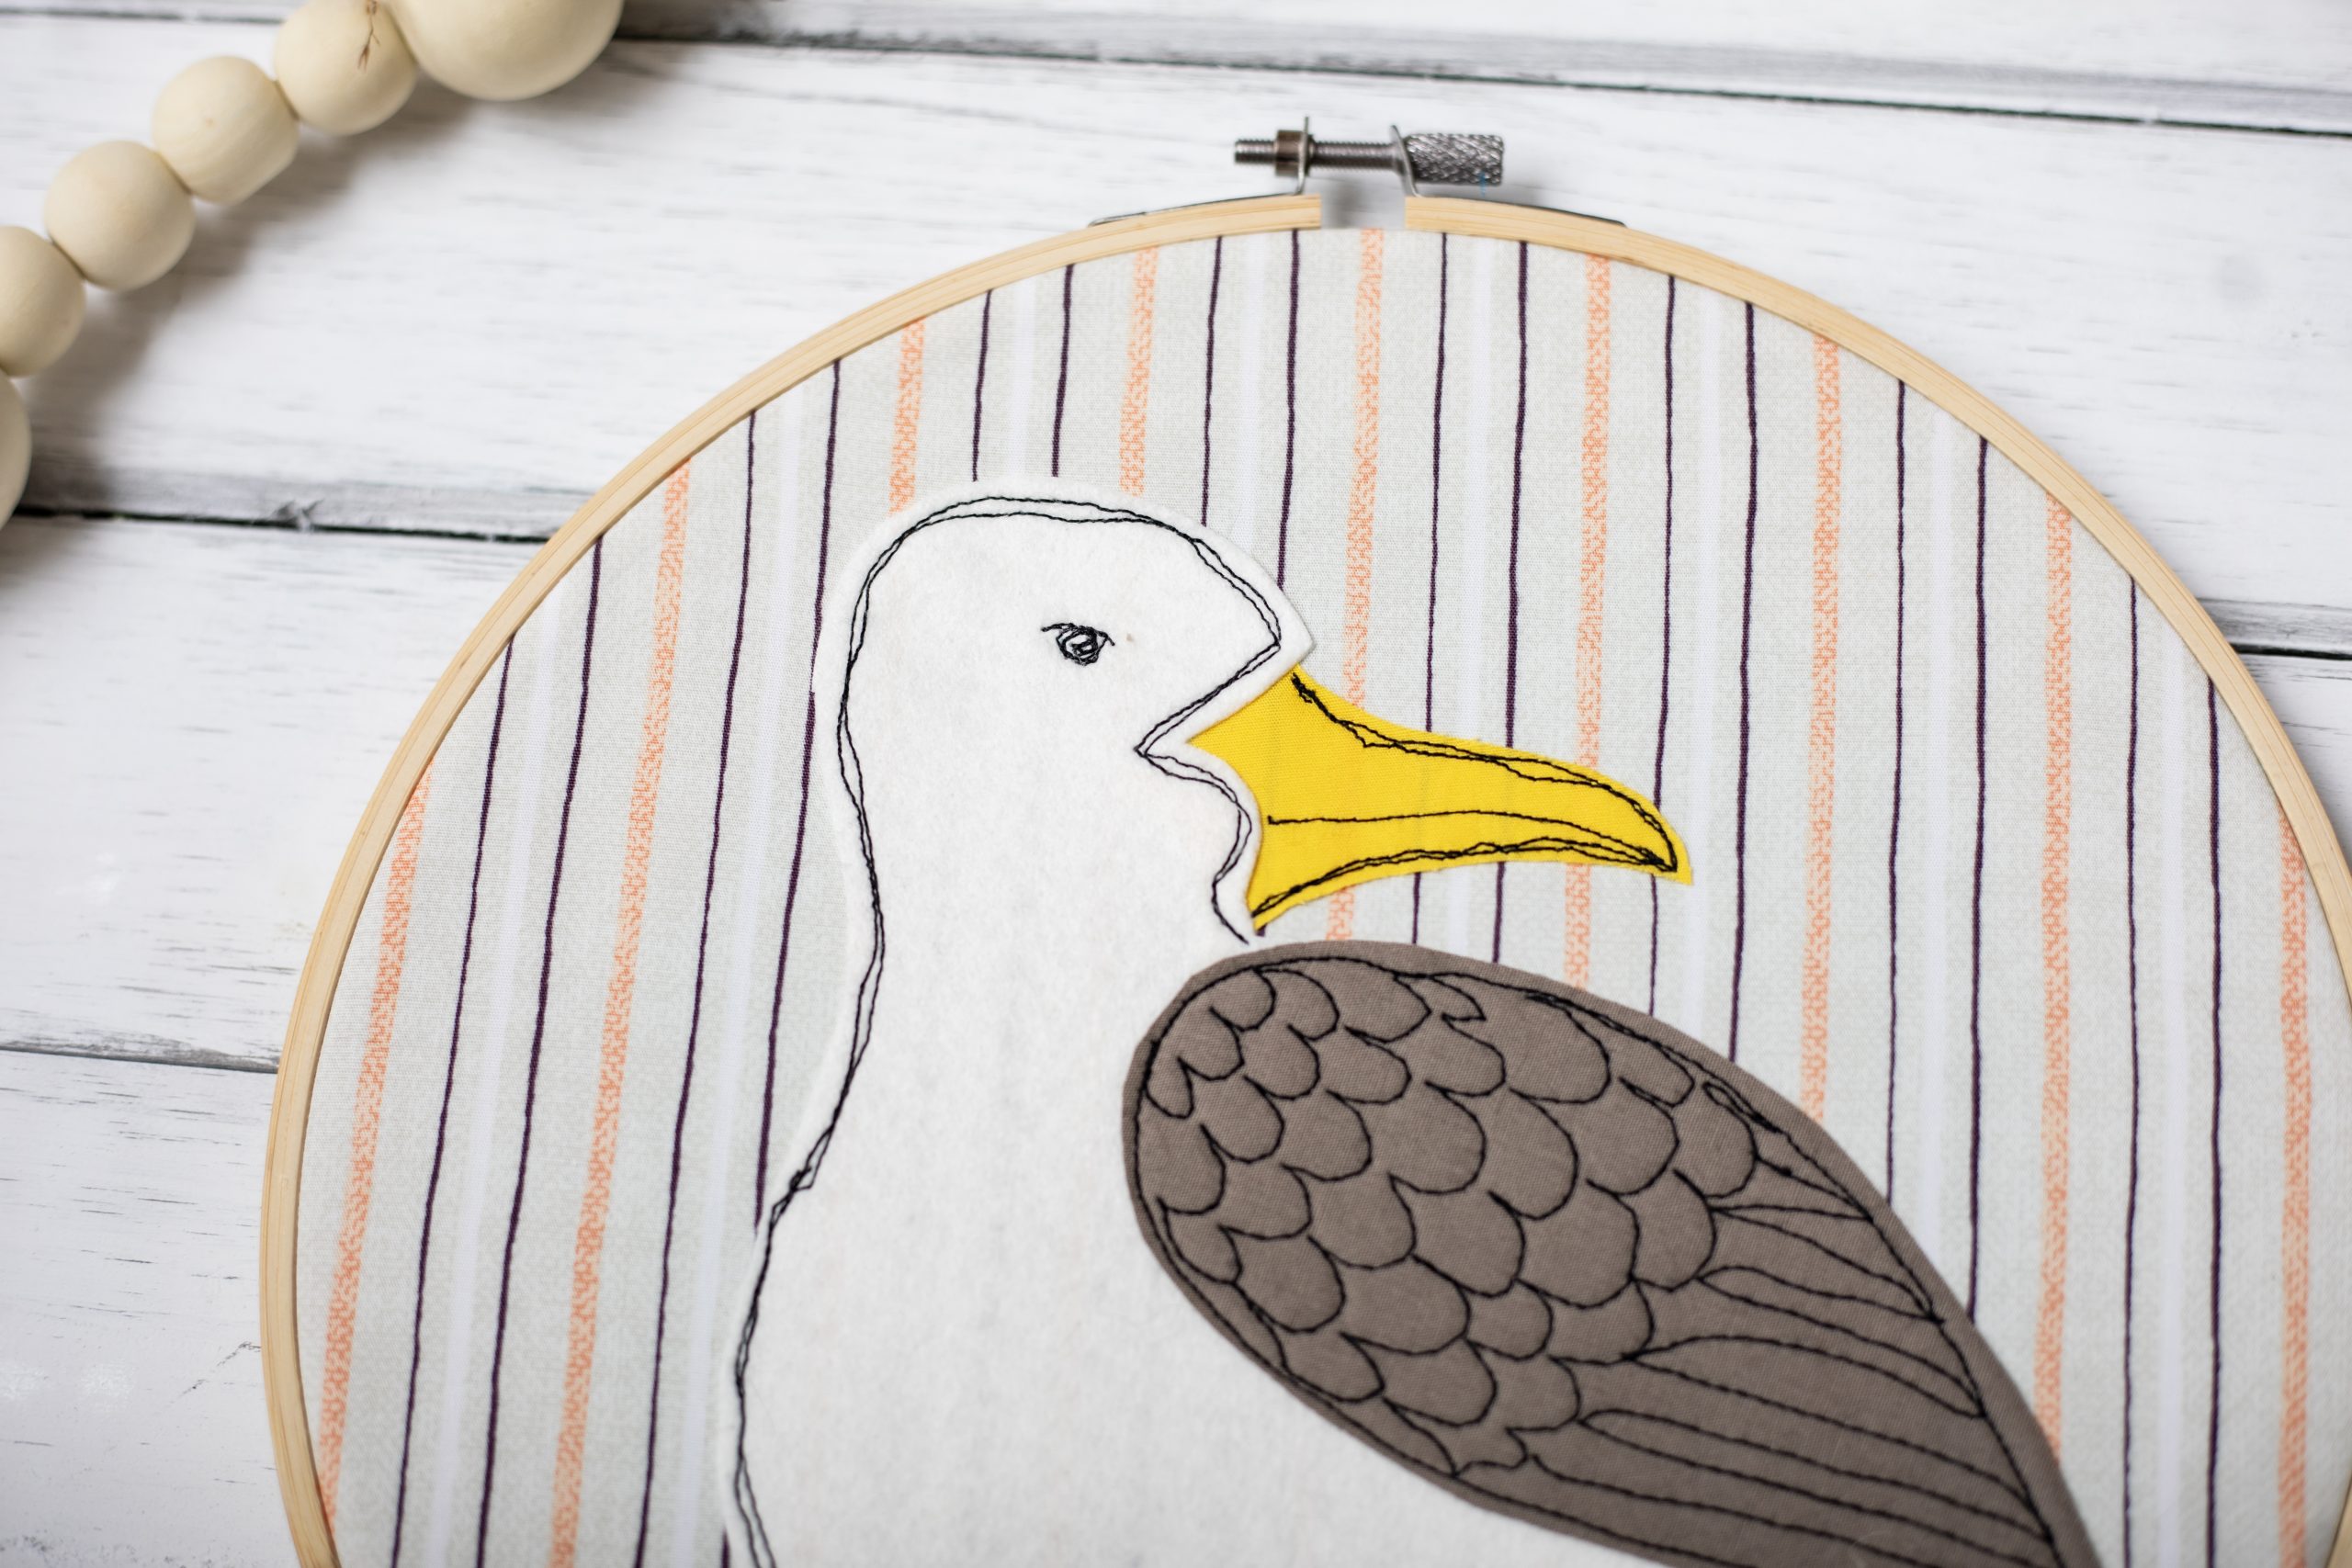
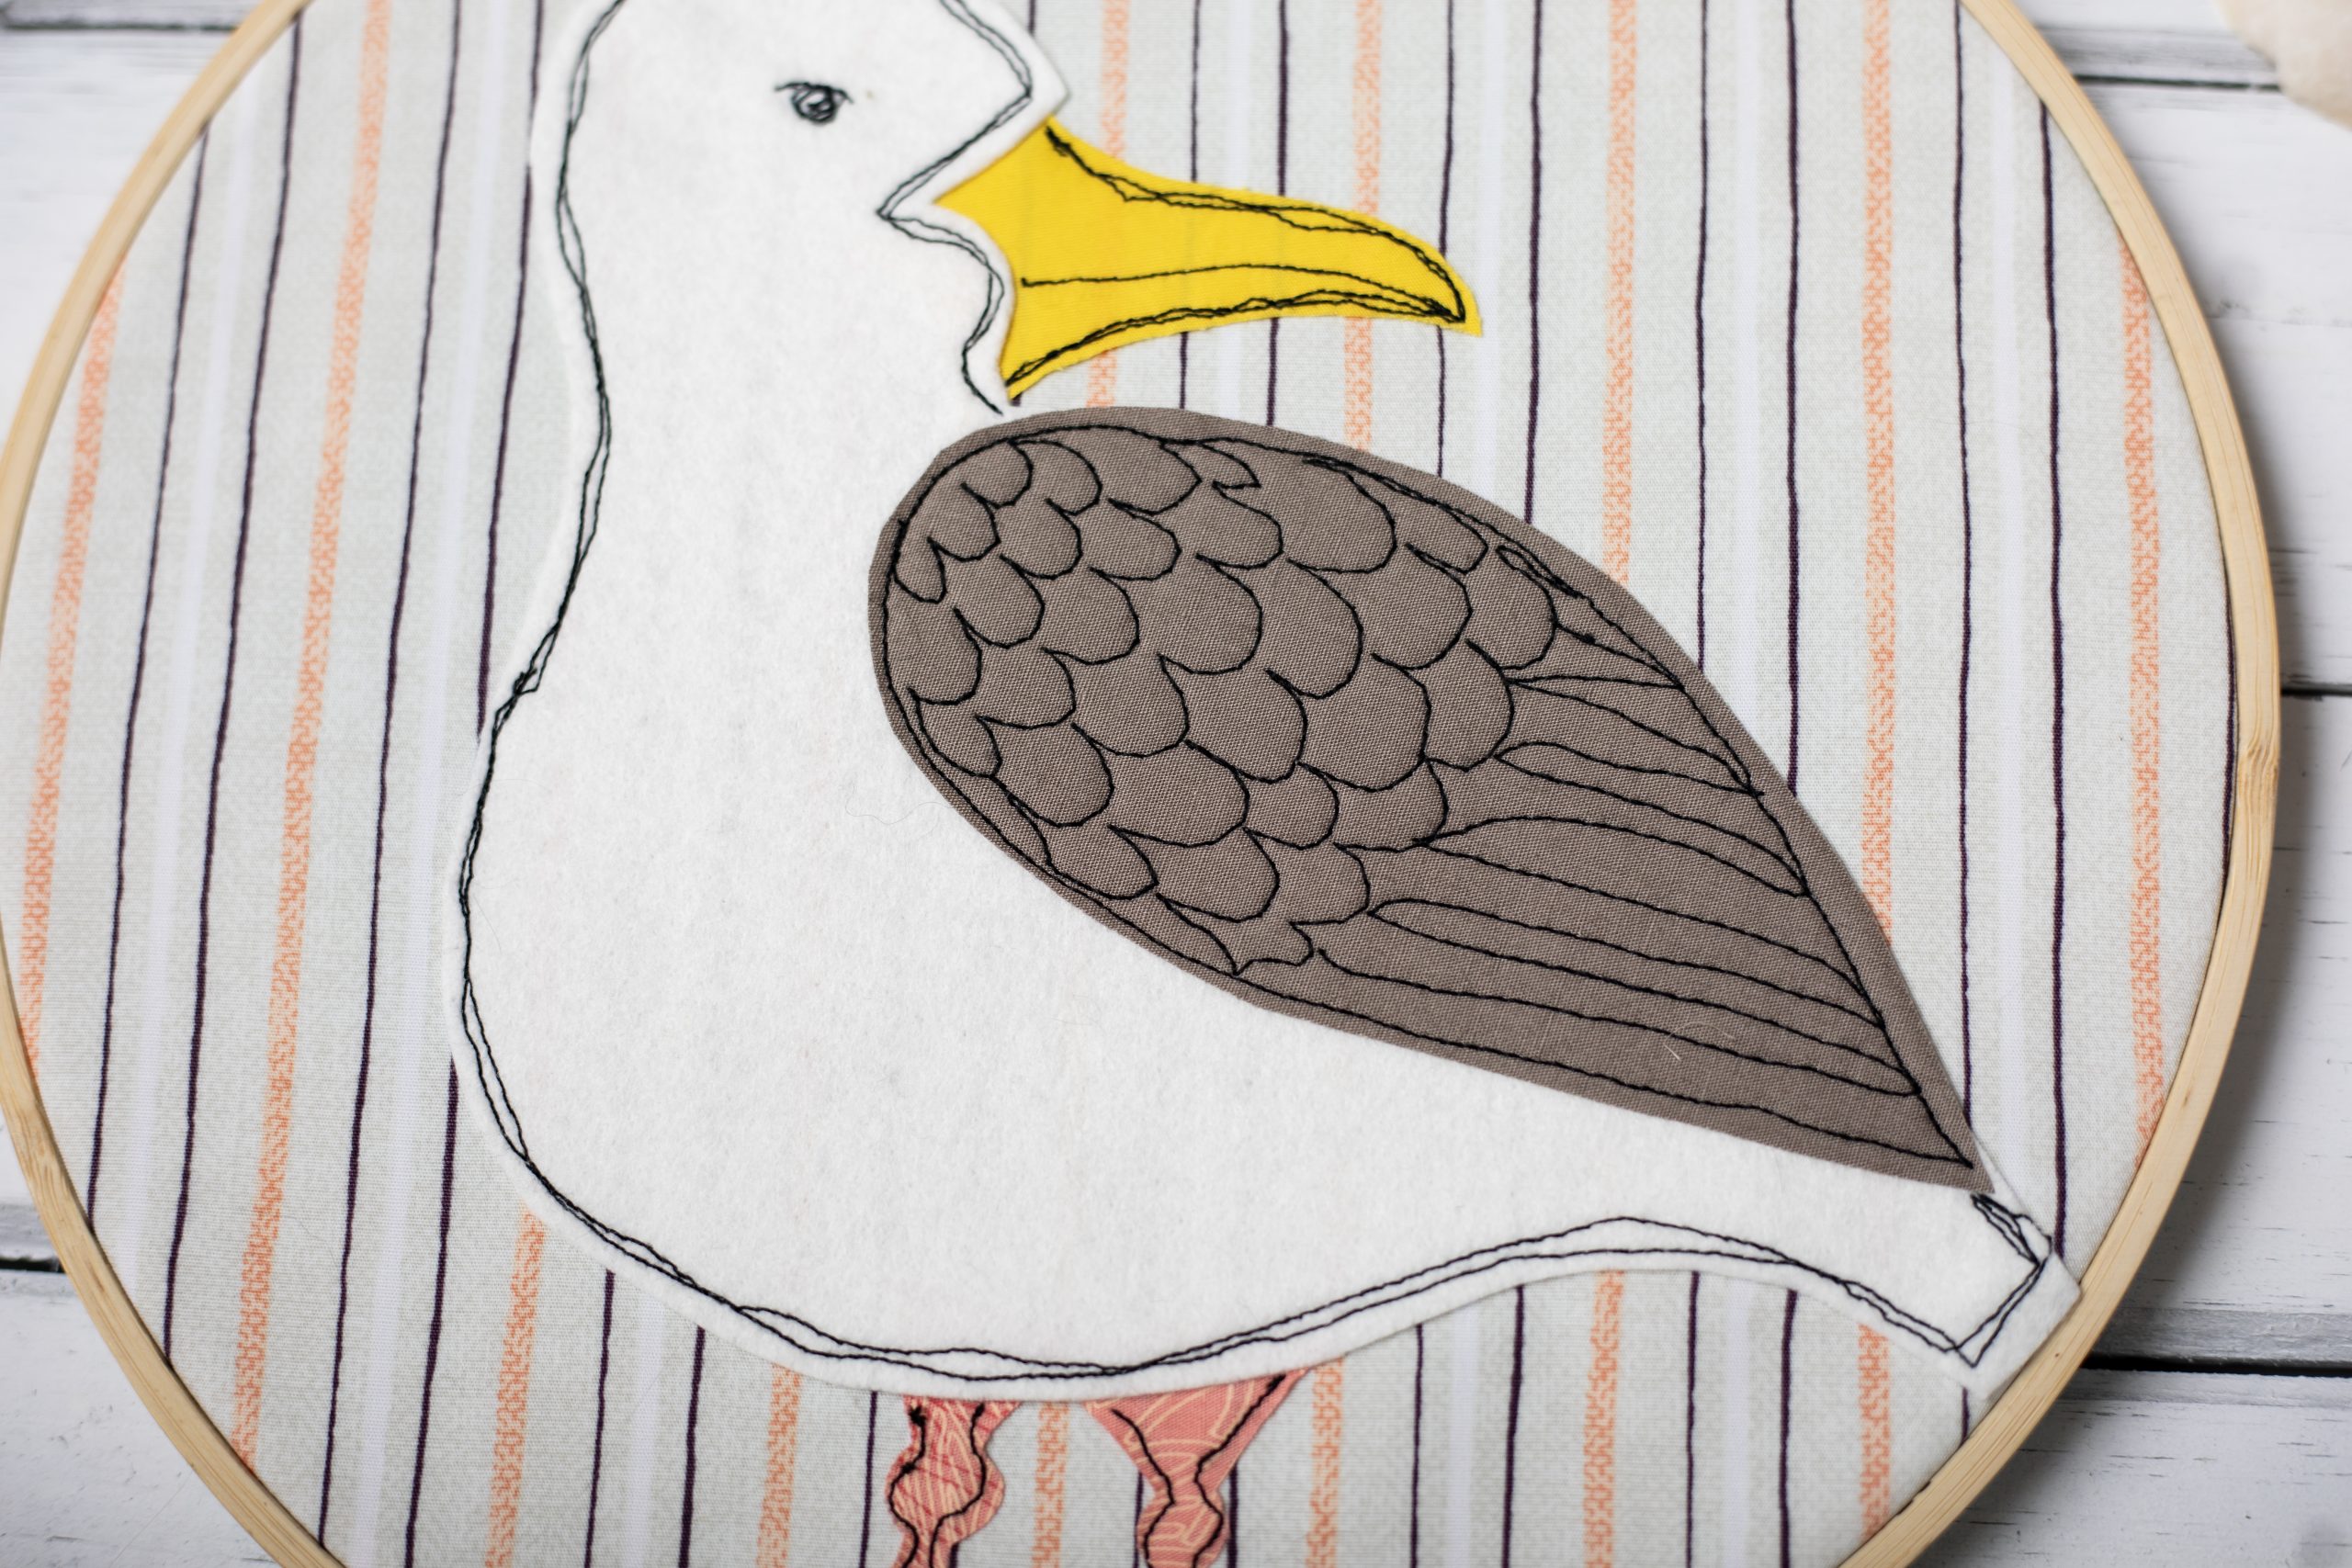
On some larger areas such as the bird’s body, go around twice and allow the embroidery to curve to follow the outline of the appliqué piece.
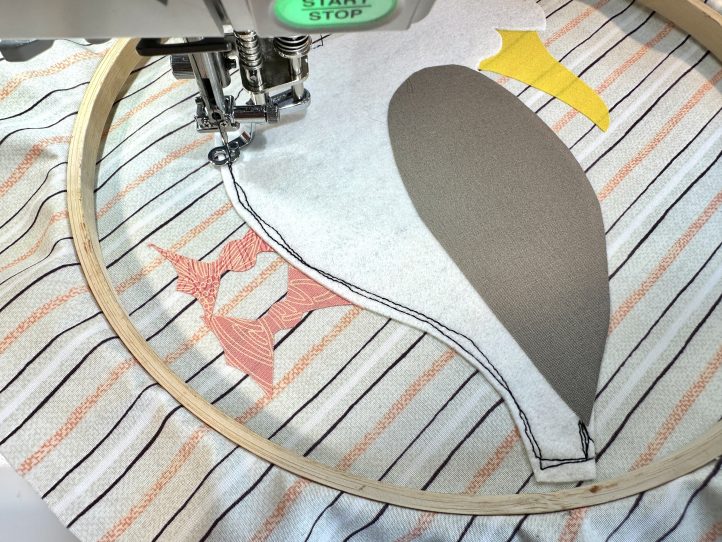
Where you encounter some tighter curves (I have included some on the wing for practice), it is handy to have the hoop to steer the embroidery. This also keeps your hands out of the way of the needle.
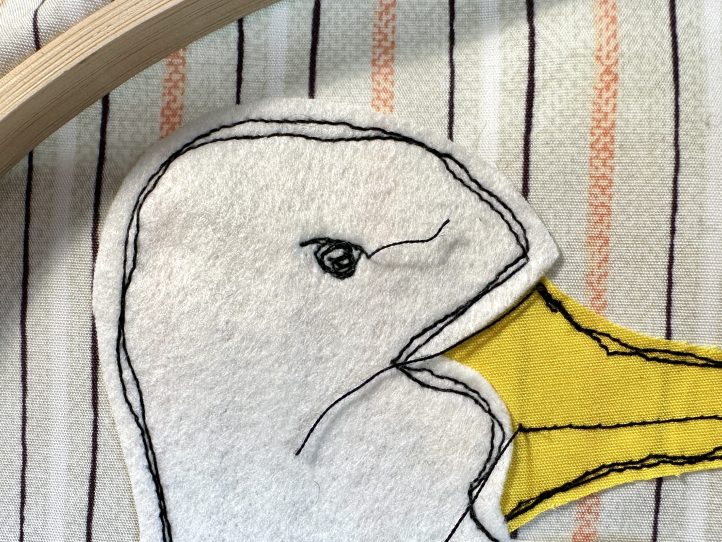
Small areas of embroidery, such as the eye, are done by simply ‘scribbling’ in place.
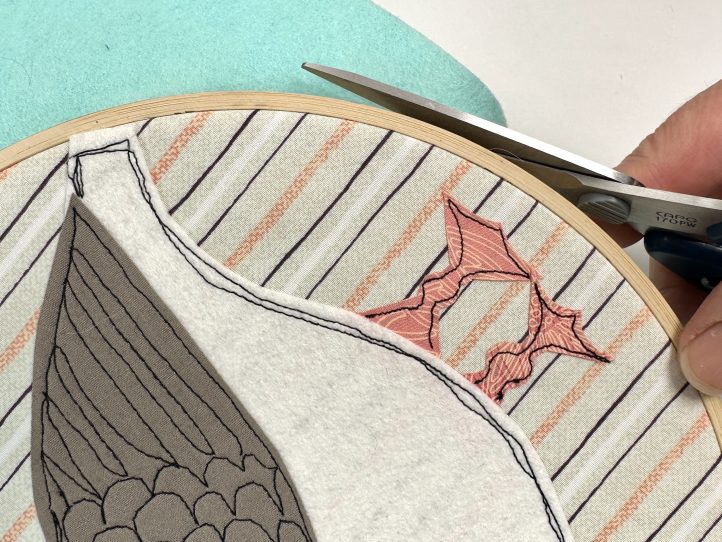
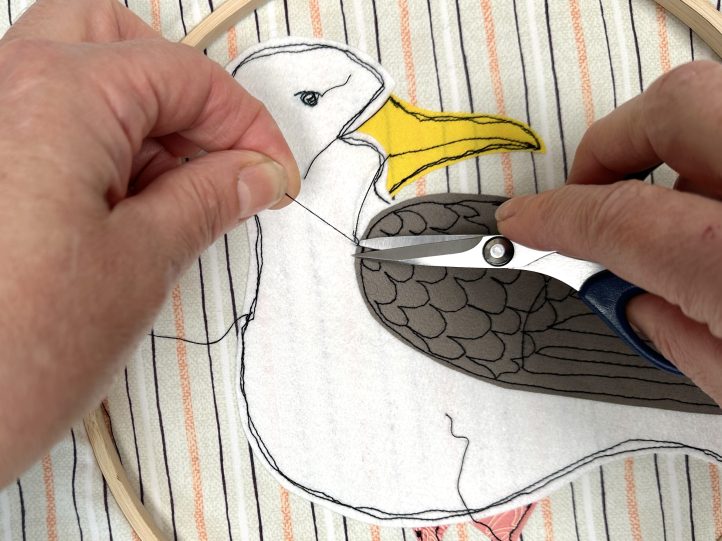
When the embroidery is all done, use a small pair of scissors to snip the threads away as closely as possible.
That’s it! Jump to the pattern now for all the details including finishing off.
Gulliver the Seagull FME Pattern
Materials:
- Fat Quarter of fabric for the background. I am using High Tide Day from the Mindscape collection by Katarina Roccella for Art Gallery Fabrics.
- Scraps of fabric in grey, yellow and pink
- Piece of white wool felt about 7” x 9” for the seagull body
- Interfacing:
- 12” sq. piece of Bondaweb (Vlieseline)
- 9” wooden hoop
- 10” sq. piece of felt for the embroidery back
- Black thread
- Clear drying glue suitable for fabric
- Hand sewing needle
- Darning foot for your machine
- PDF Template – This is located at the bottom of this page. See printing instructions below.
PRINTING INSTRUCTIONS:
To download the PDF template, click on the download button at the bottom of the page. We recommend opening your download using Adobe Acrobat.
Cutting Instructions:
From the background fabric:
- 1 piece of fabric 13” sq. for the appliqué background
From the assorted scraps (including the felt):
- Use the template to cut the relevant pieces for your seagull. White felt is assumed for the body, cotton fabric in grey for the wing, pink for the legs and yellow for the beak.
TIP: When choosing your scraps, press them and then lay them over the relevant appliqué pieces. If they fit, they are perfect!
Sewing Instructions:
- Iron the background fabric and attach the seagull using the Bondaweb.
- TIP: Bondaweb has two sides, a rough (glue) and a smooth (paper) side. Trace your appliqué pieces onto the smooth side (any dashed lines mean that the appliqué piece goes behind another) and then cut out roughly. Fuse the shapes to the wrong side of the relevant fabrics. Cut the pieces out exactly, tear the paper away and ‘build’ your appliqué picture onto the background fabric.
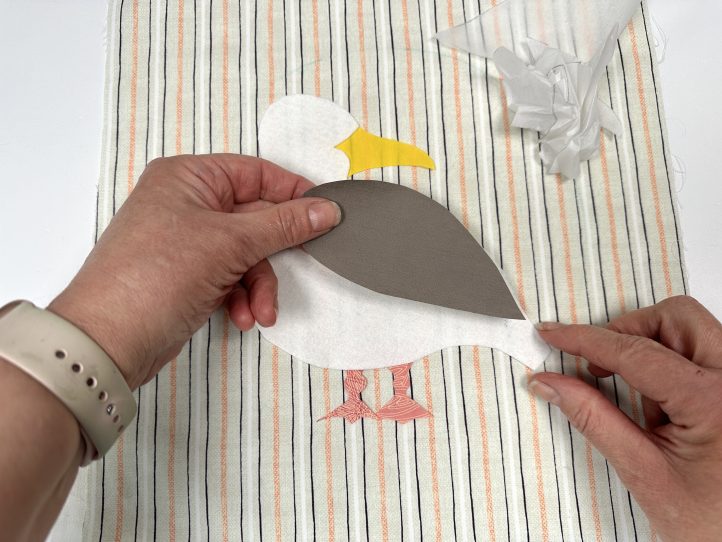
- Place the hoop onto the appliqué upside down and set your machine up for FME as described above.
- Embroider the bird and then trim the threads back.
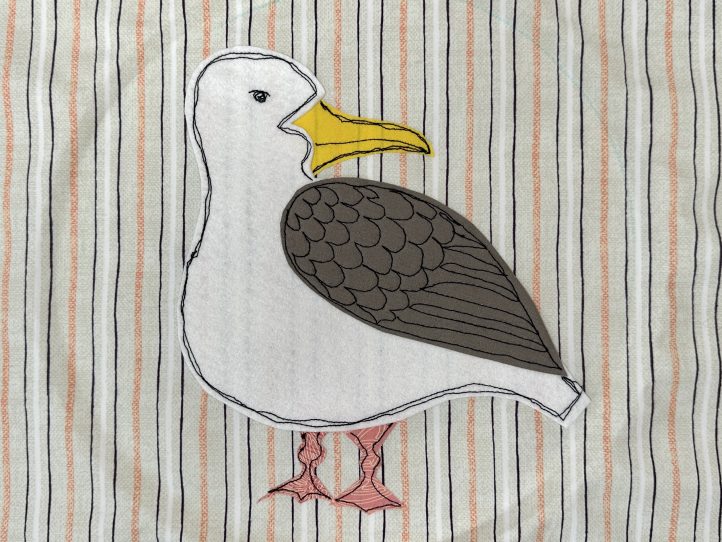
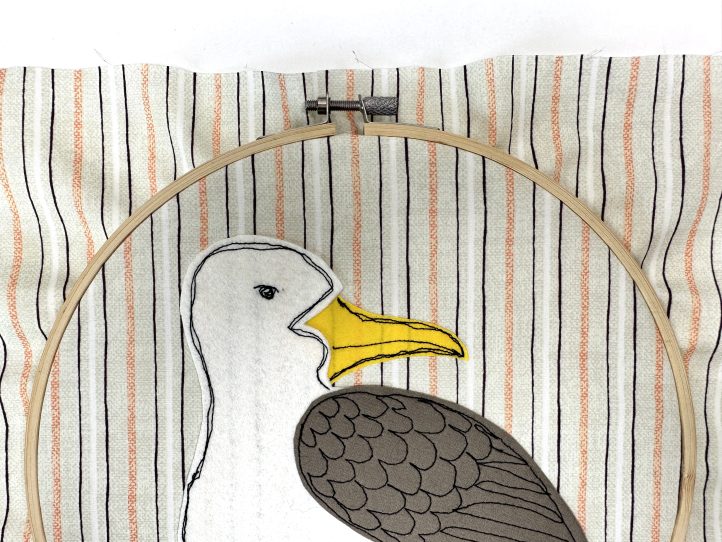
- To finish, place the bird into the hoop the right way and tighten the hoop. The tightening mechanism should be to the top.
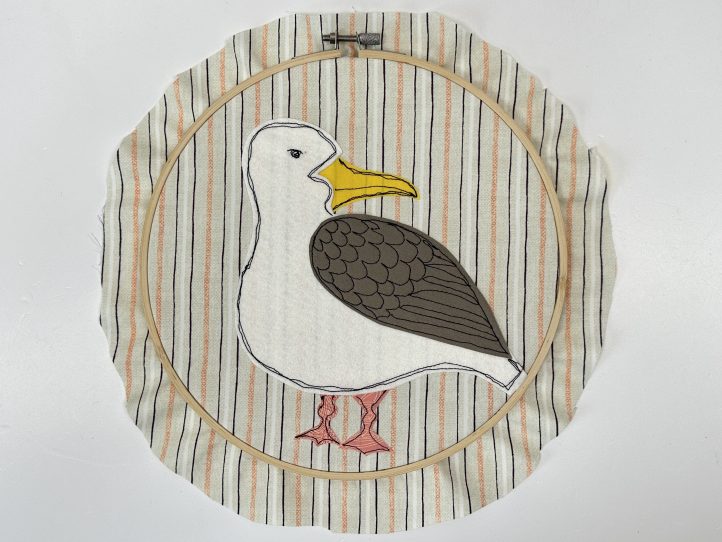
- Turn the embroidery over and trim the background fabric so that there is about 1 1/2” all around.
- Thread your hand sewing needle with thread (doesn’t matter which color as this will not be seen) and use a running stitch all around the edge of the fabric.
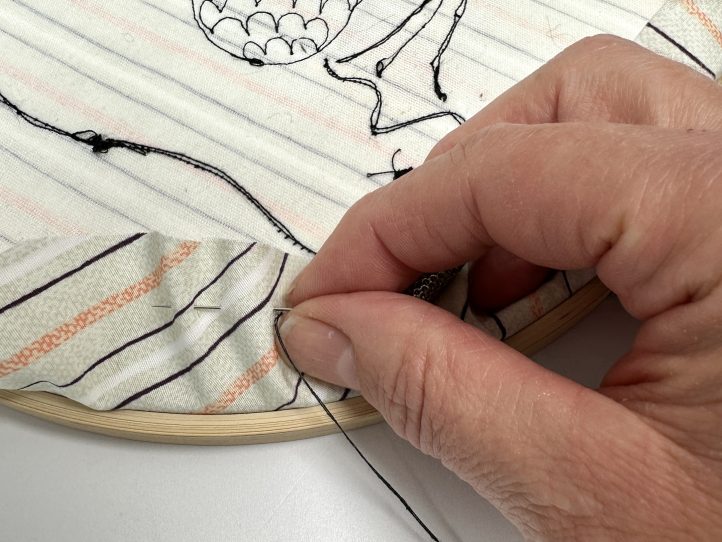
- Draw the thread in and fasten off.
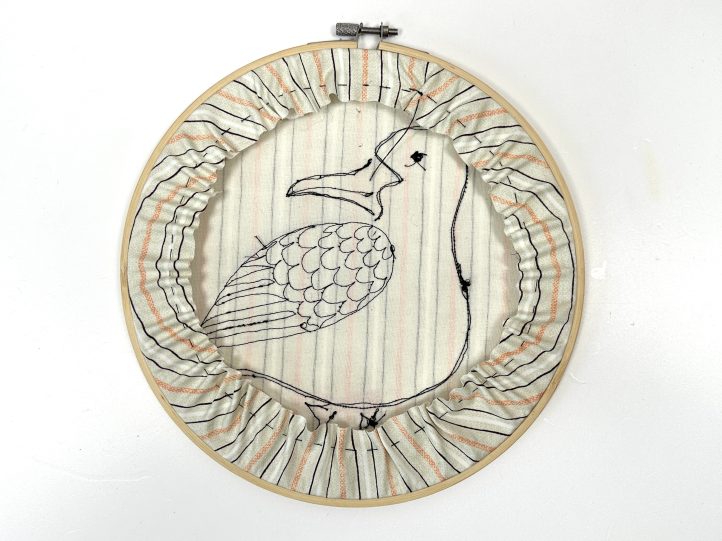
- Run a bead of glue around the edge of the hoop and then lay the embroidery onto your felt square.
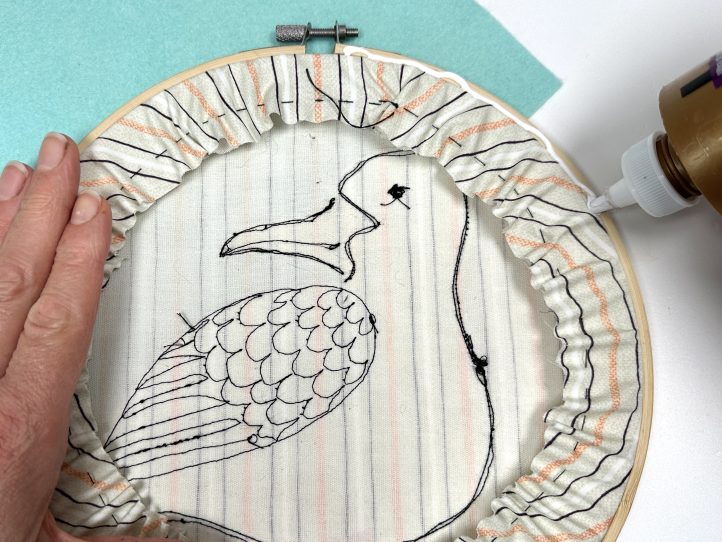
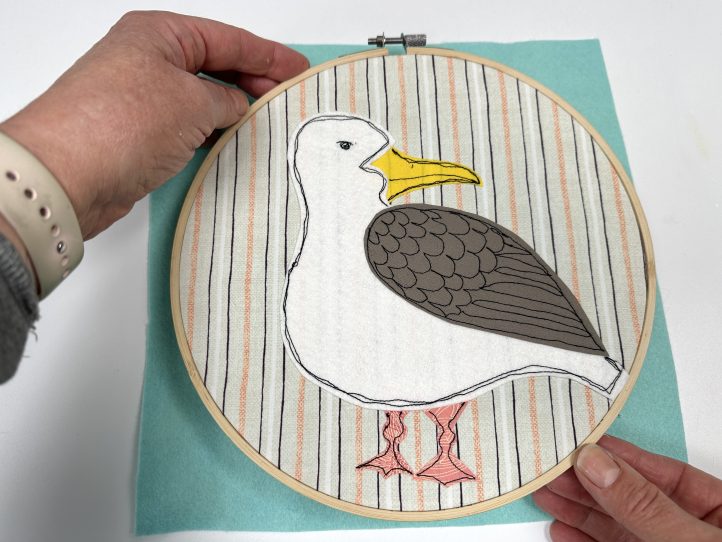
- Allow this to dry. Put a couple of books on top so that it dries nice and flat. Trim the excess felt away.
