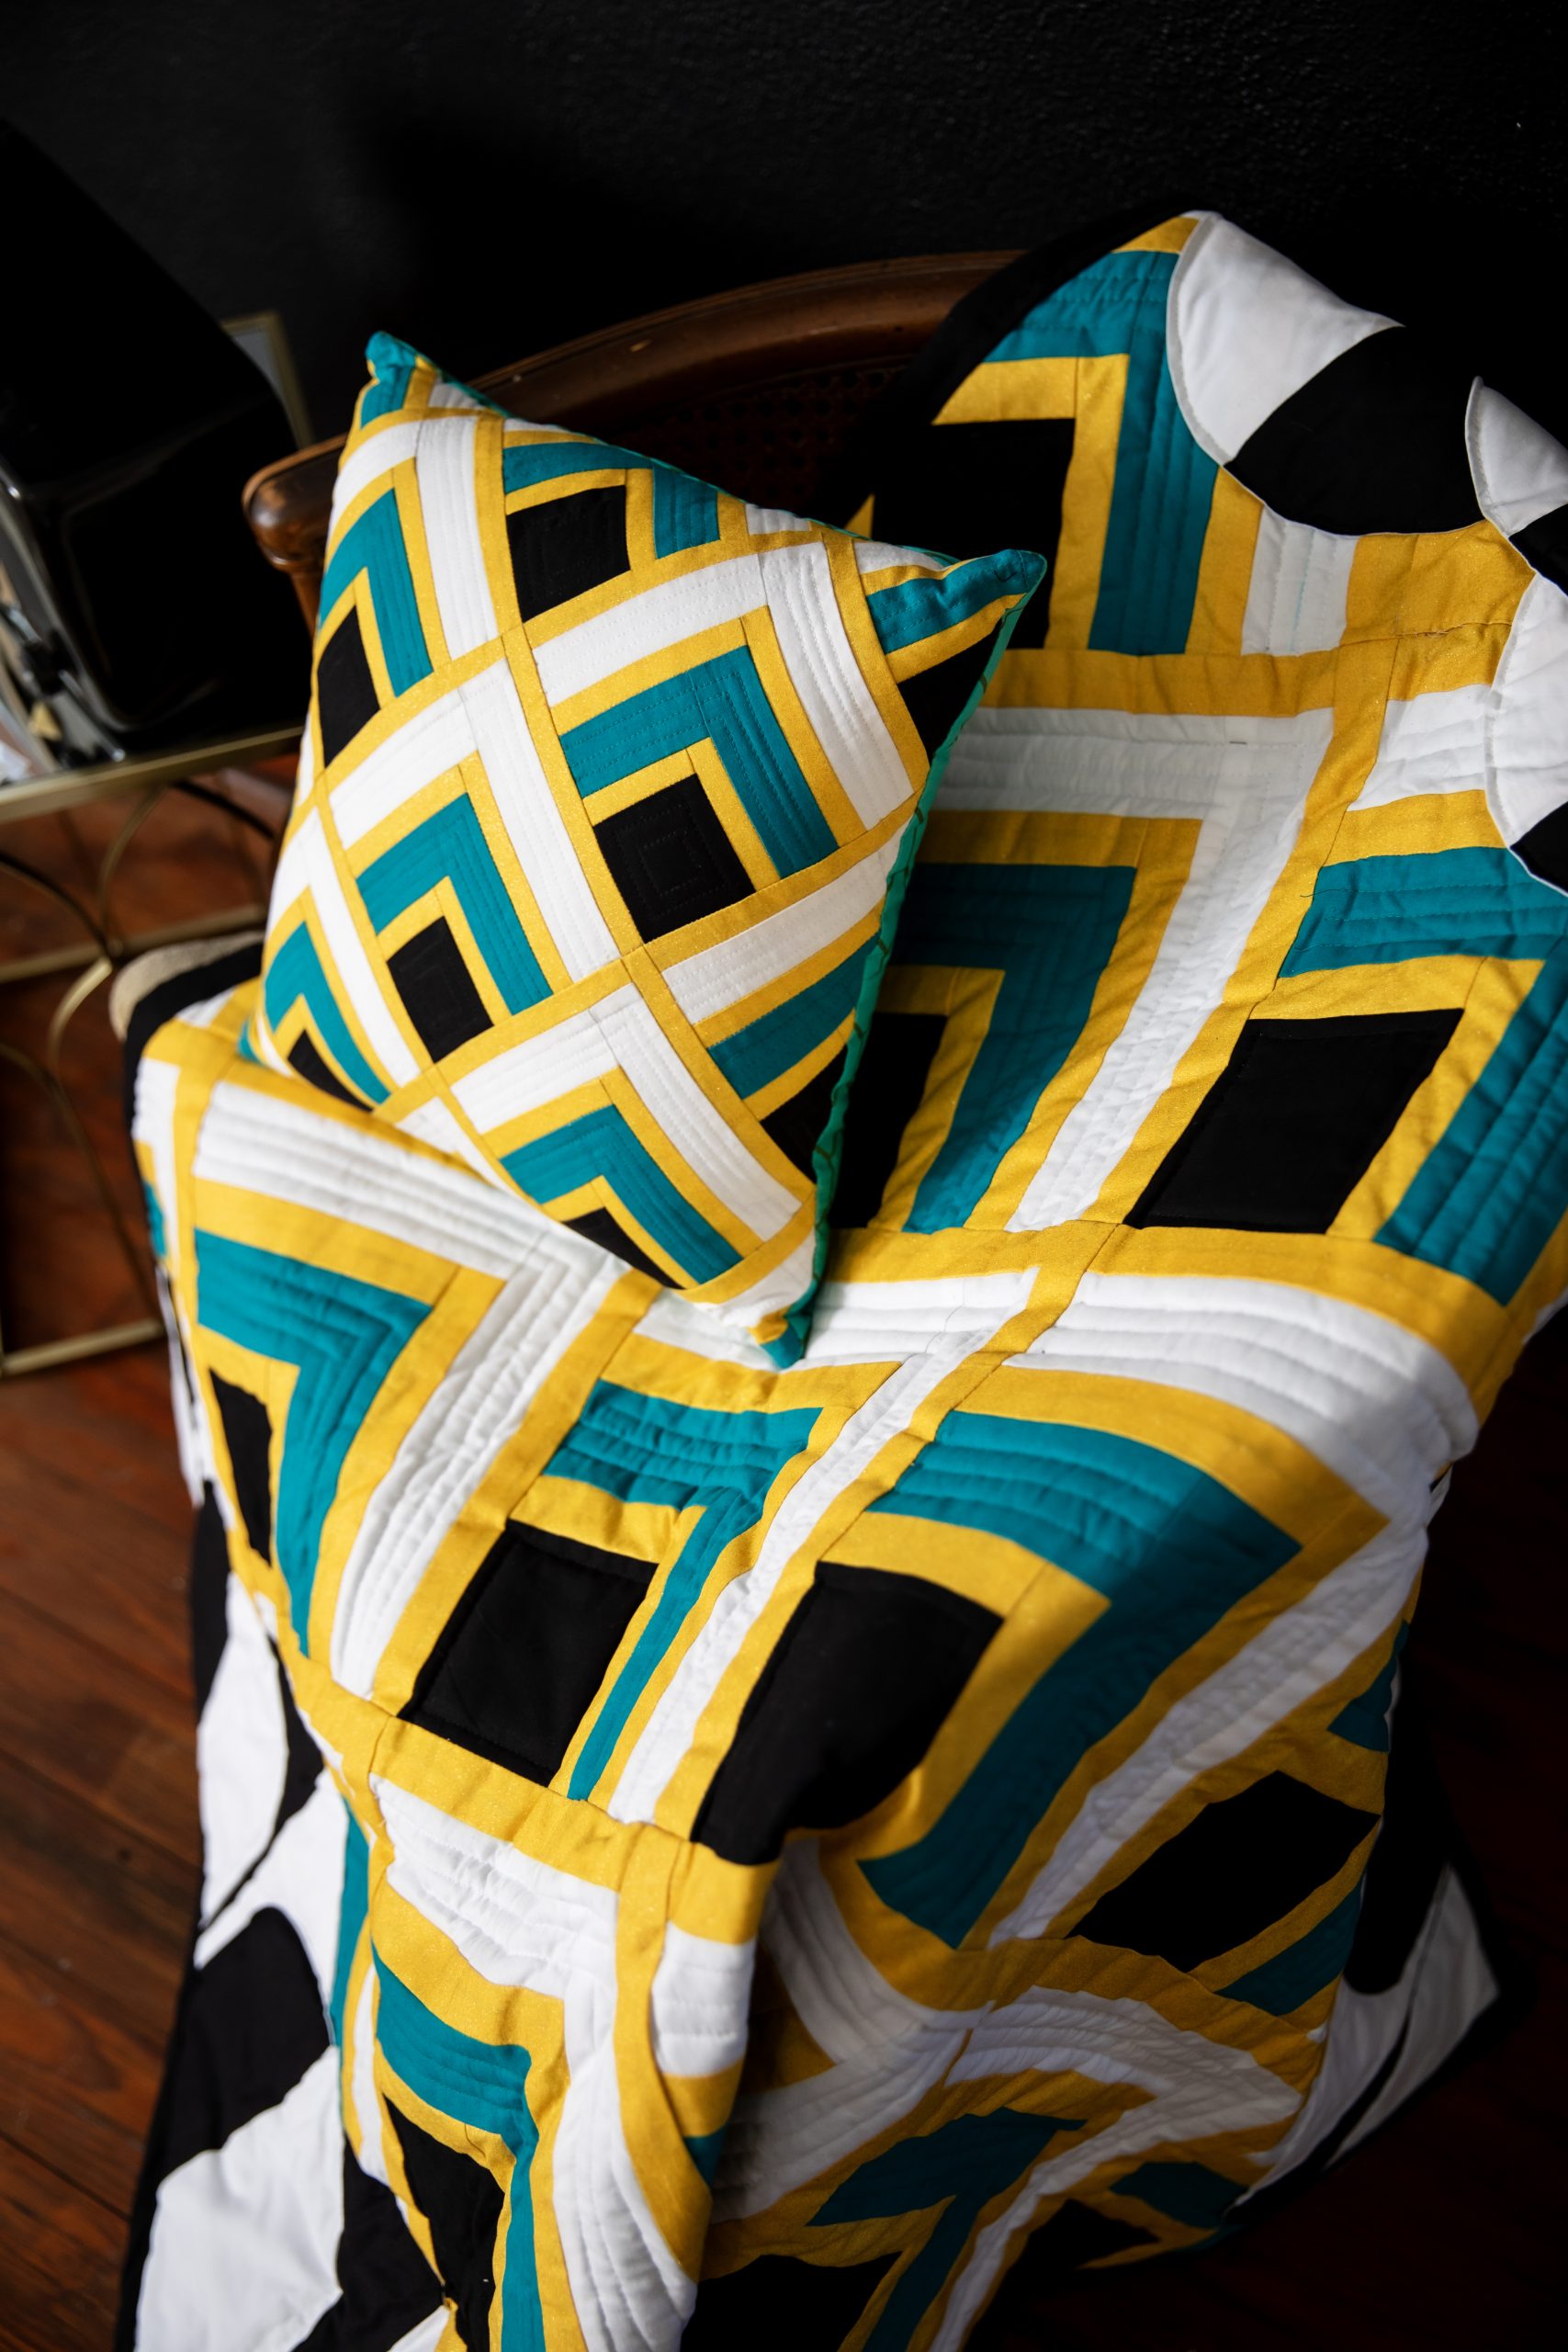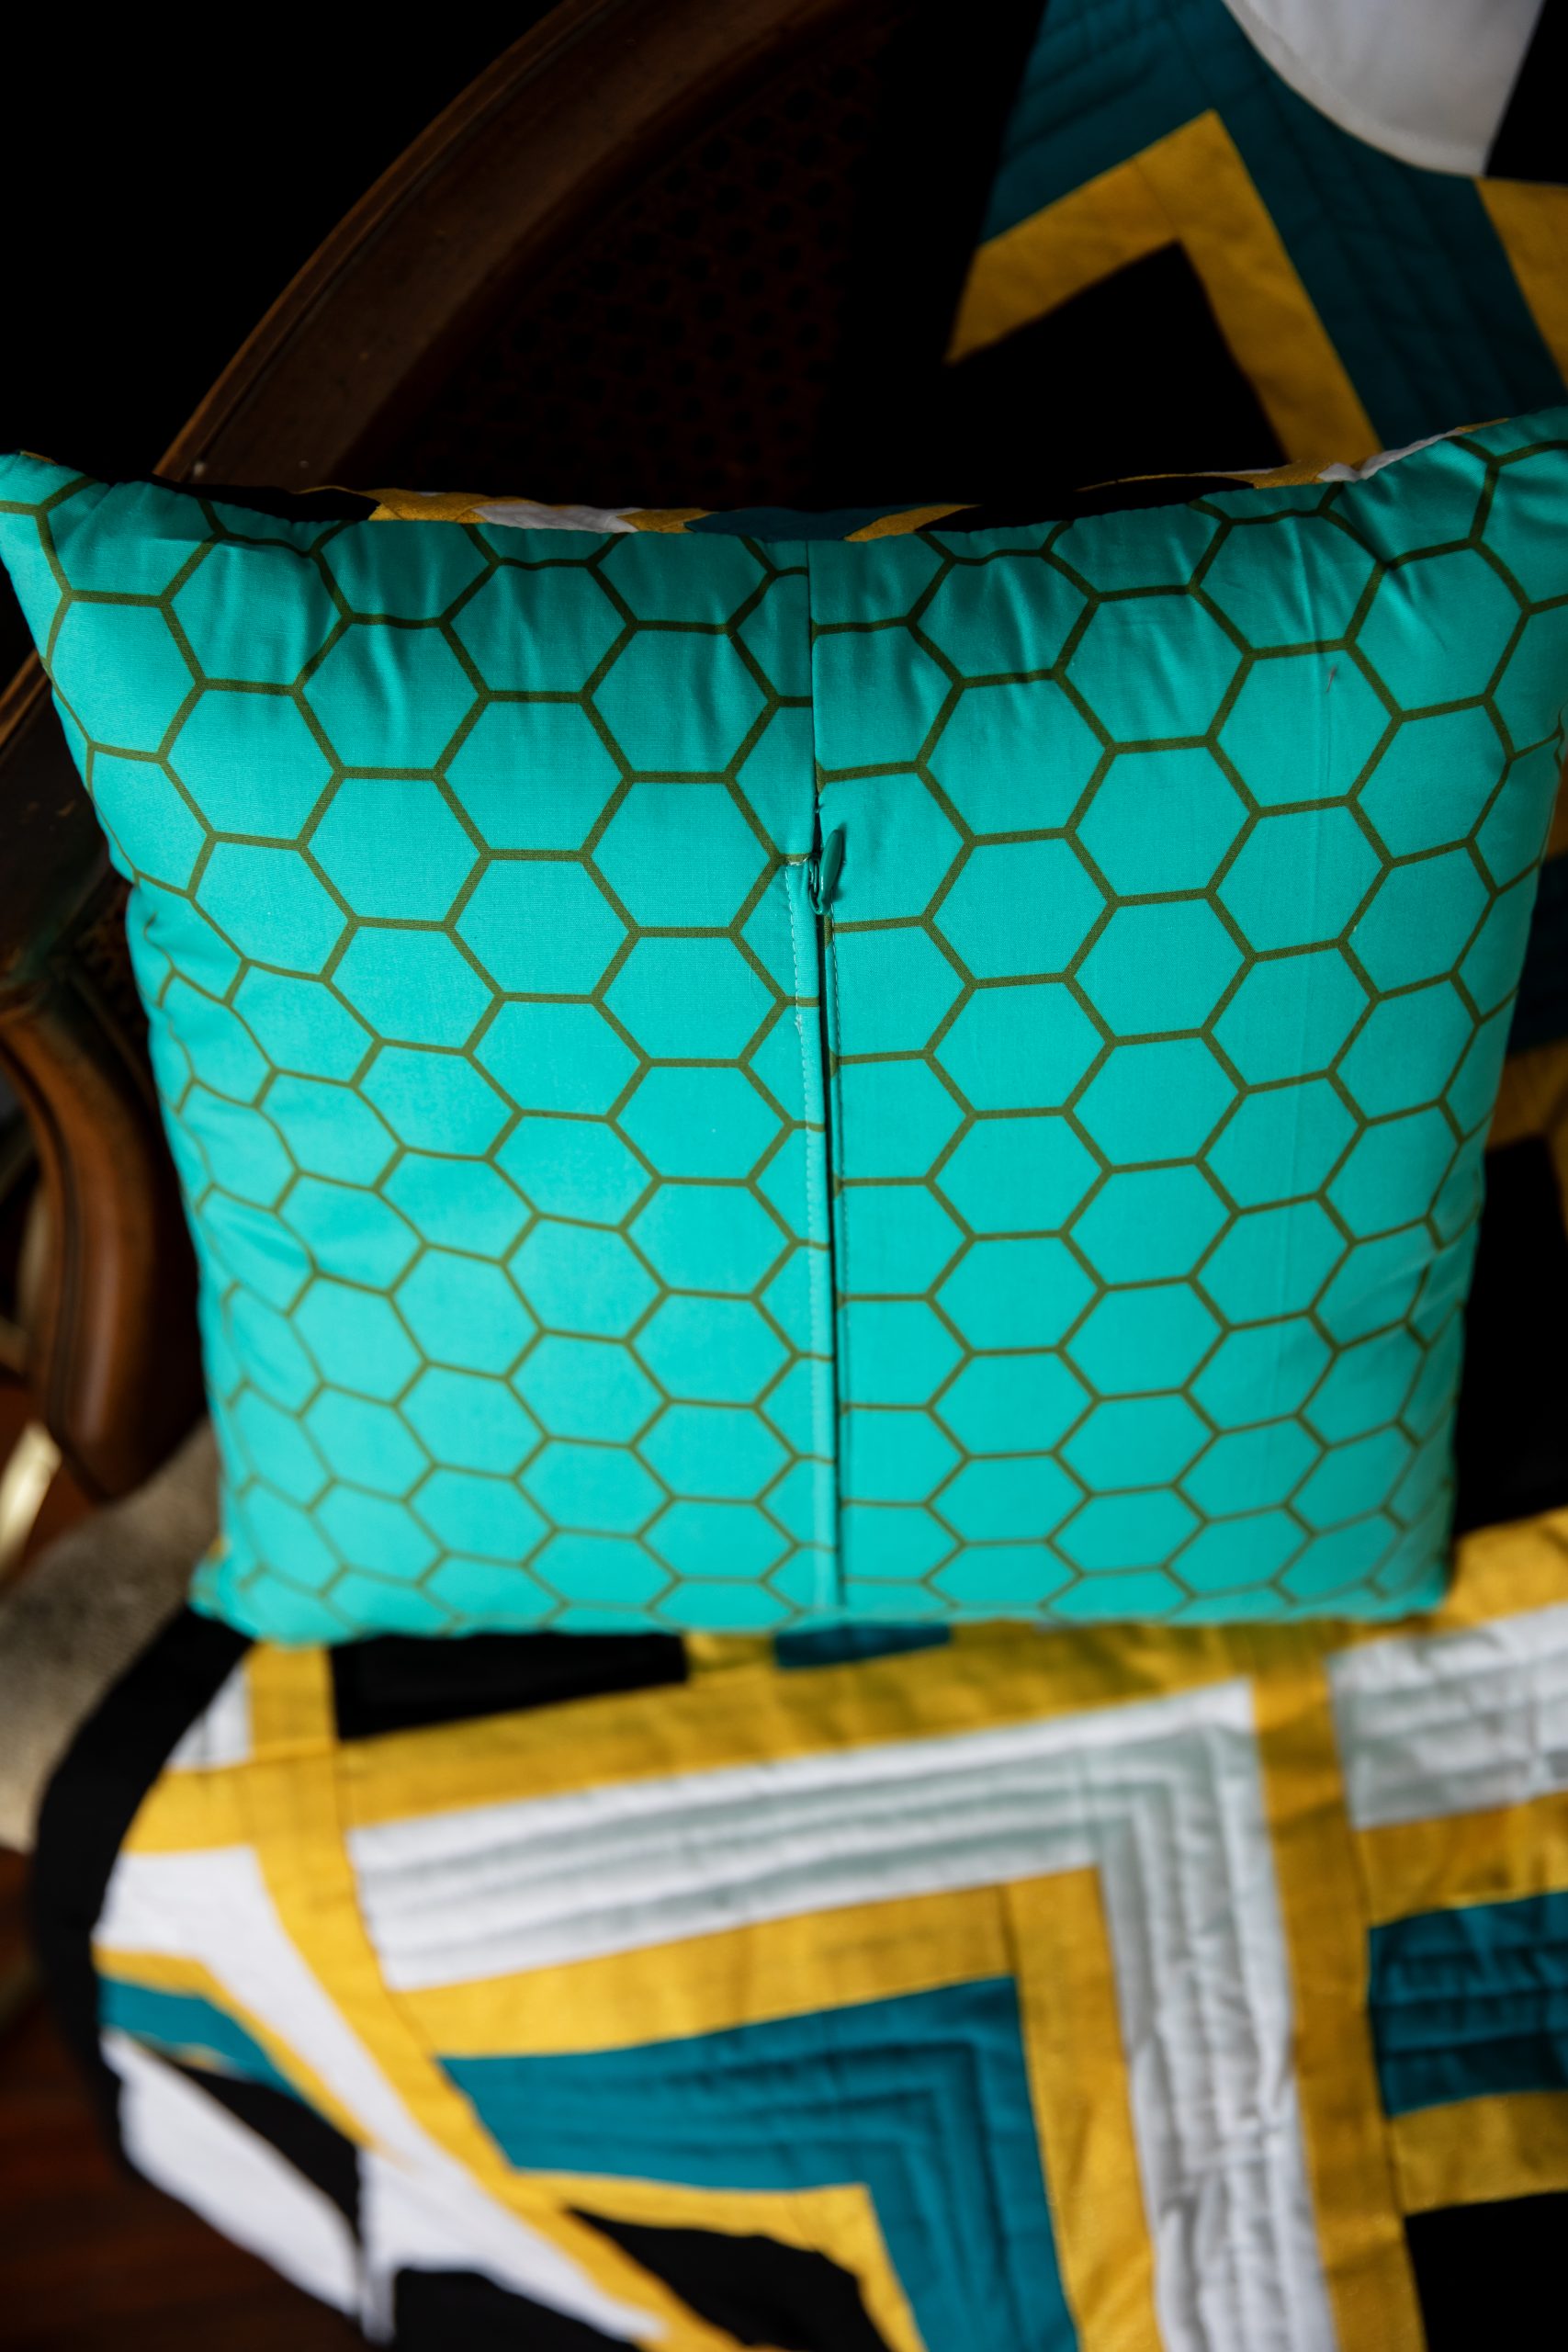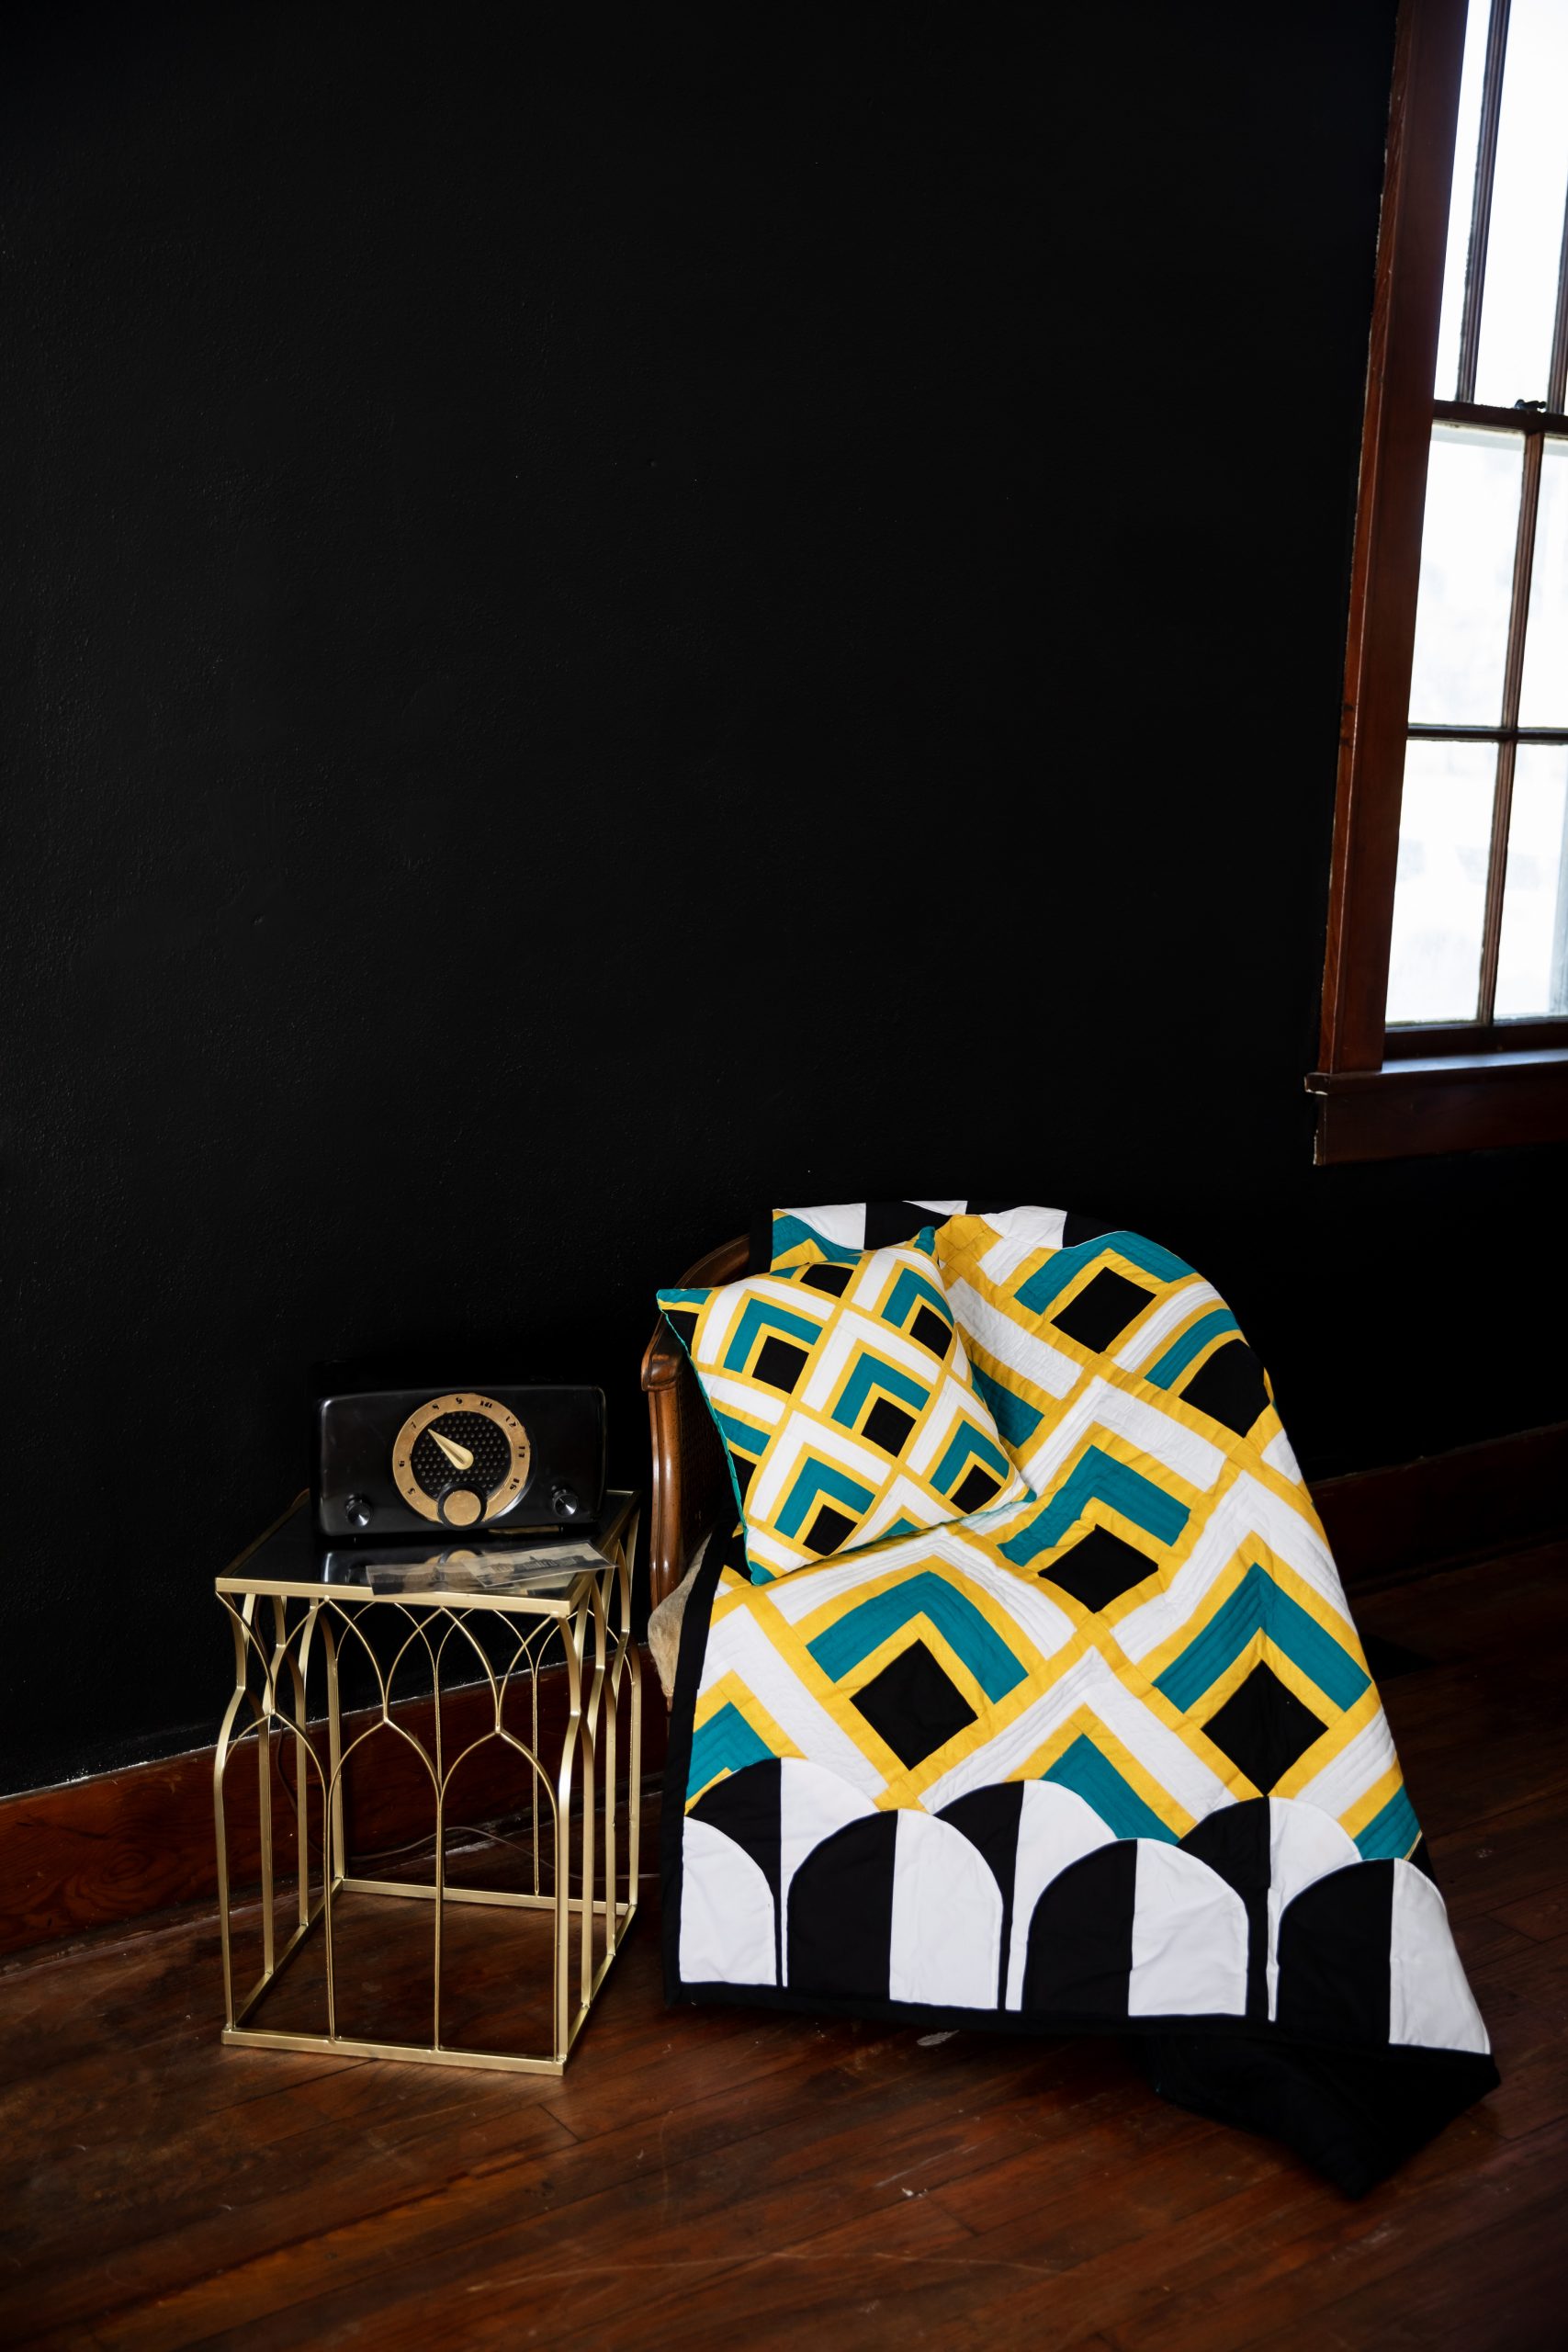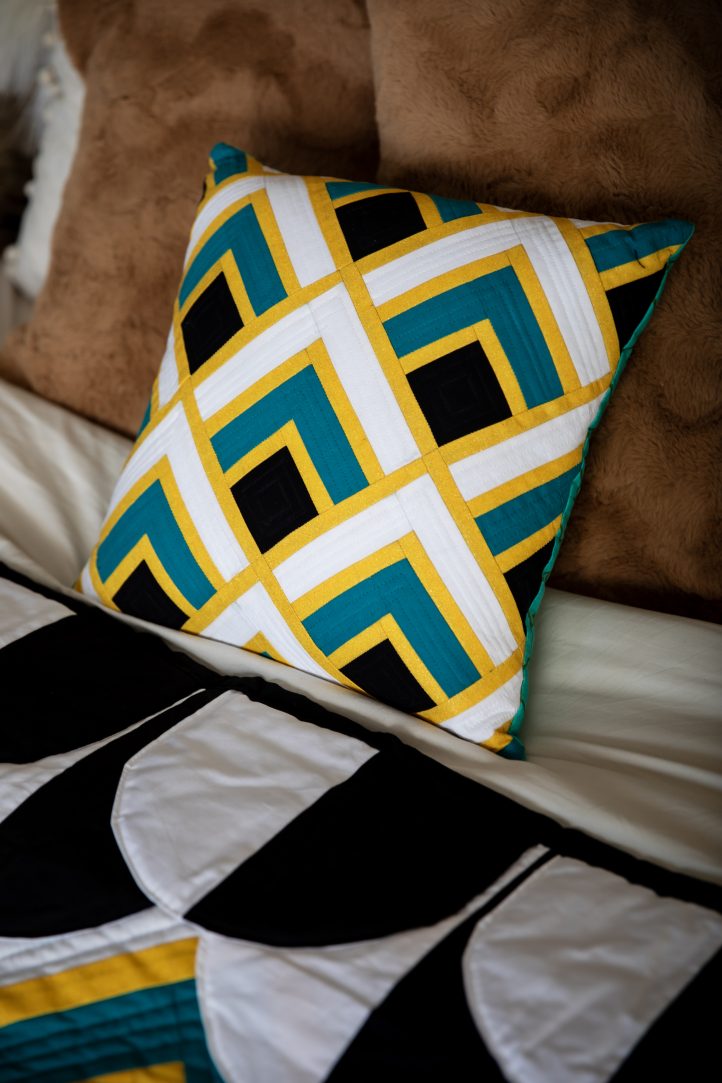
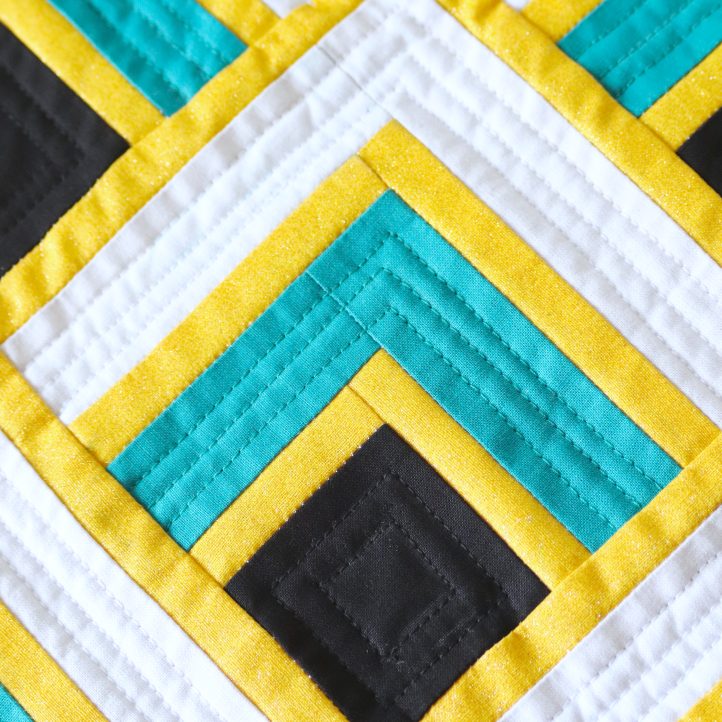
Design a cushion that embodies everything vintage glamour with this design from Sophie Tarrant. Made in rich shades of teal, gold and black, this Art Deco-inspired cushion gives the classic log block a modern spin. This cushion cover is made using thirteen mini blocks arranged to create an optical illusion effect and is completed with a zipper closure on the cushion’s back.
Skill Level: Intermediate
Designer Note: Stay Sharp: To keep your log cabin blocks looking sharp and even, check your seam allowance regularly – even a small shift from 1/4” can distort the shape as the layers build up. A seam guide or washi tape marker on your machine bed can help you stay consistent from start to finish, or alternatively, draw your seam allowance on to each fabric piece before you stitch to really stay on track.
Materials:
- Fabric: Cotton in black, white, teal, gold glitter, and honeycomb print, 1/2 yard of each
- Quilt batting, one yard
- Thread: White, teal, black
- Invisible zipper: 14”
- Cushion pad: 18” square
Tools:
- Rotary cutter and cutting mat
- Quilting ruler
- Dressmaker’s chalk
- Pins
- Sewing machine
- Iron
Piecing Instructions:
- Begin by cutting all the pieces. You’ll need to make 13 mini blocks using the quarter log cabin method – it’s similar to a traditional log cabin block, but with strips added to only two sides of the central square instead of all four. Cut 13 of each of the following from your colored cotton fabrics:
- Black:
- 2-1/2” x 2-1/2”
- Gold:
- 1” x 2-1/2”
- 1” x 3”
- 1” x 4”
- 1” x 4-1/2”
- 1” x 5-1/2”
- 1” x 6”
- Teal:
- 1-1/2” x 3”
- 1-1/2” x 4”
- White:
- 1-1/2” x 4-1/2”
- 1-1/2” x 5-1/2”
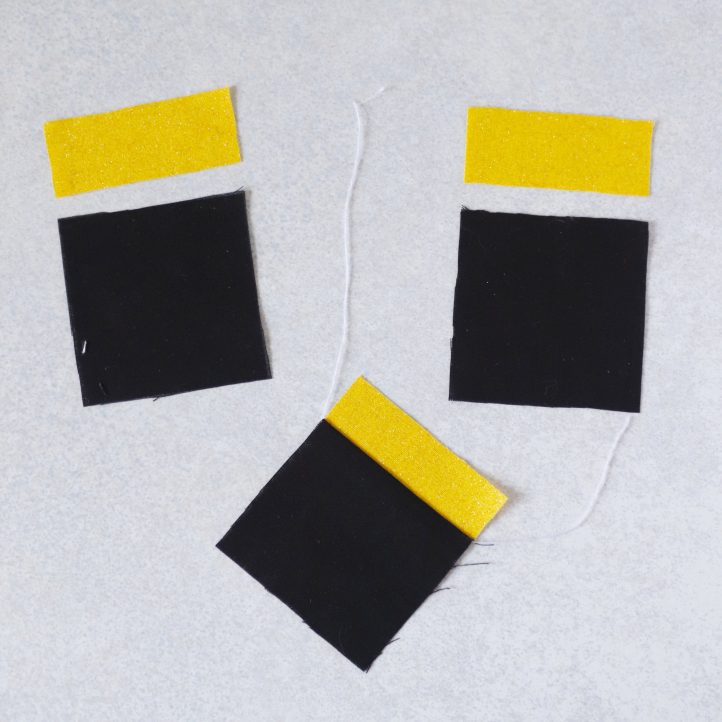
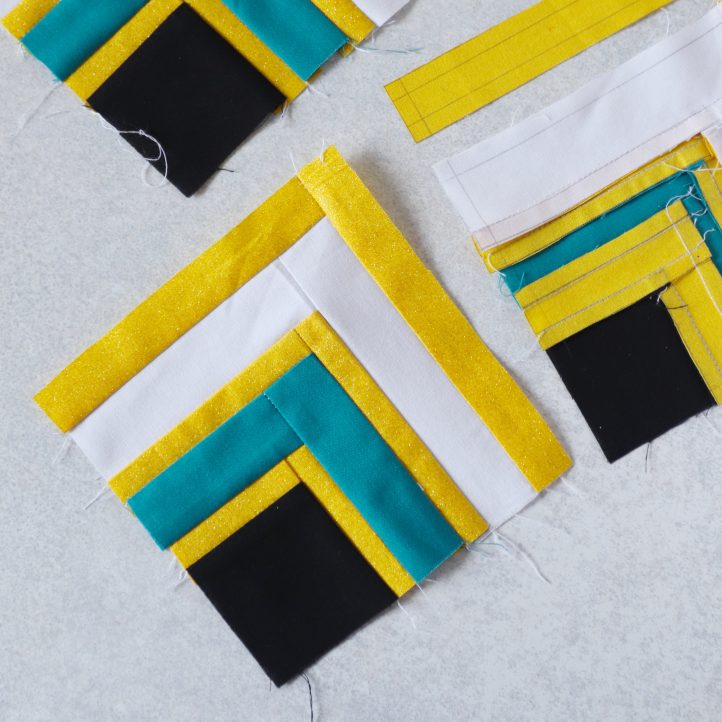
- Once everything is cut, you can begin sewing. Take a 1” x 2-1/2” gold strip and sew it to one side of a black square with right sides facing, leaving a 1/4” seam allowance. We’ll be using a 1/4” seam allowance throughout this project, unless otherwise stated. Open the pieces out, then press the seam towards the black square.
- Black:
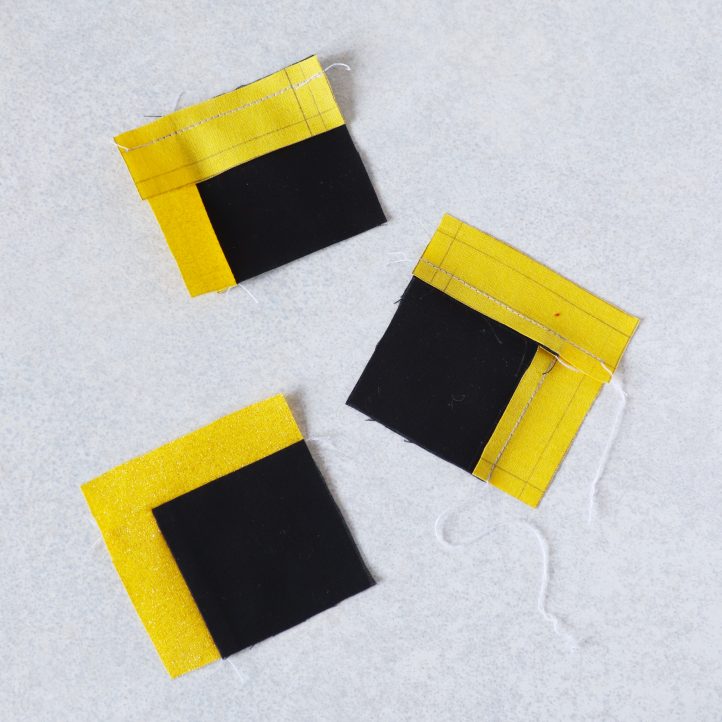
- Rotate the block so that the gold strip is on the left-hand side and the black square is on the right. Take a 1” x 3” gold strip and sew it along the top edge, with right sides facing. As before, open the fabric out and press the seam toward the black square. Repeat this step for all 13 blocks.
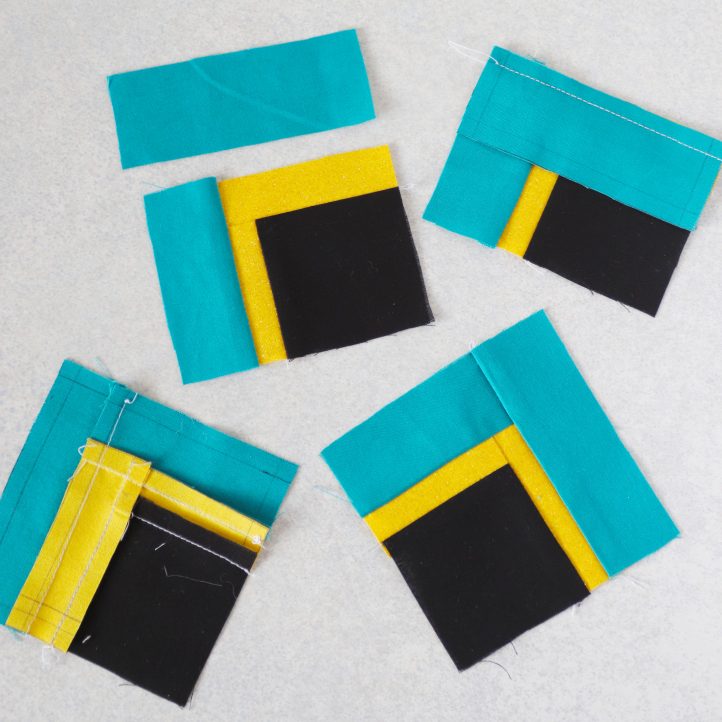
- Move on to the teal layer. Sew a 1-1/2” x 3” teal strip to the left-hand edge of each block, then a 1-1/2” x 4” teal strip along the top. Always press the seams toward the darker fabric – in this case, towards the teal.
- Continue building your blocks by adding the next two gold strips: first the 1” x 4”, then the 1” x 4-1/2”. Next, add the white strips—1-1/2” x 4-1/2” to the left edge and 1-1/2” x 5-1/2” to the top. Finally, add the last two gold strips: 1” x 5-1/2” on the left and 1” x 6” on the top. You should now have 13 complete quarter log cabin blocks.
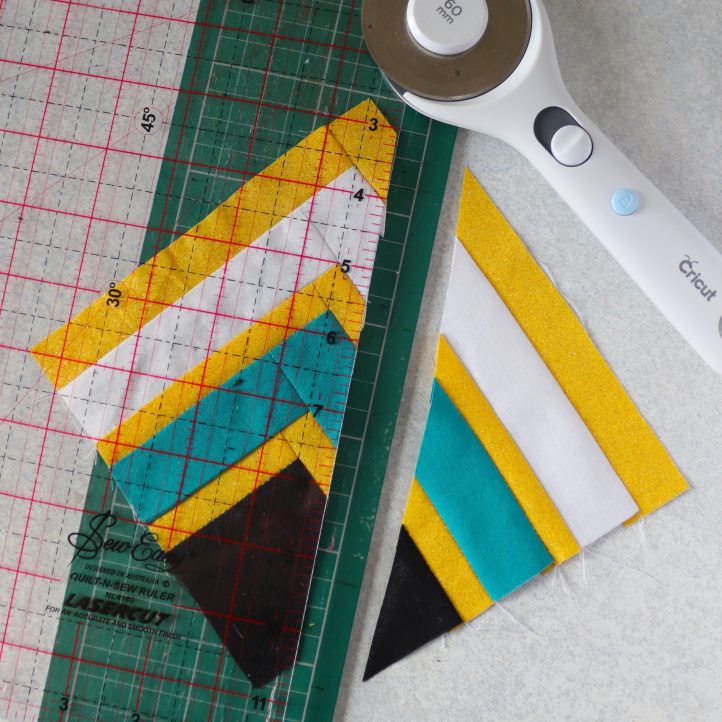
- You now need to trim down some of the blocks to form the diagonal layout. Place a block on your cutting mat diagonally and line up your quilting ruler through the center, going from top corner to bottom corner. Shift it 1/2” to the right, then trim it down using a rotary cutter. Repeat to trim down two more blocks in the same way. Then, do the same again with three different blocks, this time shifting the ruler 1/2” to the left each time. You’ll trim some of these pieces down further later, but for now, keep them as they are and move on to building the cushion front.
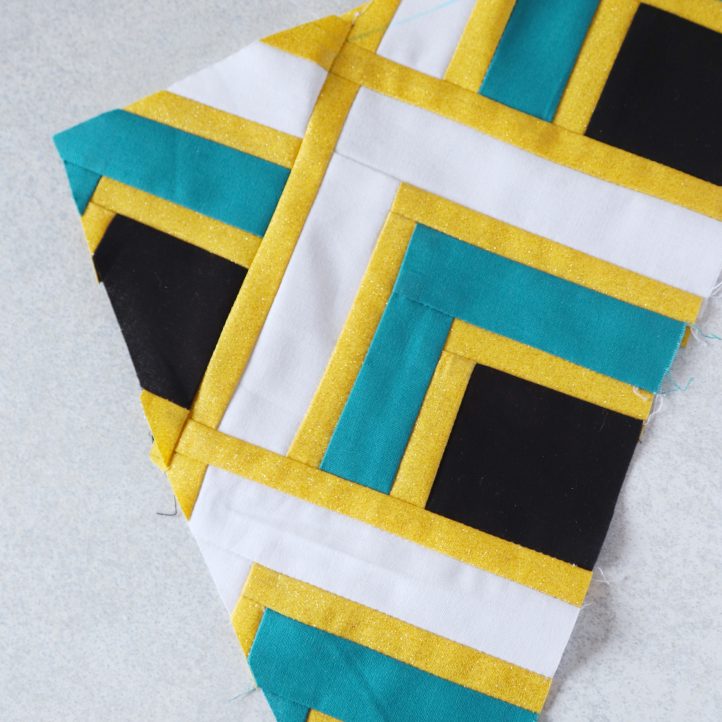
- Begin sewing the blocks together in diagonal rows, referring to our images for guidance. As you piece the rows together, some blocks will extend beyond the final square shape. These will need trimming down as you go to create a neat square cushion front. If you’re unsure which ones to trim, it’s best to wait until all the rows are joined, then trim the edges in one clean, continuous cut for a crisp finish.
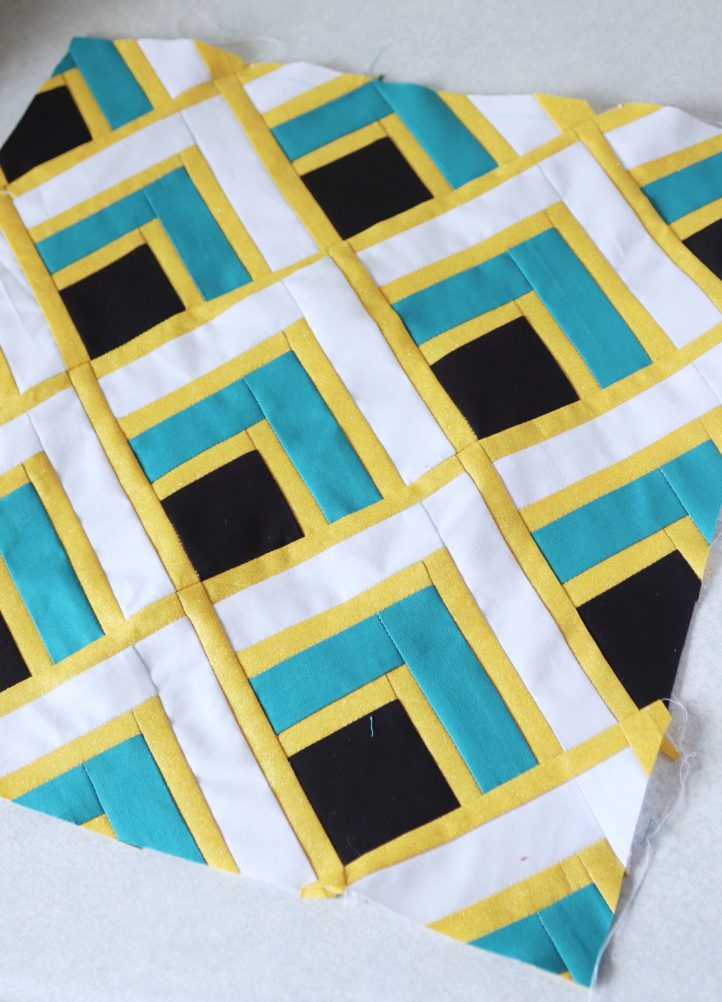
- Continue building and trimming until you’ve completed a cushion front measuring about 16” square. Make sure each block is aligned with the others and that all are facing the same direction.
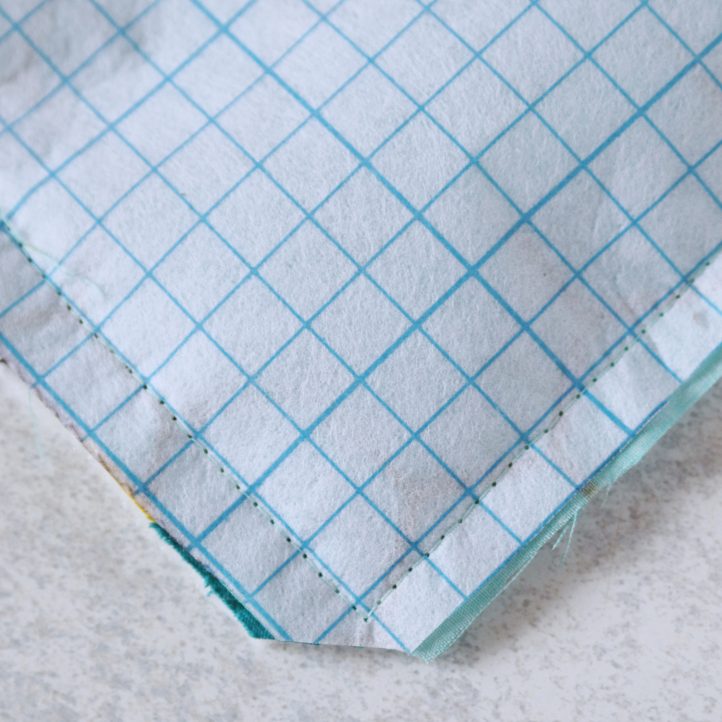
- Now it’s time to quilt your cushion front. Layer the pieced top over a square of quilt wadding and pin in place. Use a quilting ruler to draw 1/4” spaced lines across the teal and white strips, then draw two parallel squares inside the edge of each black square, also spaced 1/4” apart. Quilt along the drawn lines using a 2.6mm (slightly less than 1/8”) straight stitch, working through the top and the wadding. Use matching thread colors for each section – black on the black fabric, teal on the teal, and white on the white.
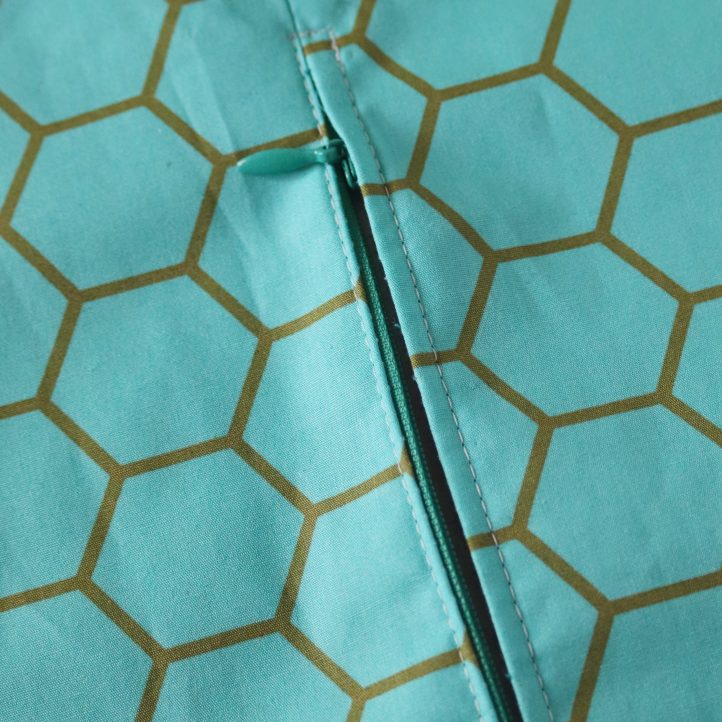
- Make the back of the cushion. Begin by backing your honeycomb fabric with fusible interfacing or quilt wadding, then cut two 8-1/2” x 16” rectangles. Next, join these pieces together using an invisible zipper to create the cushion back. To do this, place the two fabric rectangles right sides together and baste along one long edge (leaving a 1/2” seam allowance) to temporarily join them. Press the seam open, then lay the joined pieces flat with the wrong side facing up. Position your invisible zipper along the seam line with the right side of the zipper facing down, so the teeth align exactly with the seam. Baste the zipper into place, then turn the work over so the right side faces up. Using an invisible zipper foot, stitch a rectangle all around the zipper, keeping your stitches close to the teeth. Once sewn, reinforce the seam on both sides of the zipper by stitching over it again. Finally, unpick the original basting stitches to reveal the functioning invisible zipper beneath.
- To finish, place the quilted cushion front and zippered back pieces right sides together, with edges aligned. Open the zipper halfway. Stitch all around the outside using a 1/2” seam allowance. Clip the corners to reduce bulk and help the cover turn neatly. Turn the cover right side out, press flat, and insert an 18” cushion pad. Close the zipper up – and you’re done!