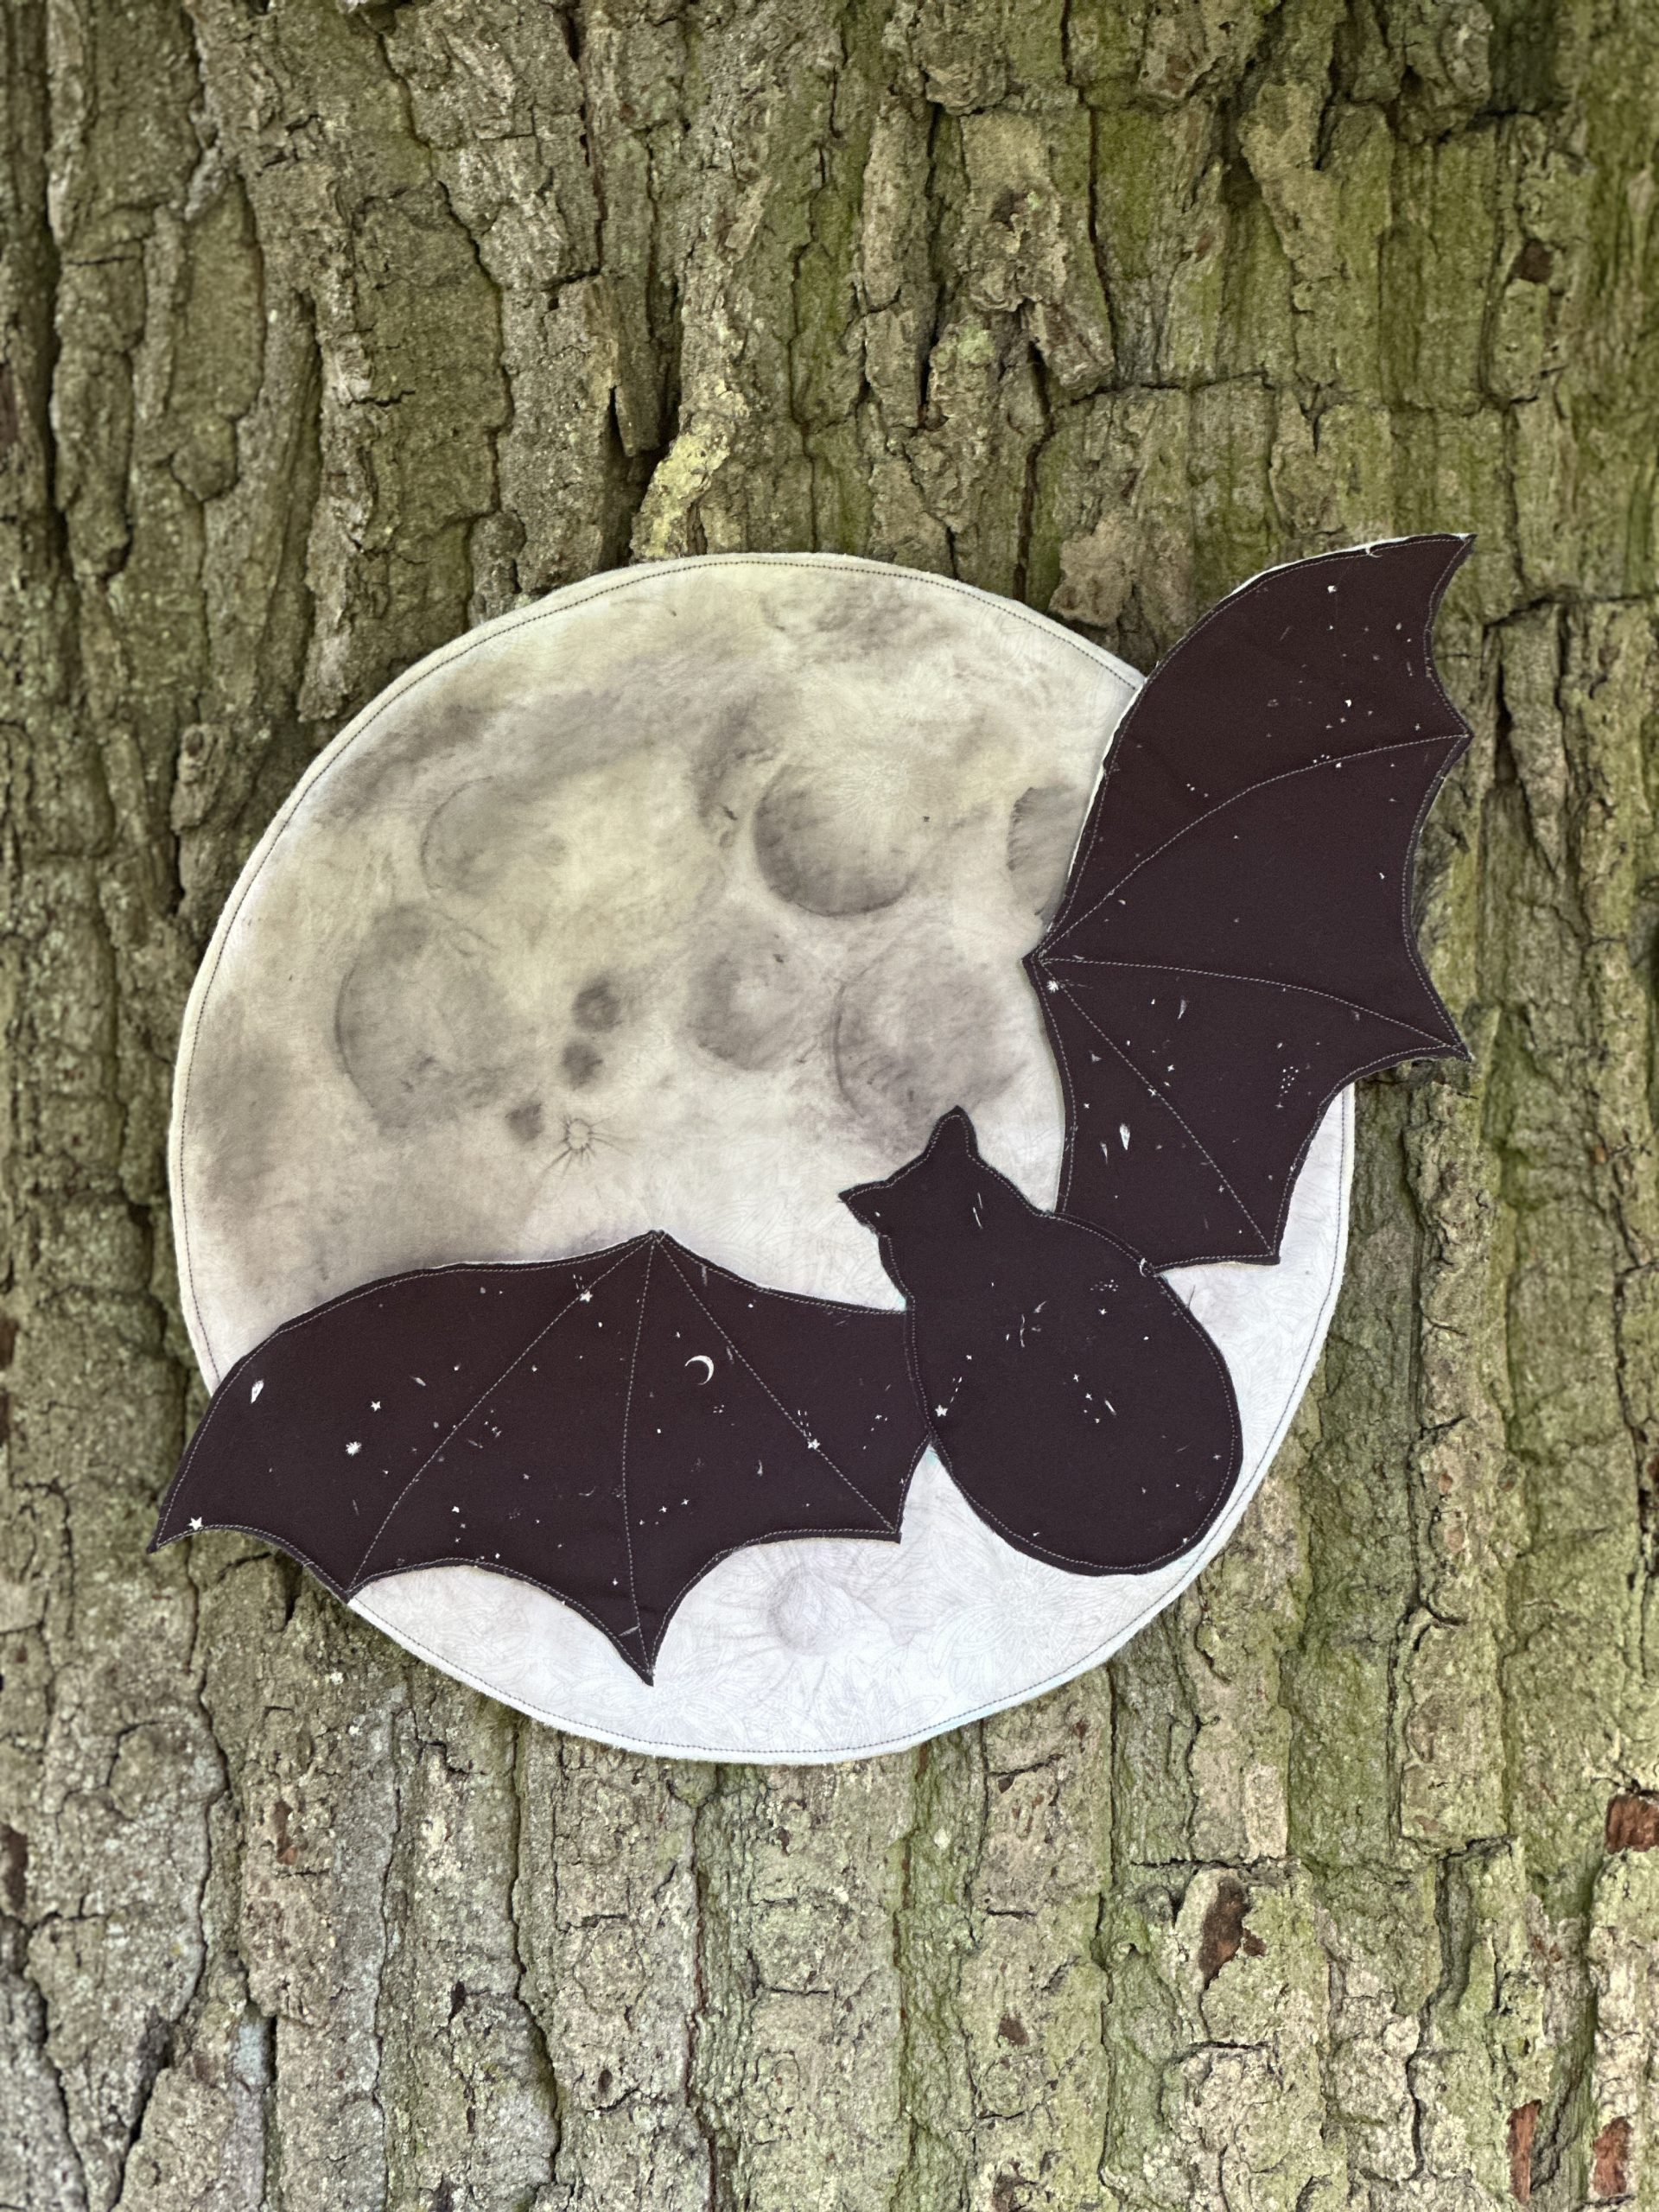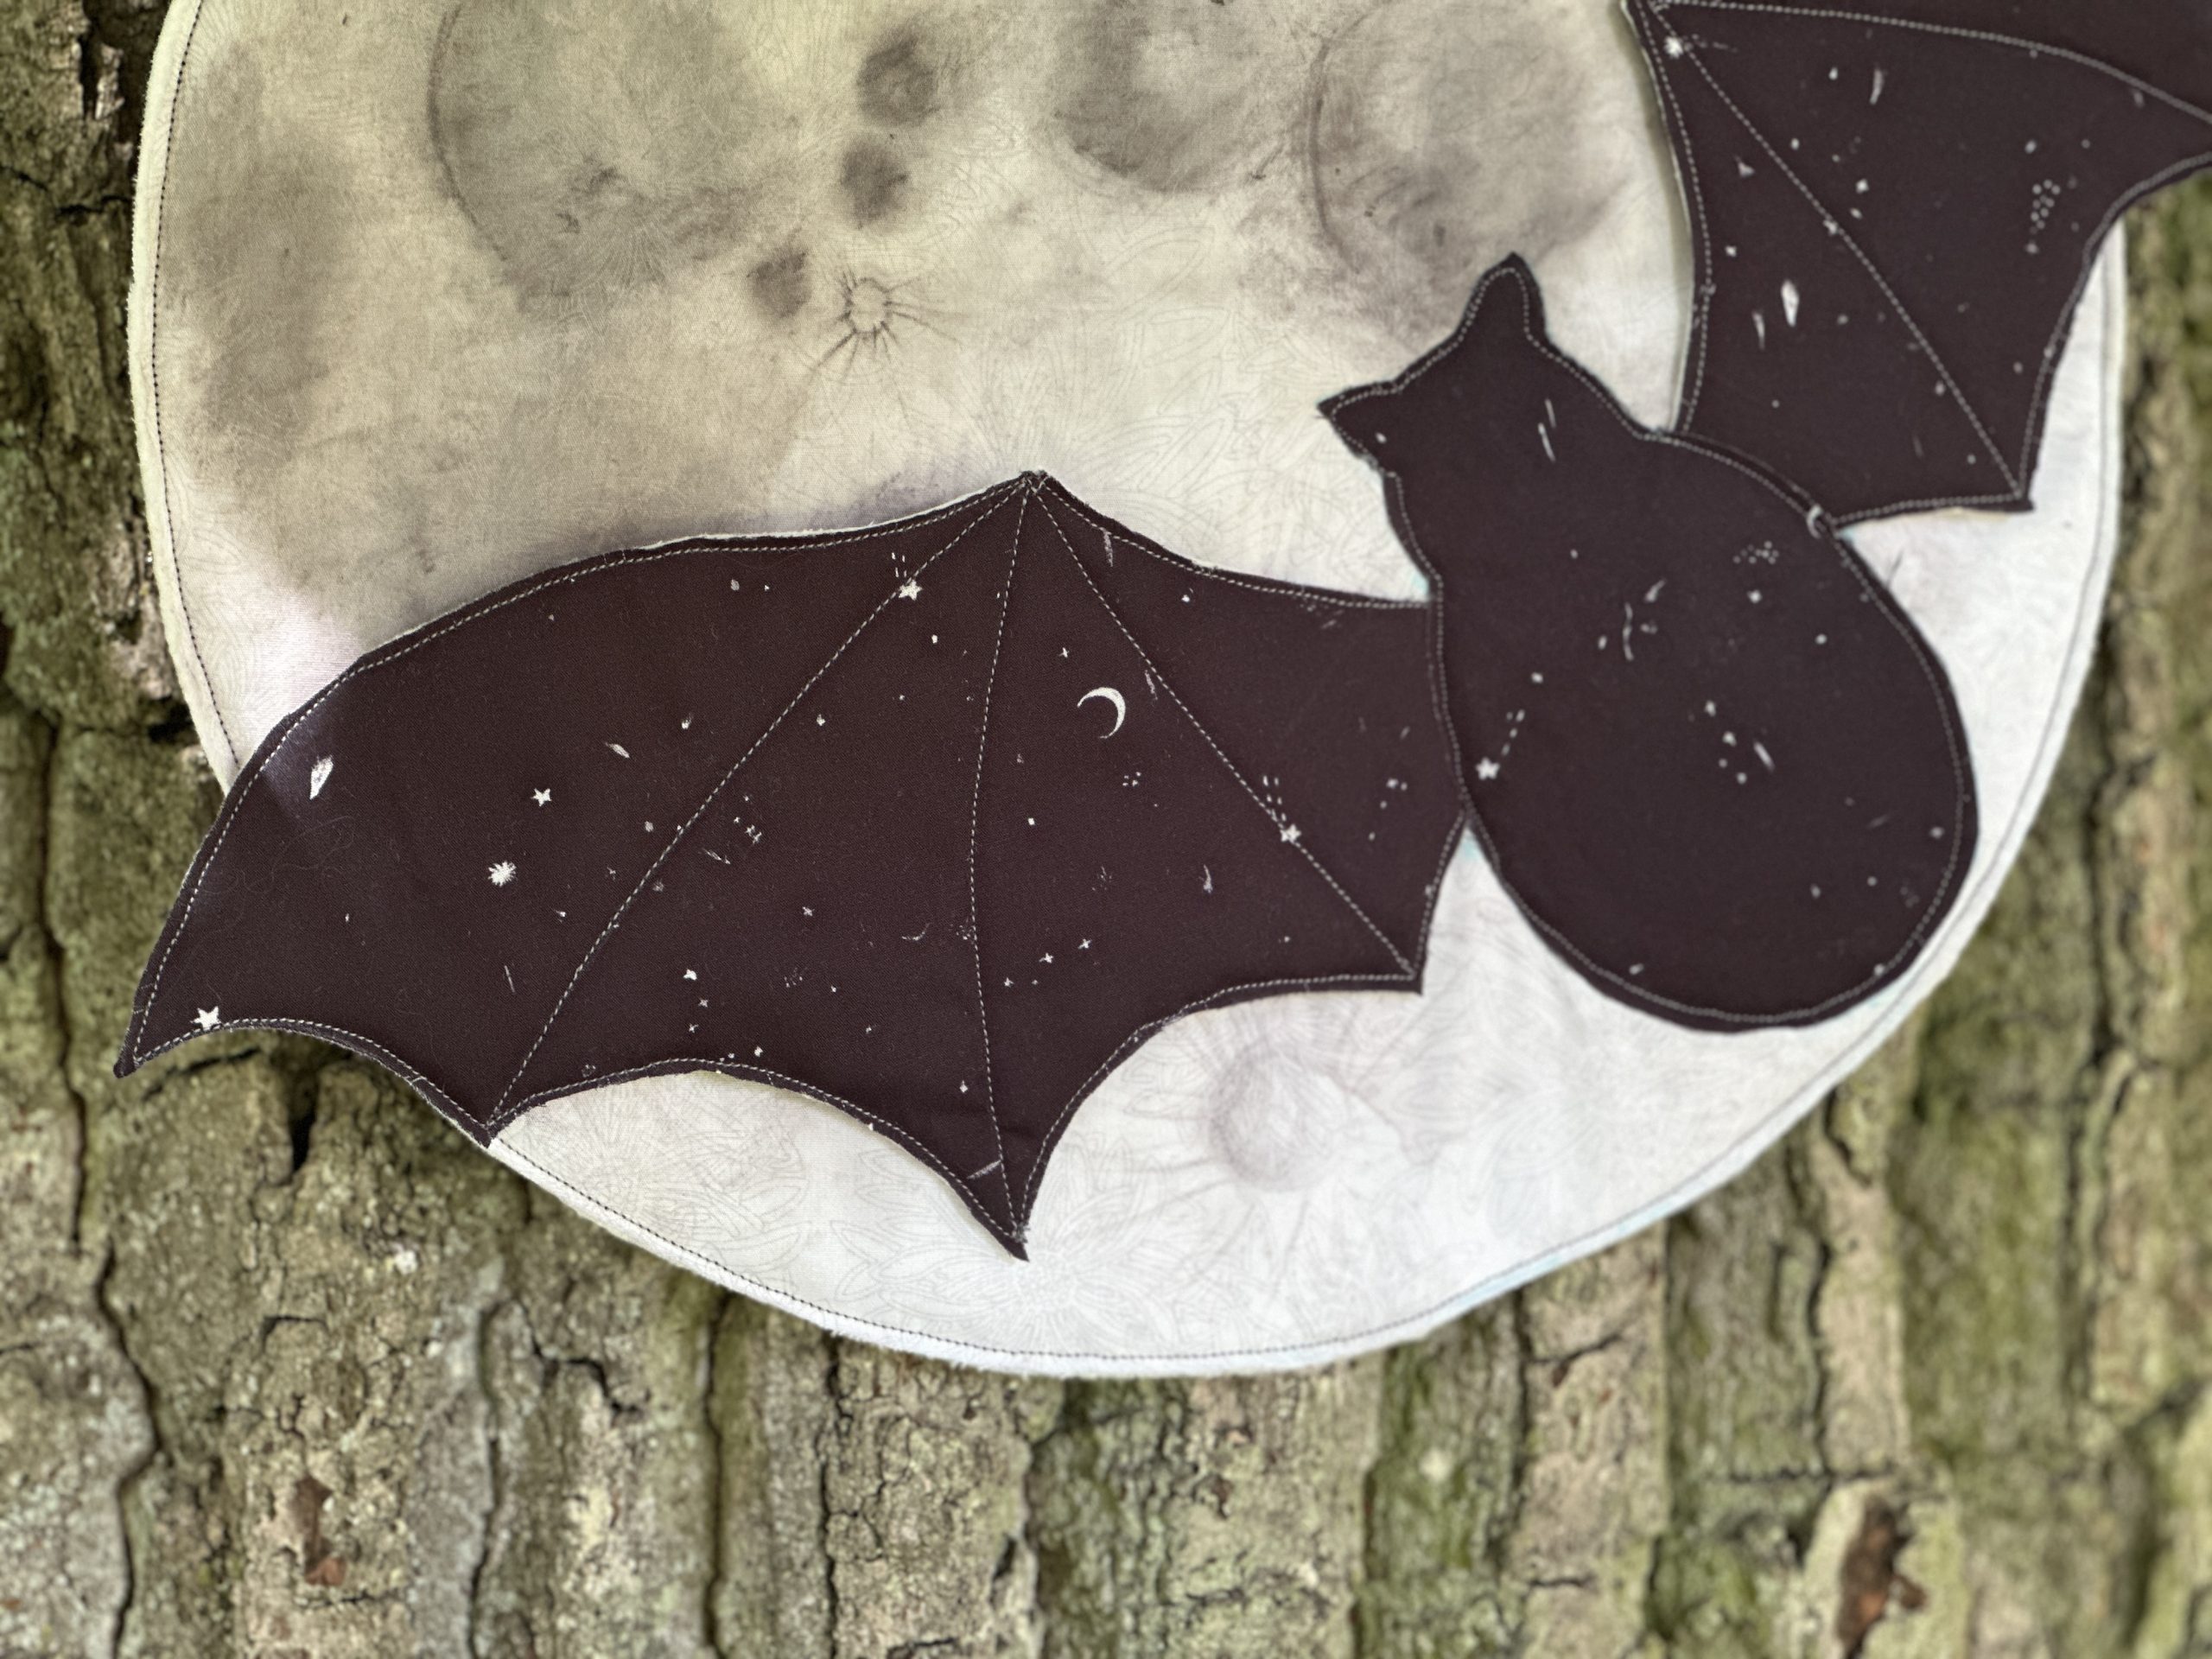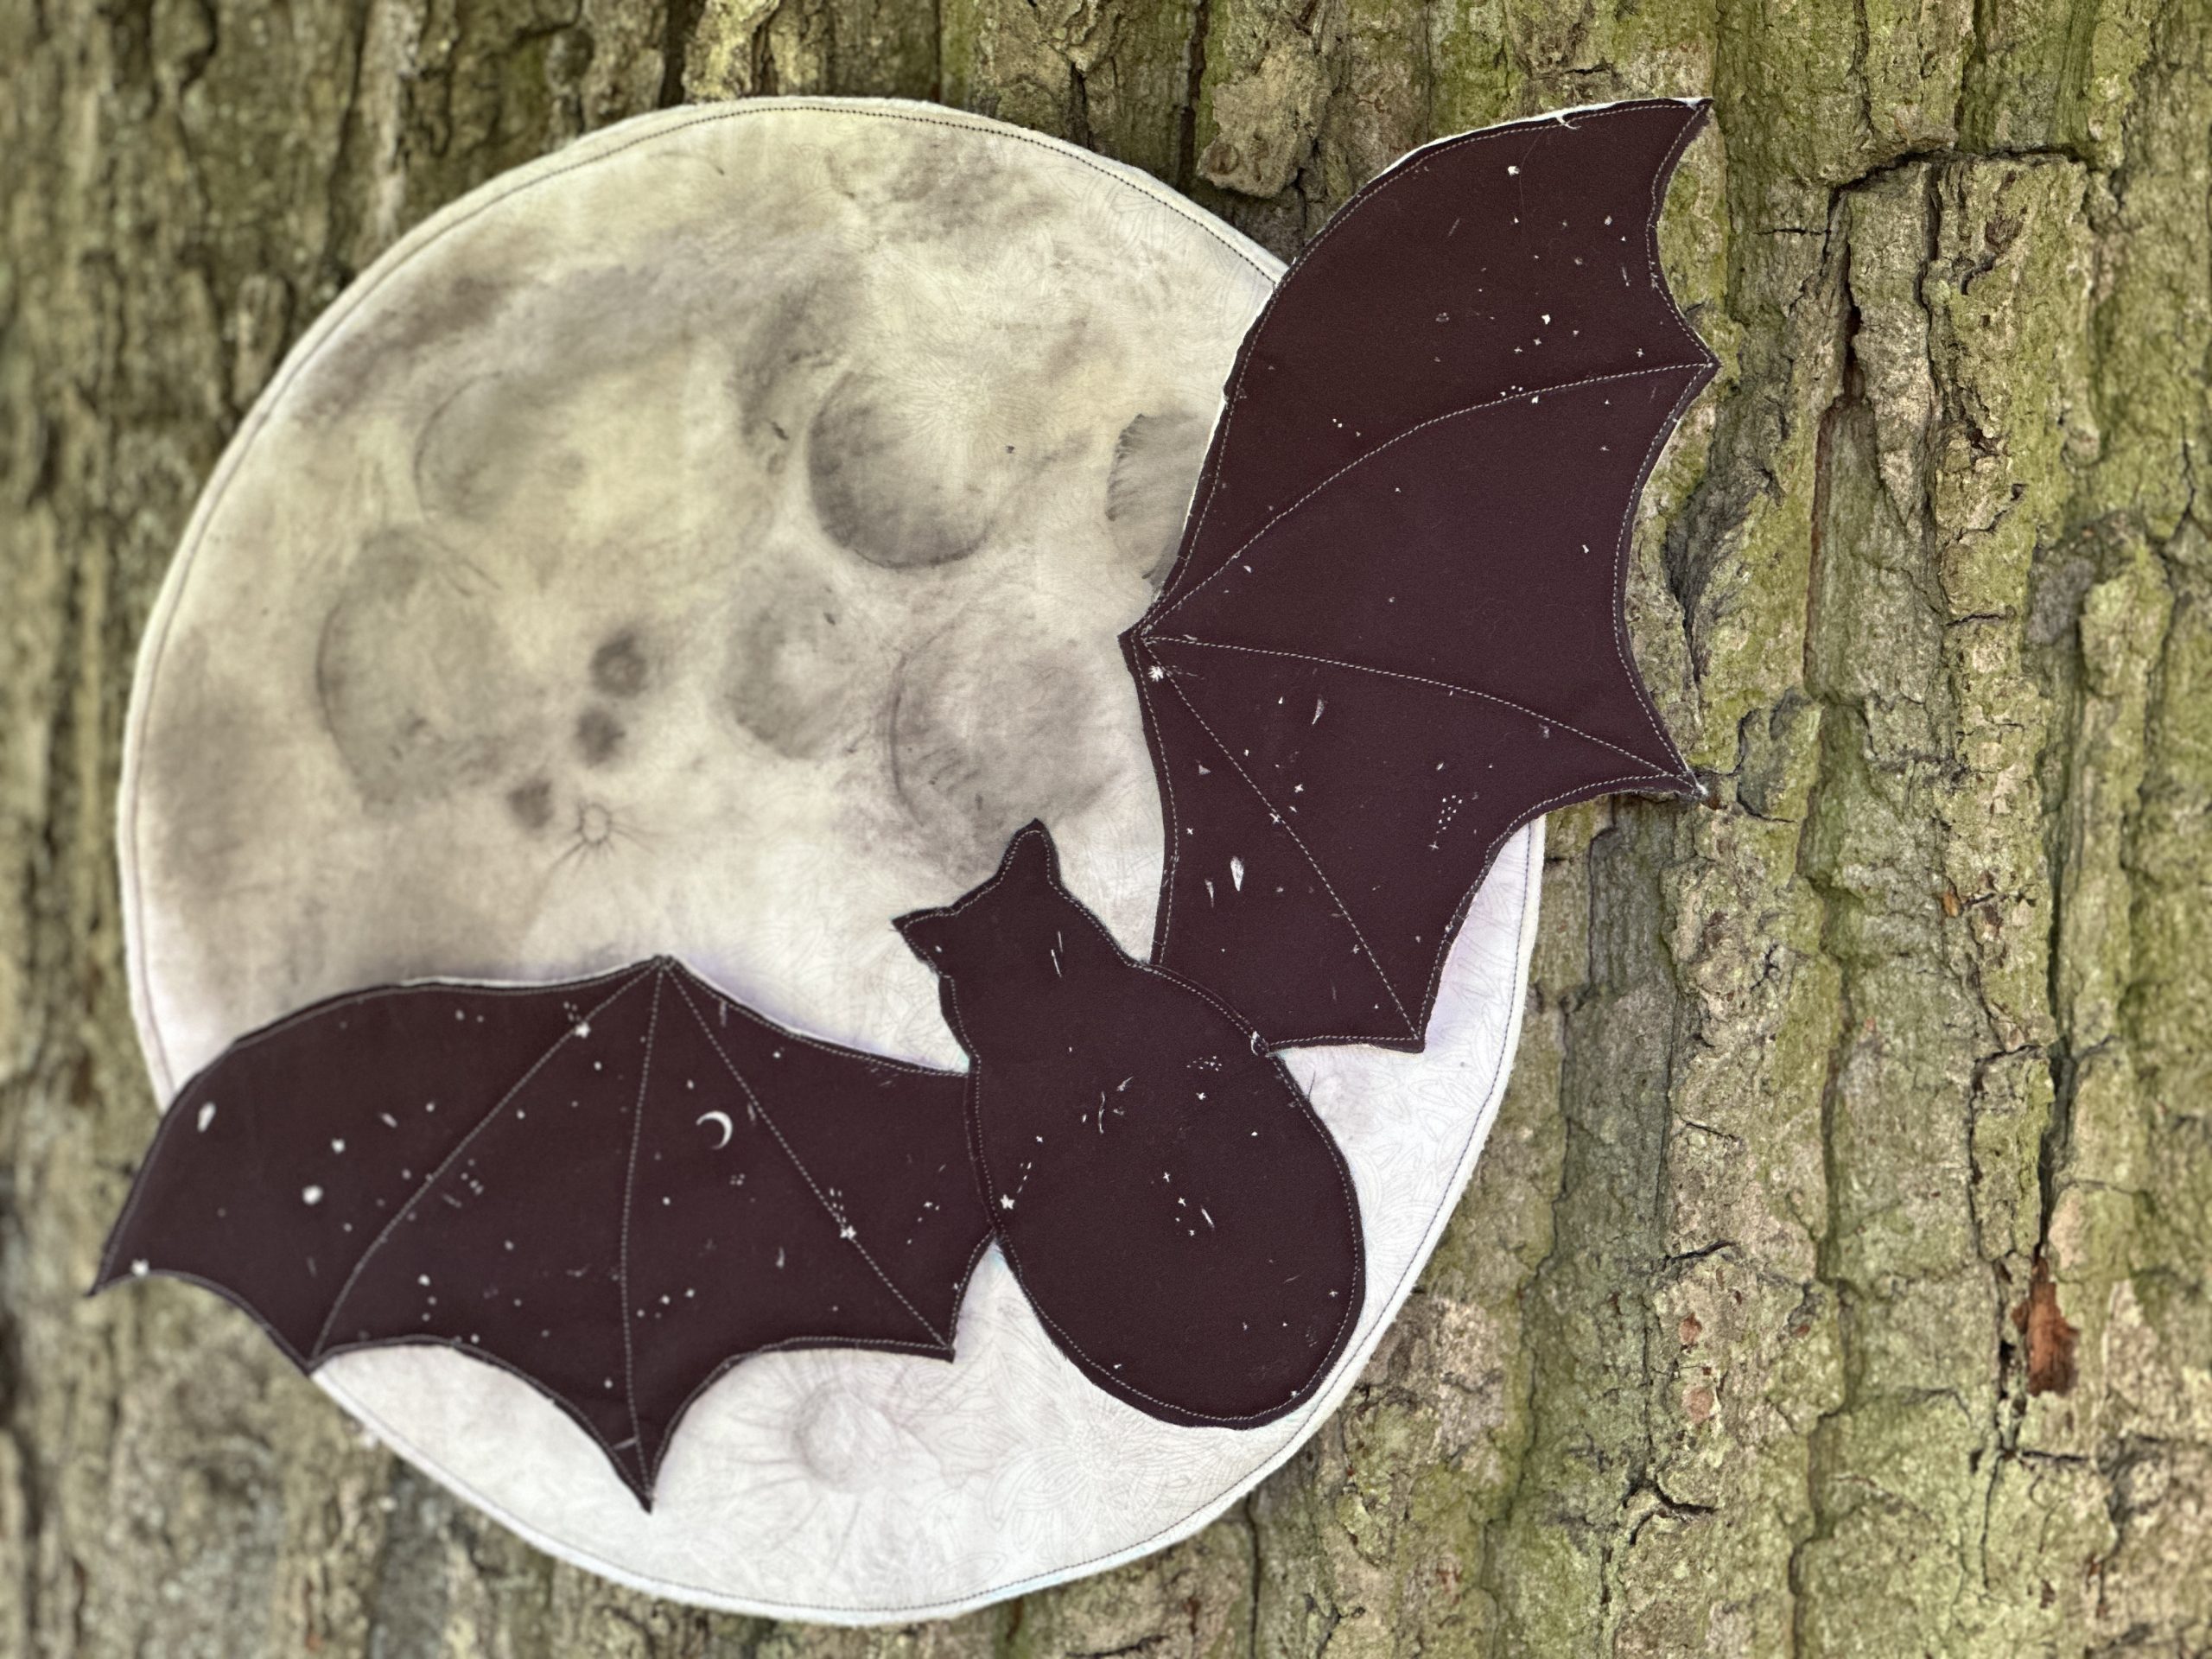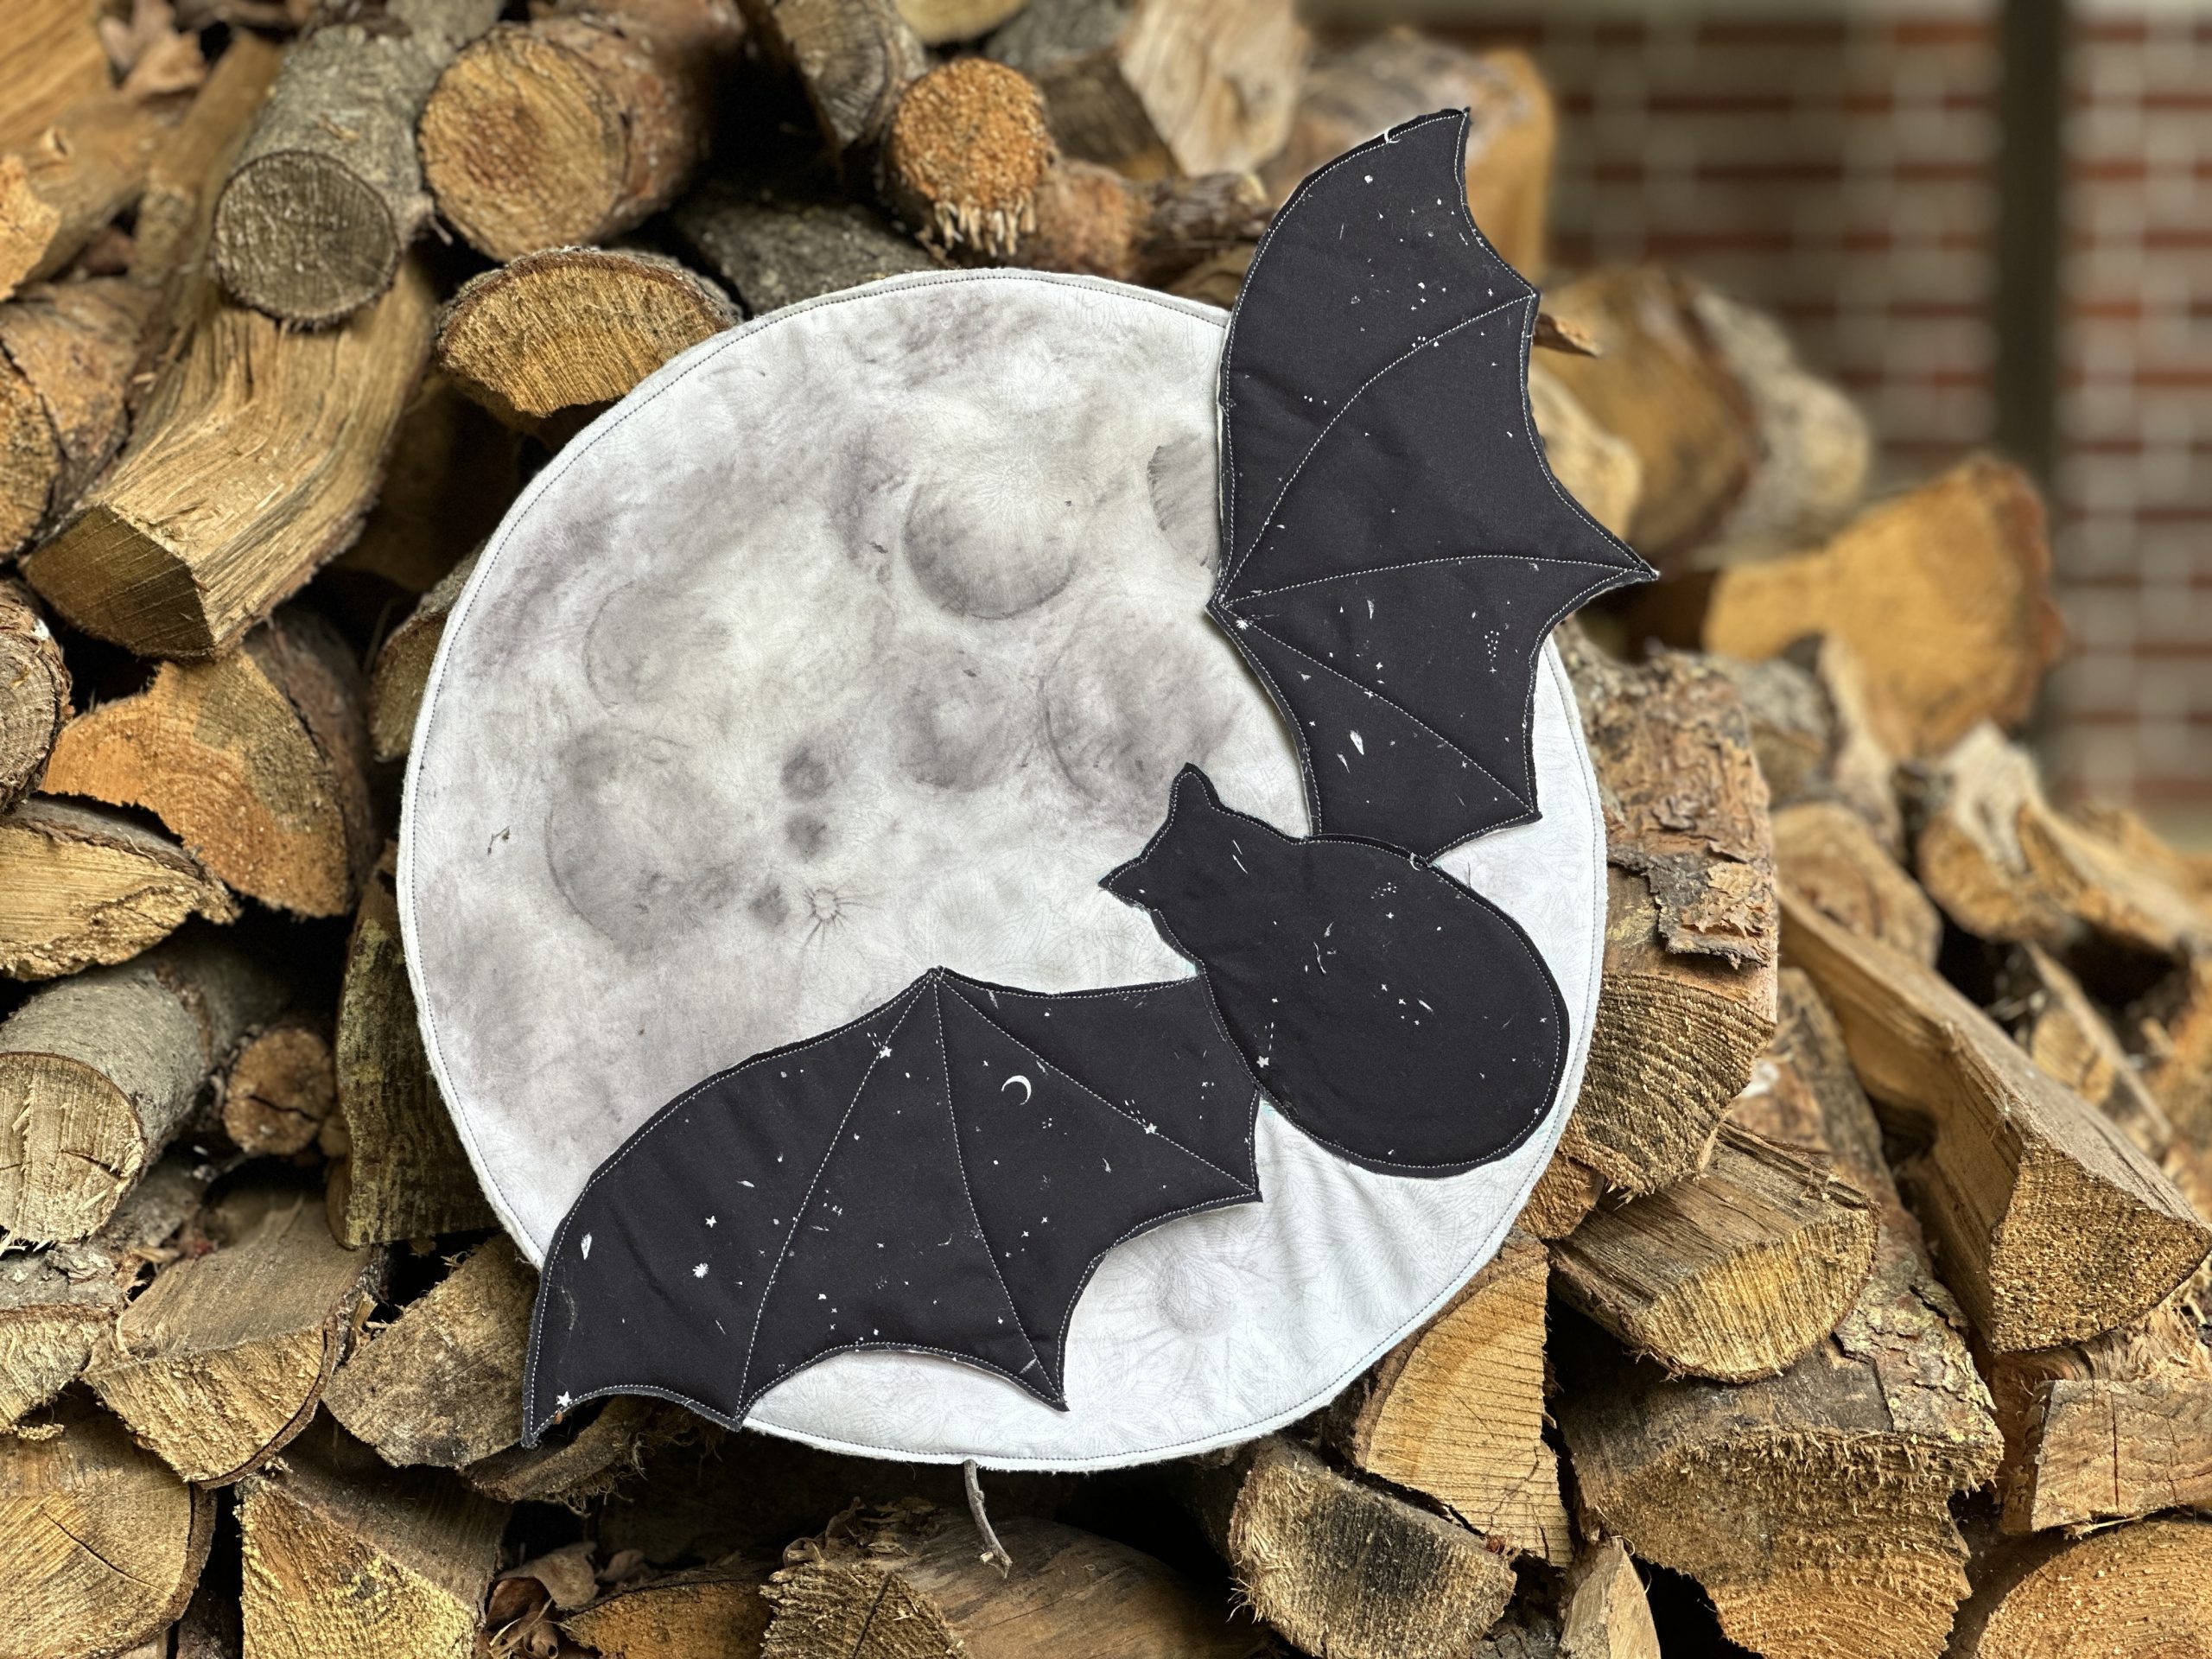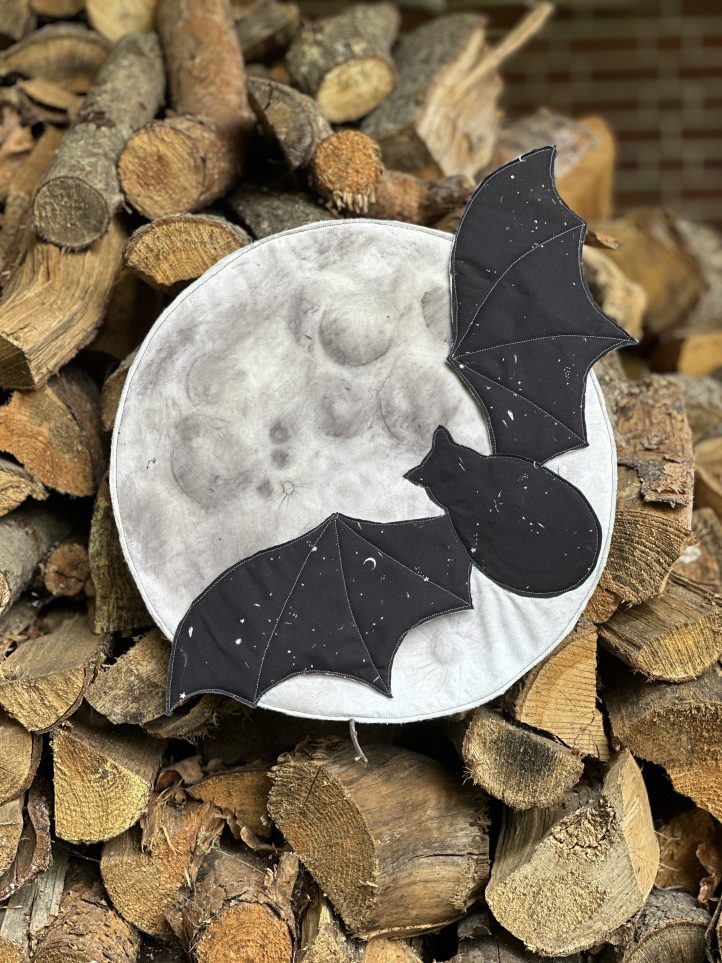
Our editors have gone perfectly batty over this gorgeous, quilted Halloween door hanger. Perfect for hanging on your front door or on a wall, this Halloween quilting project from Debbie von Grabler-Crozier features a large black bat fluttering across an eerie full moon. This door hanger pattern is made using fat quarters and utilizes paint or pencil to create detailed craters on the moon.
Designer Note: Seam allowances are all 1/4” and have already been added.
Abbreviations: FQ = Fat Quarter
Materials:
- Fabric: (Note: All fabrics are by Art Gallery Fabrics from the Eerie collection by Katarina Roccella.)
- FQ black Halloween fabric- In the Dark
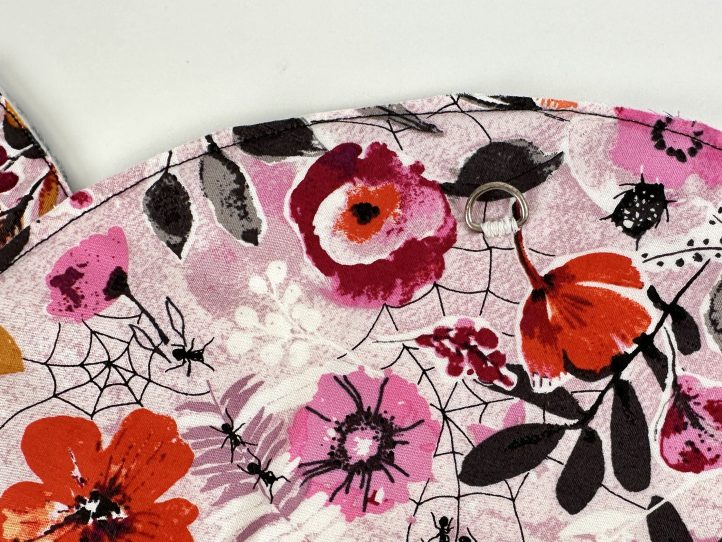
- FQ floral Halloween Fabric- Night Bloom Rose
- FQ white tone-on-tone fabric. The designer used Chalk from the Floral Elements collection by AGF.
- Interfacing:
- 12” strip #279 80/ 20 cotton mix wadding (Vlieseline)
- Small D ring to hang the moon
- Double sided tape
- Derwent Inktense pencil- Dark Mink. TIP: This is a watercolor pencil which is permanent on fabric when dry. If you prefer, you could use grey fabric paint instead.
- #8 round brush
- Coordinating threads for all fabrics and trims including a medium grey thread for the free motion embroidery.
- Scissors
- Fabric marking tools
- Extra feet for your sewing machine (darning foot, for example)
- PDF Templates – These are located at the bottom of this page. See printing instructions below.
- Note: Moon should measure 12 inches along the fold of pattern.
PRINTING INSTRUCTIONS:
To download the PDF templates, click on the download button at the bottom of the page. We recommend opening your download using Adobe Acrobat.
Cutting Instructions:
From the black fabric:
- 1 piece for the bat body (template I)
- 2 mirror image pieces for the bat wings (template II)
From the floral fabric:
- 1 piece 15” square for the moon backing
- 2 pieces 10” wide x 6” tall for the bat wing backs
From the moon fabric:
- 1 piece using template III
From the interfacing:
- 1 piece 14” square for the moon interfacing
- 2 pieces 9 1/2” wide x 5 1/2” long for the bat wing interfacing
Piecing Instructions:
MAKING:
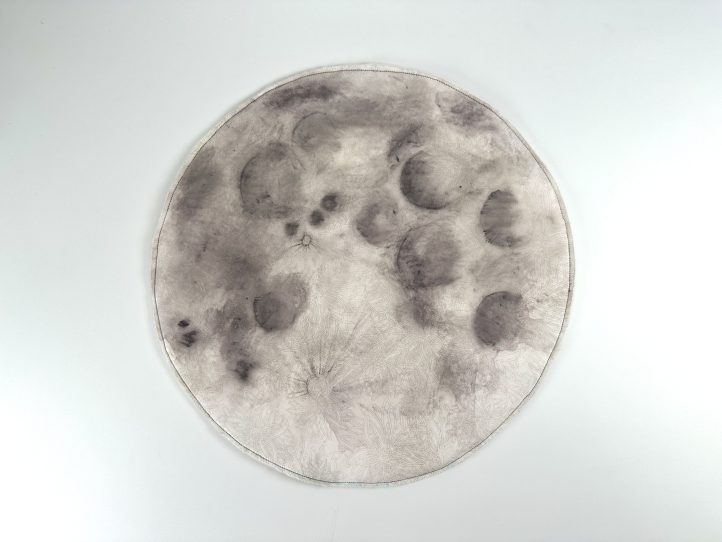
Paint the Moon:
The pencil (or paint) is to make the fabric for the moon a little more lifelike. Don’t worry, it’s easy!
- Cut a moon outline using template III in the white fabric. Starting with the pencil quite lightly, make some ‘moon marks’ with the pencil which resemble the contours (they do not have to be exact!). Lightly map out some craters.

- Use the brush and water to activate the pencil marks. Go back in and this time, working onto the wet cloth, press a little harder to darken where it is needed. TIP: It is actually easier to work on the damp fabric and then smooth the pencil marks by smudging with your fingers. Try the brush first and see what works best for you.
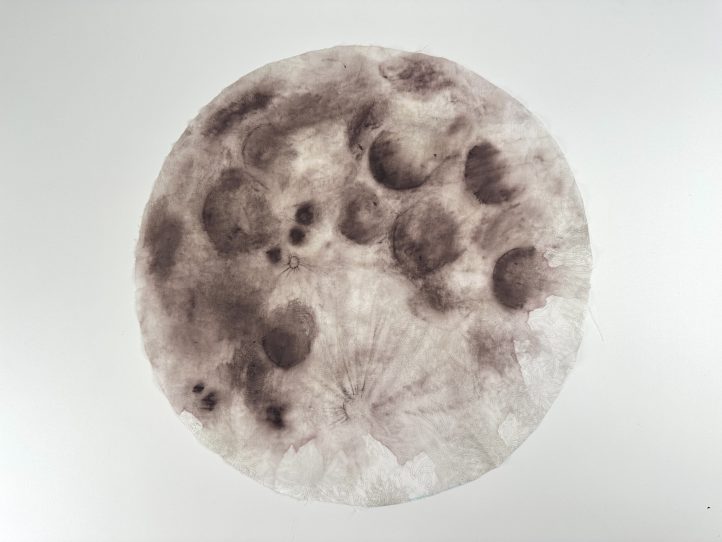
- Allow to dry and then iron.
Make the Moon Sandwich:
- Lay the moon backing face down and center the wadding on top. Lay the moon on top of this, right side facing up, and pin well.
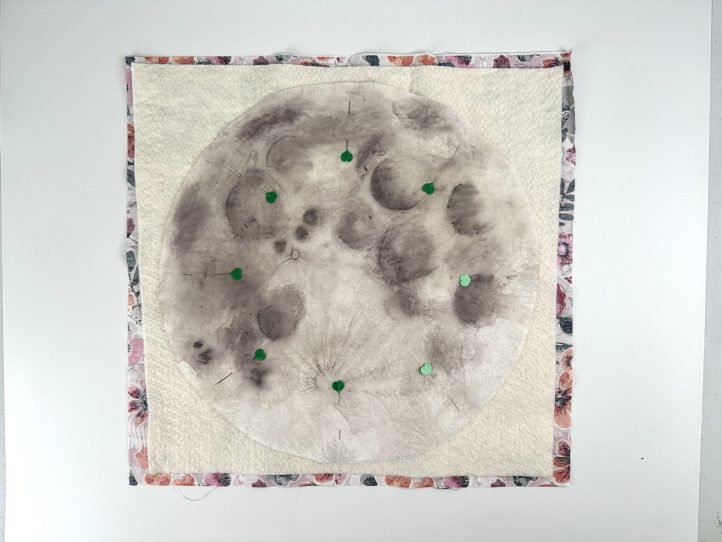
- Set your machine up for quilting (attach a walking foot) and use medium grey thread.
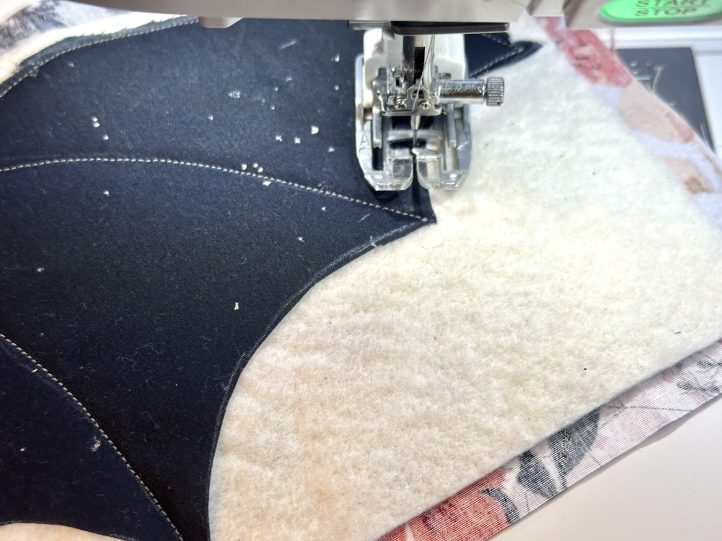
Secure the Edge of the Moon:
- Stitch around the edge of the moon using a shorter stitch length about 1/8” in from the edge. TIP: This project is a bit of a hybrid between free motion embroidery (the shorter stitch length) and quilting (the walking foot). This means that the moon and bat have some dimension but will not fray when cut out because the shorter stitch length won’t allow it. The use of the walking foot stops the layers from shifting.

- Cut the moon out.
Make the Bat Wings:
- Lay the bat wing backing fabric face down and center the wadding on top. Lay a bat wing, right side facing up onto the bat wing sandwich and pin well.
- Still using the medium grey thread, embroider the details onto the wings using the wing template as a guide. Embroider narrowly (1/8”) around the outer edge of the wings, too.
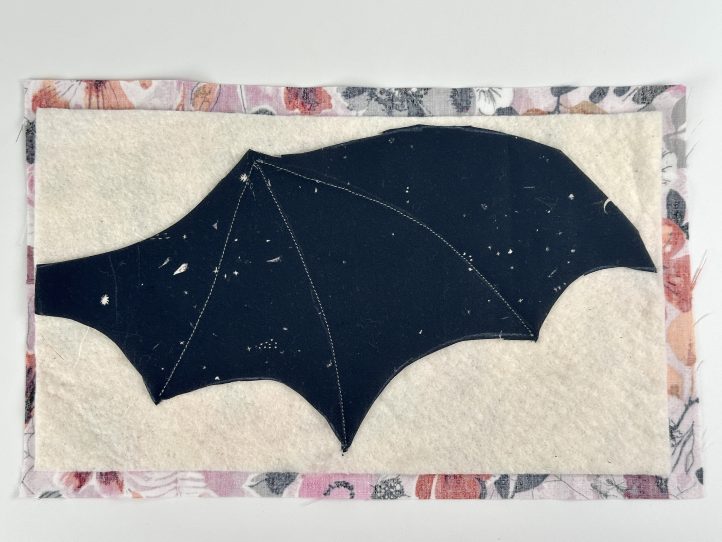
- Repeat for the other wing and cut both out. TIP: The edges will be raw but the smaller stitches will stop any fraying.

Add the Bat to the Moon:
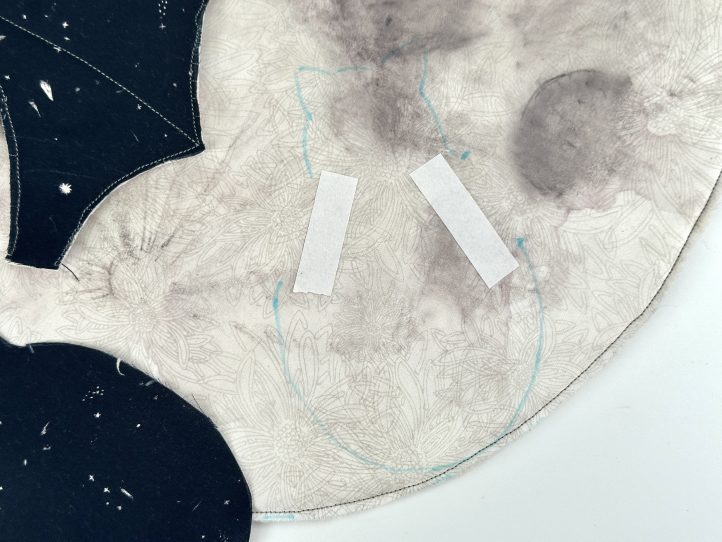
- Position the bat body onto the moon in the desired place and trace around it with a removable marker. Take the body away.
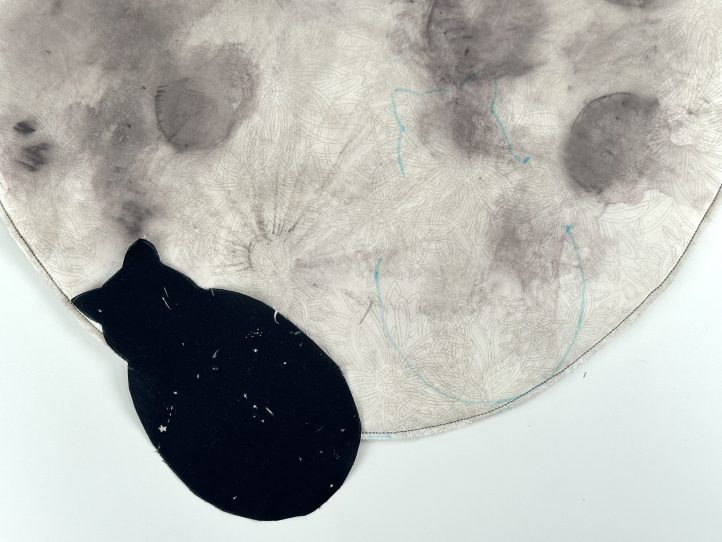
- Lay the wings on and use the body outline to position them. TIP: Only the wings where they meet the body will be attached. The rest of the wing is dimensional.
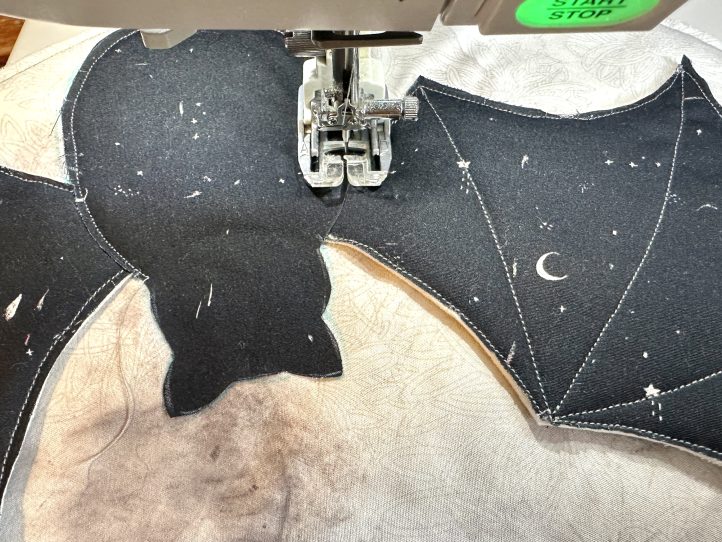
- Use some double sided tape to secure the wings inside the body line and then lay the body over the top and pin it.
- Stitch narrowly (1/8”) to attach the body and the wings at the same time.
Finishing Off:
- Trim any threads and attach the small D ring to the back of the moon. TIP: The wings will sag a bit- combat this with some small hand stitches to keep them in place.