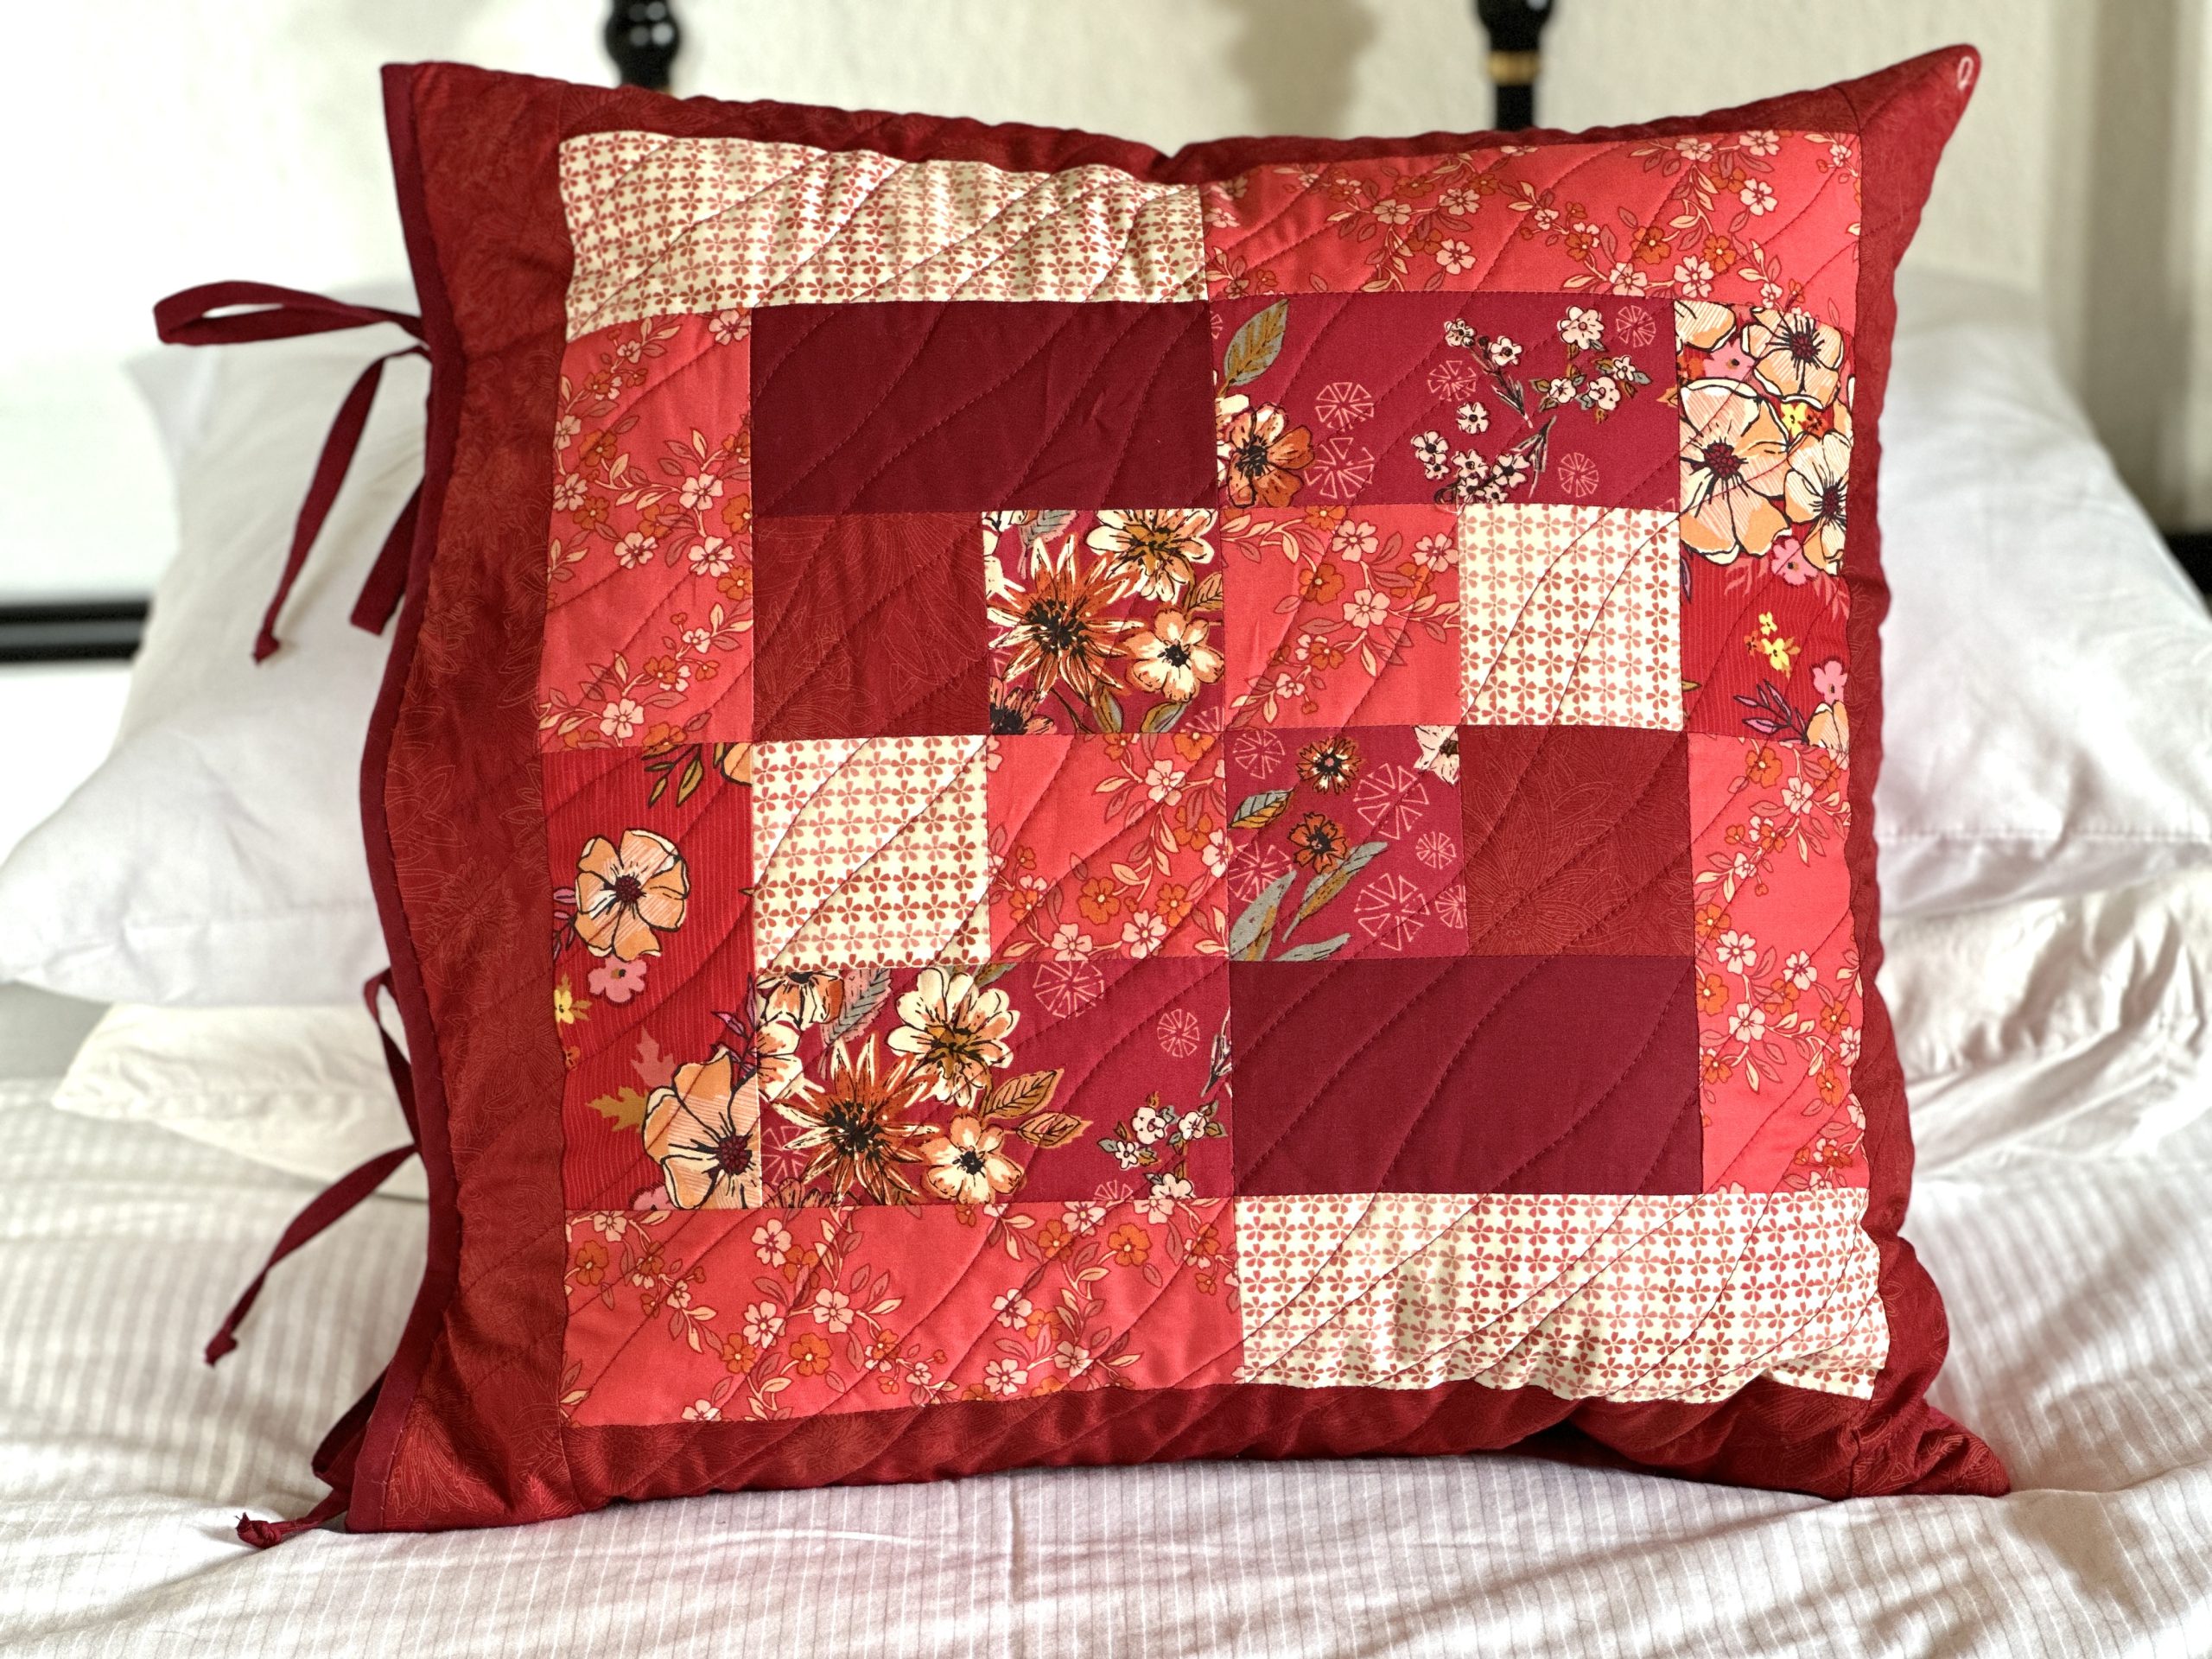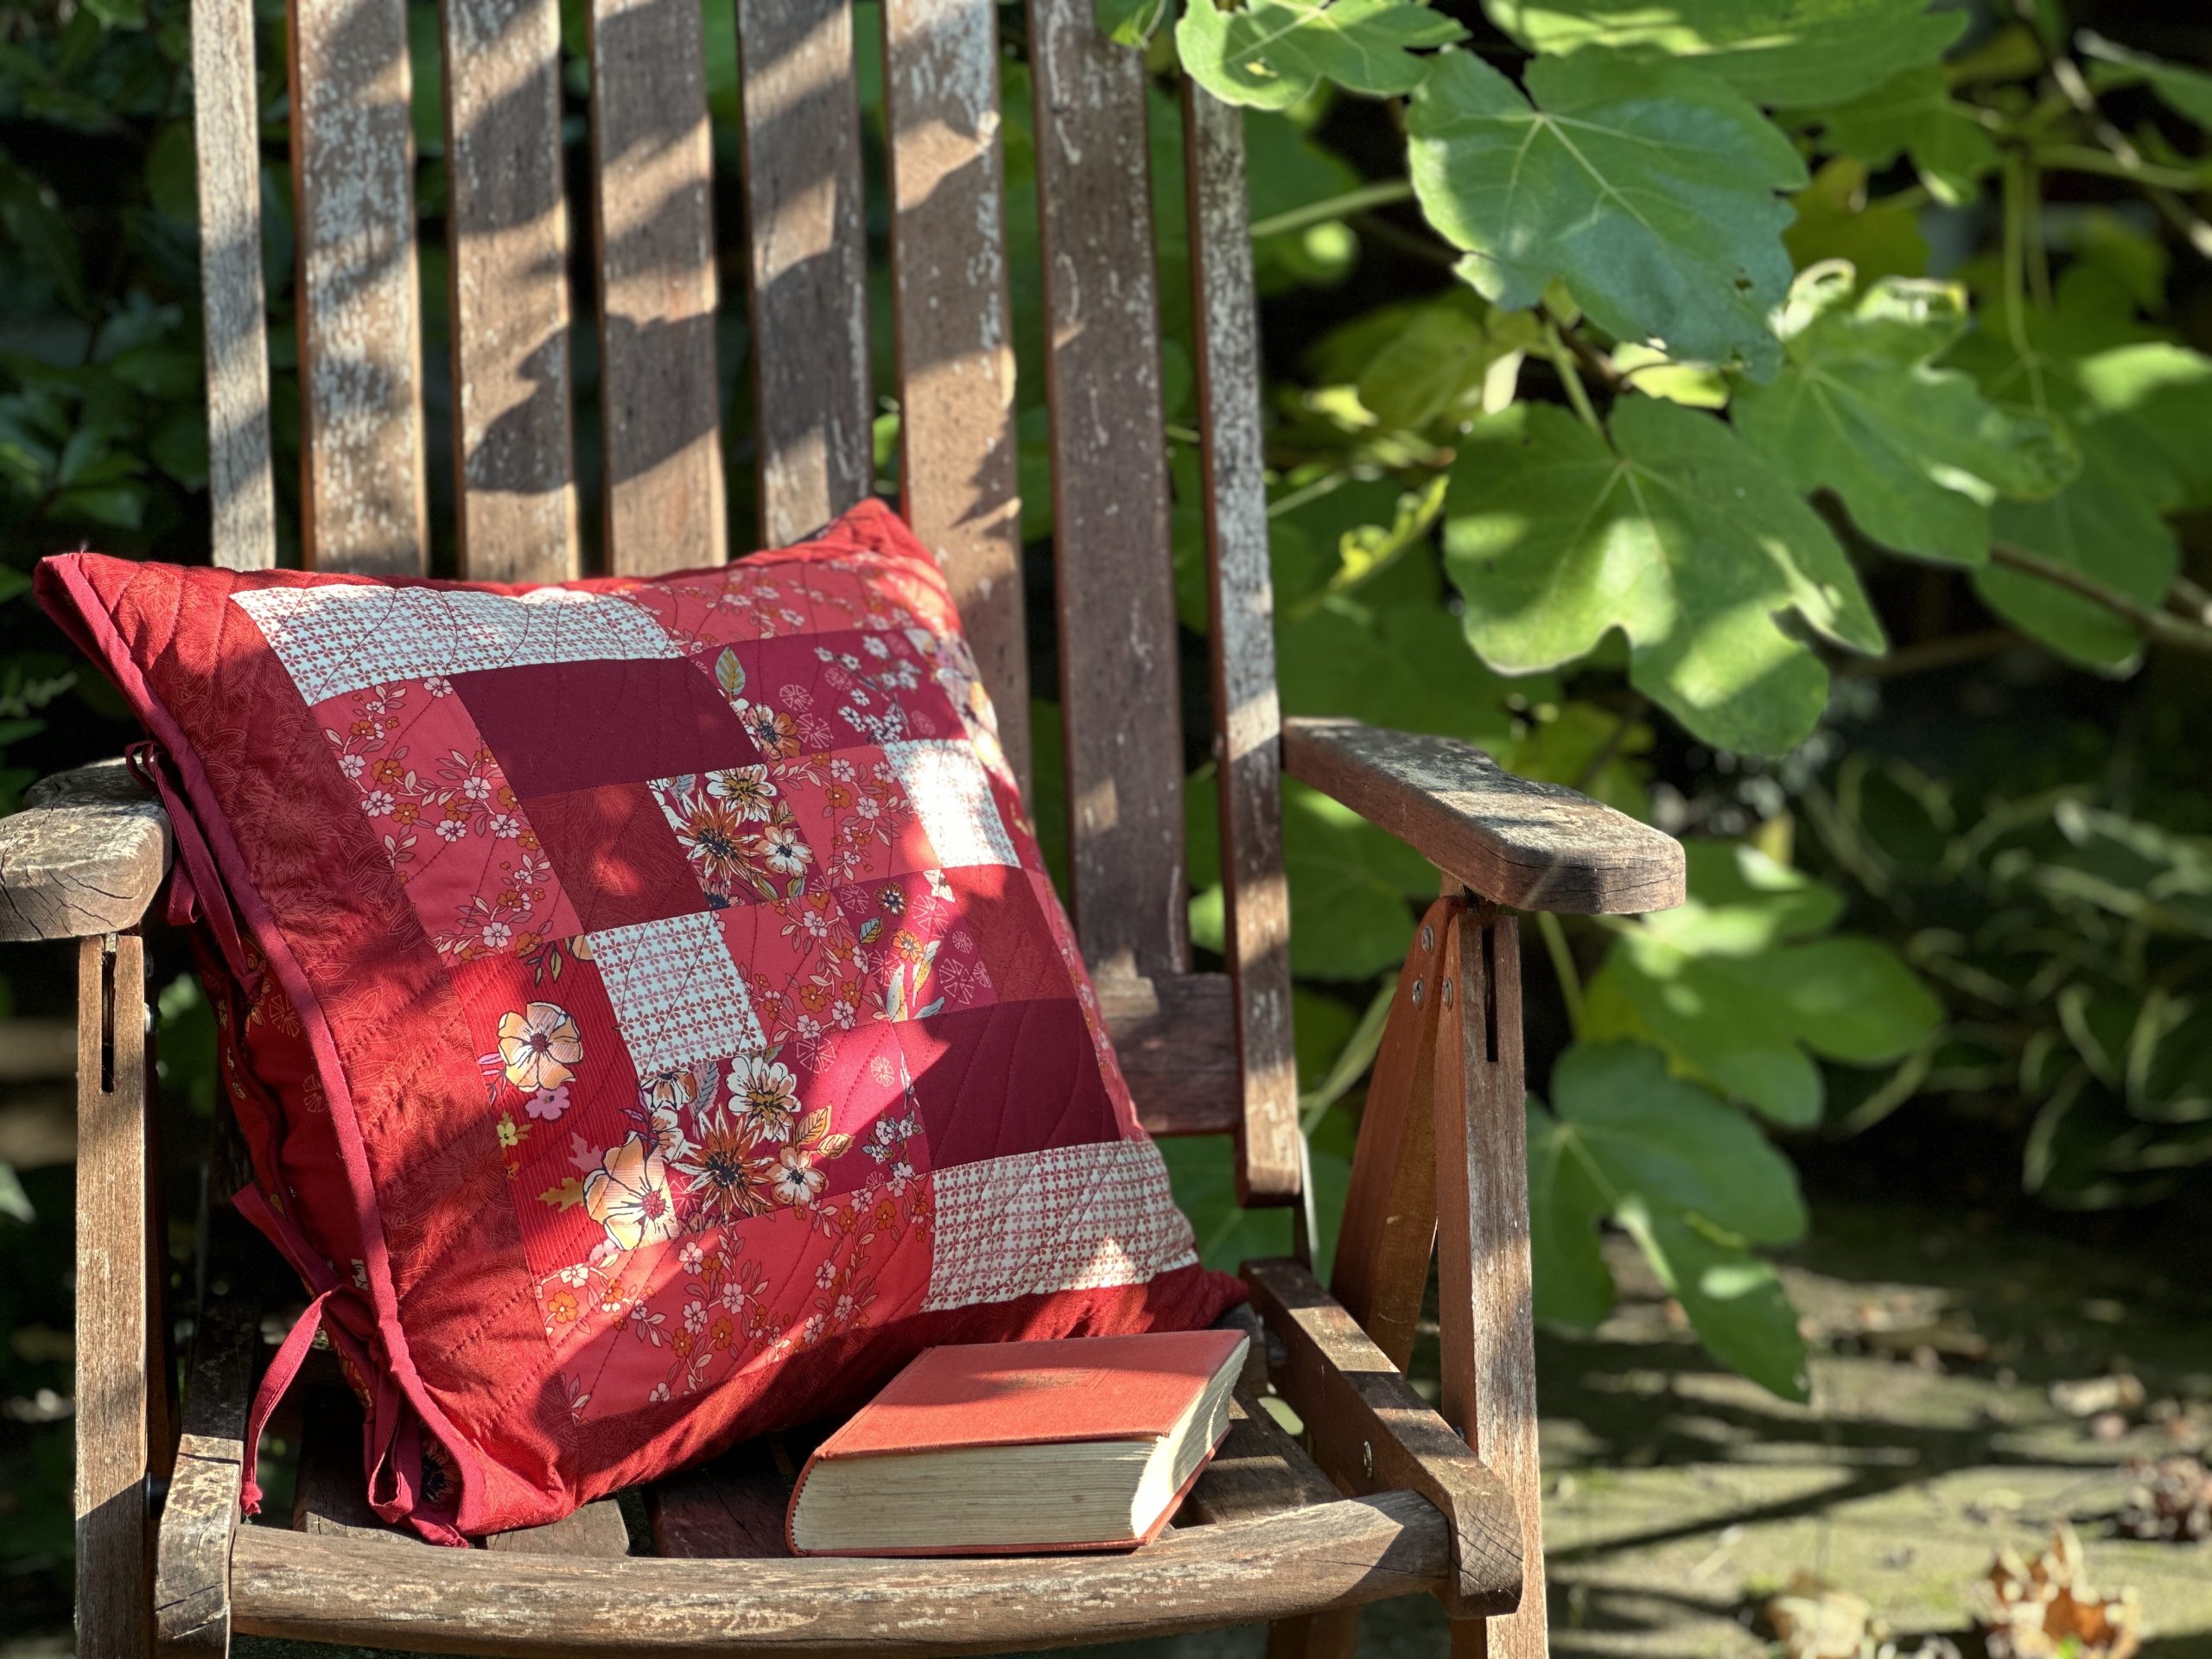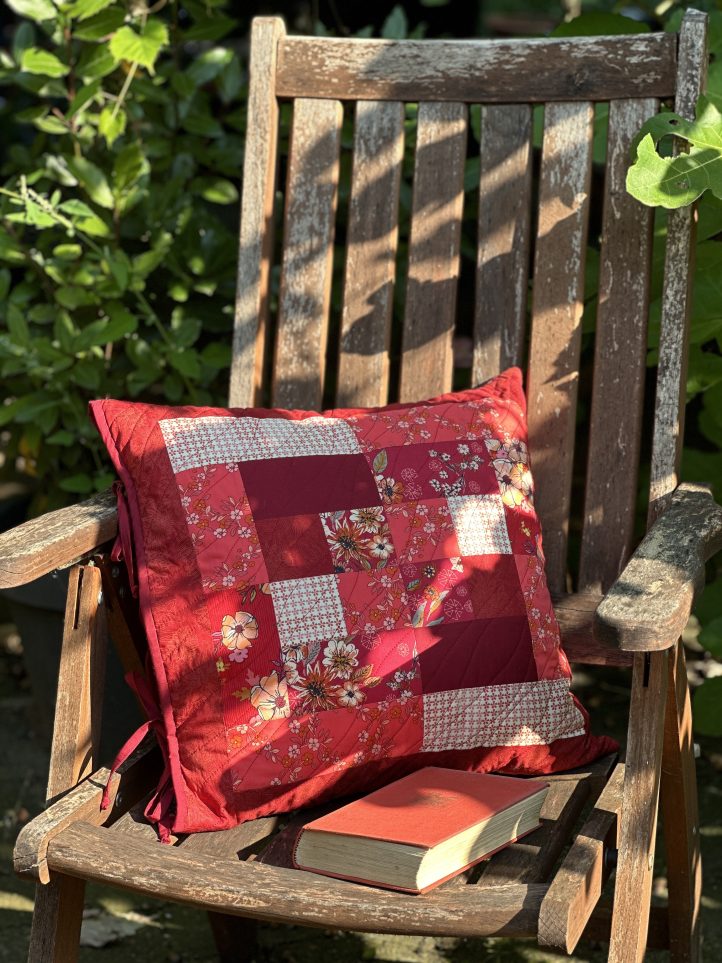
Garnet is January’s birthstone and we’re so excited to kick off the new year with a fun scrapbuster made in this month’s jewel tone. Make your own garnet quilted cushion cover with Debbie von Grabler-Crozier’s newest pattern! This project is a wonderful way to empty out your remaining fabric scraps from last year and adds a burst of rich color to a living room or bedroom. Sew your own birthstone cushion for each month of the year using this scrap quilting pattern.
Seam Allowances: Seam allowances are all 1/4” and have already been added.
Designer Notes: What is garnet? Garnet is a lovely, rich, reddish brown gemstone without any of the pinkish tones that rubies sometimes have. Like most natural products, there are variations in the color and we can use that to our advantage when choosing fabrics. Go for deep reds, burgundies and even some reddish browns and you will not go far wrong.
Materials:
- Fabric: (Note: All fabrics are all Art Gallery Fabrics.)
- An assortment of larger scraps (larger than 2 1/2” square and some longer ones 8” or so) in suitable rich garnet colors
- 1/2 yd. garnet floral print for the backing fabric and the lap. The designer loves Constant Companion Heart from the Kindred collection by Sharon Holland for AGF.
- 1/2 yd. lining fabric. Debbie’s choice is Scarlet from the Floral Elements collection by AGF.
- Fat Quarter garnet solid for the binding and ties. The designer used Candied Cherry from the Pure Elements collection by AGF.
- Interfacing:
- 1/2 yd. #279 80/20 cotton mix wadding (Vlieseline)
- Coordinating threads for all fabrics and trims
- Scissors
- Fabric marking tools
- Extra feet for your sewing machine (walking foot, for example)
Cutting Instructions:
TIP: This pillow case fits a 20” square cushion insert. Even within the standard pillow range, the sizes can vary from brand to brand and how much stuffing is added will affect the fit somewhat. The designer prefers a plump pillow but if you want a flatter aesthetic, choose a pillow with slightly less stuffing.
From the floral scraps: To make four Cabin in the Corner blocks:
- 4 pieces 3” sq. for the block centers
- 4 pieces 3” sq. for the first strips
- 4 pieces 3” wide x 5 1/2” long for the second and third strips
- 4 pieces 3” wide x 8” long for the fourth and fifth strips
From the main floral:
- 1 piece 20” wide x 8 3/4” tall for the lap exterior
- 1 piece 20” sq. for the backing fabric
From the lining fabric:
- 2 pieces 3” wide x 15 1/2” long for the top and bottom sashes
- 2 pieces 3” wide x 20” long for the left and right sashes
- 2 pieces 20” sq. for the main lining panels
- 1 piece 20” wide x 8 3/4” tall for the lap lining
From the solid fabric:
- 41” bias cut strips 1 1/2” wide and joined to make a continuous strip
- 4x 15” long straight- of- grain cut strips cut 1 1/2” wide for the ties
From the wadding:
- 2 pieces 22” sq. for the exterior interfacing
Piecing Instructions:
PREPARATION:
The Ties:
- Fold the straight tie strip in half, lengthways, wrong sides facing and press to obtain a center crease.
- Unfold and fold the two long raw sides to the center crease, also wrong sides facing and press again.
- Re-fold along the crease lines so that the raw edges are enclosed.
- Topstitch narrowly (1/8”) along the open side of the tie to close the strip. Tie a knot in one end.
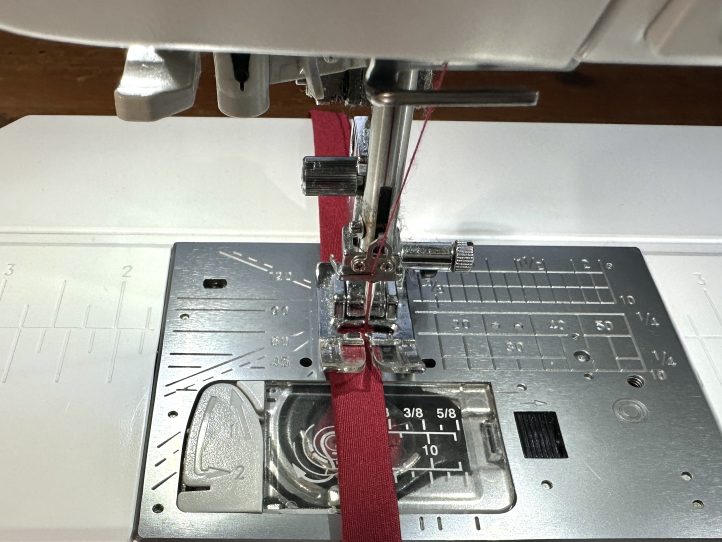
- Repeat for the other three ties.
The Bias Tape:
- Fold and press exactly as you did for the ties. No topstitching is necessary so roll until it is needed.
The Lap:
- Pin or clip the lap exterior to the lap lining with the right sides facing. Sew one long edge only.
- Flip the layers the right way out, press the sewn edge and topstitch twice along the sewn seam, once at 1/8” and the second pass at 1/4” under the first. TIP: You can also use a twin needle.
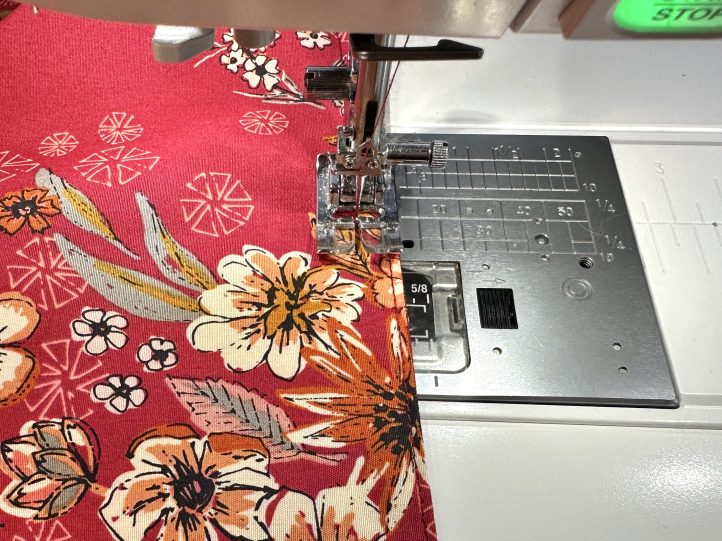
- Neaten the remaining sides and baste them closed to make them easier to handle.
Constructing the Patchwork Front Panel:
- Begin with the center square plus another square and sew them together, right sides facing. Press the seams open.
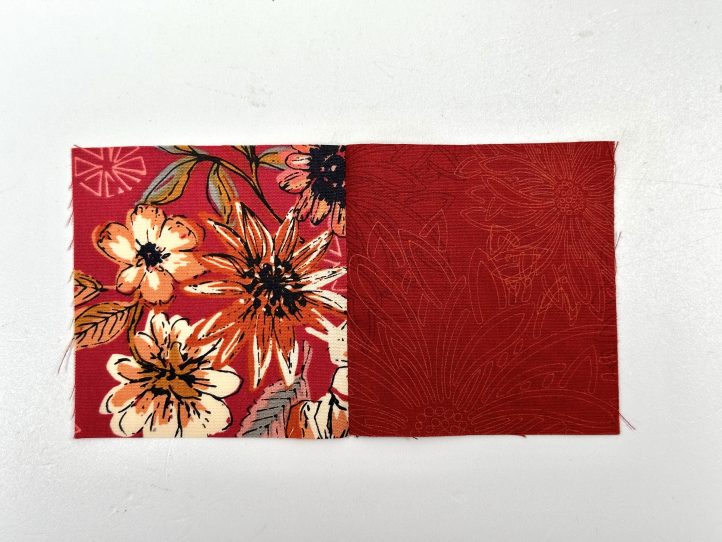
- Add the second strip Log Cabin style and press the seams open.
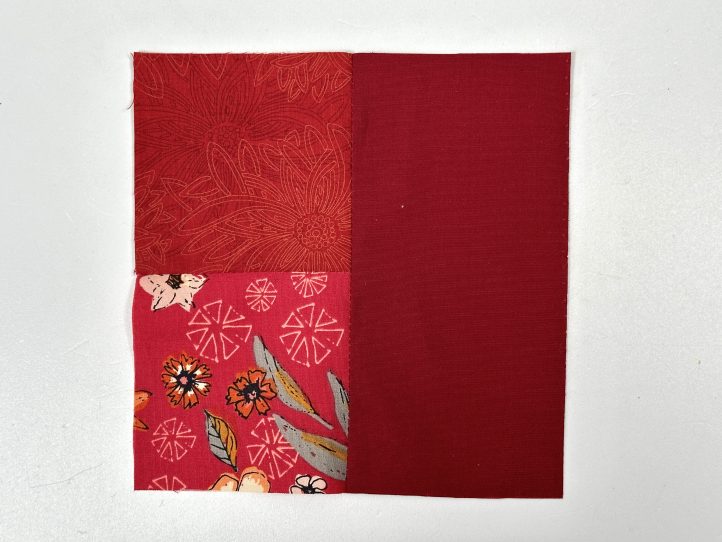
- The third, fourth and fifth strips finish the block.

- Make another three blocks. TIP: When you sort your fabric scraps, sort so that you have enough to make two blocks with one pattern and two with another (pattern in this setting refers to the placement of the strips to make your block). This will result in a secondary pattern when you make the quilted panel up in the next step.
- Lay your pressed blocks together so that the starting squares are all together in the center.
- With the right sides facing, sew the four blocks together (match the seams as perfectly as you can) and press the seams open where possible.
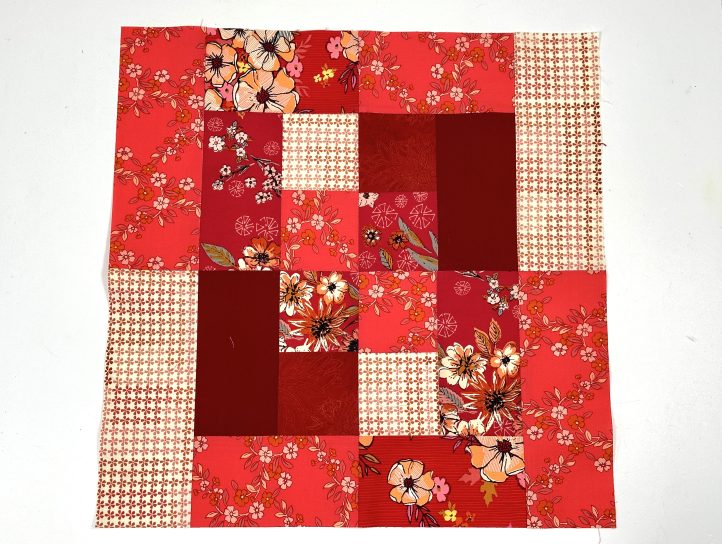
- Attach a sash to the top and bottom and the left and right hand sides of the patchwork front and press well.
The Quilted Panels:
- Lay a pressed front exterior panel centrally onto a piece of interfacing with the right side facing up. Pin so that no movement is possible in any direction.
- Quilt with your favorite pattern. Debbie really likes a random diagonal wave, which is super easy to do and almost impossible to get ‘wrong’.

- Repeat for the back exterior panel and trim them both to 20” square removing the interfacing overhang as you trim.
The Lining:
- Place the lap, right side facing up, onto one side of a lining panel and pin or clip. The top (unsewn but basted) edge of the lap will be flush with the edge of the lining panel and the lap lining will face the right side of the main lining panel.
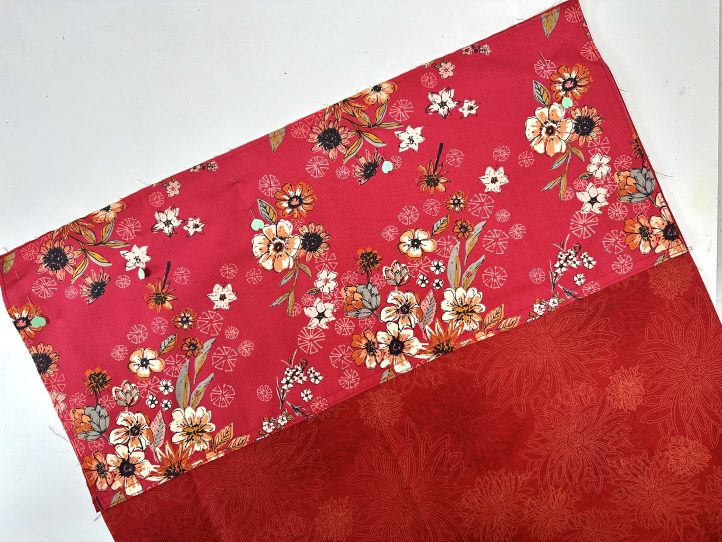
- Sew up one short side of the lap, along the long top edge and down the remaining short side.
- Place the other lining panel, right sides together, over the top of the first and pin or clip the sides and base.
- Sew the two long sides and across the base without leaving a gap. The end of the lining with the lap will be open. TIP: This is a drop in lining so we do not need a turning gap.
MAKING:
- Pin or clip the quilted exterior panels right sides together and sew the sides and base, leaving the lap edge open.
- Clip across the corners to reduce bulk and turn the exterior the right way out. Gently push the corners out so that they are sharp.
- With the wrong sides facing, push the lining down into the exterior and arrange everything neatly. Pin or clip the top (lap) edge, lining the side seams up.
- Sew right around the top edge.
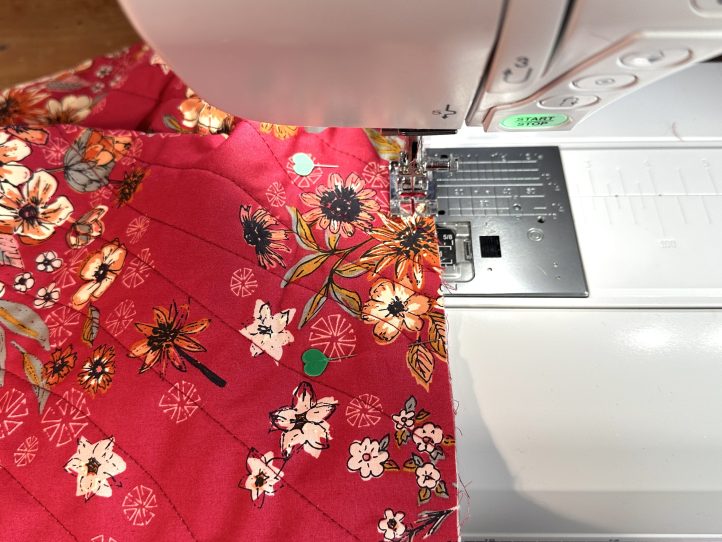
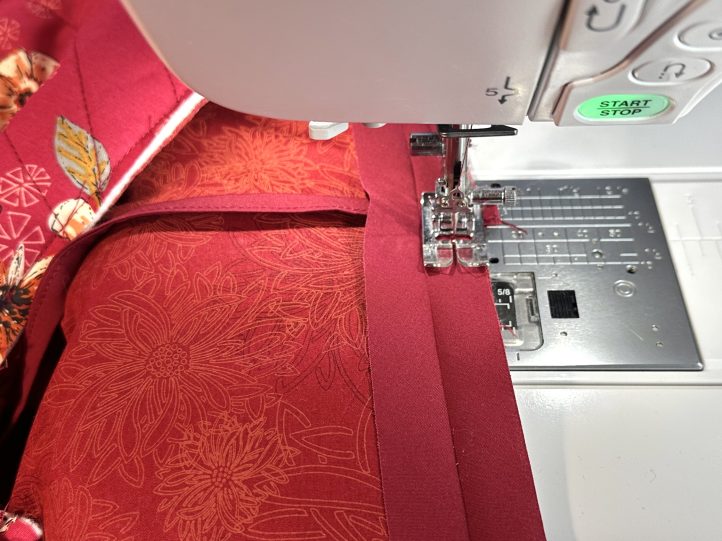
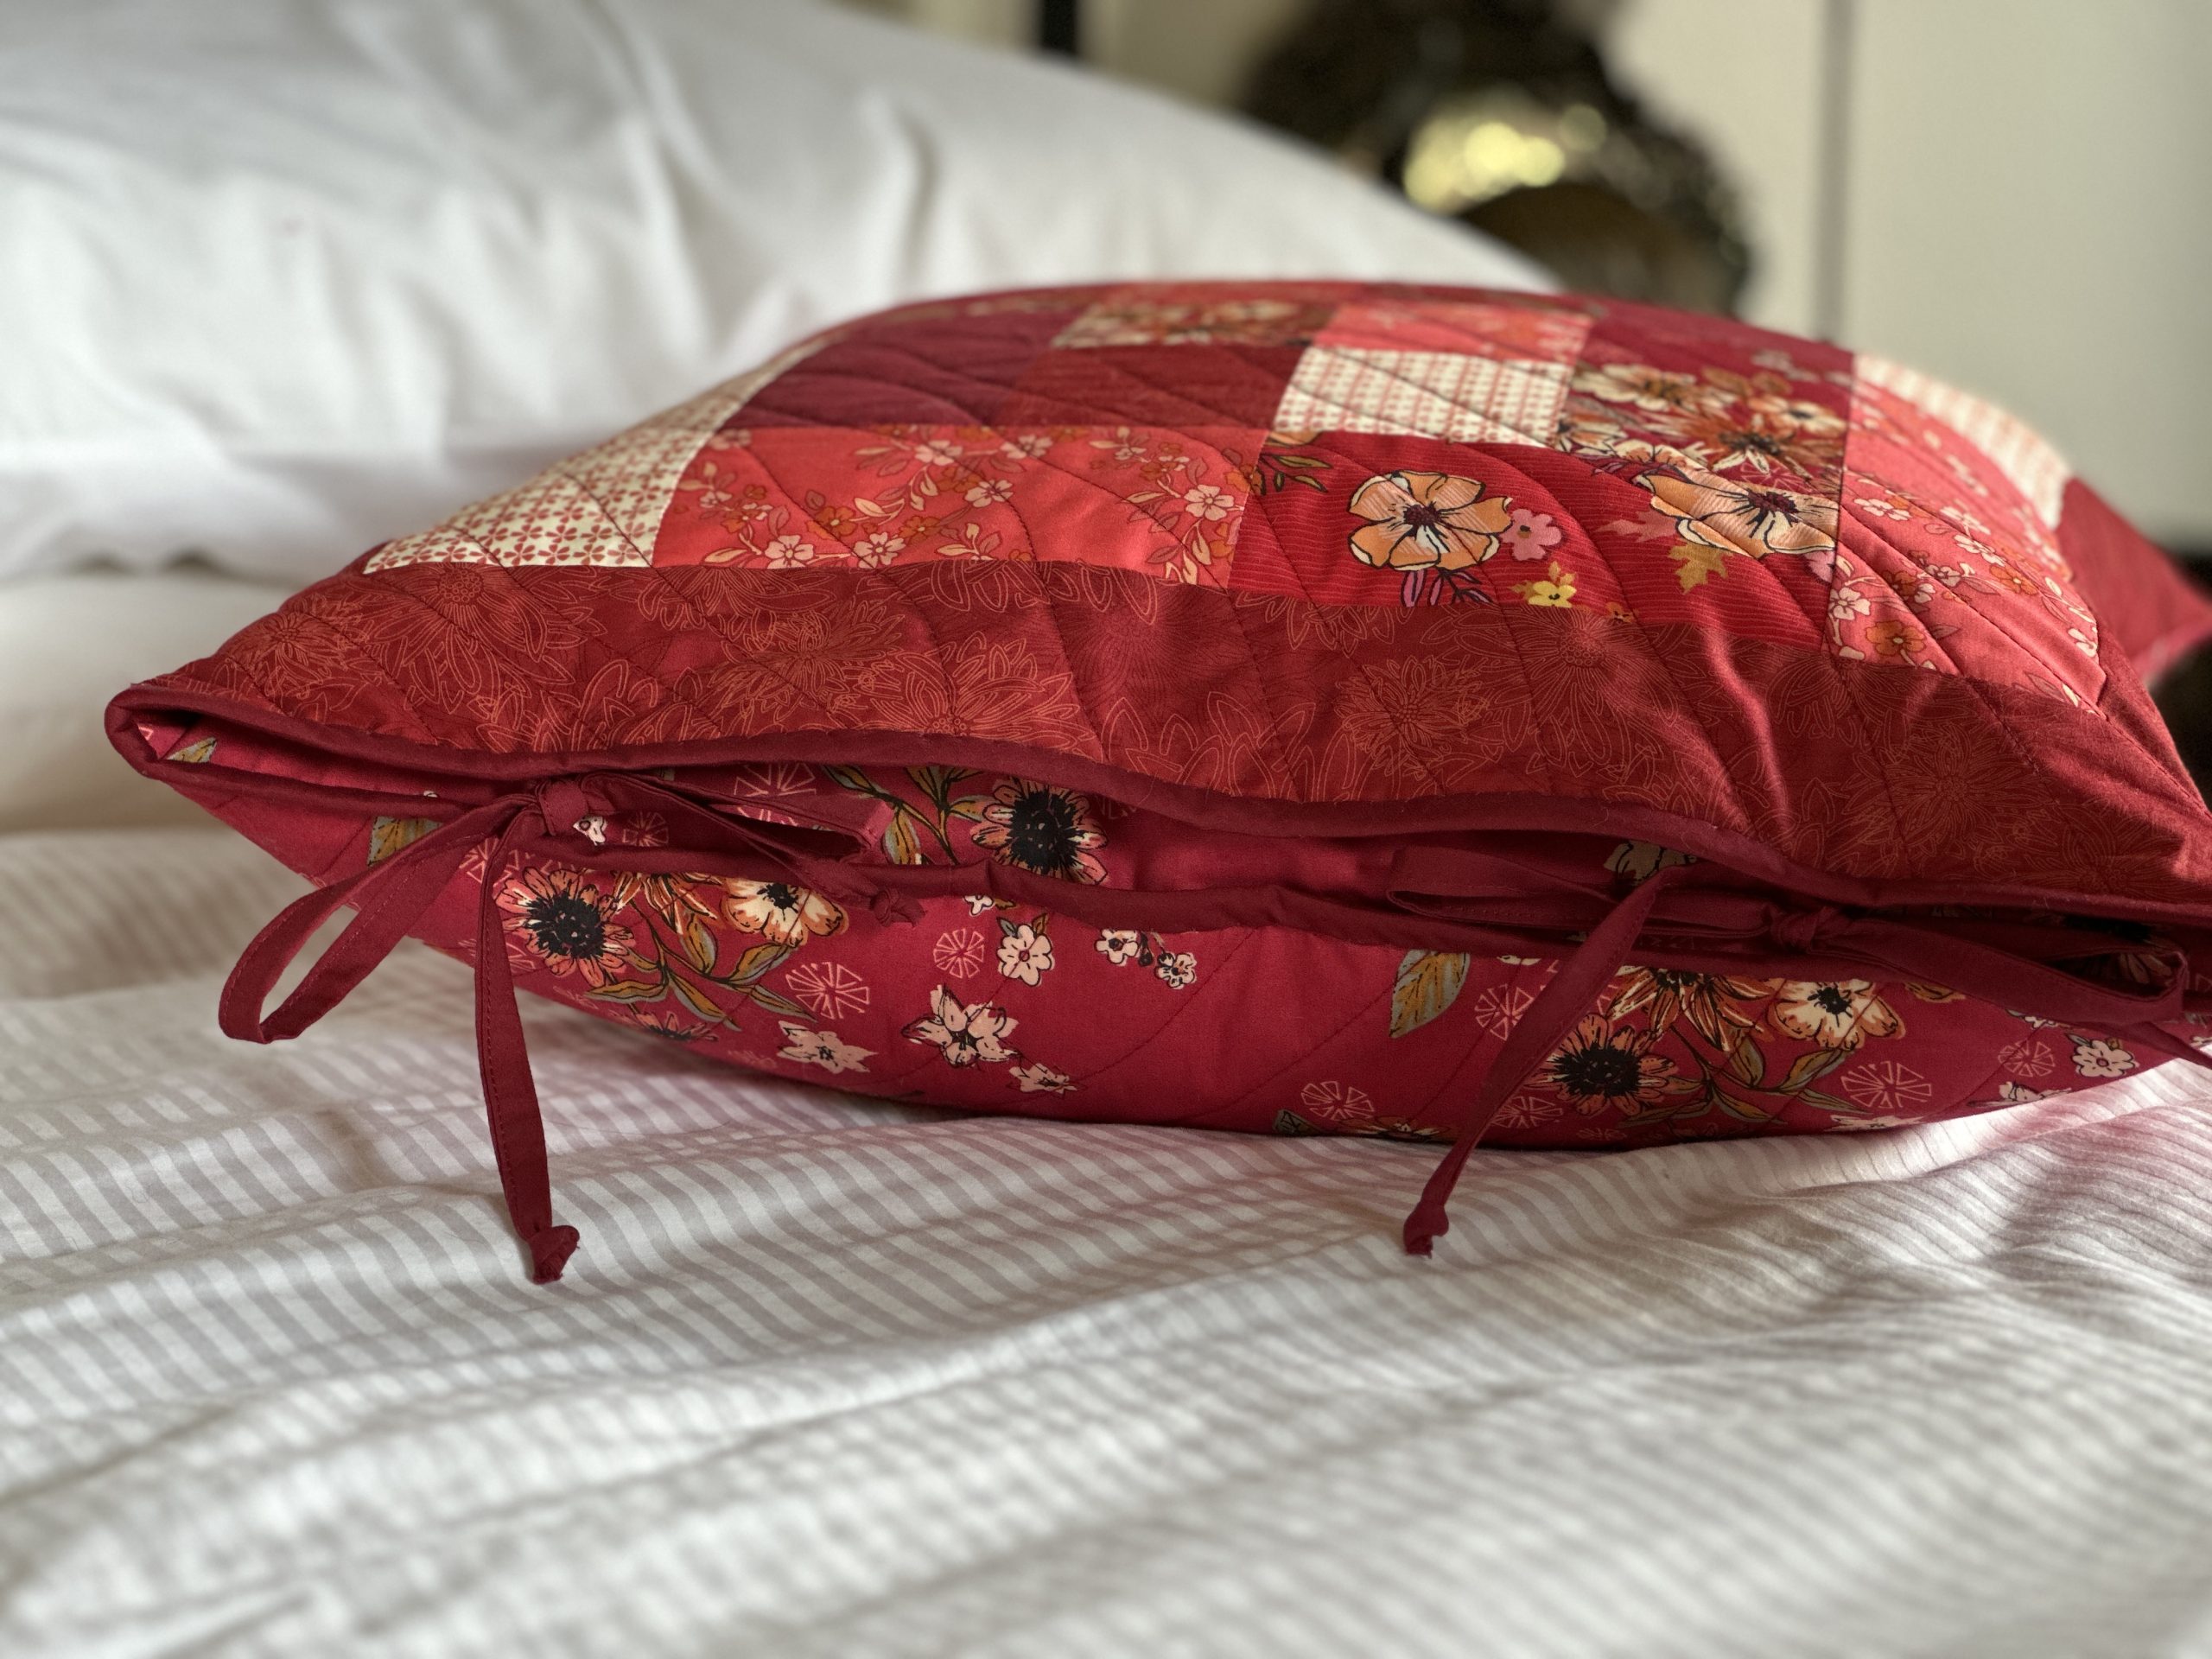
- Measure in 3 3/4” from an outer edge and sew a tie on so that it sits inside the case. Repeat for the other ties. TIP: Two ties are sewn to the lap side and two are sewn to the cushion front. Always 3 3/4” in from each side seam and always on the inside of the pillow cover. This ensures that the ties sit nicely with the binding.

- Finally, bind the top raw edge of the pillowcase.
