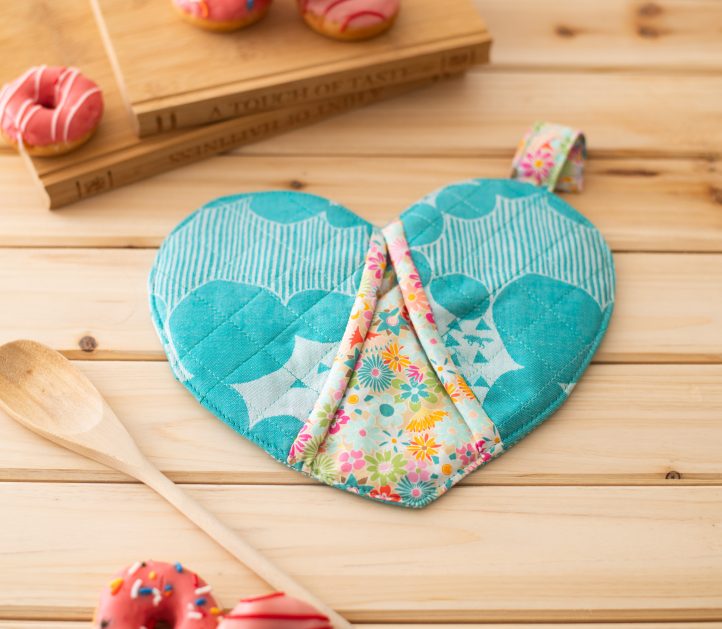
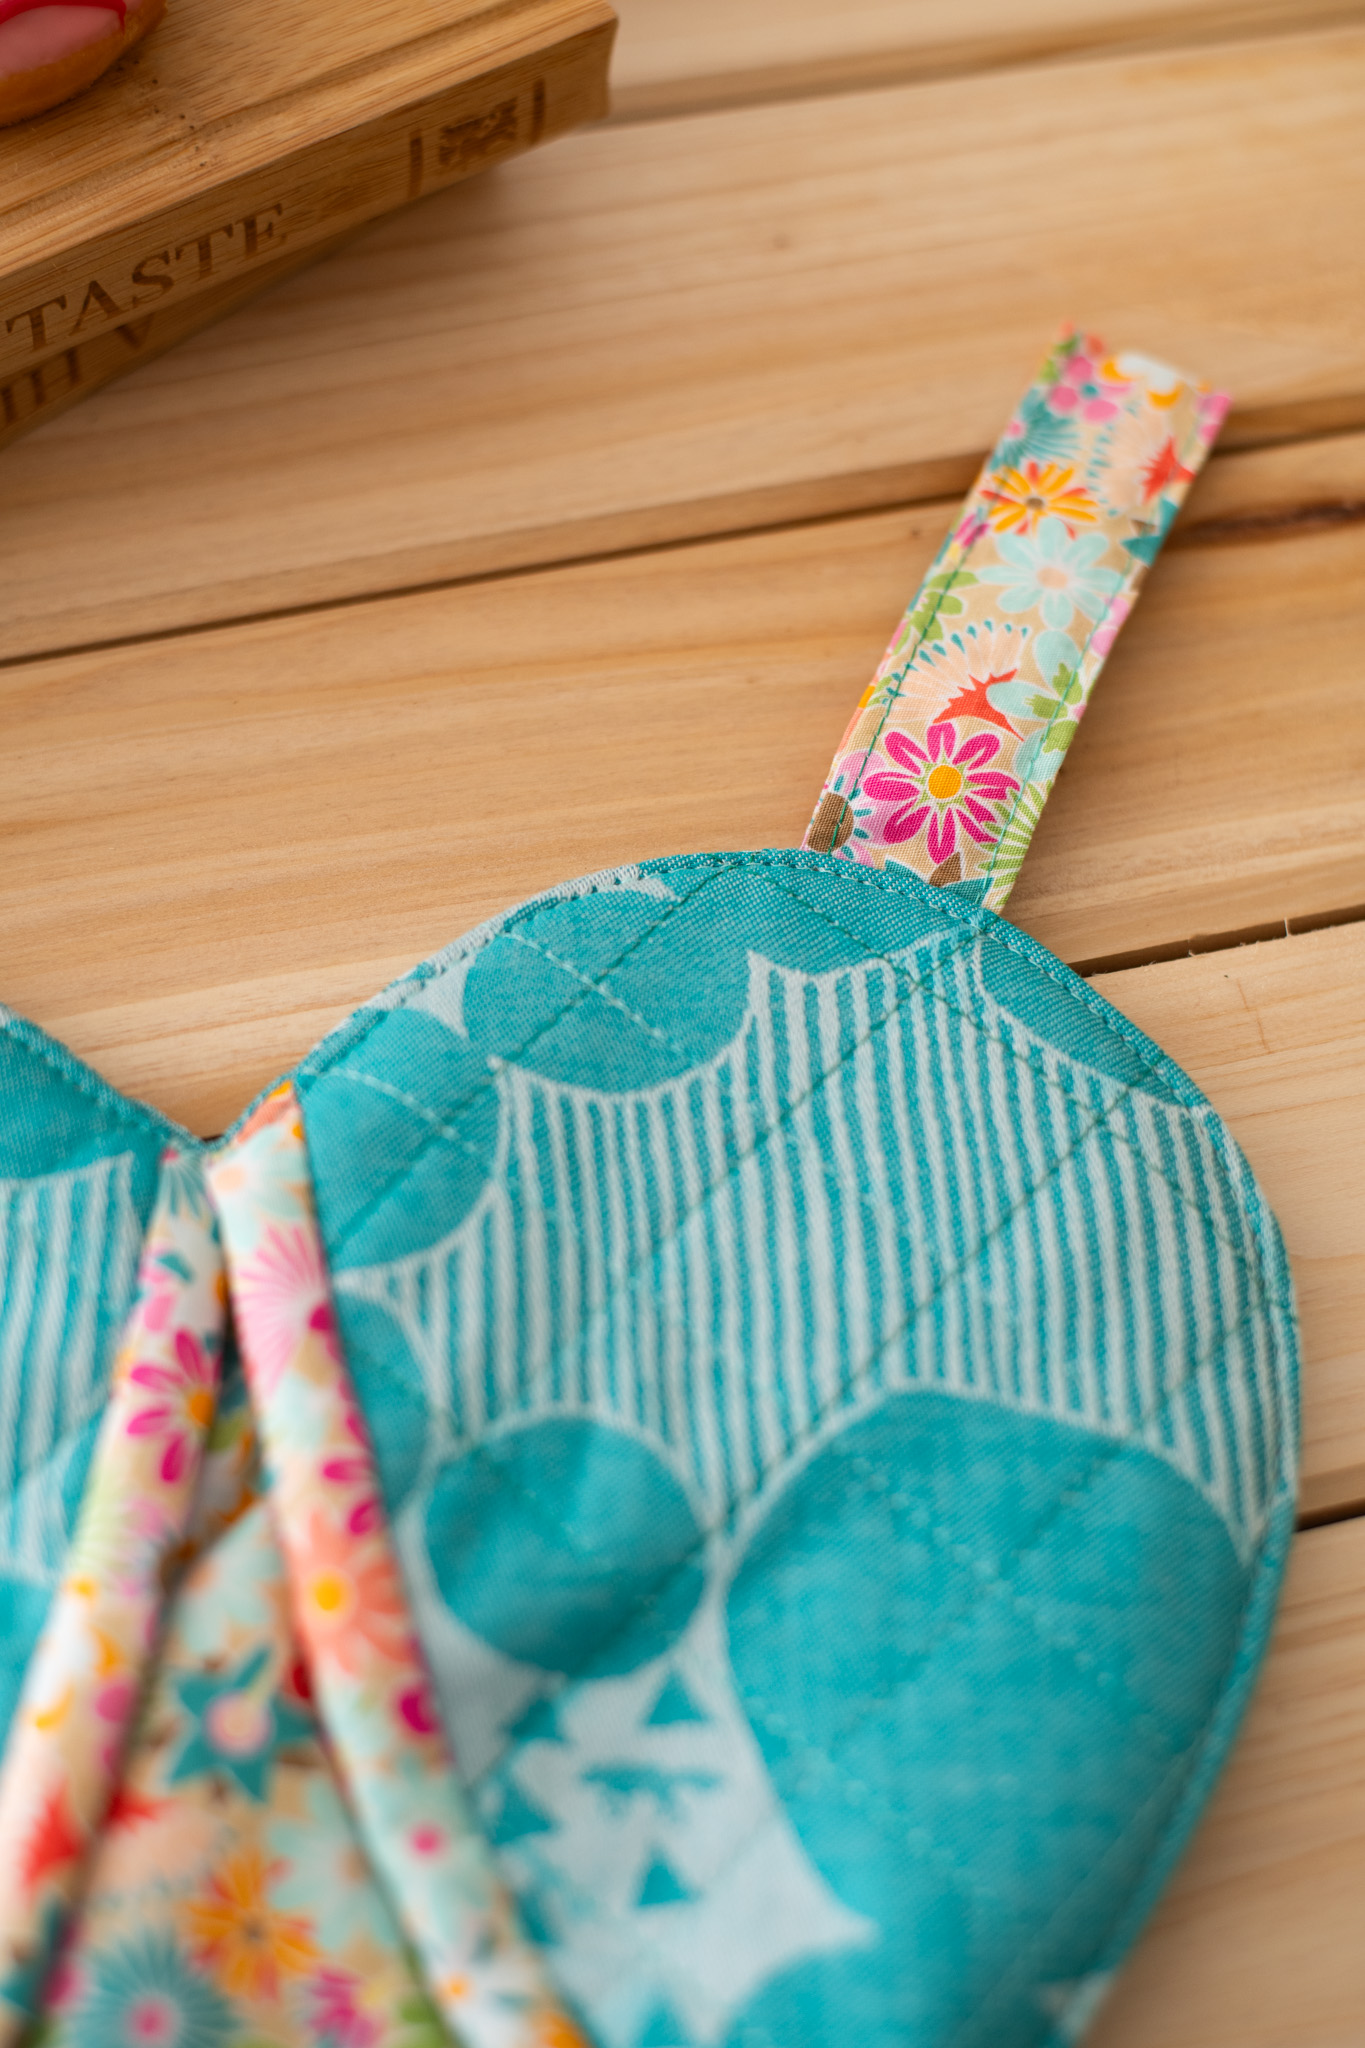
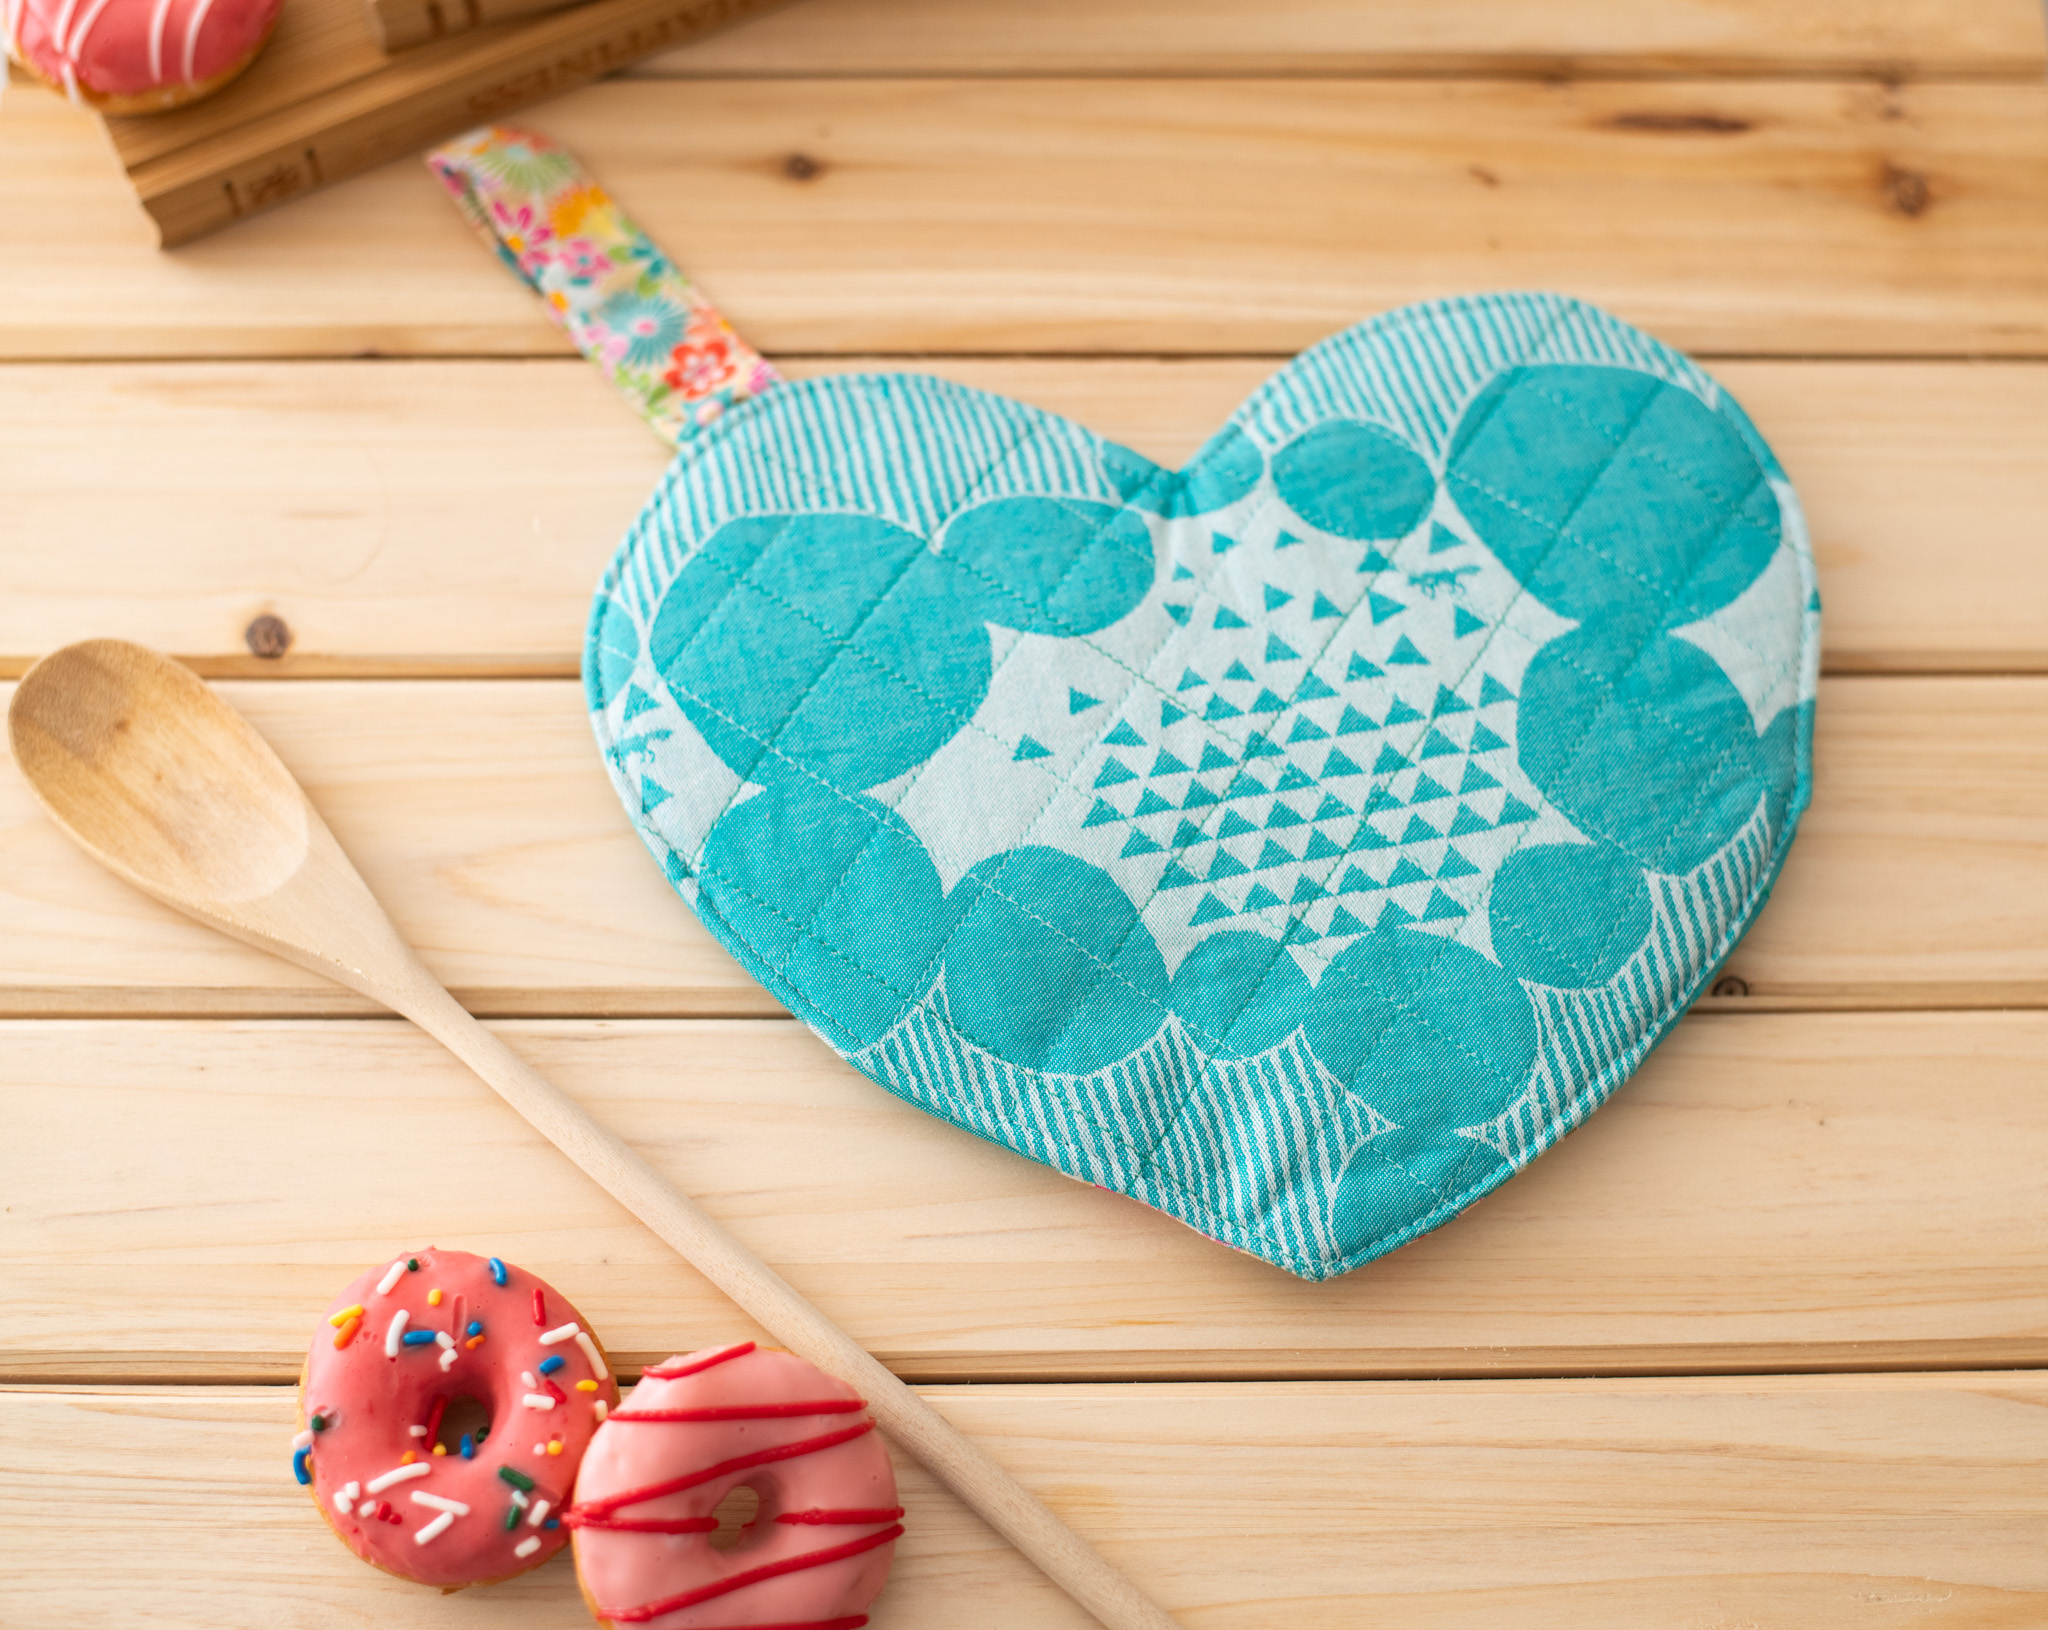
What better to pair with the quilted Valentine’s apron in this month’s issue than this adorable heart oven mitt from Sophie Tarrant? Made in cheery turquoise, this quilted oven mitt pattern finishes at approximately 8” and is made with special thermal batting to keep your hands safe while handling hot dishes. Quilt a batch of these fun Valentine’s Day quilting projects for your friends and loved ones with this beginner-friendly pattern.
Skill Level: Beginner
Finished Size: 8” x 8”
Seam Allowances: 1/4”
Designer Note: Thermal batting is specifically created to be safe for use at higher temperatures. It’s important to use a heat-safe batting when making items for the kitchen or barbecue – not only to protect yourself and your loved ones from burns and scolds, but to extend the life of your projects, too.
Materials:
- Fabric: Two cotton prints, fat quarter of each
- Thermal batting: One fat quarter
- Fusible quilt batting: One fat quarter
- Sewing thread: To match your fabric (we used a variegated turquoise)
- PDF Pattern – This is located at the bottom of this page. See printing instructions below.
Tools:
- Rotary cutter and mat
- Scissors
- Pencil
- Iron
- Ruler
- Water-erasable fabric pen
- Pins or clips
- Sewing machine
- Needle
PRINTING INSTRUCTIONS:
To download the PDF pattern, click on the download button at the bottom of the page. We recommend opening your download using Adobe Acrobat.
Piecing Instructions:
- Download and print the templates, then use them to cut the following pieces. From your outer fabric, lining fabric, and each of your battings, cut:
- Two heart pockets (one reversed)
- One main heart piece (placed on the fold)
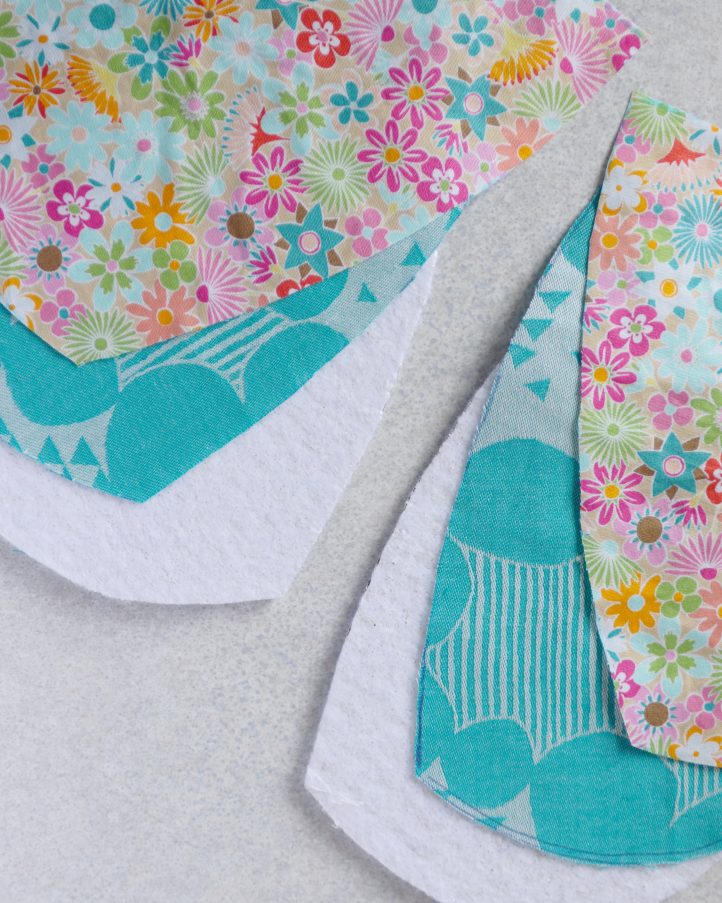
- Trim a 1/4” seam allowance away from the edges of each of your thermal batting pieces. Lay your lining fabric pieces out flat with the right sides facing down, then place the batting pieces on top, positioning each one in the center of its matching lining fabric shape. Baste the thermal batting into place.
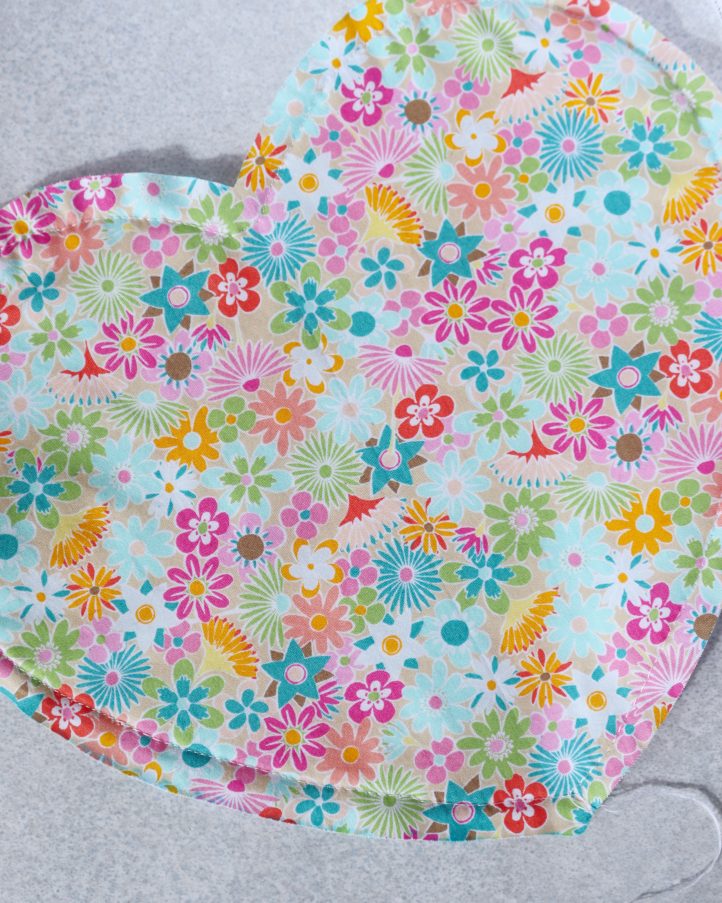
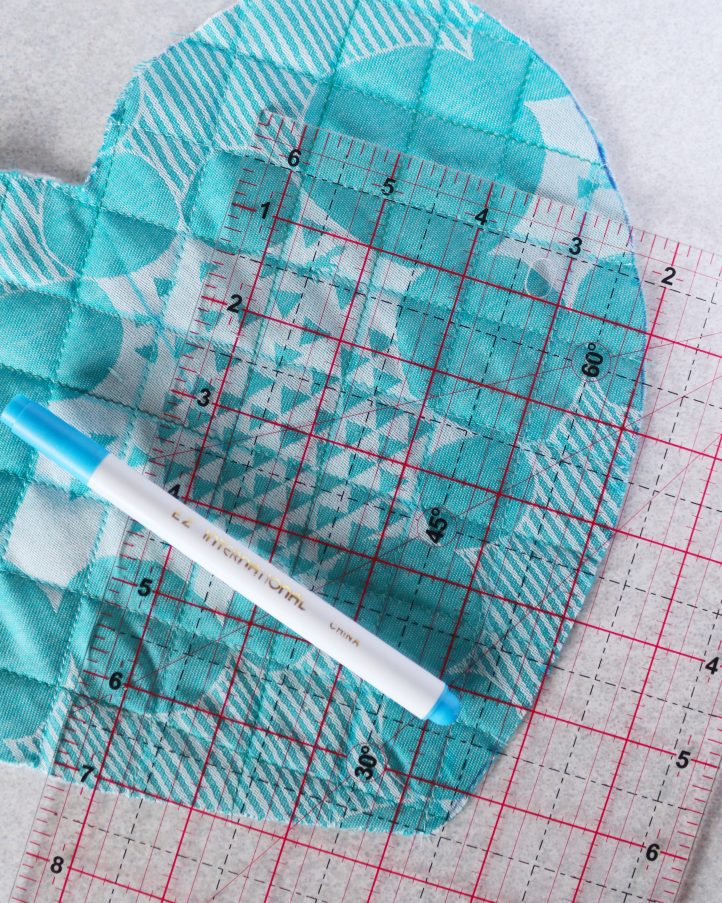
- Back your outer fabric pieces with their matching fusible batting shapes, then lay the main heart piece out flat with the right side facing up. Use a water-erasable fabric pen and a ruler to draw a diagonal 1” grid across the fabric, then quilt along the lines using a machine top stitch. Next, lay each of your pocket lining pieces out with the right sides facing down, then place the outer fabric pockets on top, aligning the edges. Draw and stitch the same 1” grid across each pocket as you did for the main heart, working through all the layers together. Once you’re done, dab the fabric with water to remove the pen marks.
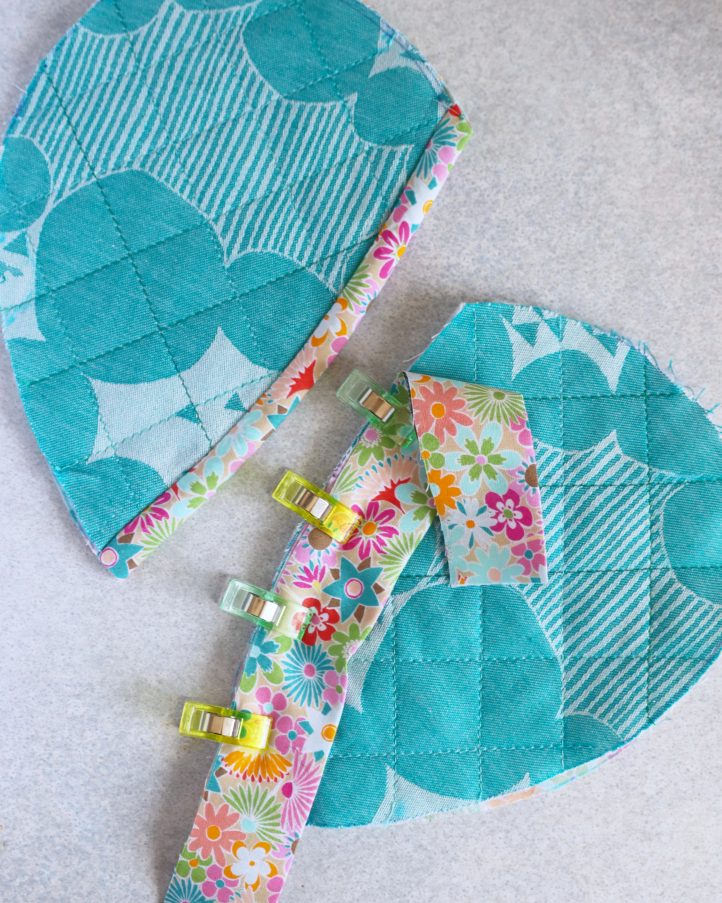
- Next, we’ll edge the pockets. Cut two 2-1/2” x 8” strips of lining fabric and fold them in half lengthwise with the right sides facing out to make binding. Press, then position each one along the front of one of the pocket pieces, aligning the raw edge of the binding with the curved raw edge of the pocket. Clip into place, then stitch with a 1/4” allowance. Fold the binding around to the wrong side and clip into position. Hand stitch along the edge of the binding to hold it neatly in place.
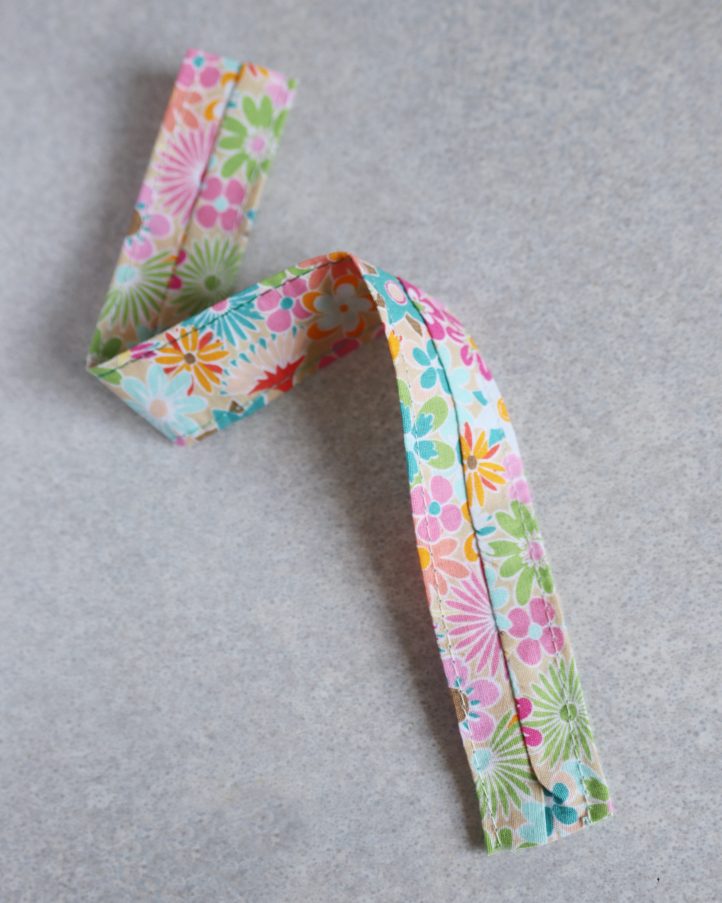
- Make a hanging loop strap. Cut another 2-1/2” x 8” strip of lining fabric and fold it in half lengthwise with right sides facing. Stitch along the long raw edge, then use a safety pin or a loop turner to turn the resulting tube right sides out. Gently roll the seam around so it’s positioned down the center of the tube, then press flat to make a strap. Work an edge stitch along each long side of the strap to decorate it and hold it in shape.
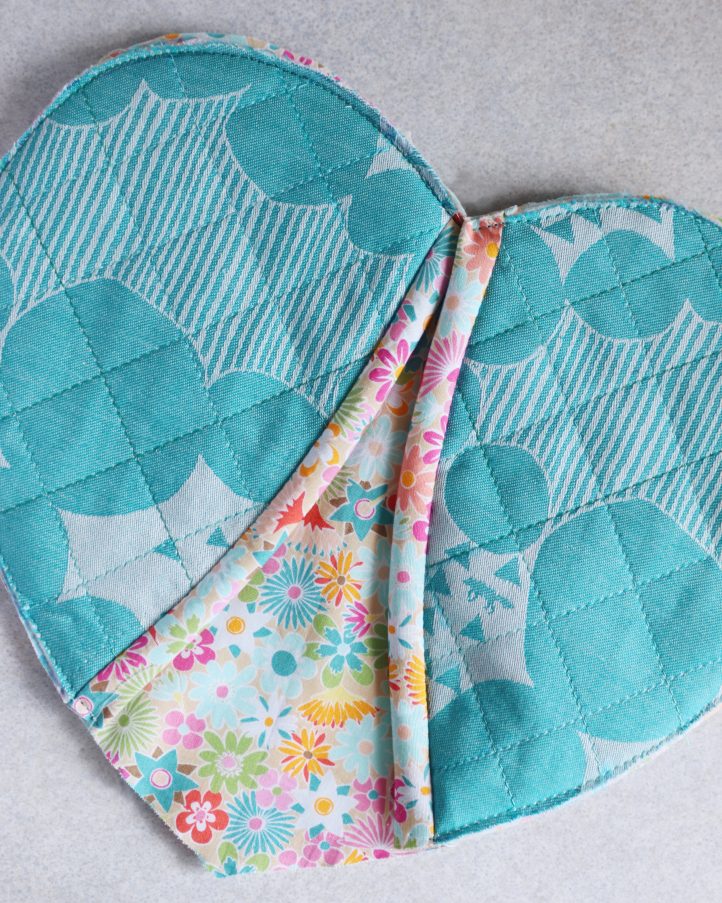
- It’s now time to construct your oven mitt. First, lay your main lining fabric heart piece out flat, with the right side facing up. Place each of your pockets in position on top, with the right sides facing upwards and the bound edges facing towards the middle of the mitt. Make sure to neatly align the edges. Baste together around the edge to hold the pockets in place.
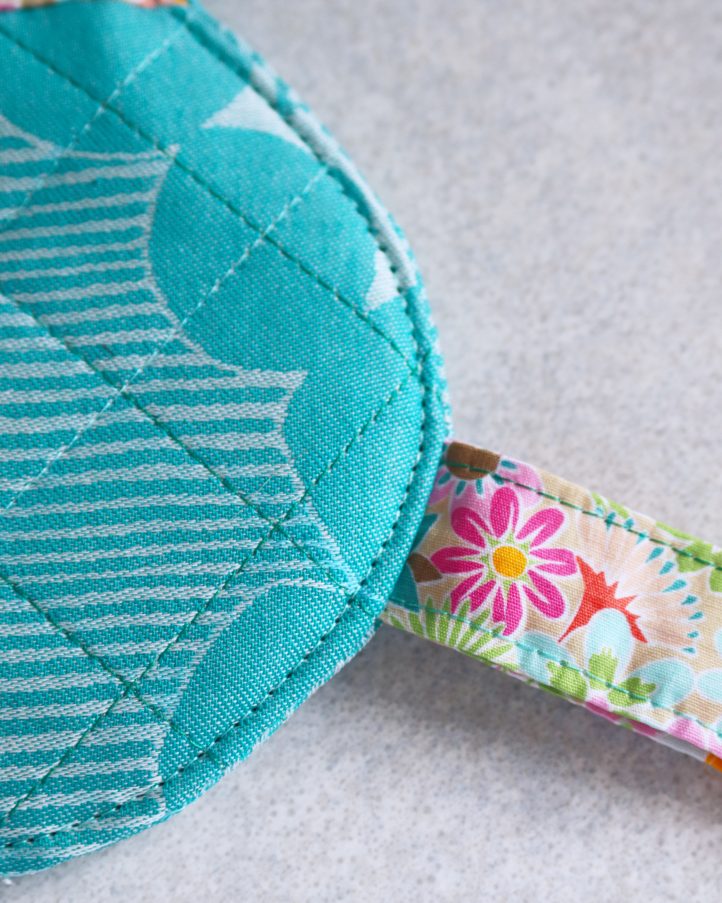
- Finally, lay your main outer fabric heart piece on top, with the right side facing down. Fold your hanging loop strap in half and carefully insert it between the outer fabric pieces at one corner, with the loop facing inwards and the raw short edges extending out over the edge of the work slightly. Stitch all the way around the edge with a 1/4” seam, leaving a 3” gap along one side.

- Carefully turn the mitt out through the gap in the seam, then use a pencil to make sure all the edges are pushed out properly. Turn the raw edges along the gap over to the wrong side by 1/4” and clip to secure. Lastly, work a machine edge stitch around the perimeter of the mitt to neaten it up and close the gap in the seam. Remove any remaining basting stitches, and you’re done!


Does anyone have any hacks to reduce the bulk of the layers in this pattern?