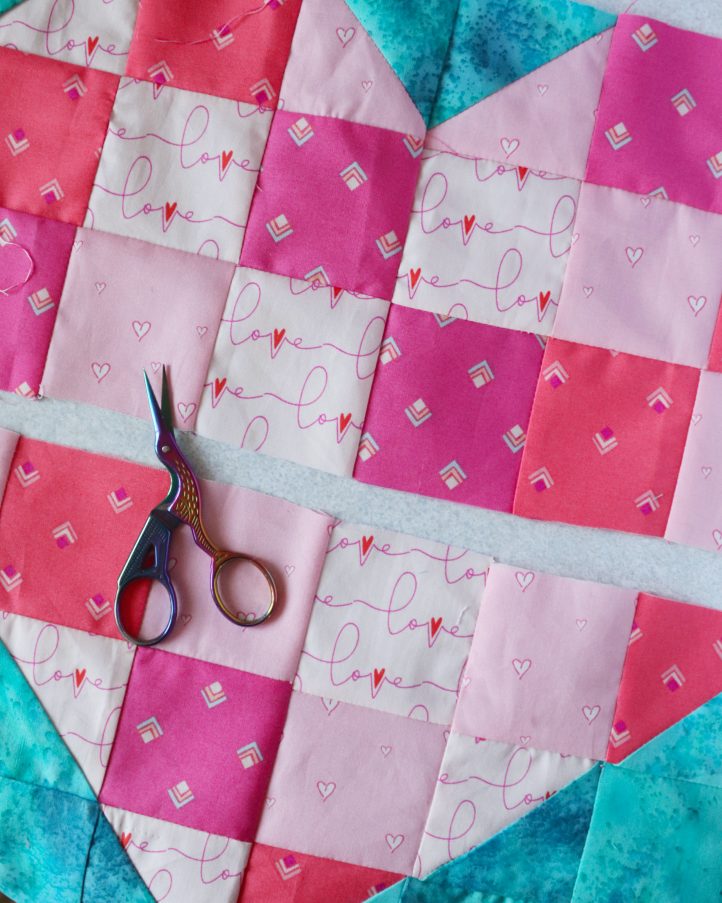
Hey there, new quilters! Looking for the perfect beginner project to kick off the new year? Sophie Tarrant’s darling heart quilt block pattern is beginner-friendly and uses simple and easy patchwork to create its pretty design. Made in a range of pinks against a bright blue background, this easy block pattern is also an excellent scrapbuster and finishes at a 12” square. Start your Valentine’s Day quilting now with this beginner quilt block design.
Skill Level: Beginner
Finished Size: 12-1/2” x 12-1/2” (to make a 12” block once complete)
Seam Allowances: 1/4”
Designer Note: Half square triangles need to be cut slightly larger than regular quilt squares, to accommodate for the diagonal seam that runs down the middle of each pair. You can technically get away with cutting your HST squares 3/8” larger than the intended finished HST size, but we’re erring on the side of caution and cutting ours slightly bigger to begin with, at 3” square. We then trim them down to 2-1/2” square when finished to ensure an accurate fit.
You may also need to make a few extra HSTs, depending on the fabric prints you’re using and whether they have directional prints. For example, one of our fabrics has the word “love” written on it, so to ensure all of our “loves” were facing the right way, we had to cut a few extra pieces.
Materials:
- Fabric: Scraps, each at least 3” square, in shades of pink and turquoise
- Sewing thread: Pink
- PDF Diagram – This is located at the bottom of this page. See printing instructions below.
Tools:
- Rotary cutter and mat
- Scissors
- Pencil
- Iron
- Ruler
- Pins or clips
- Sewing machine
PRINTING INSTRUCTIONS:
To download the PDF diagram, click on the download button at the bottom of the page. We recommend opening your download using Adobe Acrobat.
Piecing Instructions:
- Begin by cutting out your fabric pieces. From your pink fabric scraps, you need to cut 20 2-1/2” squares, and five 3” squares, which will be used to make half-square triangles in the next step. From your turquoise fabric, cut six 2-1/2” squares, and five 3” squares.

- You’ll now use the 3” squares you cut in the last step to make half-square triangles, or HSTs as they’re also known. To make your HST, take one pink square and one turquoise square and place them together with right sides facing. Use a ruler to draw a diagonal line across the shape from corner to corner, then two parallel lines, each a 1/4” out from the central line. Work a straight machine stitch down each of the outer lines. Cut along the central line, to split the work into two triangles. Open each triangle out along the seam and press, to reveal two finished HSTs – it’s as simple as that! Repeat these steps to make all of your HSTs, then trim each one down to exactly 2-1/2” square using a rotary cutter.

- It’s time to start assembling your quilt block. For the sake of ease, we’ve split the block into four quarters, each of which is made from nine squares in a 3×3 formation. Start with the top left quarter. Place two of your squares and/or HSTs together with right sides facing, taking note of the photos and our quilting guide to ensure they’re in the right order. Stitch along the side that joins them, leaving a 1/4” seam allowance. Once stitched, open the fabric out and press flat. Continue to stitch your squares together until the entire 3 x 3 grid is constructed. Press the work, taking the time to set all the seam allowances in the same direction if possible. Once you’ve finished this first quarter, continue on to make the other three in the same way.

- With all four quarters of your block constructed, you can begin to join them together. Take the top two quarters and place them together with right sides facing. Take the time to ensure the seams match up across the block – things can easily start to skew with just a little error, so you want to get your joins as accurate as possible. Pin or clip the pieces together, then stitch down the center seam, leaving a 1/4” allowance. As before, open the fabric out and press flat.

- Finally, join the upper and lower halves of your heart block, placing them right sides together and stitching the seam with a 1/4” allowance, as before. Once sewn, open the fabric out and press the entire block, then use snips to trim away any excess thread tails. Now, you can use your block to construct the perfect Valentine’s quilt!


