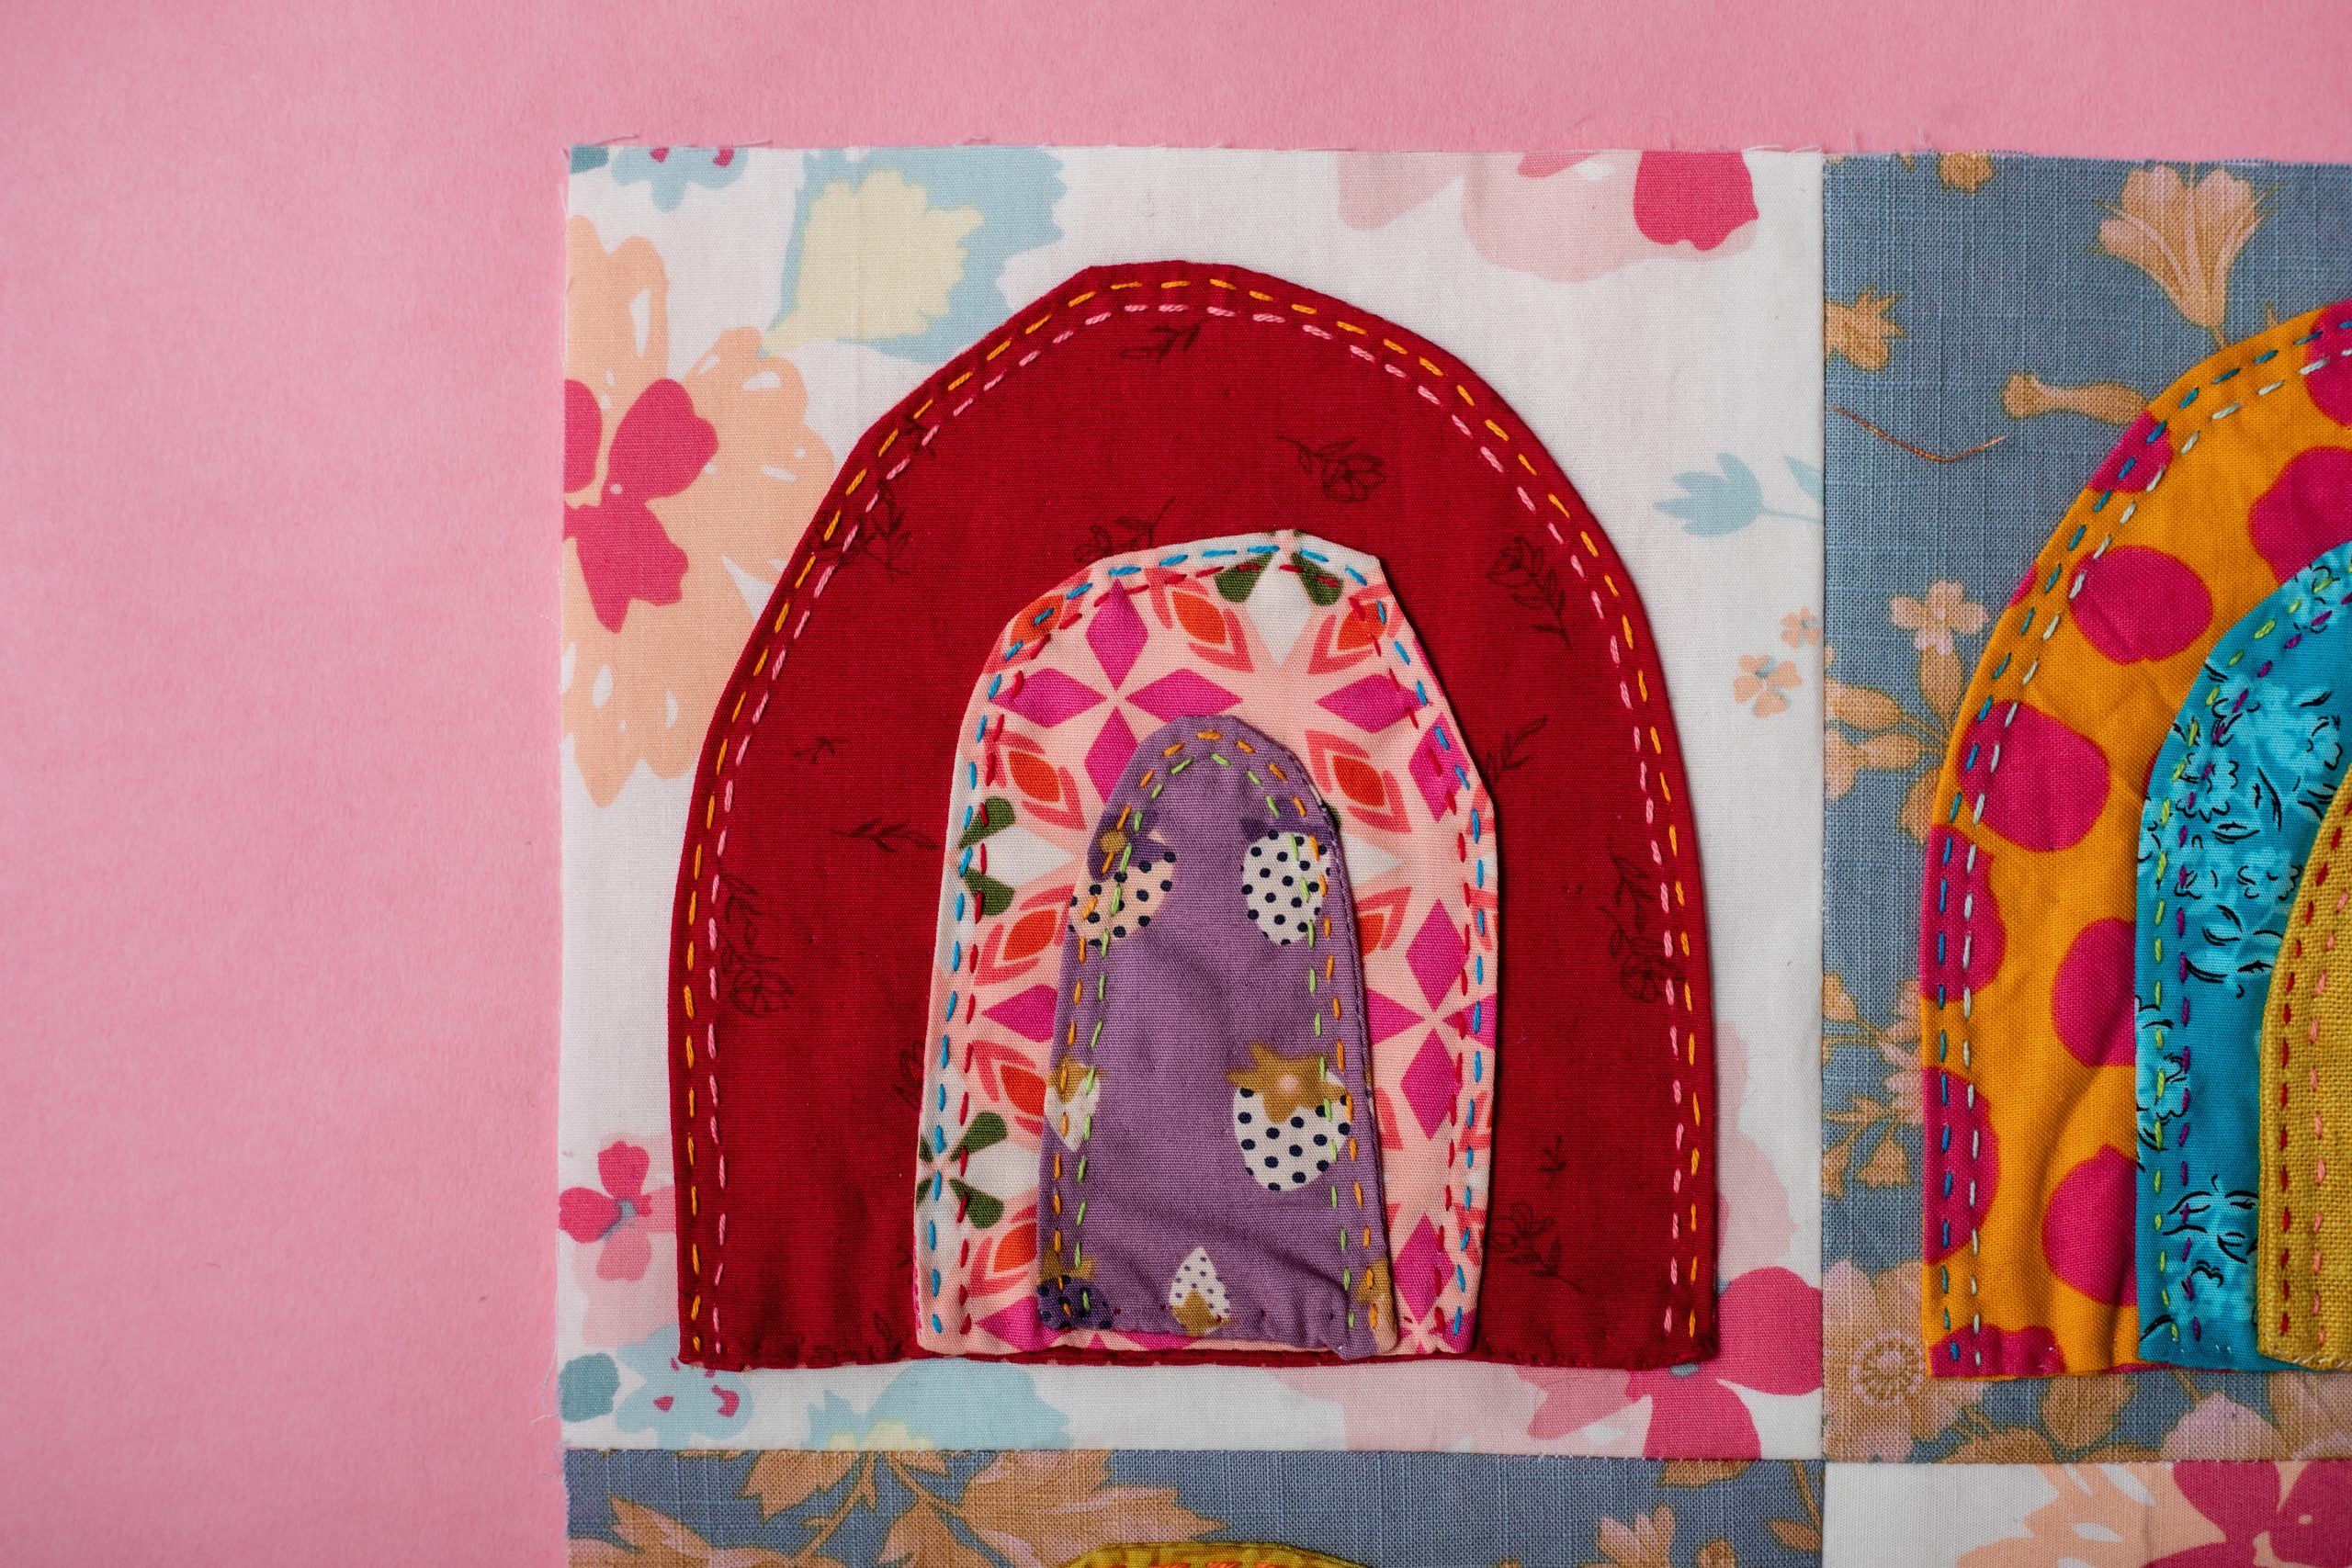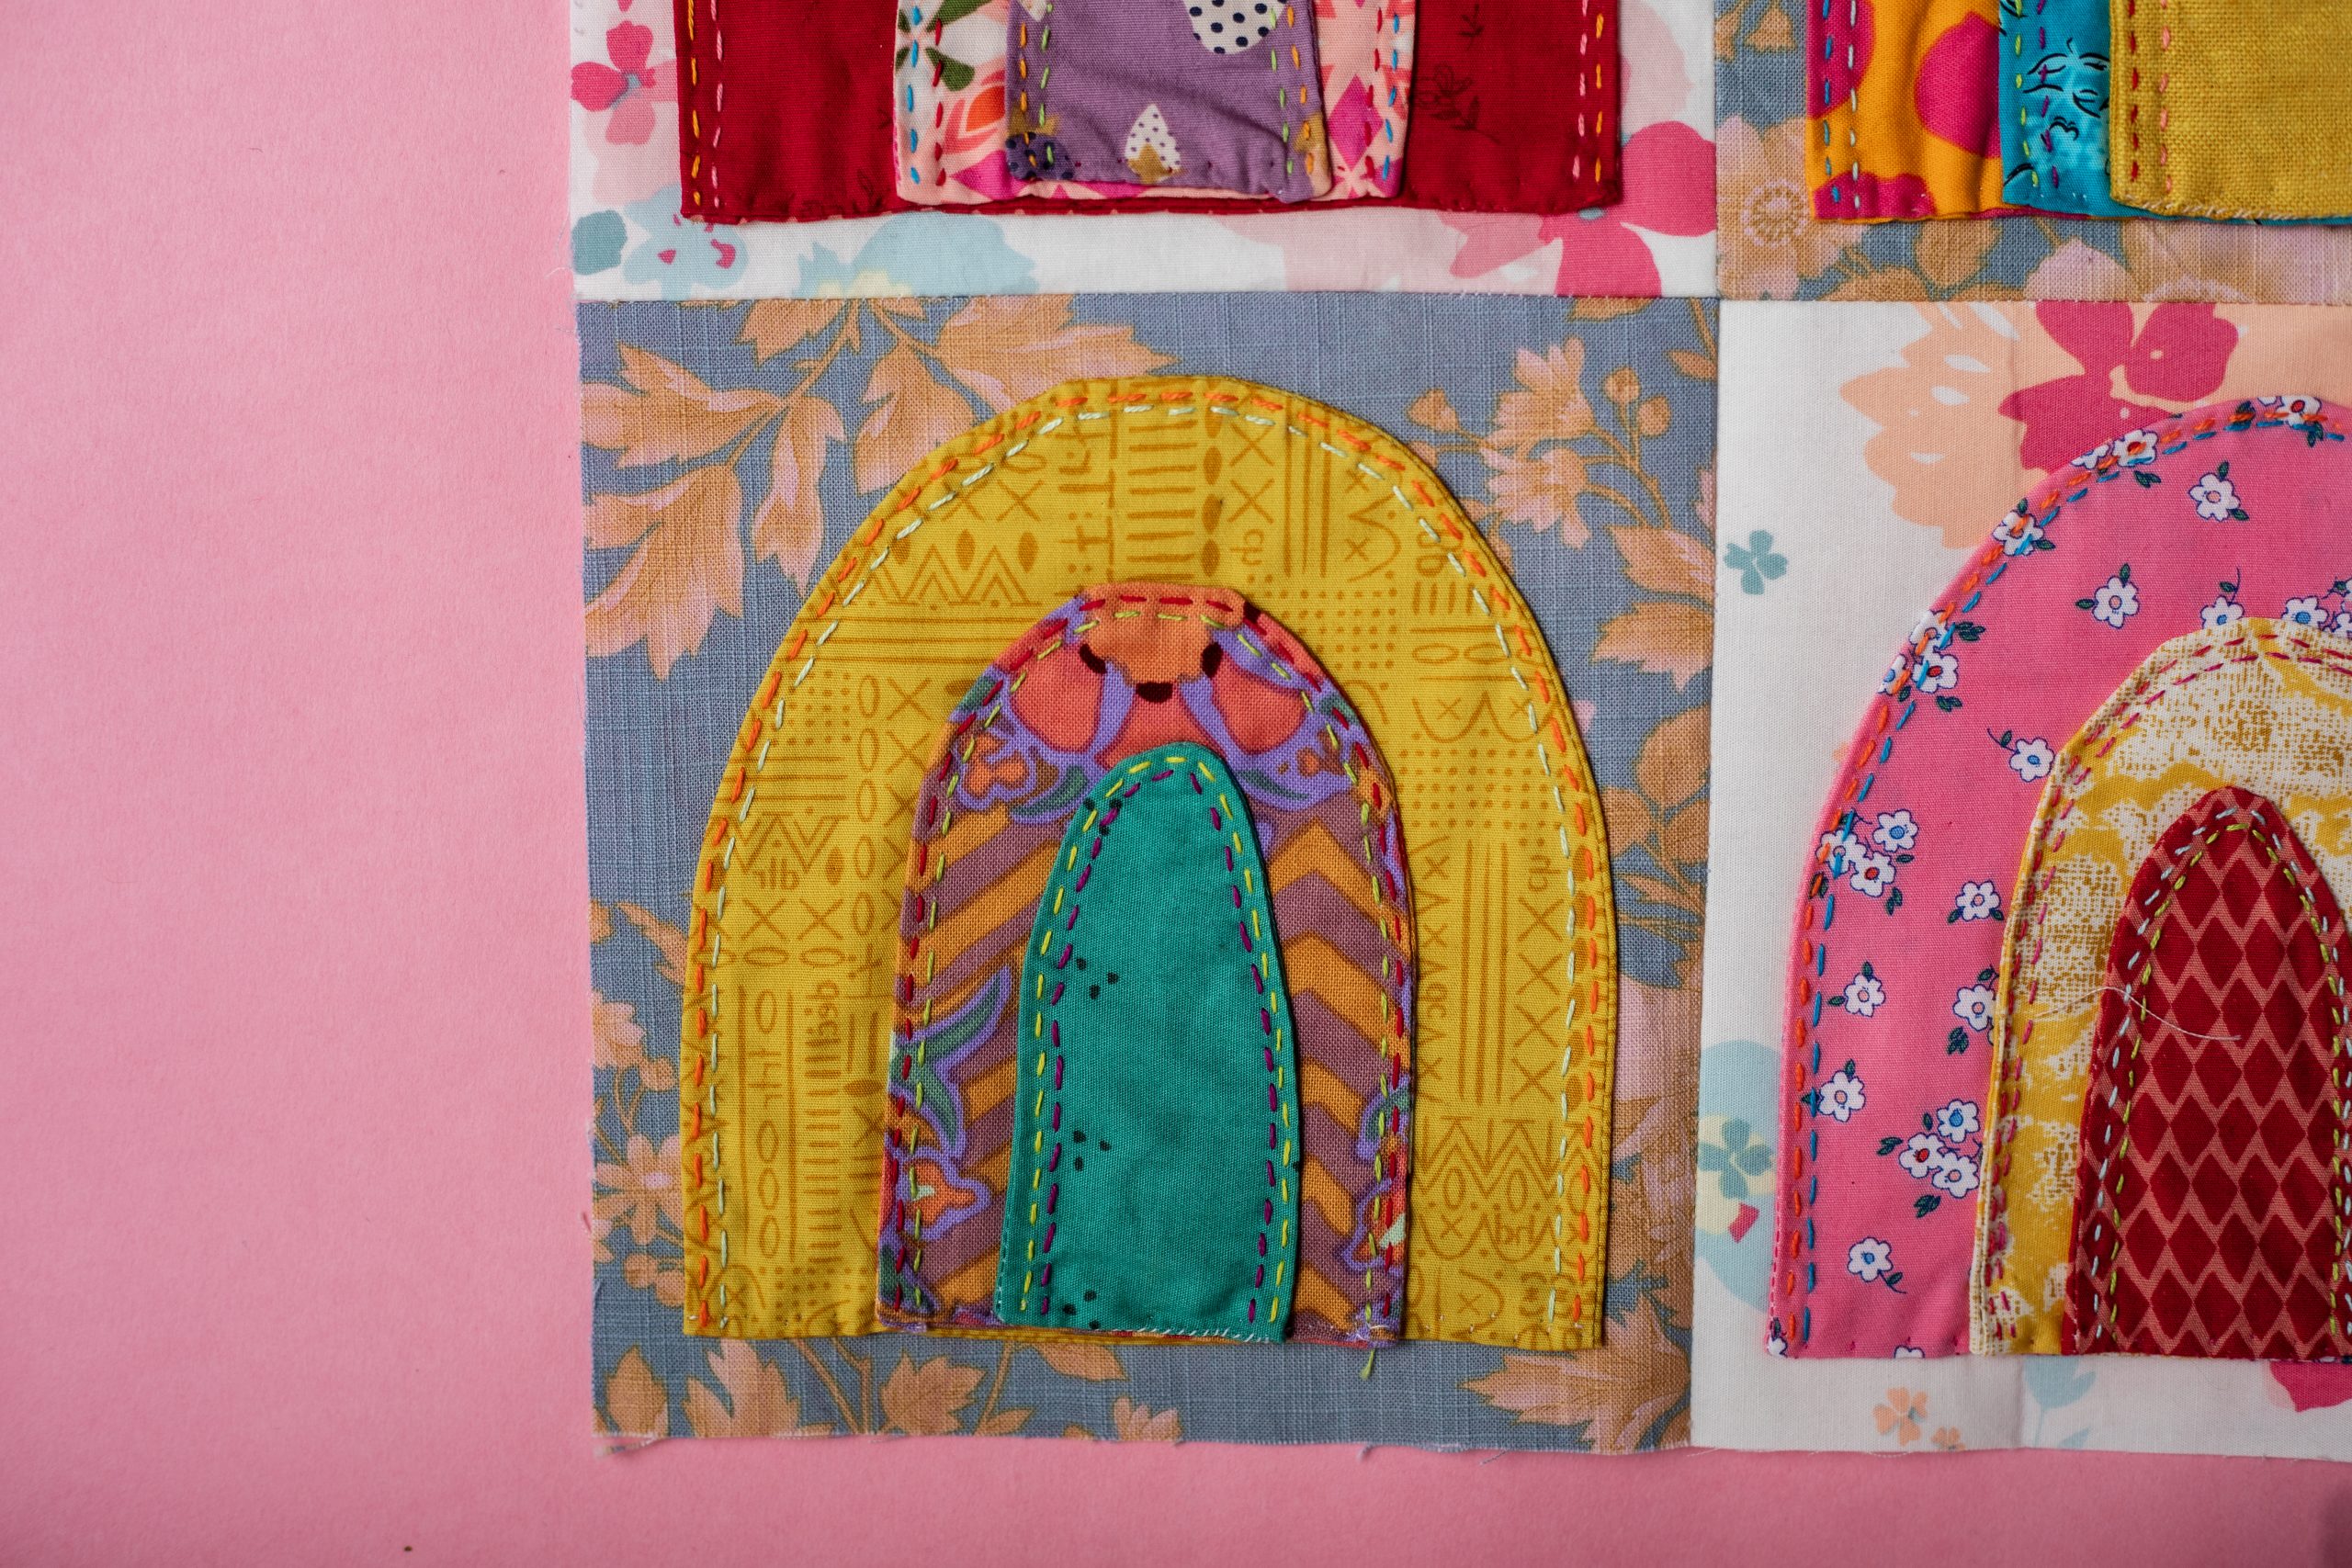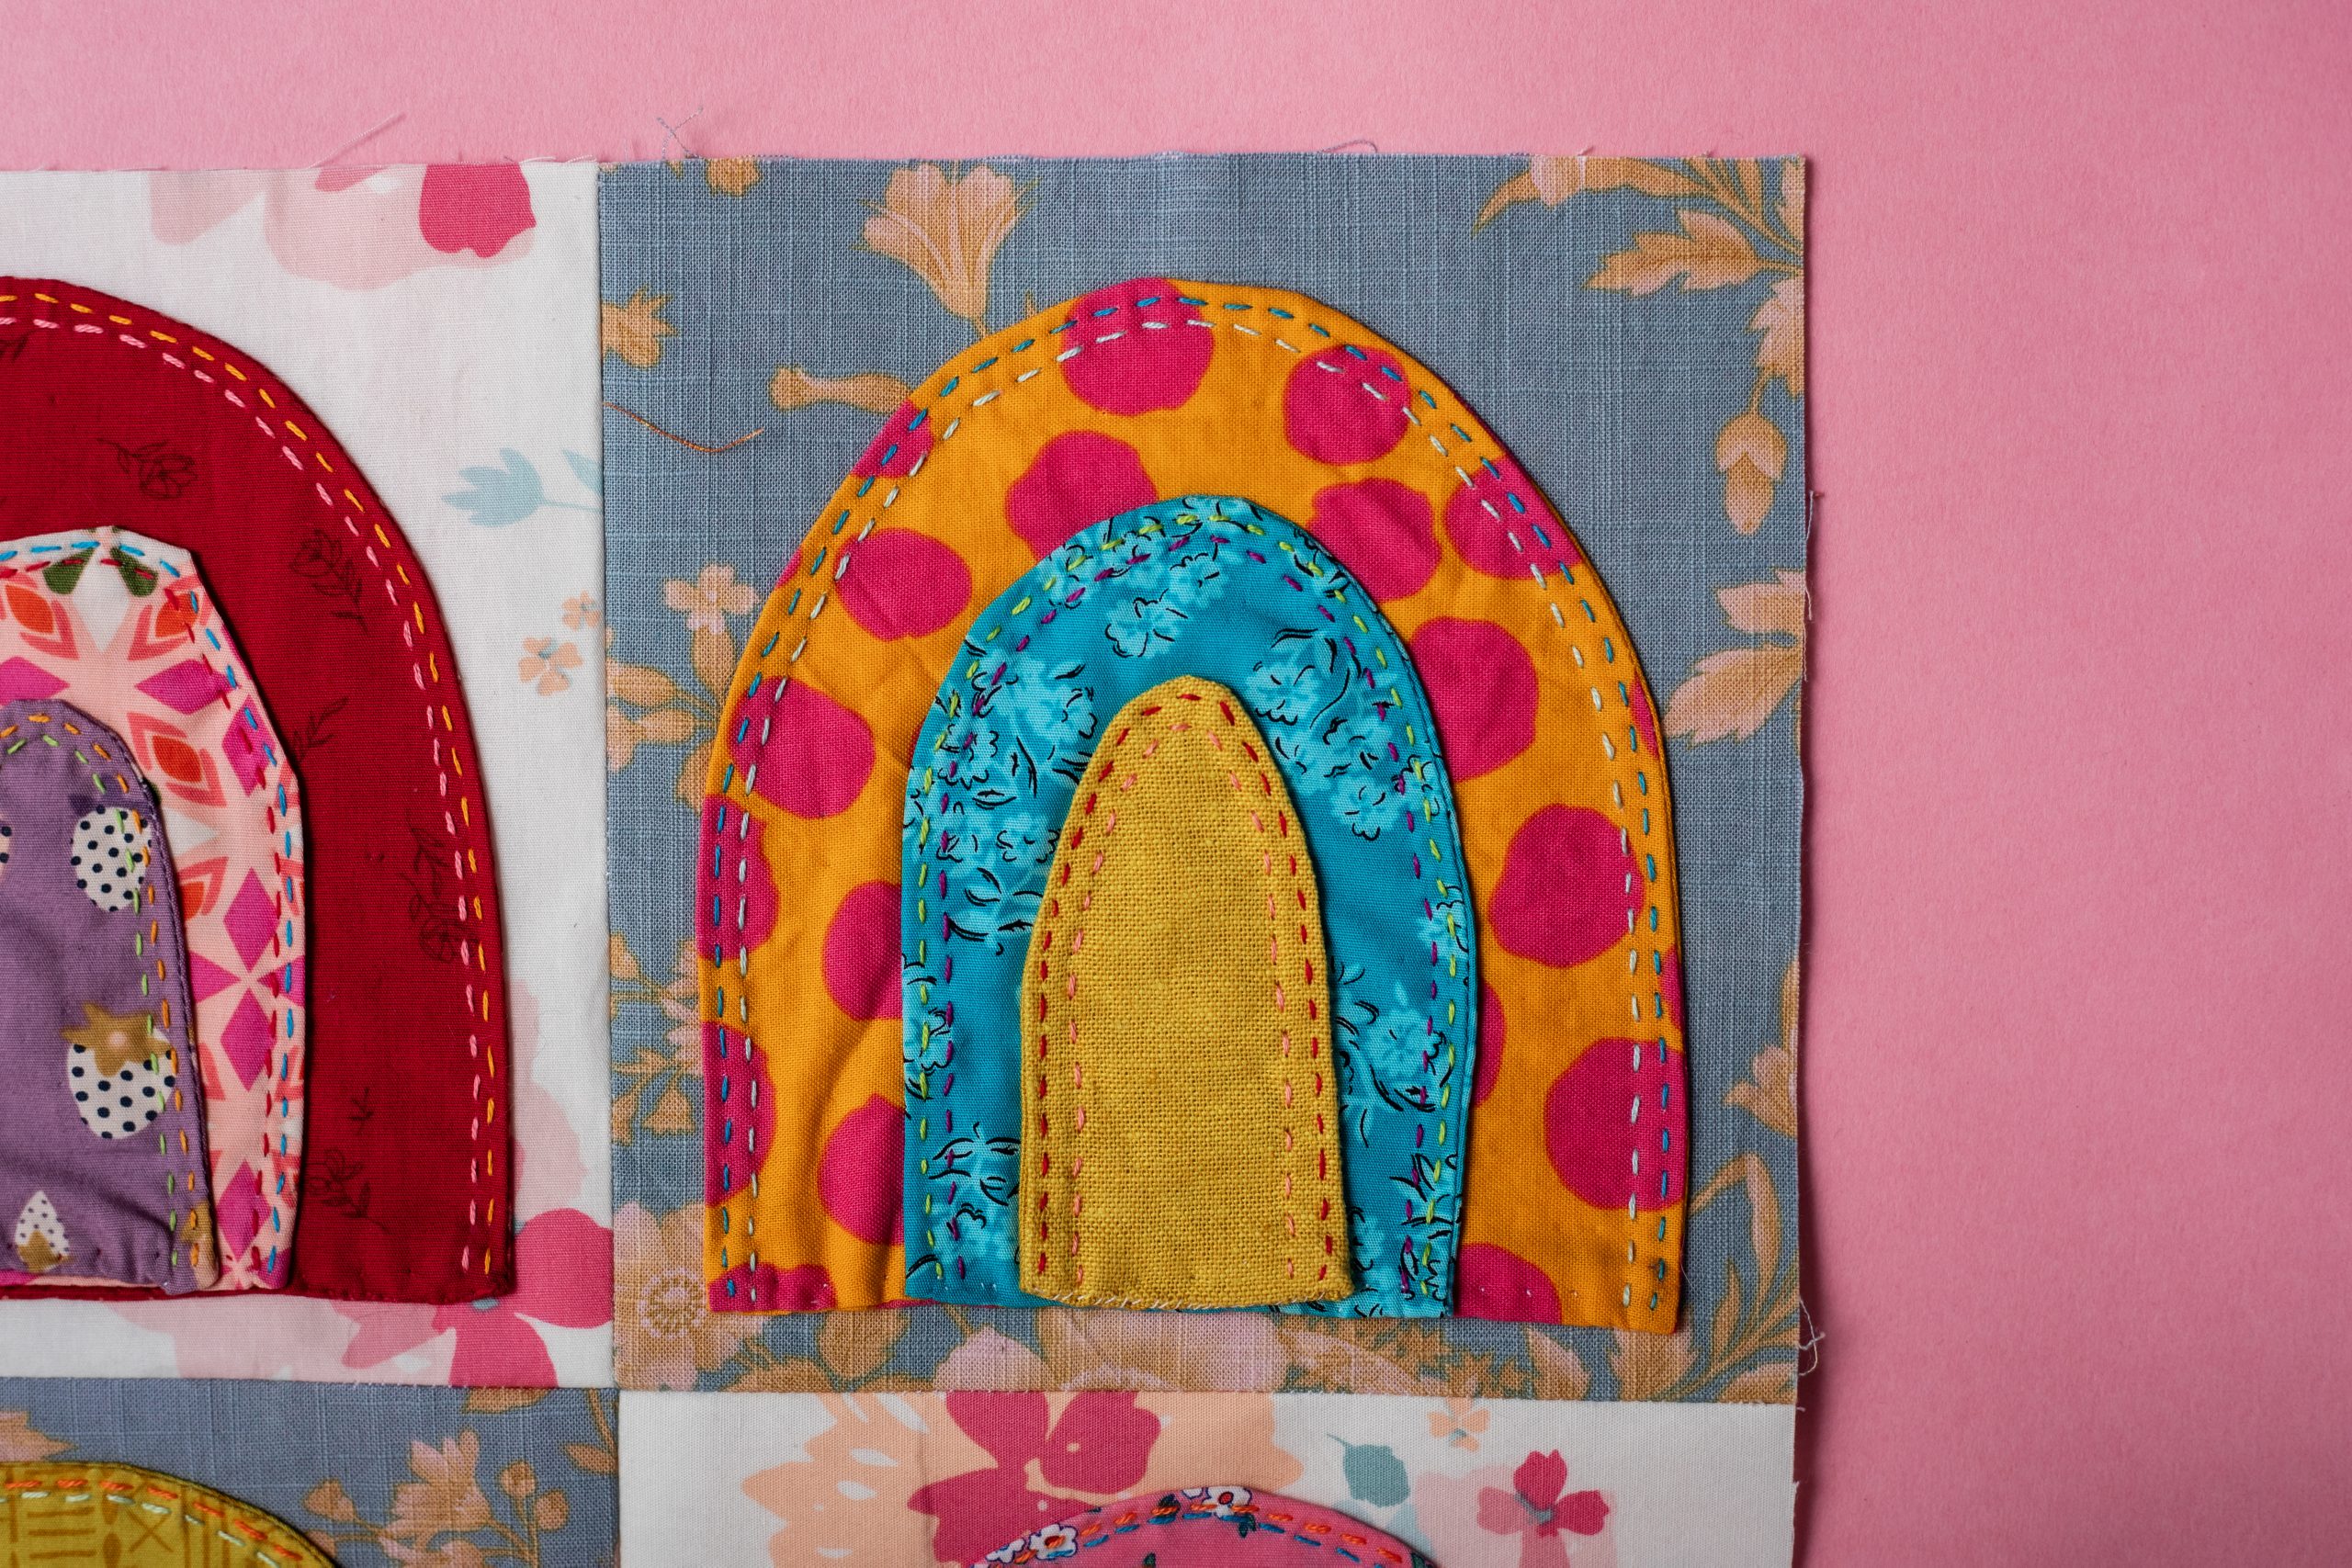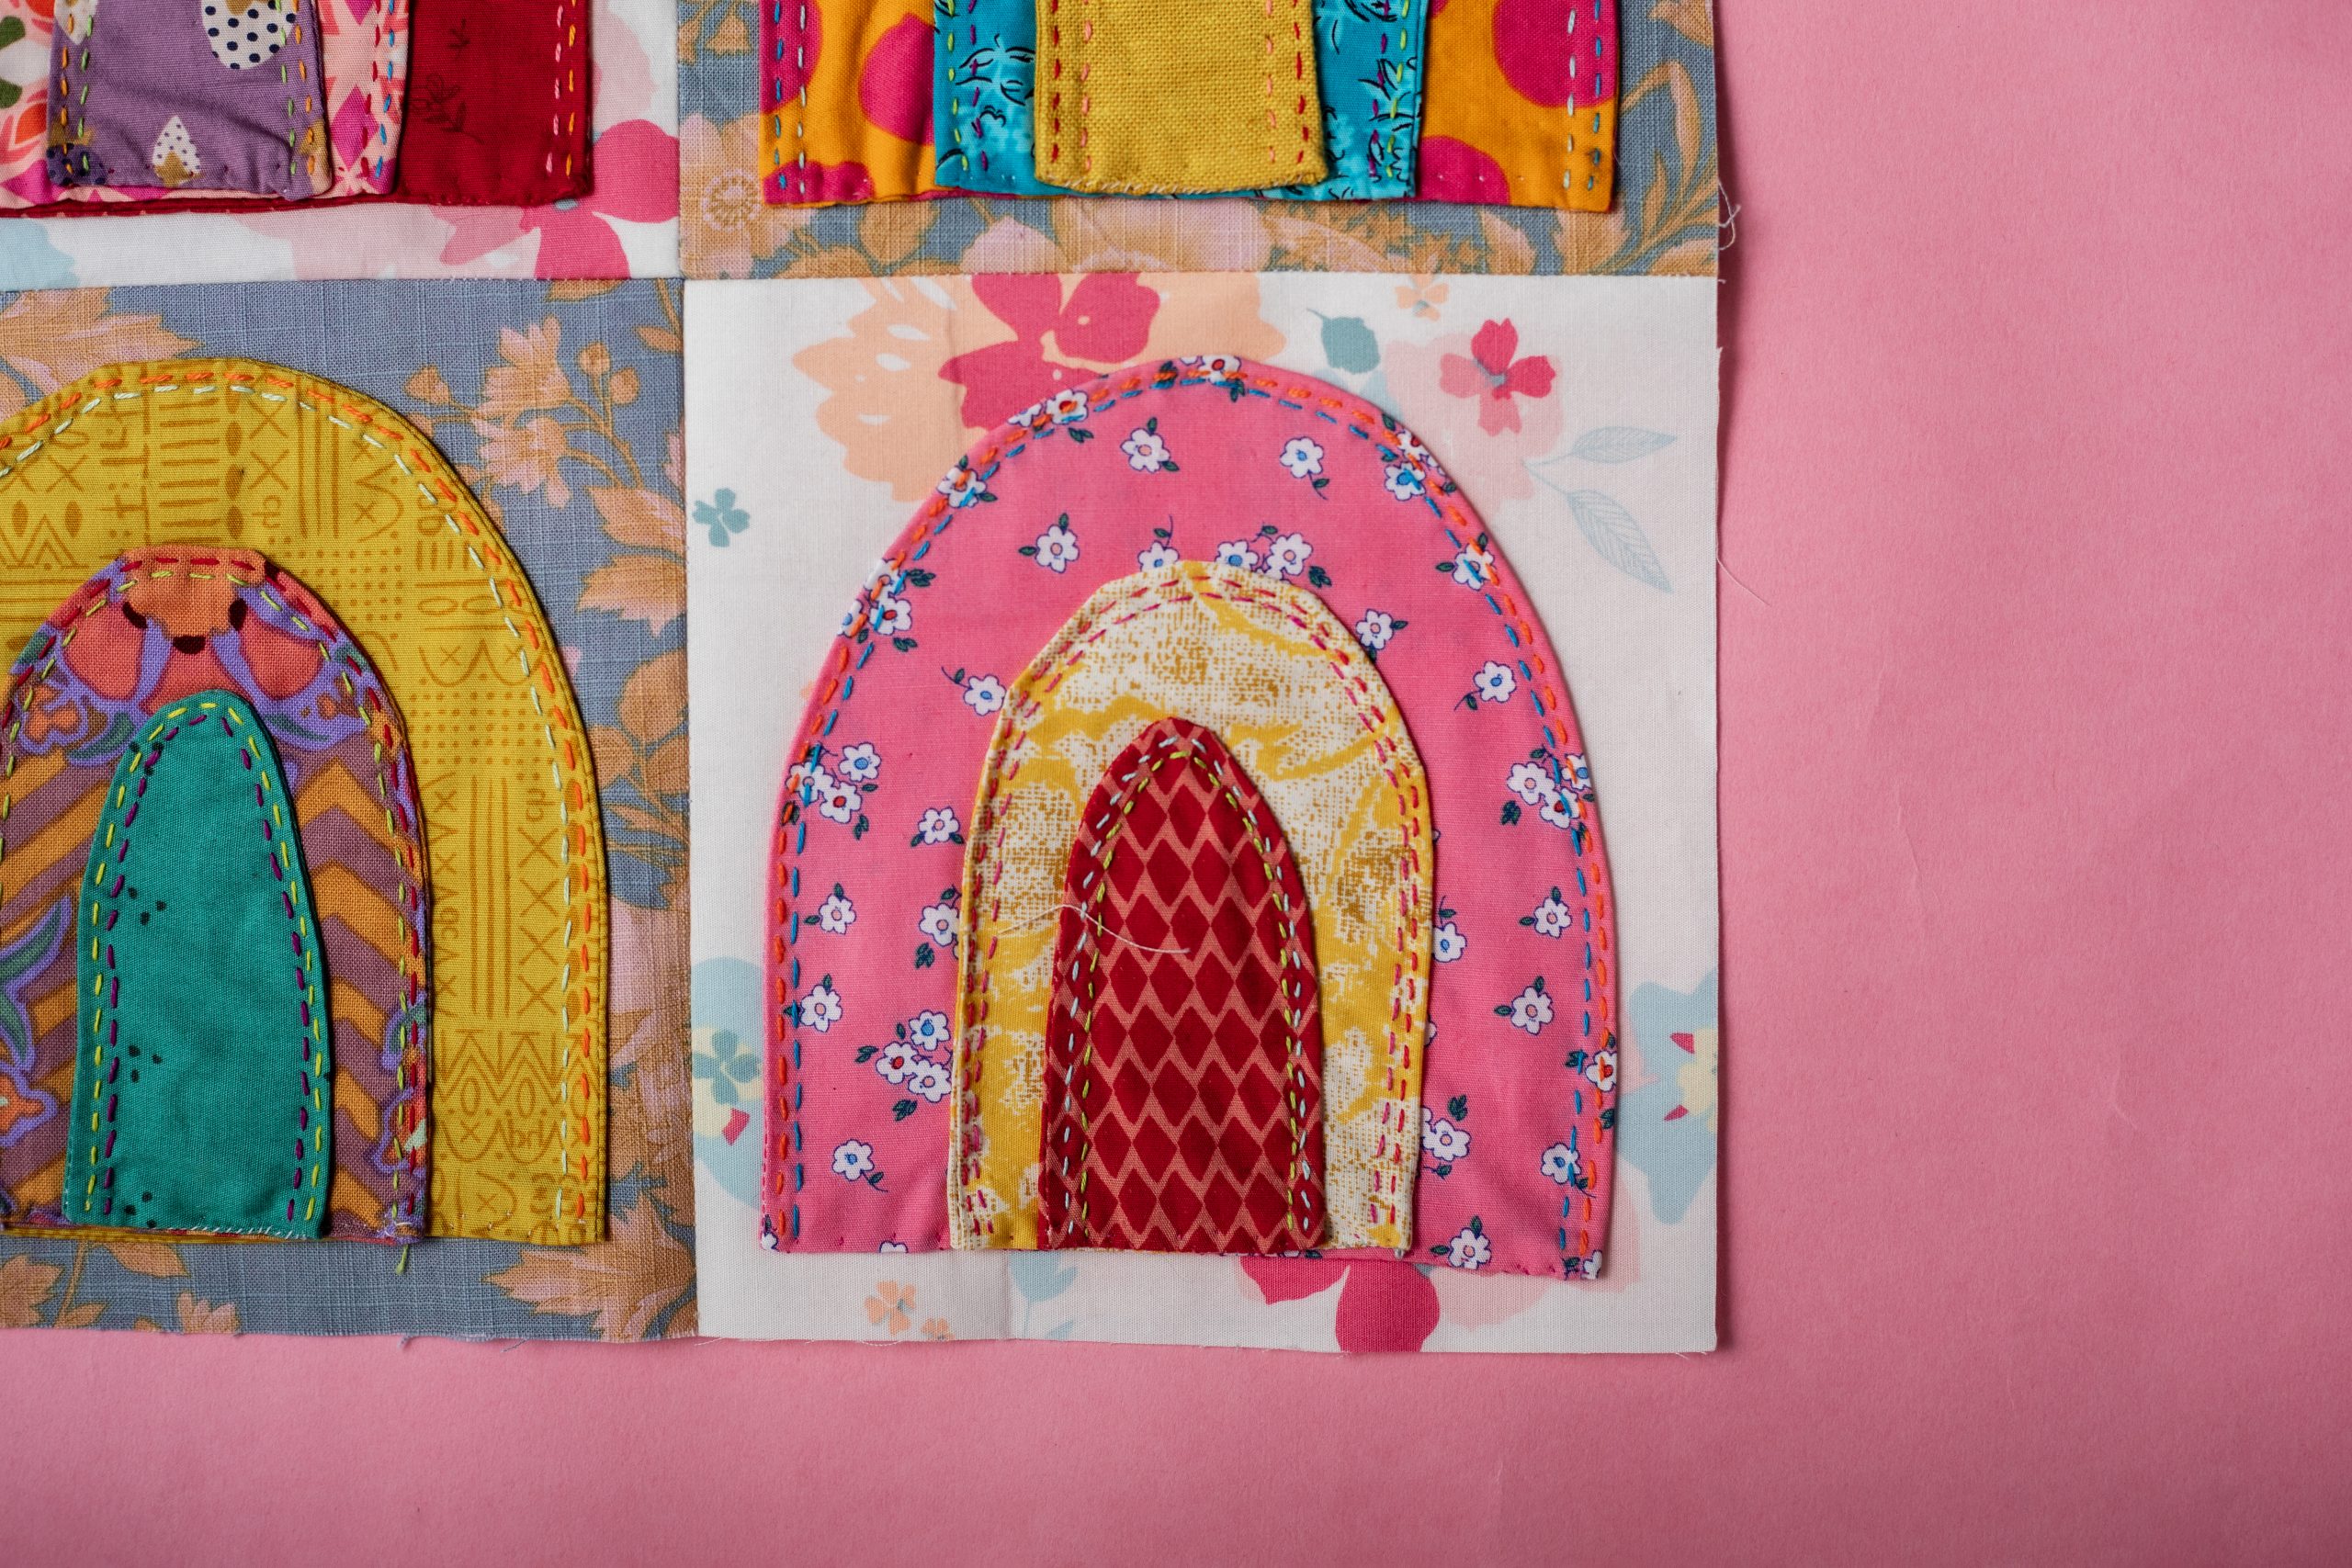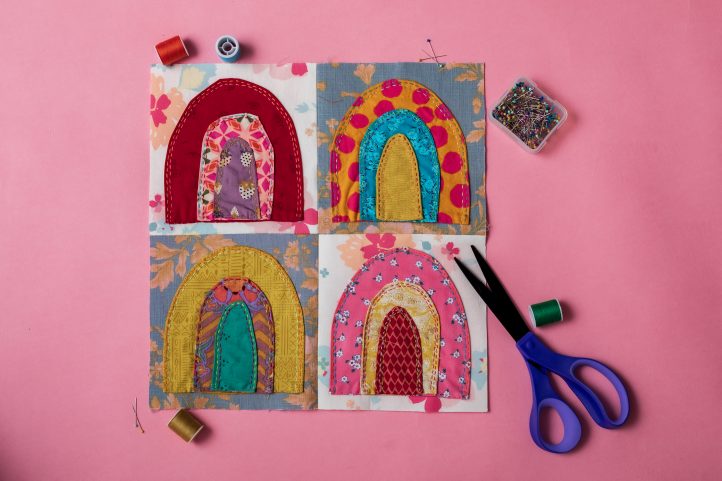
Is there anything more cheerful than the sight of a rainbow? Sophie Tarrant shows you how to transform 14 colorful fat quarters into a quad of adorable mini rainbows. This rainbow quilt block pattern combines quilting, embroidery and applique, so if you’re a beginner quilter who wants to expand their skill set, you’ll love this pretty and precious quilt block pattern.
Skill Level: Easy
Finished Size: 13” x 13” (to make a 12” square block once sewn)
Seam Allowances: 1/2” unless otherwise stated
Designer Note: Keep the layers of each rainbow held in place as you work by adding a small piece of fusible webbing between each fabric layer. Alternatively, you could add a spritz of washable fusible fabric adhesive, instead – or simply use pins to hold them in position!
Materials:
- Fabric: Fat quarters in 14 different colors or designs
- Lightweight fusible interfacing
- Embroidery floss
- PDF Templates – These are located at the bottom of this page. See printing instructions below.
Tools:
- Scissors
- Iron
- Water soluble fabric pen
- Ruler
- Pins or clips
- Sewing machine
- Sewing needle
PRINTING INSTRUCTIONS:
To download the PDF templates, click on the download button at the bottom of the page. We recommend opening your download using Adobe Acrobat.
Instructions:
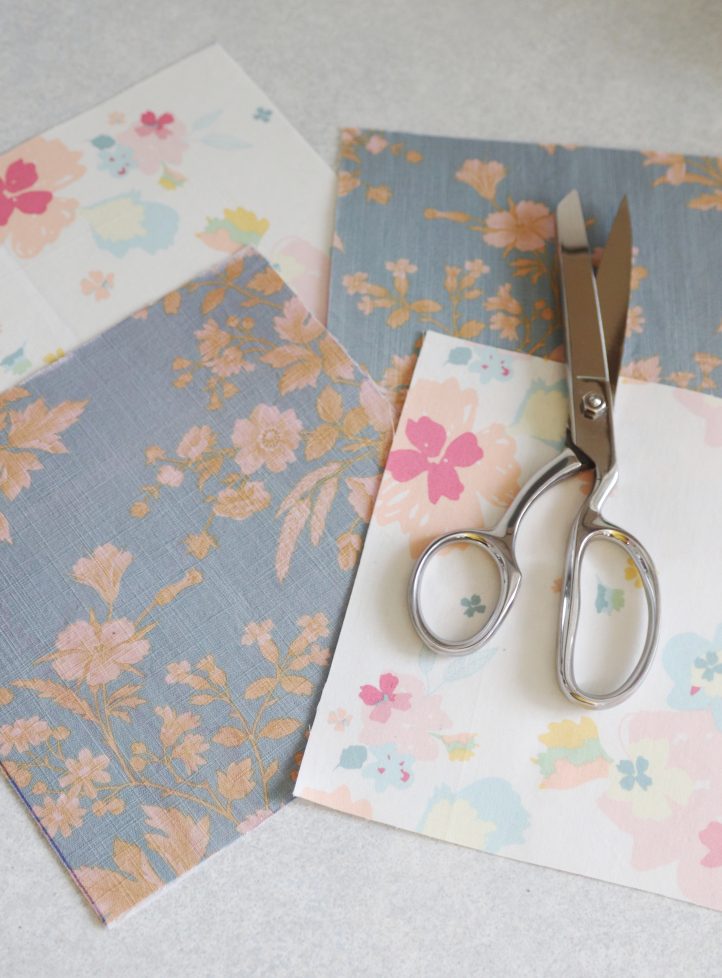
- Begin by cutting out the four fabric squares that will form the base of your quilt block. As the overall size of the block will be 12” and we’ll be working with 1/2” seam allowances, each base square piece needs to be cut as a 7” square. For our base square, we chose two blue floral pieces and two cream floral pieces from our stash. Back each one with a lightweight fusible interfacing to give them a little extra strength.
- Print out the three rainbow templates provided, and use them to cut the various fabric pieces as described. For each of the four squares that make up the block, you’ll need to cut two of each rainbow shape, with each pair being cut from a different color of fabric. These will be sewn together to create the three layers of each rainbow.
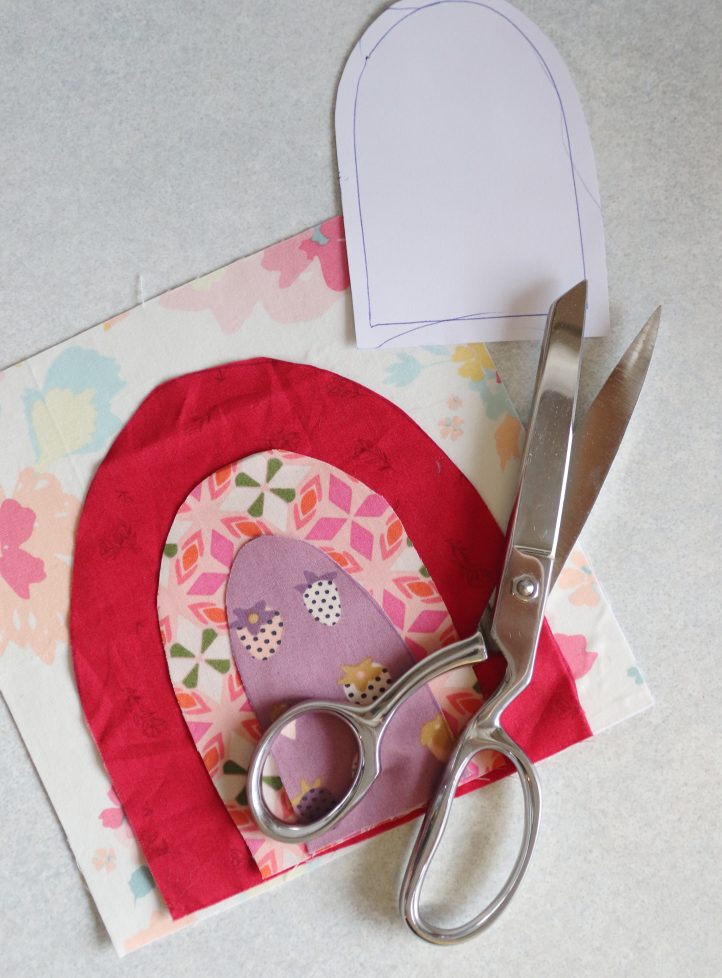
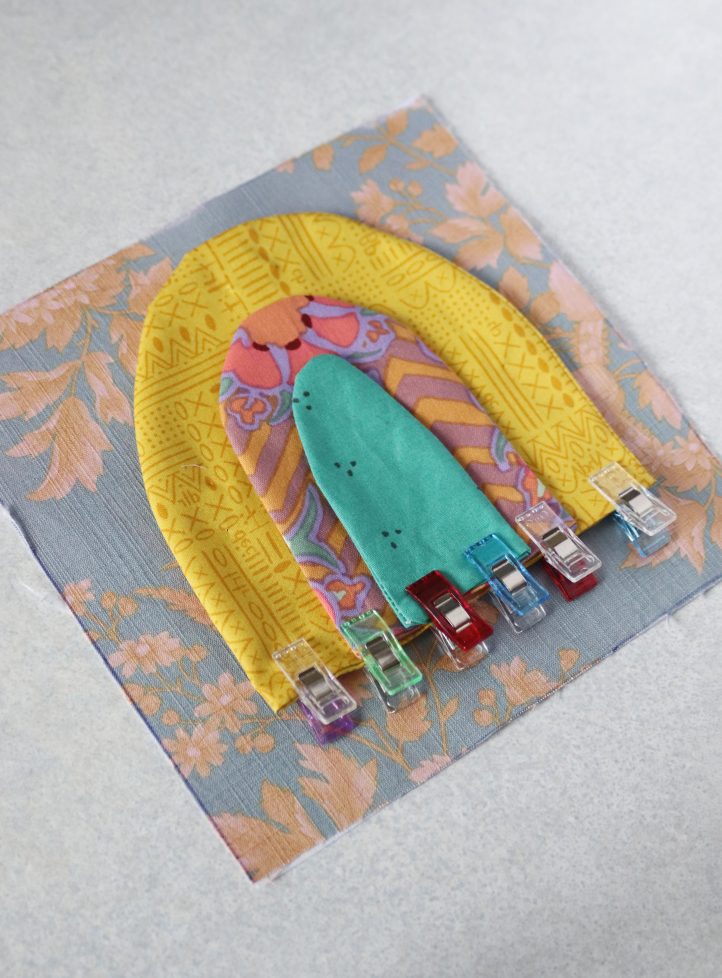
- Take the two large rainbow fabric shapes from the first square, and pin or clip them together with right sides facing. Work a straight machine stitch around the curved edge of the shape with a 1/4” seam allowance. Leave the flat bottom edge open. Snip into the curve, then turn the shape out through the bottom edge and press flat, turning the raw edge of the bottom over to the inside by 1/4” as you go. Repeat this step to stitch the other two rainbow shapes for the first square in the same way, then stack them up in size order and clip or pin to hold them in place. Hand stitch the bottom of each rainbow closed, removing the clips as you go. Repeat this step with each of the three remaining squares, until each one has a stack of three finished rainbow shapes on top of it.
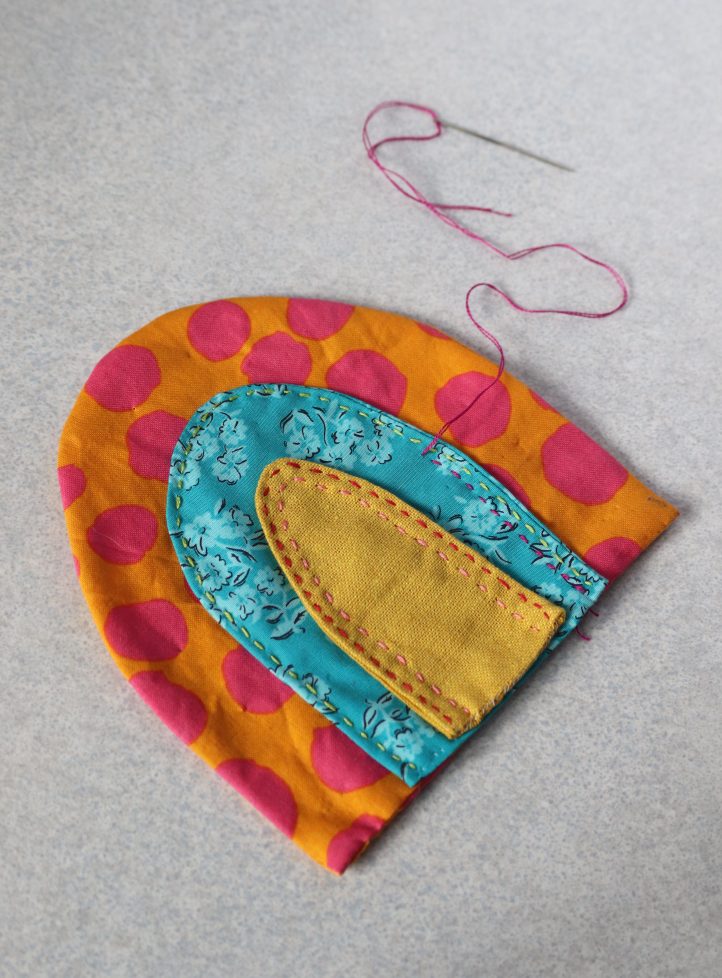
- Thread an embroidery needle with a length of colorful floss. With the three rainbow shapes of the first square stacked up, work a running stitch just inside the curved outer edge of the smallest shape, fixing it to the fabric of the piece below. Tie the thread off, then use a different color to work a second line of running stitch, next to the first. Repeat this step to add two lines of running stitch around the curved outer edge of the middle rainbow, which will attach it to the large one beneath. Repeat these steps to stitch the three layers of each rainbow stack together in size order.
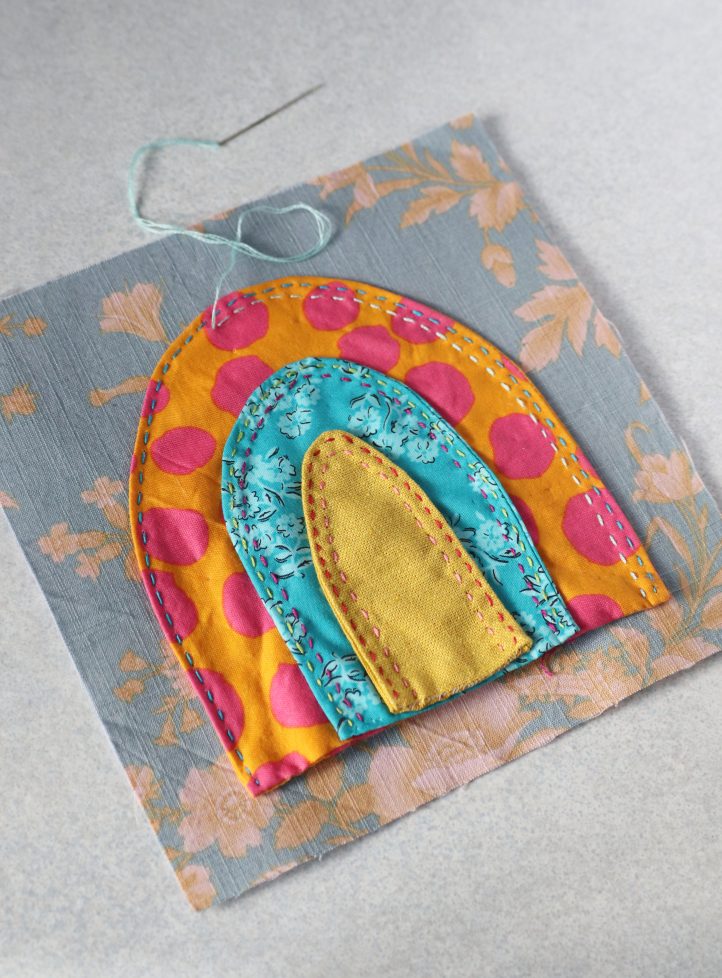
- Take your first embellished rainbow stack and place it in the middle of its square base piece. Use colorful floss to work two rows of running stitch around the curved outer edge of the largest rainbow shape, sewing it to the base in the same way that the layers were attached to each other in the last step. Once in place, use tiny hand stitches to gently secure the straight bottom edge of the rainbow to the square base piece, making sure the stitches aren’t too visible on the right side of the design. Repeat to attach each rainbow to its square base piece in the same way.
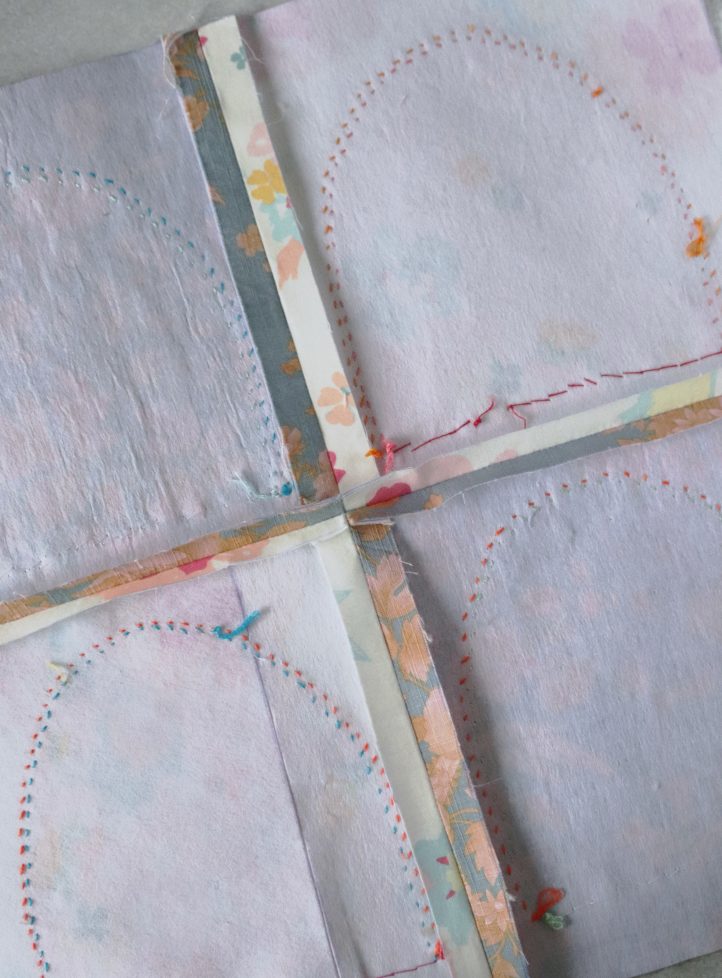
- With the four squares complete, it’s time to assemble the block. First, take the two squares you’d like to sit at the top of the design, and place them together with right sides facing, making sure that the edges align. Stitch down one side edge, leaving a 1/2” seam allowance. Lay the work out flat and press the seam allowance open. Repeat to stitch the bottom two squares together in the same way.
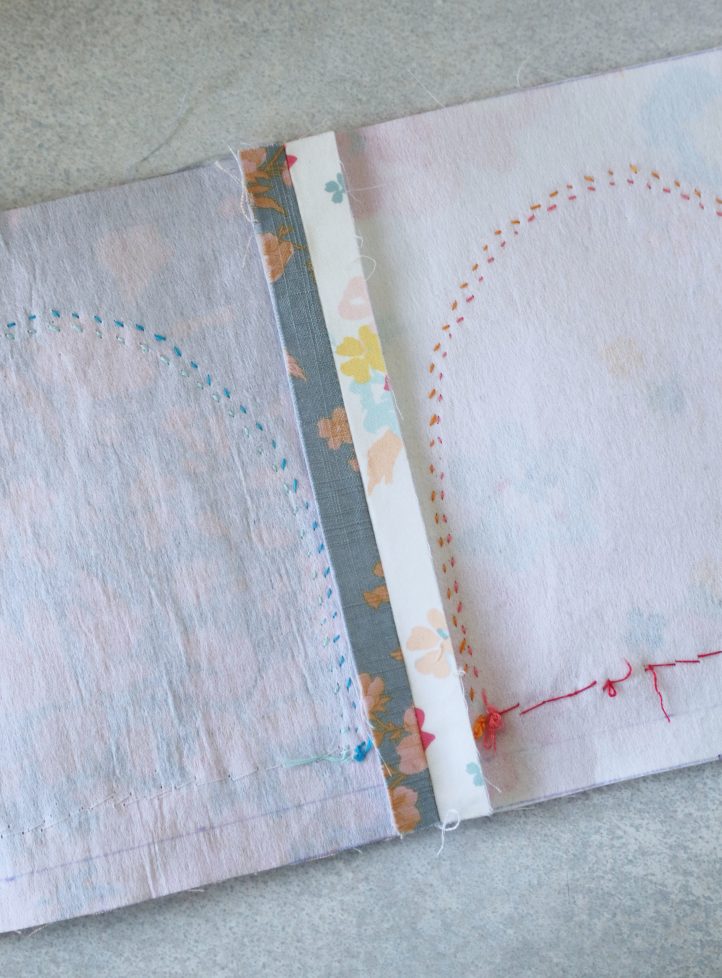
- Place the two pairs of squares together with right sides facing, making sure that the central seams line up and the edges match up, too. Stitch together along one long edge with a 1/2” seam allowance, then lay the work out flat and press the seams open, as before. Repeat Steps 1-7 to make as many appliqué rainbow blocks as you like, then assemble them to create your finished quilt top.
