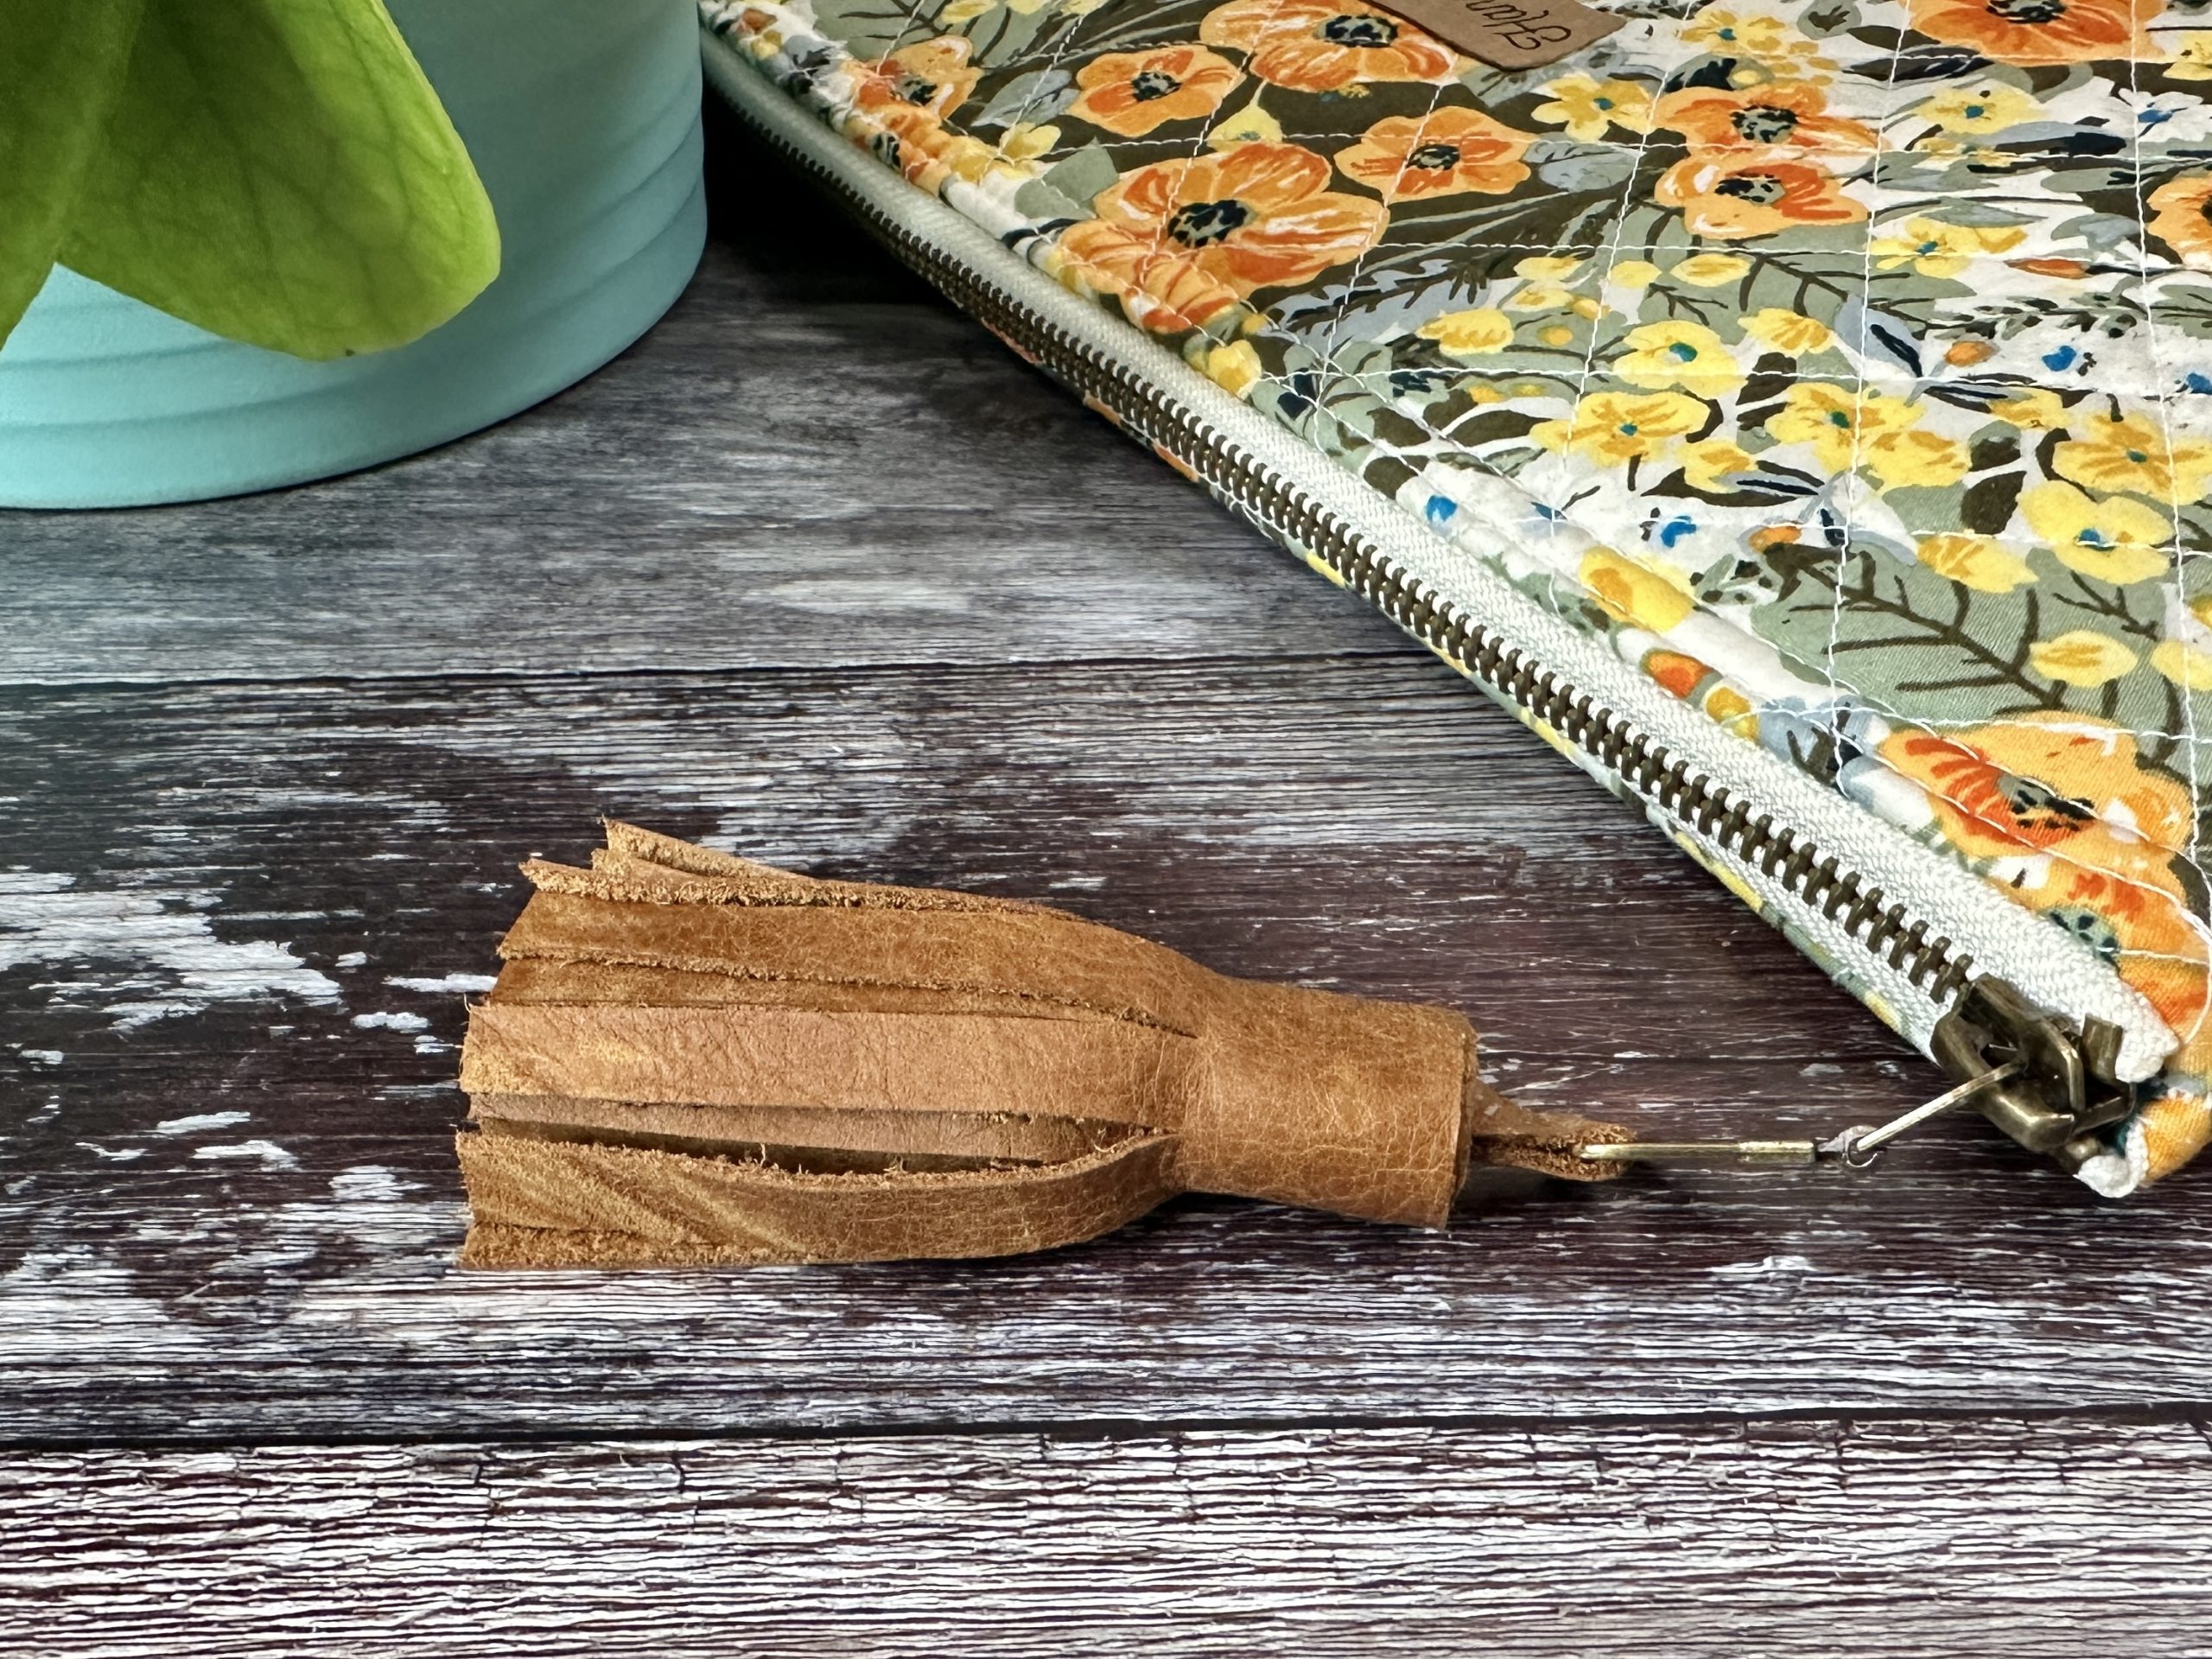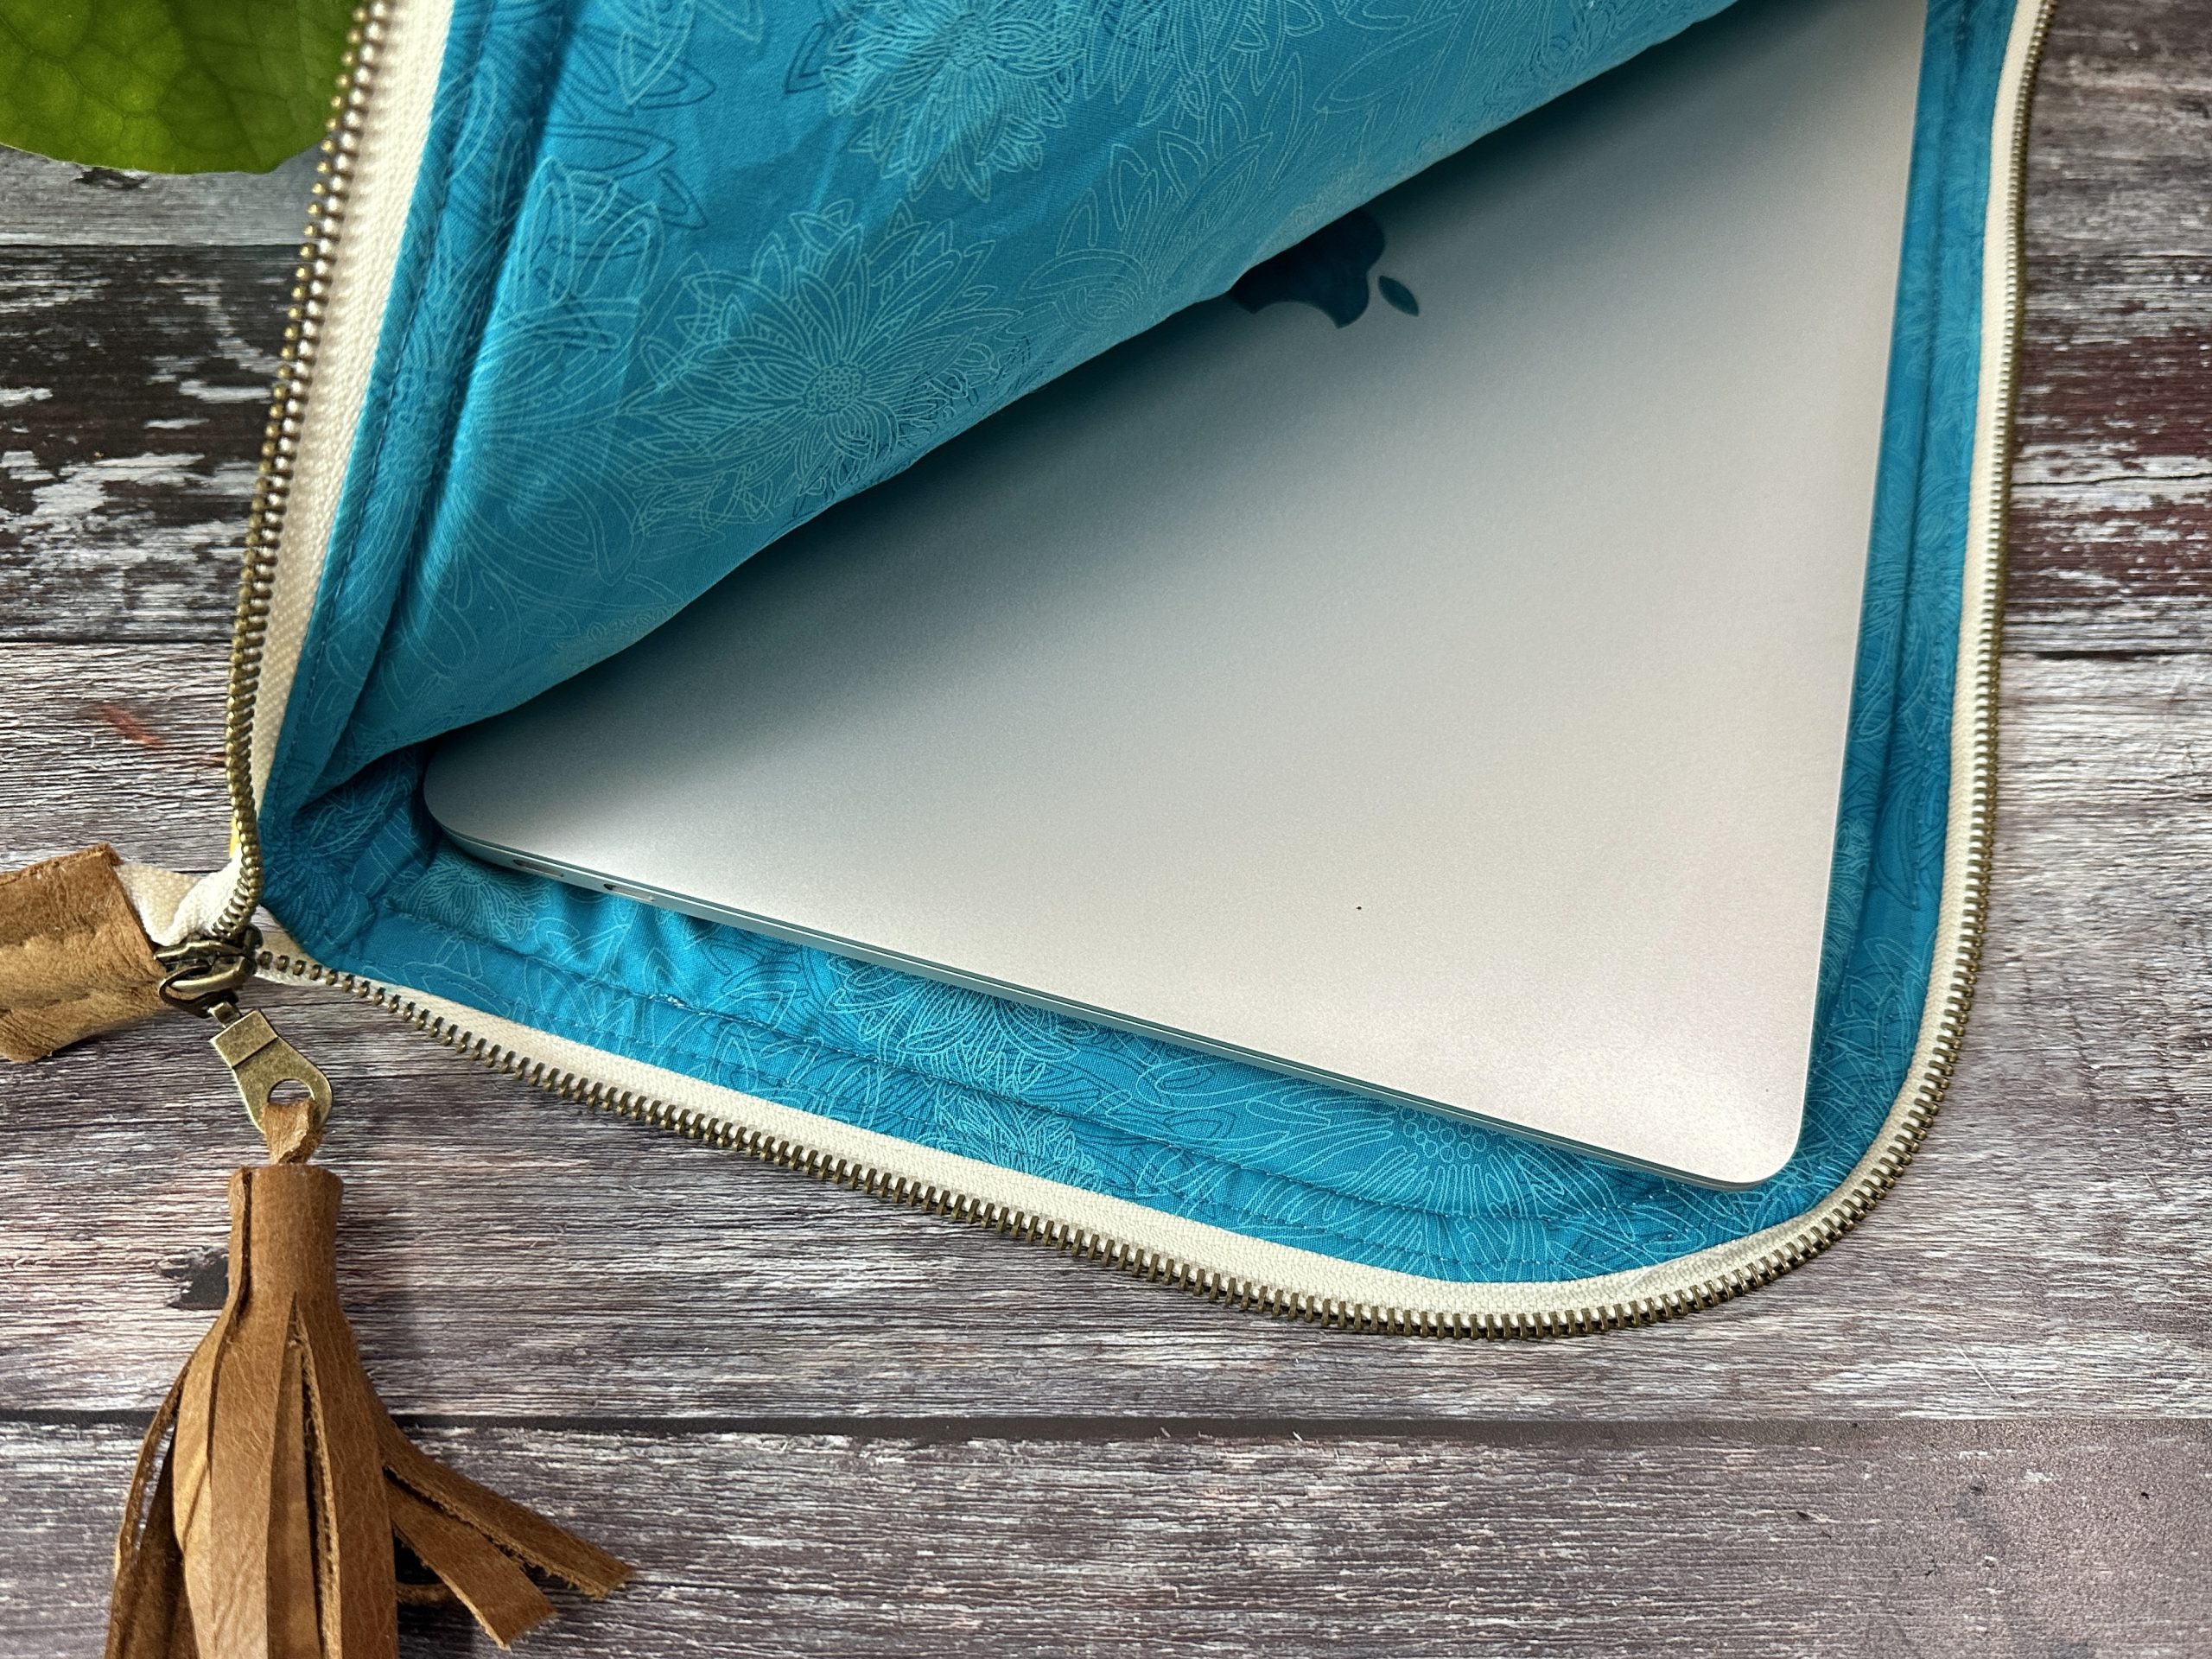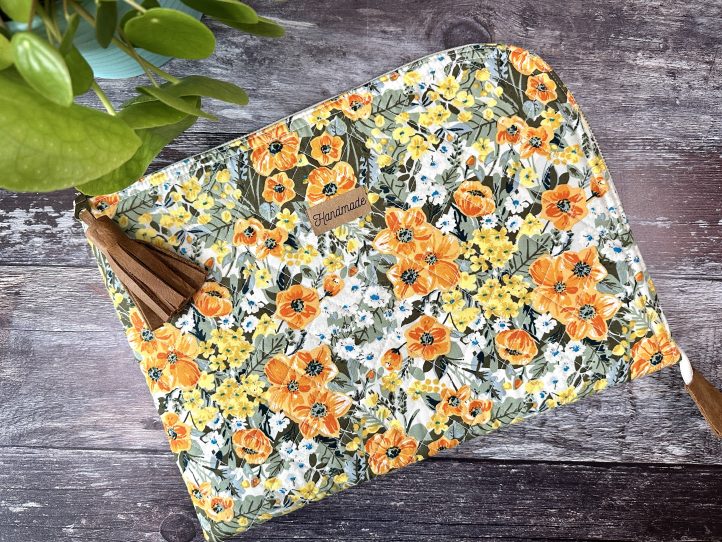
On the hunt for what to buy the college student or frequent traveler in your life? This laptop case pattern from Debbie von Grabler-Crozier is perfect for the person who is always on the go. We love the details on this quilted gift idea, which include a sturdy zipper closure and leather accents. Our pictured sample is designed to fit a MacBook Air, but this pattern is easy to customize to fit the recipient’s own laptop.
Designer Notes:
- This laptop sleeve is sized to fit a laptop 8 1/2” wide x 12” long (It fits the MacBook Air).
- Seam allowances are all 1/4” and have already been added.
Materials:
- Fabric: (Note: All fabrics are by Art Gallery Fabrics.)
- 1/2 yd. floral fabric for the exterior. The designer is using Golden Days from the Heirloom collection by Sharon Holland for AGF.
- 1/2 yd. coordinating fabric for the lining. Debbie loves Blue Lagoon from the Floral Elements collection by AGF.
- Interfacing:
- 1/2 yd. #279 80/20 cotton mix wadding (Vlieseline)
- 1/2 yd. Style-vil foam interfacing (Vlieseline)
- 1x 26” heavy duty (#5) zipper
- Scrap of leather or vegan leather about 10” square for the tassel and decorations
- Glue suitable for leather or vegan leather
- Coordinating threads for all fabrics and trims
- Scissors
- Fabric marking tools
- Extra feet for your sewing machine (zipper foot, for example)
Cutting Instructions:
From the exterior fabric:
- 2 pieces 14 1/2” wide x 10 3/4” tall for the front and back exterior panels
From the lining fabric:
- 2 pieces 14” wide x 10 1/4” tall for the front and back lining
From the thin wadding:
- 2 pieces 16” wide x 11” tall
From the leather/ vegan leather (hereafter; leather):
- 1 piece 1/4” wide x 6” long for the tassel hanger
- 1 piece 7” wide x 3” tall for the tassel body
- 1 piece 1 1/2” wide x 3 1/4” long for the zipper end tab
TIP: There are no cutting notes for the Style-Vil foam interfacing. Instructions will be given as we go along but the basic idea is to press the piece to be interfaced and then pin it to a slightly larger piece of foam interfacing. Use a machine basting stitch to attach the panel to the foam, gently keeping a taut tension on it. Then trim the excess foam away.
Piecing Instructions:
THE FRONT AND BACK PANELS:
- Lay the pressed exterior panels centrally onto a piece of thin wadding and pin so that no movement is possible in any direction.
- Set your sewing machine up for quilting (walking foot and spacer bar) and quilt both panels with a diagonal square pattern with the squares 1” apart.
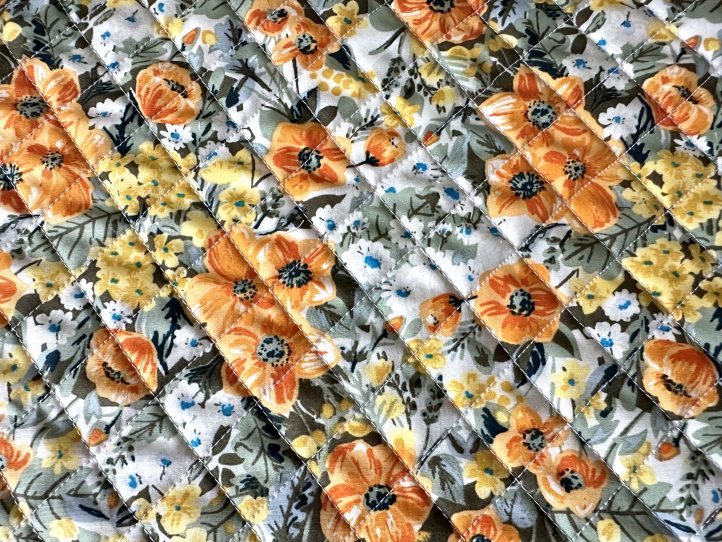
- TIP: To get going, draw the first two lines onto the panel with a removable marker and quilt the first line. Then move to the second line and position your walking foot. Position the spacer bar so that it is on the first line. Sew the second line and don’t move the spacer bar. Repeat this to go in the opposite direction to achieve the squares.
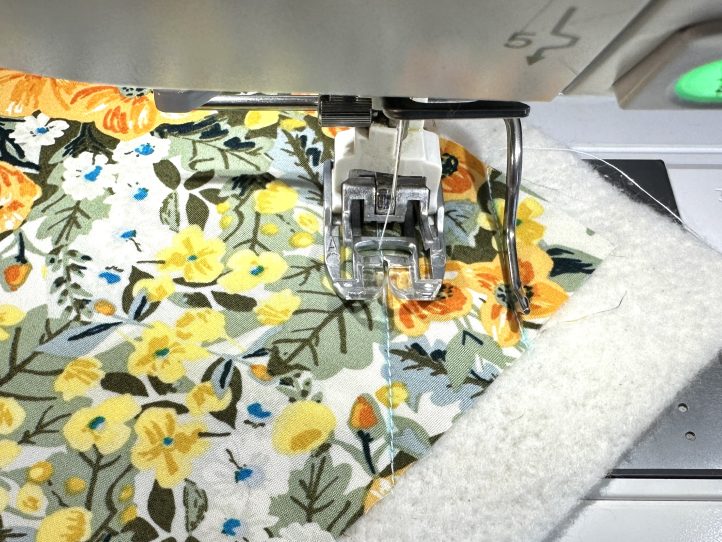
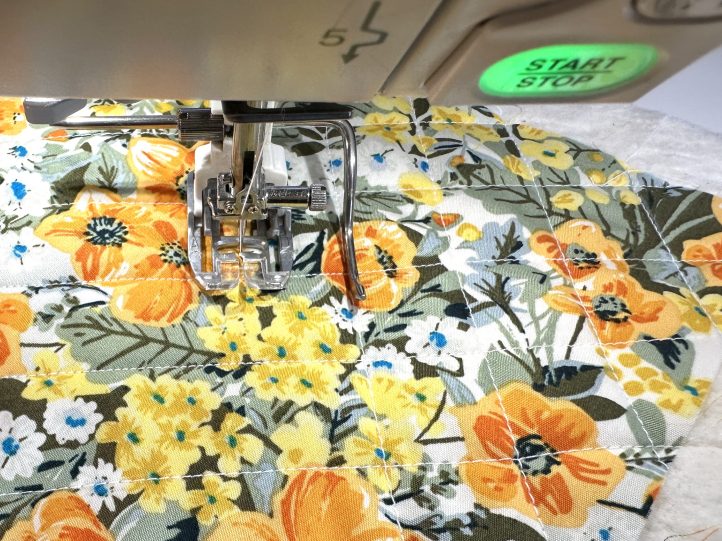
- Repeat for the other exterior panel. Trim the excess wadding from both panels.
- The case has a curve, which goes to the top left or right hand corner. To achieve the curve, simply draw around a small plate (about 7” diameter) and cut out.
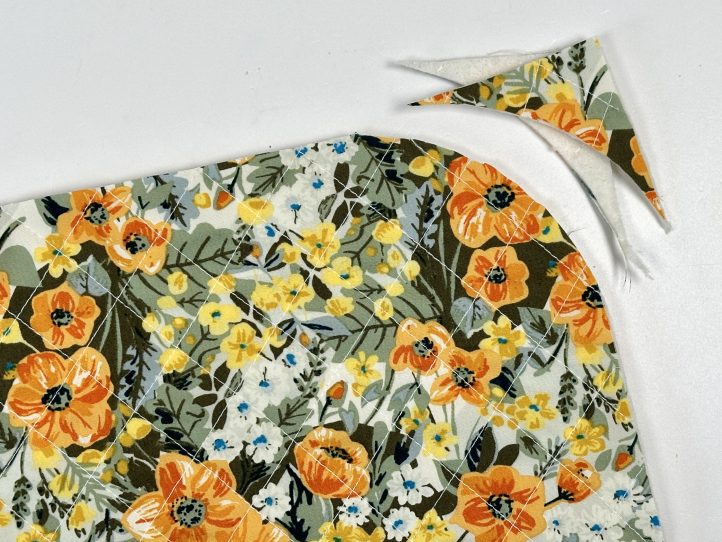
- TIP: Make sure that the curve that you cut is mirror image! Place the panels together and double check before you commit to the scissors.
- Lay both panels onto slightly larger pieces of Style-vil and attach with a narrow (1/8”) basting seam all around. Trim the foam interfacing back to the fabric edge.
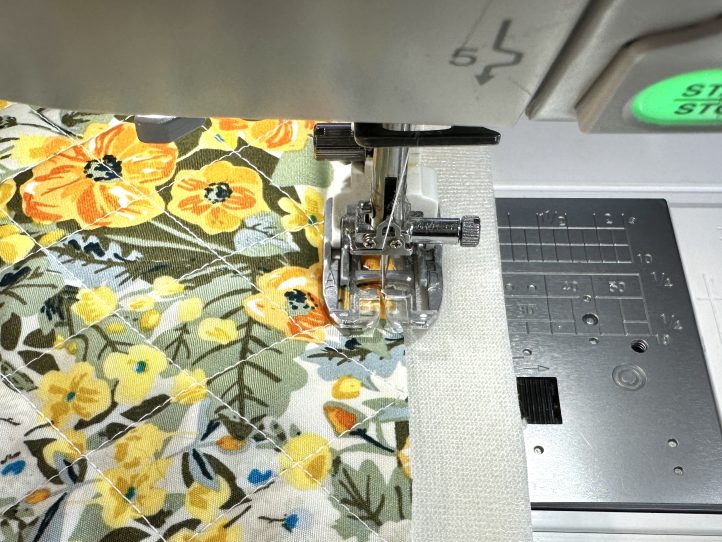
- With the right sides together, sew the front of the case to the back leaving the top and the right hand side open. Sew the bottom (longest) seam only.
THE LINING AND THE MAIN ZIPPER:
- Cut two pieces of lining fabric and sew them on the bottom edge. Leave a gap somewhere for turning out. Press the seam open.
- Cut the same curve as you did for the exterior going through both pieces of lining.
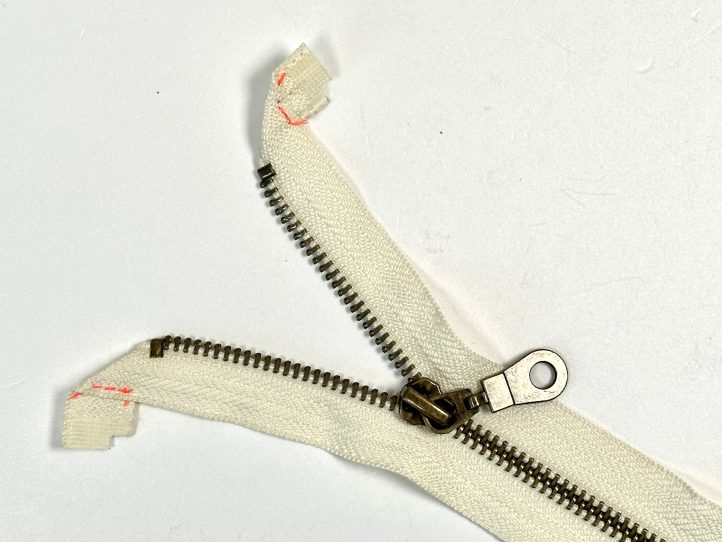
- On the opening end of the zip, fold the tapes up and under and secure them with a few stitches.
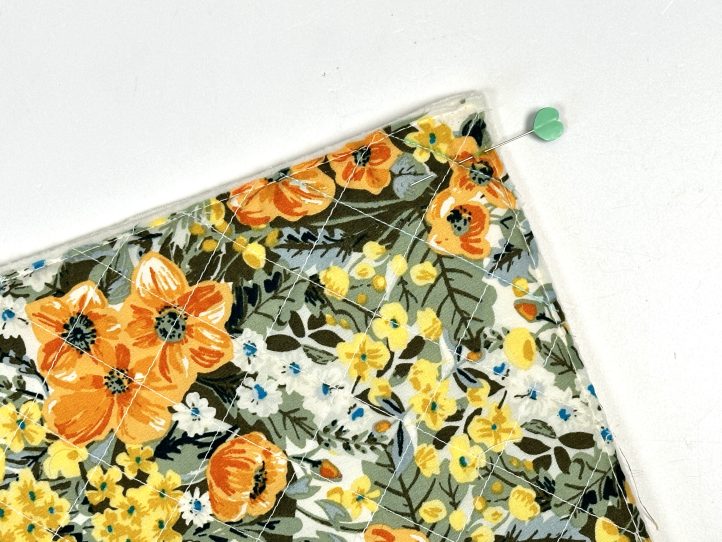
- Open the exterior out like a book (this is why the zipper is longer than needed) and have it right sides facing up. Make a mark 3/4” in (shown in the image below by a pin to make it easier to see on the busy fabric) from the edge to begin the zipper. Make this mark on both sides. Make a second mark on both sides of the zipper tape 21 1/2” from the open end. This will be the end of the stitching.
- Open the zip out right to the end. Pin or clip the zipper to the exterior, right sides together.
- TIP: Where the zip goes around the curve, it is helpful to make some small snips in the zipper tape to help it fit the curve. Make sure that these are no more than 1/8” in to keep them well inside the seam allowance.
- Baste the zip to the exterior, beginning at the open end and finishing with a backstitch for extra strength right on the mark on the zipper tape.
- TIP: It is ESSENTIAL that the tail of the zip is right in the middle of the seam where it exits the bag to keep it from distorting everything when the case is closed.

- Baste the zip in.
- TIP: The zipper tail is a bit longer than needed so trim it to about 2” overhang and sew a new stopper onto the end.
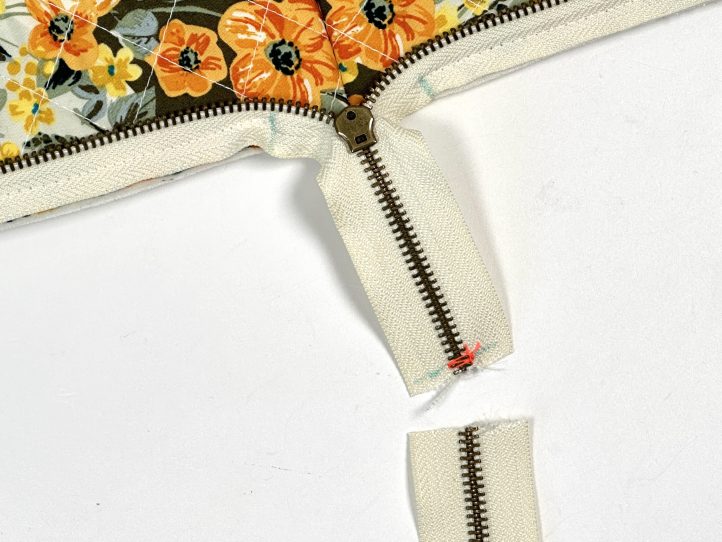
- TIP: This will be covered with the leather tab when the case is finished.
ADDING THE LINING:
- Lay the lining, right sides together, over the exterior and pin or clip. Tuck the zipper tail up out of the way so that the sewn parts curve gently as you see in the photo. They should not be distorted or pull in any way.

- Sew the lining in, following the zipper. The remaining flat side will still be open at this point.
- Notch the curves.
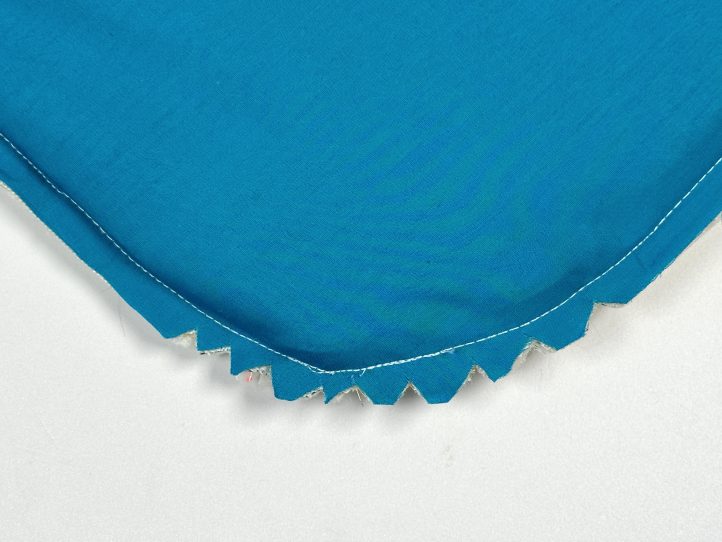
- Finish the last seam by pinning exterior to exterior and lining to lining, right sides together, and sewing right down the seam.
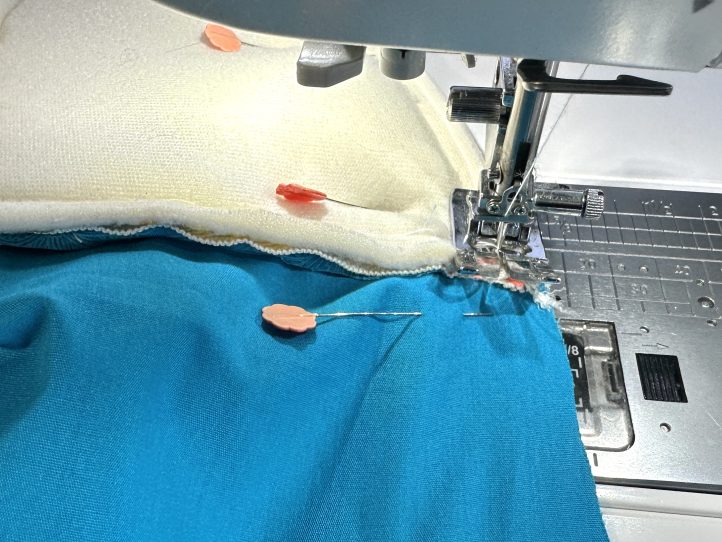
- TIP: The bag will be rather an odd shape at the moment, but it will all lay properly when it is the right way out.
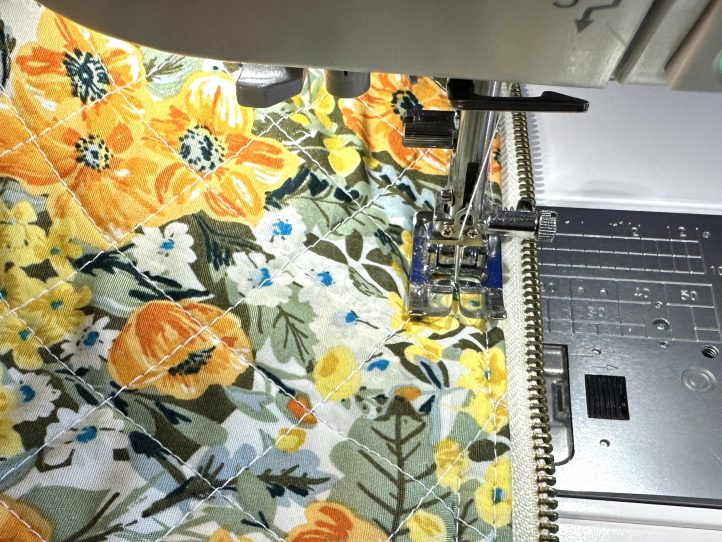
- Turn the bag the right way out through the gap in the lining. Poke the corners out where needed and topstitch twice around the zip. The first pass at 1/8” and the second 1/4” under that.
- Close the gap in the lining.
THE EMBELLISHMENTS:
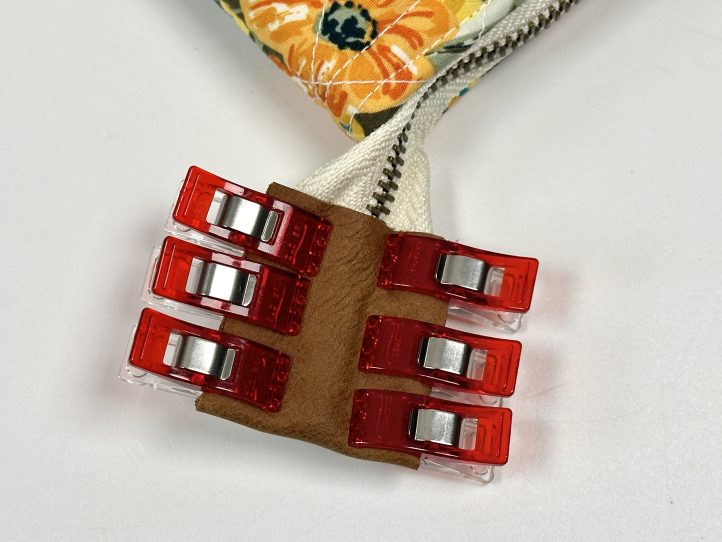
- Glue the leather zipper tab to the tail end of the zip and clip it until it dries.
- Thread the long piece of leather through the zipper pull and settle the pull in the middle. Place a small dab of glue onto the ‘wrong’ or suede side of the leather to keep it together.
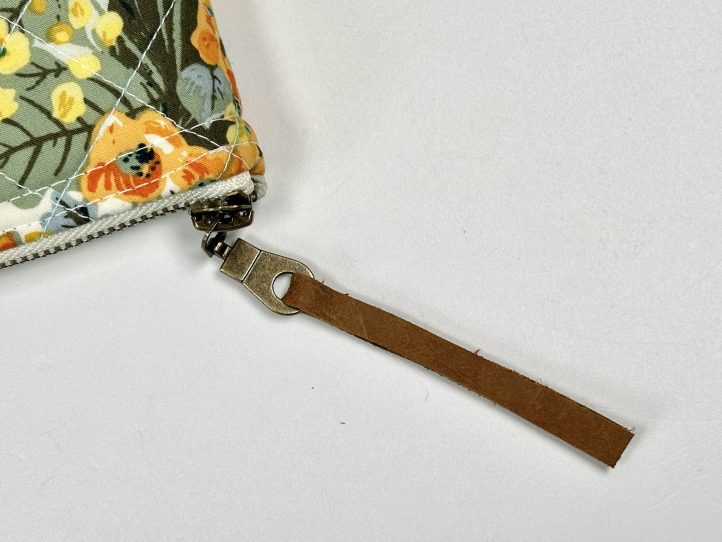
- TIP: Making the tassel straight onto the zipper pull like this is a bit of a chore but if you use a swivel clip, it makes the tassel too long at the top.
- Cut 1/4” strips on the larger piece of leather which start at the bottom and extend 2 1/4” in.

- TIP: A sharp craft knife is the easiest way to do this. However, if all you have is a decent pair of scissors, they can work well too.
- Spread a small amount of glue on the wrong side of the uncut portion of the leather at the top.
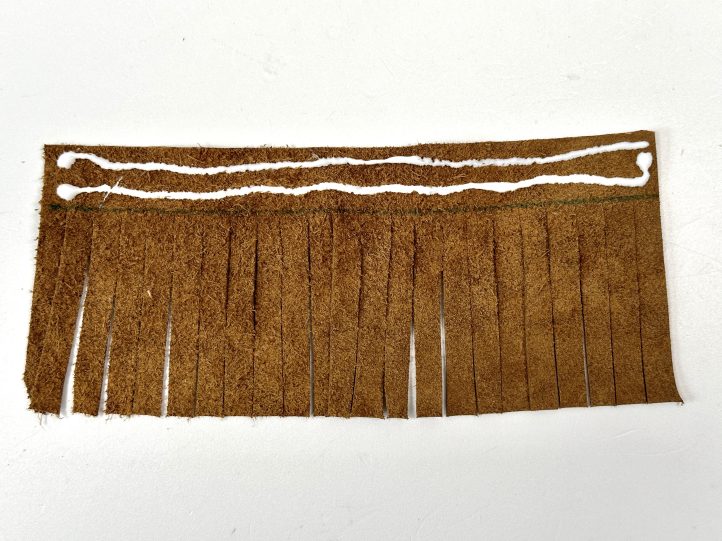
- Roll the larger piece of leather around the long piece (the fiddly part of the job) and clip it until it is dry.
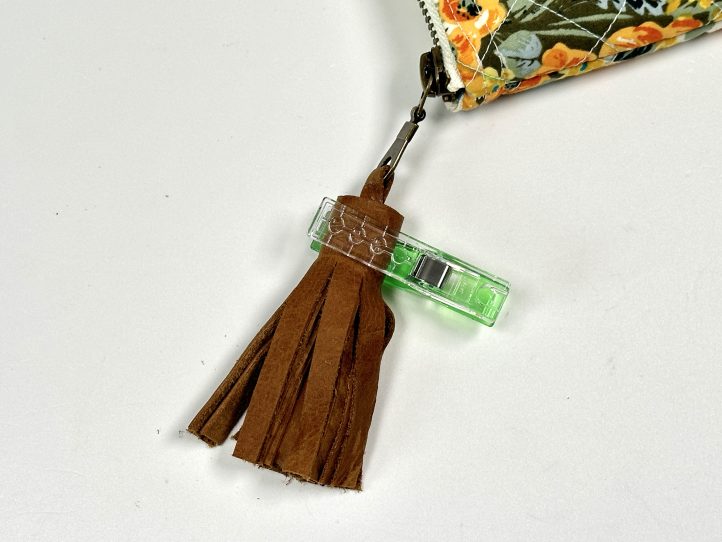
- TIP: To get started, it is actually easier to rotate the bag and leave the glued leather flat on the table.

