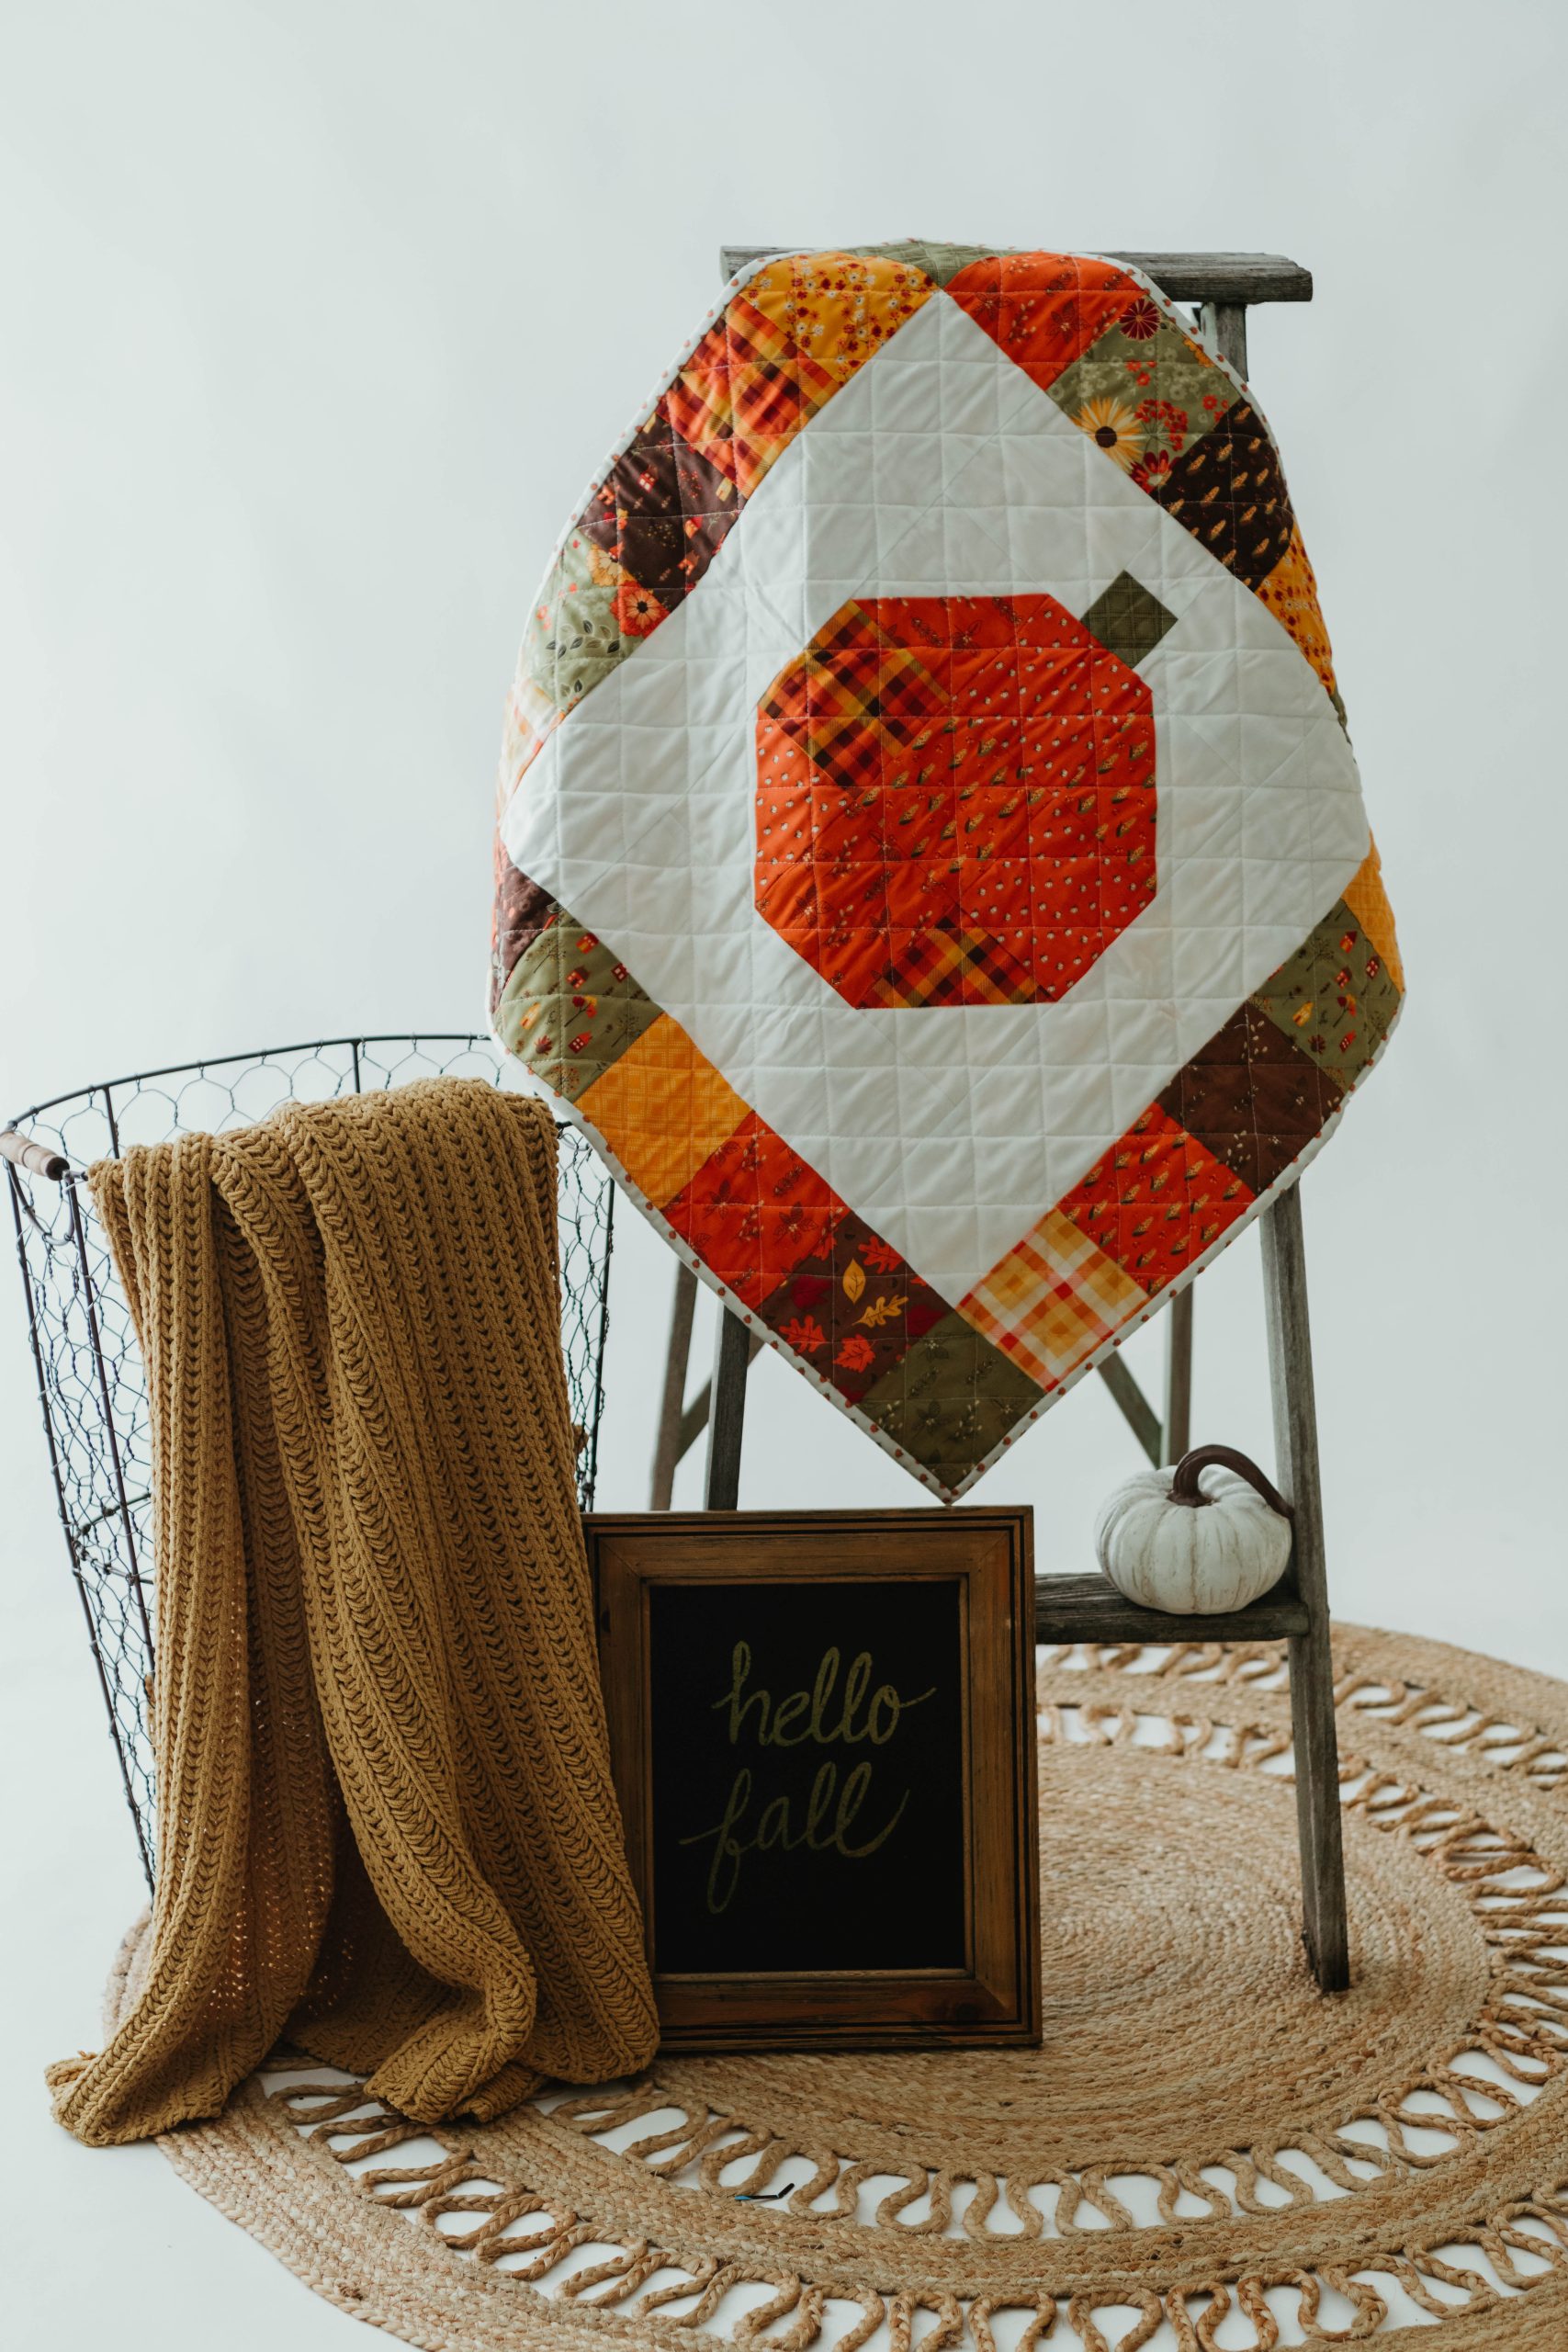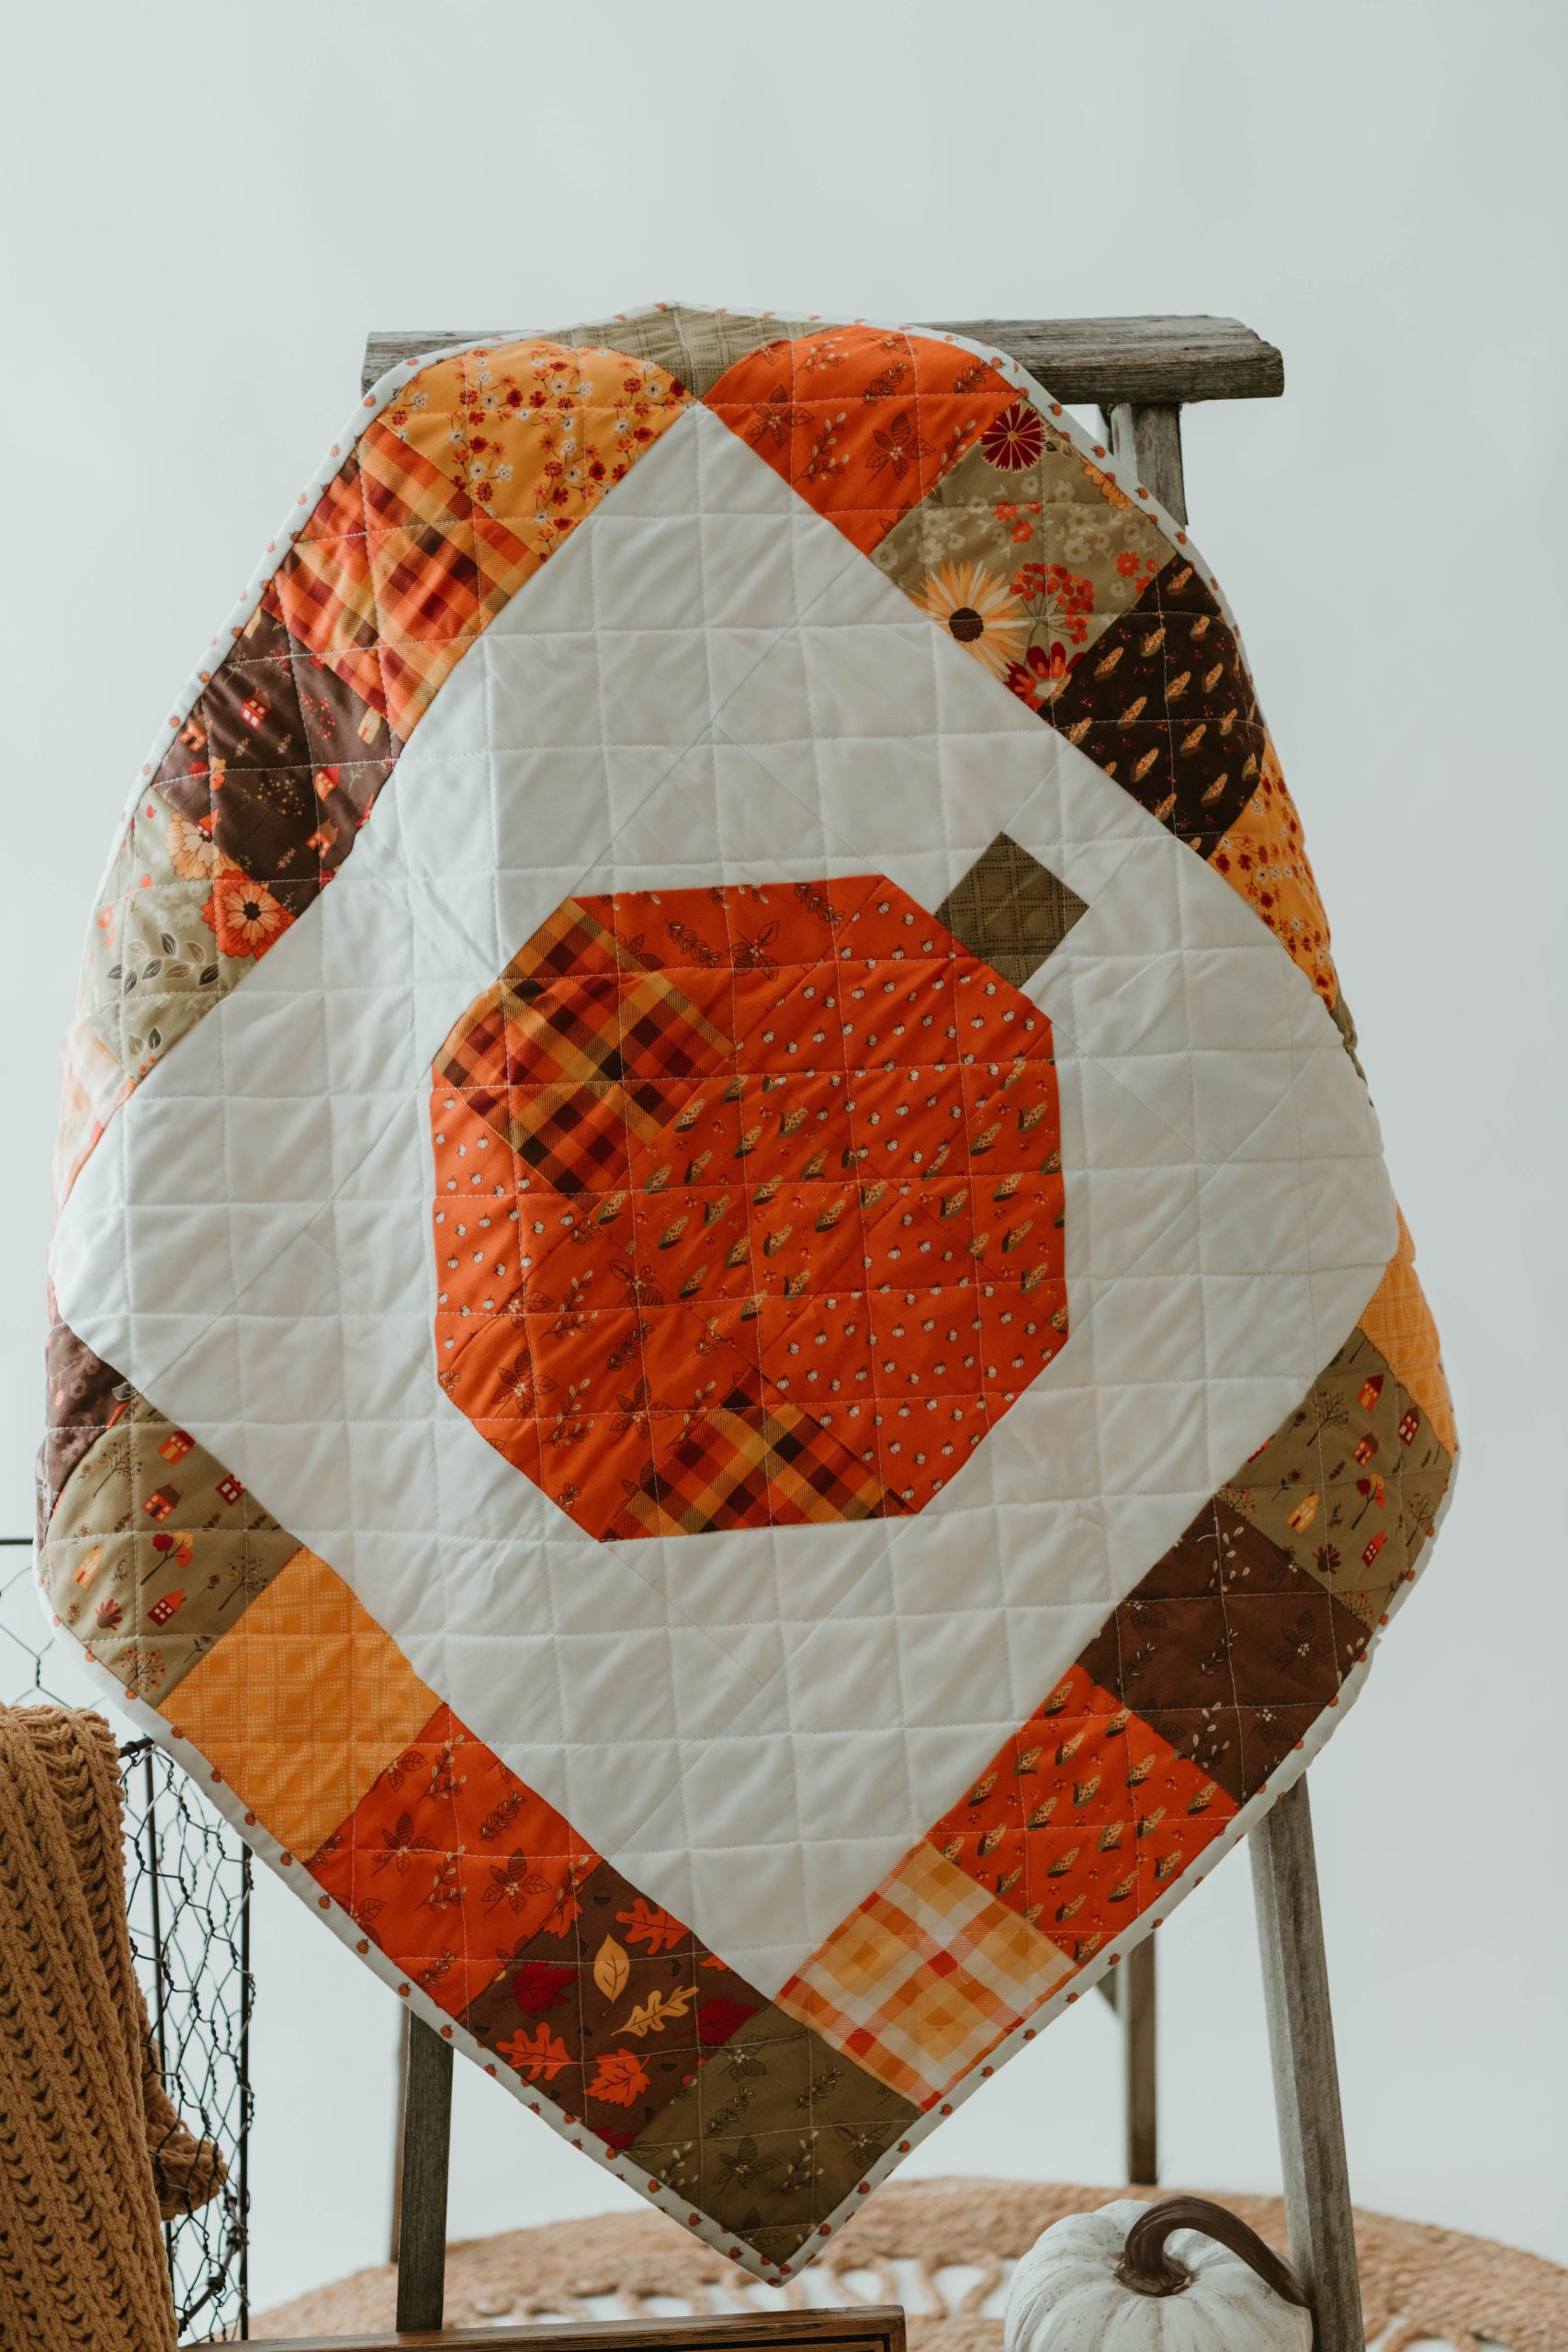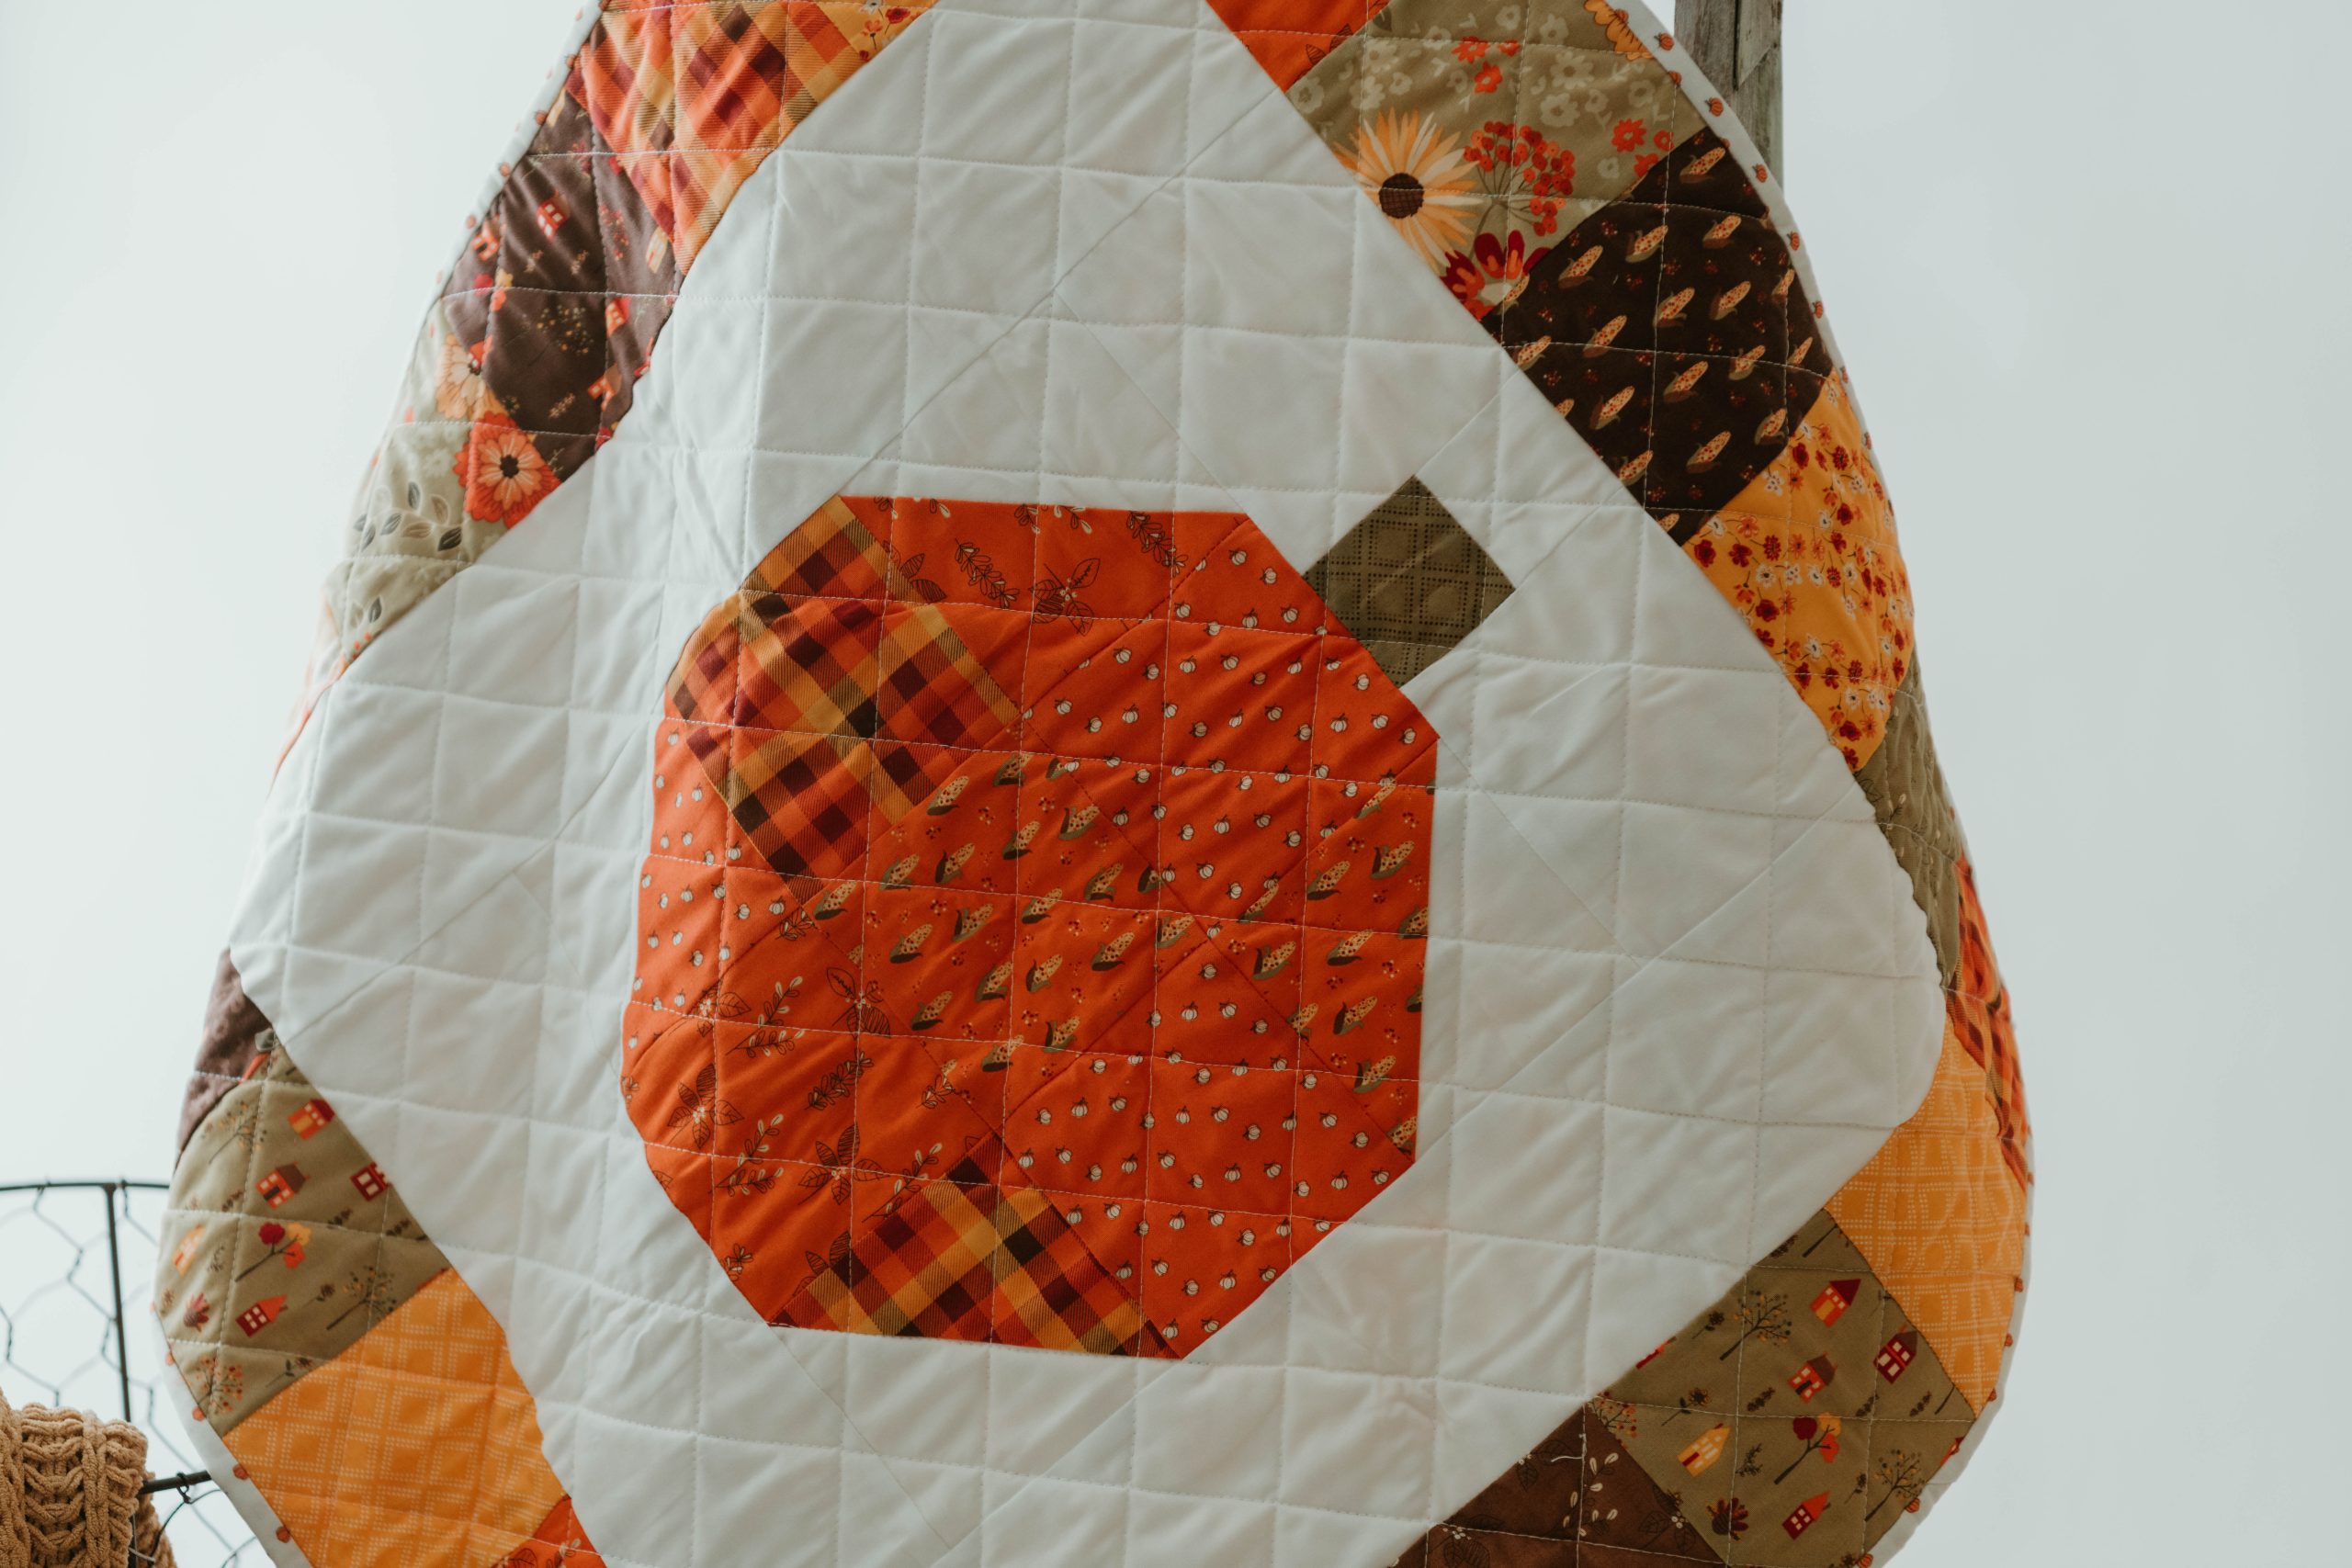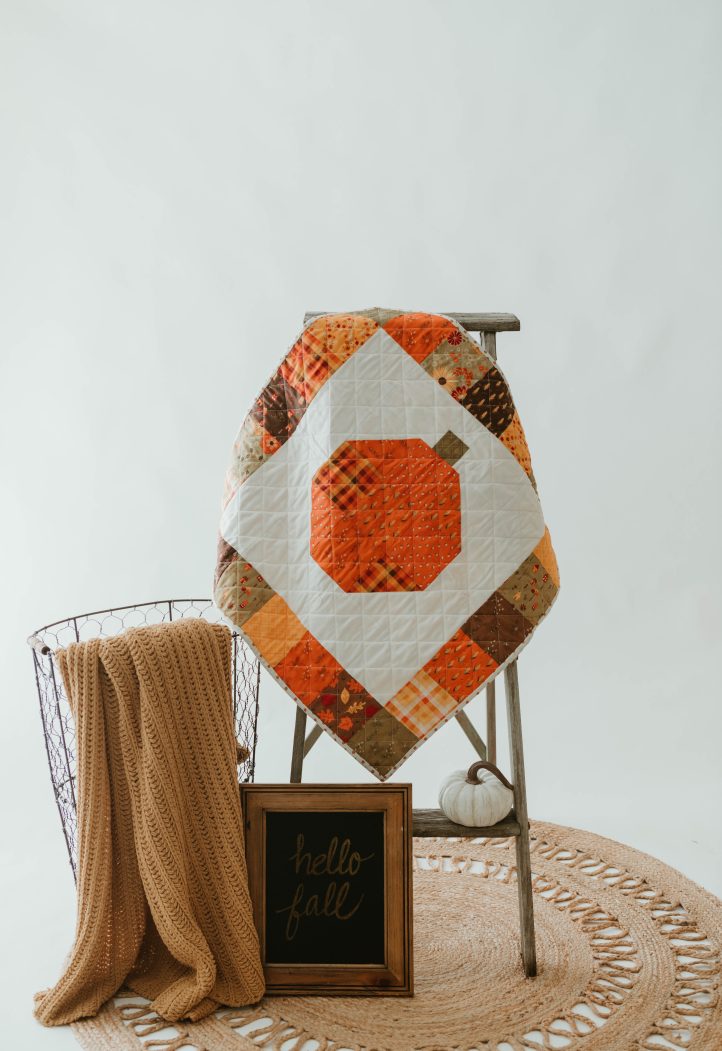
Pumpkin season has arrived! Create your own cute, country wall hanging with this delightful quilt pattern from Rachel Nielsen. Perfect for charm squares, this fall wall hanging pattern features a central patchwork pumpkin surrounded by a colorful border that showcases fun fall prints. Make your pumpkin quilt in traditional autumn colors as shown in the sample for Thanksgiving and fall or add splashes of black, purple and acid green for spookier Halloween vibes.
Finished Size: 28” x 28”
Seam Allowances: 1/4″
Designer Notes:
- Please read all instructions before beginning.
- Fabrics used are Kona White and Fall’s in Town fabric line by Sandy Gervais for Riley Blake
Materials:
- Fabric: (Note: A charm pack works great for the pumpkin and border.)
- 5 inch squares in various shades of orange, brown, yellow and green (34 squares needed)
- 1/3 yard cream fabric
- 1 yard backing fabric
- 1/4 yard binding fabric
- Sewing machine
- Thread
- Scissors
- Pencil
- Iron/ironing board or mat
- Cutting board/rotary cutter/straight edge ruler
- Half square triangle square up ruler
Cutting Instructions:
From 5 inch squares:
- Cut 4) 5 inch squares in orange
- Cut 29) 4 1/2 inch squares from a variety of colors.
- 5 brown
- 6 yellow
- 7 green
- 11 orange
- Cut 1) 2 1/2 inch square in green.
- Cut 29) 4 1/2 inch squares from a variety of colors.
From cream fabric:
- Cut 4) – 5 inch squares.
- Cut 2) 20 1/2” X 4 1/2”.
- Cut 1) 12 1/2” X 4 1/2”.
- Cut 2) 5 1/2” X 4 1/2”.
- Cut 1) 2 1/2 “X 2 1/2”.
Piecing Instructions:
MAKING THE PUMPKIN:
Making the Half Square Triangles (HST’s):
- Begin by choosing the fabrics to use for your pumpkin.
- Select 4 orange fabrics to create half square triangles with. You will also need 4 cream squares. They should all be 5 inches square.
- Using a marked quilting ruler is ideal for this. Draw a line from point to point on the square cream fabric.
- With a pencil, draw two lines, each 1/4 inch away from the center line on the cream fabric.
- With right sides together, sew the marked cream square to an orange square, stitching along both 1/4 inch drawn lines.
- Cut the square from corner to corner between the sewn lines.
- This will make two HST’s; you will only need one. (Unless you don’t mind repeated fabrics. Then you can use them both and repeat this process only once.)
- Trim to 4 1/2 inches square using a HST square up ruler.
- Press the block open with the seam toward the colored fabric.
- The square should be 4 1/2 inches.
- Repeat 3 more times.

SEWING THE PUMPKIN:
- Using the 4 half square triangles and 5) 4 1/2” orange squares, lay them out in a pleasing arrangement.
- The half square triangles should be in the four corners with the cream fabric pointing outward.

- Sew the squares together to form a 9-patch.
- Sew together each square in each row. Tip: To achieve perfectly nested seams, press the top and bottom rows with the seams toward the middle block. Press the middle row with the seams away from the middle block.
- Sew the rows together.
- The pumpkin should be 12 1/2 inches square at this point.

ADDING THE STEM AND CREAM BORDER:
- Select the green and cream 2 1/2 inch square pieces and sew them together.
- Sew a 5 1/2” X 4 1/2” cream piece of fabric to both sides.

- Sew the stem piece to the top of the pumpkin.
- Sew a 12 1/2” X 4 1/2” piece of cream fabric to the bottom of the pumpkin.
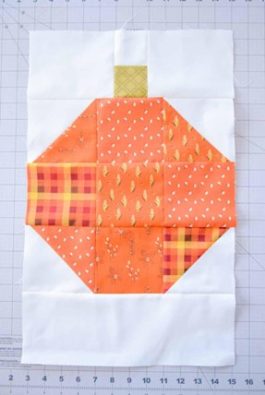
- Sew a 20 1/2” X 4 1/2” piece of cream fabric to both sides of the pumpkin.

ADDING THE BORDER:
- Arrange the 4 1/2 inch squares around the edges.
- Sew together 5 blocks on each side into a strip.
- Sew together 7 blocks on the top and bottom into a strip.
- Sew the sides to the center.
- Sew the top and bottom to the center.


FINISHING THE QUILT:
- Trim your backing and batting to be 2-3 inches bigger on each side of your quilt.
- Sandwich the quilt by placing the backing piece right side down, the batting piece, and then the quilt top with the right side up. Pin in place to secure.
- Quilt as desired.
- Trim batting and backing to match the top.
BINDING THE QUILT:
- Cut strips of fabric 2 1/2 inches long.
- Sew strips together end to end. Fold and press the fabric in half lengthwise with the right side out to create the binding.
- Bind the quilt.
- Finished quilt size is approximately 28” x 28”.

