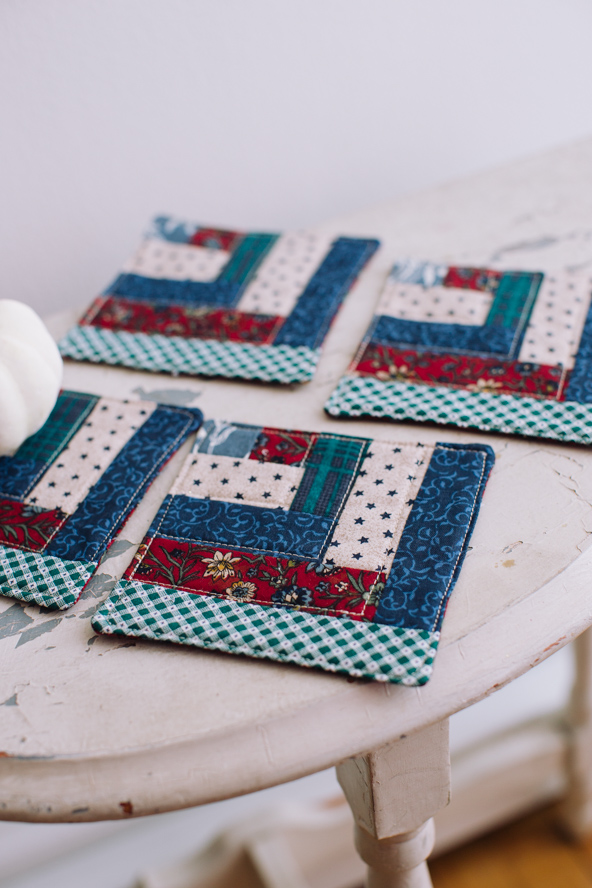
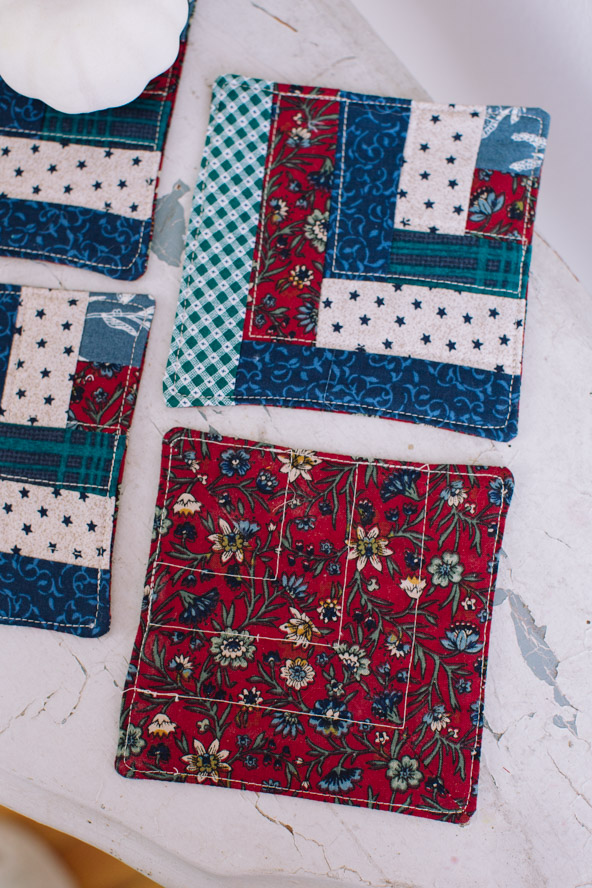
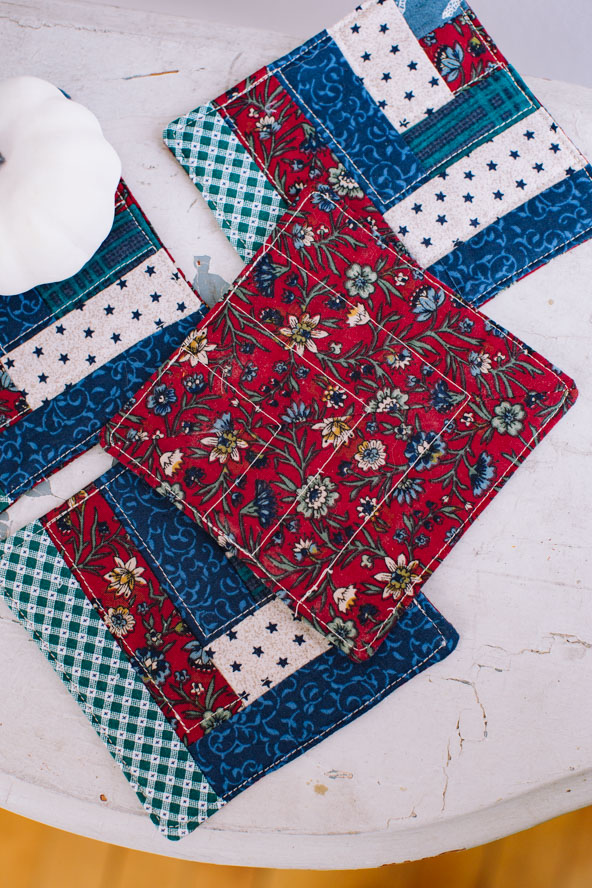
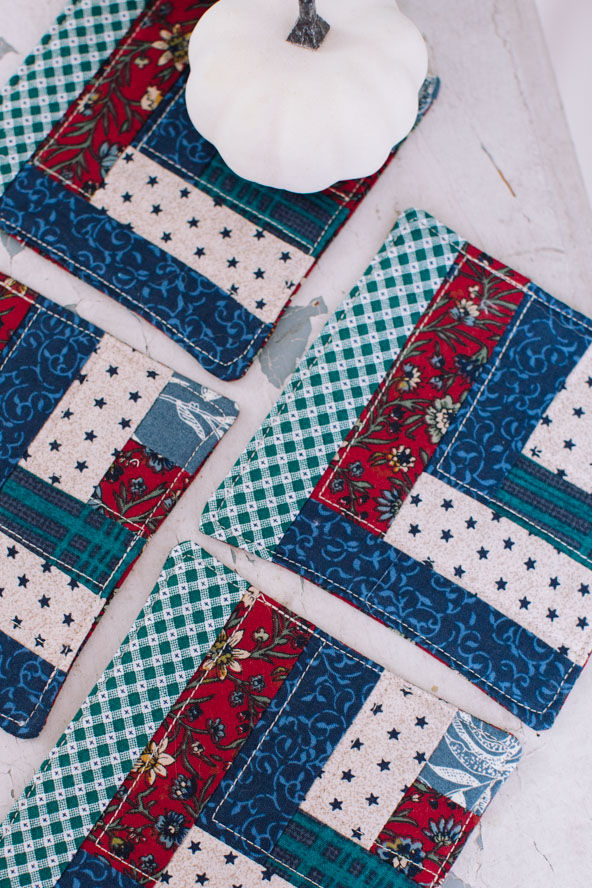
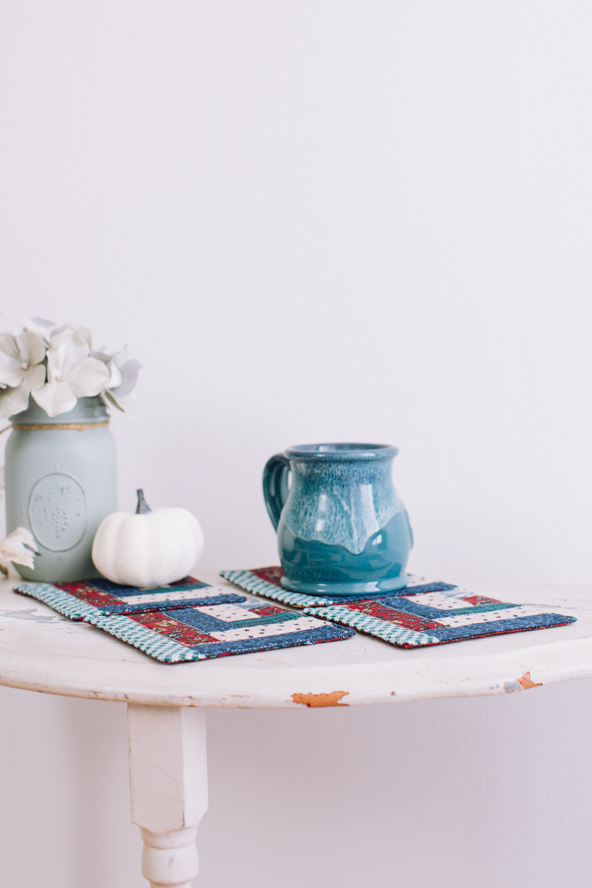
The classic log cabin quilt block gets made mini with these rustic chic quilted coasters. Designed by Janice Bailor, these quilted coasters are a genius way to use up small fabric scraps, finishing at approximately 4 3/4” squares. Sew a set of four coasters for yourself in the shades of early winter like crimson and denim blue or make a gift set for your friends in cheerful holiday colors.
Skill Level: Easy
Finished dimensions: 4 3/4” square drink coaster set of four
Seam allowances: Scant 1/4” patchwork
Designer Notes:
- Perfect project for little scraps of fabric and batting
- Hand stitching optional
- “RST” means Right Sides of fabric together
Materials:
- Various cotton scraps or 5 Fat Eights
- Backing Fabric – 1/8 yard or 1 fat quarter
- Batting Material – 1/8 yard or 1 fat quarter
Tools:
- Rotary cutter, mat and acrylic ruler
- Blunt stick, such as a chopstick
Instructions:
CUTTING:
- Line up selvages and press all fabrics to remove any creasing or wrinkles.
- Neaten and trim up the cut edges along the WOF (Width of Fabric) with a rotary cutter, ruler and cutting mat as required to create an even edge.
- From the newly trimmed edge, use the cutting mat grid and acrylic ruler to cut:
-
- Blue Print:
- 4- 1 1/2” square
- 4- 1 1/2” by 3 1/2” rectangle
- 4- 1 1/2” by 4 1/2” rectangle
- Blue Print:
-
- Red Print:
- 4- 1 1/2” square
- 4- 1 1/2” by 4 1/2” rectangle
- Red Print:
-
- Brown Print:
- 4- 1 1/2” by 2 1/2” rectangle
- 4- 1 1/2” by 3 1/2” rectangle
- Green Print:
- 4- 1 1/2” by 2 1/2” rectangle
- 4- 1 1/2” by 5 1/2” rectangle
- Brown Print:
UNIT PIECING DIRECTIONS:
- Begin by placing the 1 1/2“ squares RST and sew a scant 1/4” along the right side. Open and press the seam toward the darker fabric.
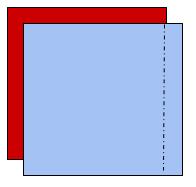
- Place the right sides (patterned sides) of the joined square fabrics together with the 1 1/2” by 2 1/2“ rectangle, lining up the raw edges. Sew together along the right edge. Open and press to the 2 1/2“ rectangle.
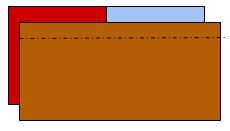
- With RST, line up the remaining 2 1/2“ rectangle along the 1 1/2“ square and 2 1/2“ rectangle joined side and stitch together.
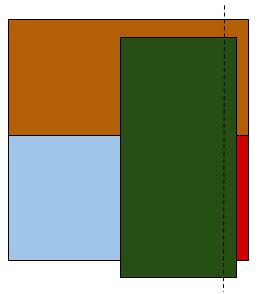
- Continue lining up the rectangles RST along the right sides of each joining seams, as follows:
- Blue 3 1/2“ on top of green 2 1/2 and brown 2 1/2“ rectangle joint.
- Brown 3 1/2“ to the side of green 2 1/2“ and blue 3 1/2“rectangles joint. c. Red 4 1/2“ on top of brown 3 1/2“ and blue 3 1/2“ rectangles joint.
- Blue 4 1/2“ to the side of brown 3 1/2“ and red 4 1/2“ rectangles joint.
- Green 5 1/2“ on top of blue 4 1/2“ and red 4 1/2“ rectangles joint. See Figure 4 below.
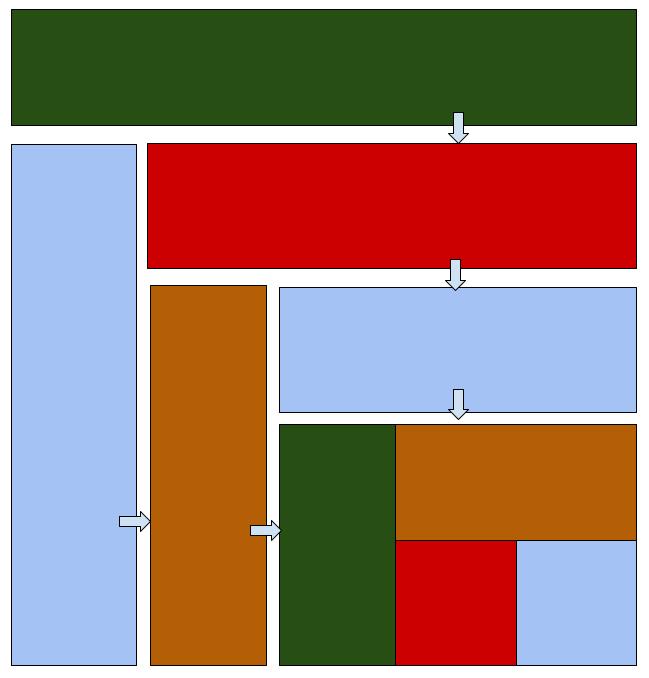
- Repeat for the remaining coaster units. Trim and square up each log cabin unit to approximately 5 1/4“ square.
QUILTING AND FINISHING:
- Place each Log Cabin coaster unit right side up in the center of a 6” batting square. Place a pin in the center of each square to hold the pieces together.
- Quilt the batting and Log Cabin unit together by stitching 1/4“ out from the interior seams, or as desired.
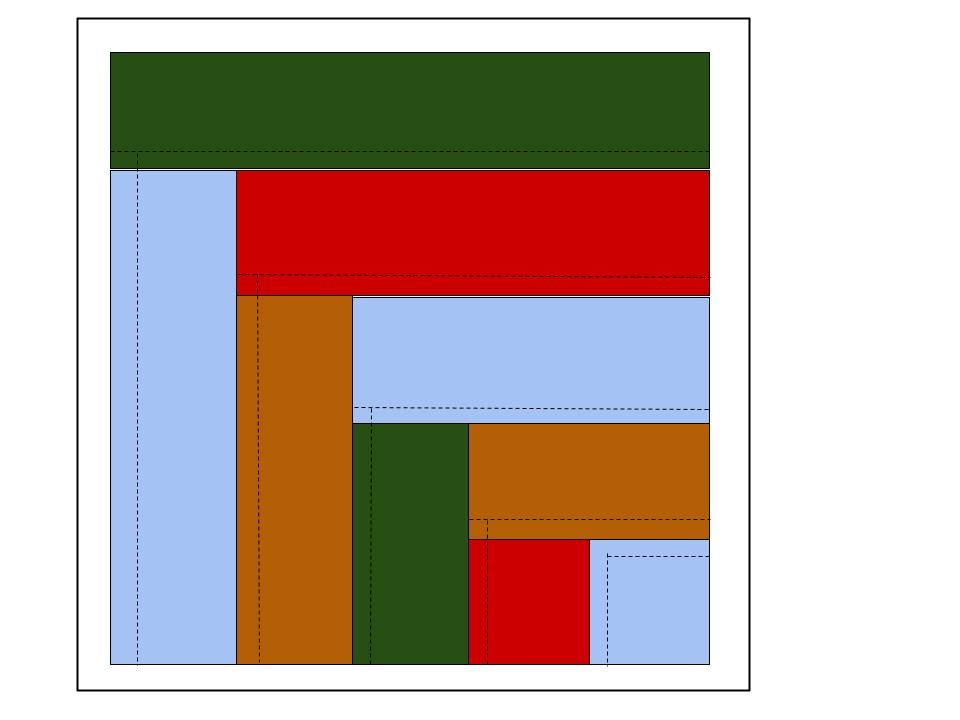
- Trim batting even with the edges of the quilted Log Cabin unit. Repeat for all coasters.
- Center the quilted Log Cabin unit right sides together on a 6” backing fabric square. Add pins to each corner to hold in place.
- Stitch around the entire outer edge of the quilted Log Cabin unit pivoting the needle in the corners. Leave an approximate 1 1/2“ opening on one edge to turn the unit right sides out after sewing.
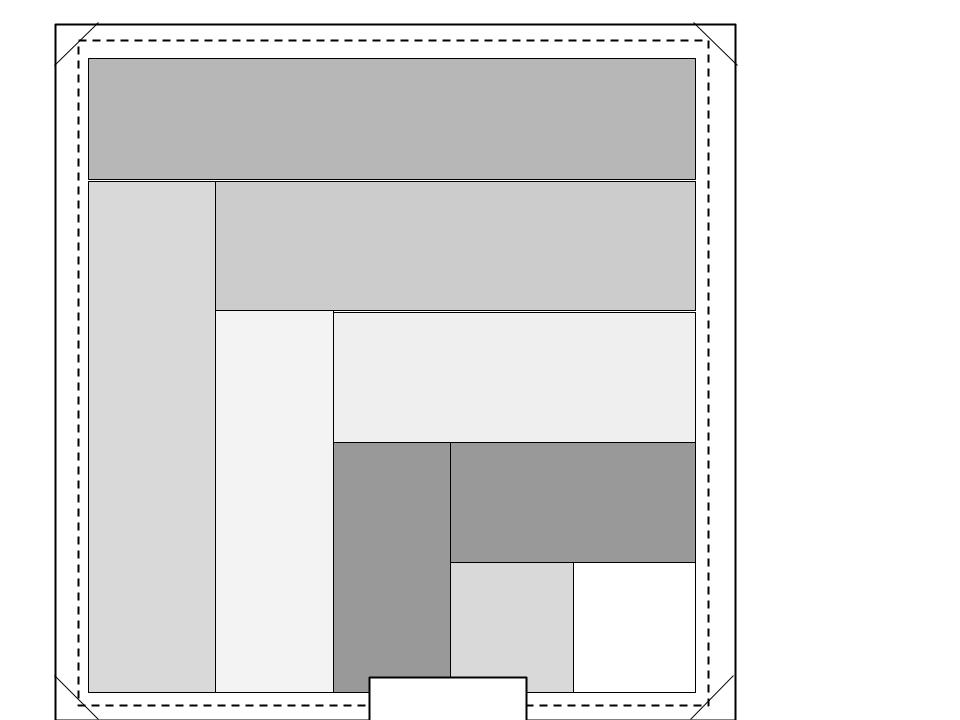
- Trim excess fabric from the corners of the coaster unit by cutting on a diagonal 1/8“ to the outside of the stitch line. See Figure 6 above.
- Using the 1 1/2“ opening, reach your fingers inside and pull the right sides of the fabric out. Use a blunt stick, such as a chopstick to gently poke out the corners. Press the entire coaster flat with a hot iron. Repeat for remaining coasters.
- Sew a seam 1/8“ from the edge of the coaster all of the way around the unit to close the turning opening and finish the coaster. See Figure 7 below.
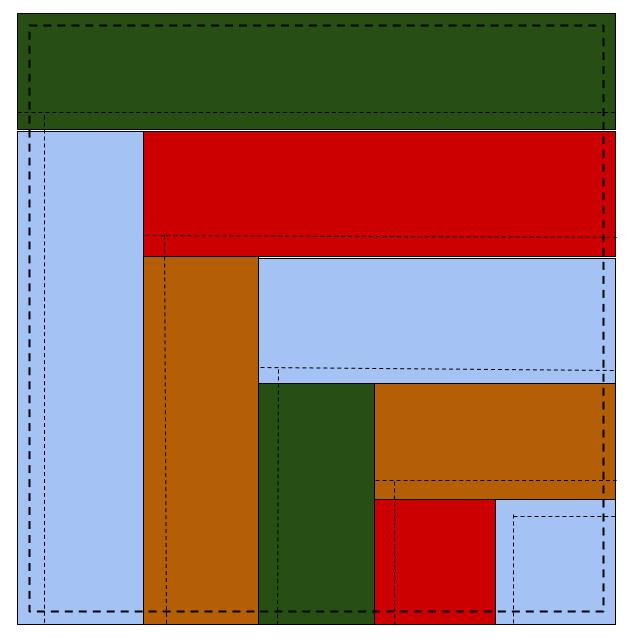
- Repeat for all remaining coasters to finish the set.

This is my next project! A great pattern to “head start” my Christmas gifts for this year!
We’re so glad you enjoyed this pattern, Jennifer! Have a great day 🙂 – Ashley, We Like Quilting
Your log cabin coasters aren’t right. There are supposed to be 2 small squares in the center and then the long one gets sewn to the 2 small squares.
Sorry never mind ???? my comment. Its right. I’m just not used to seeing only part of it. Lol