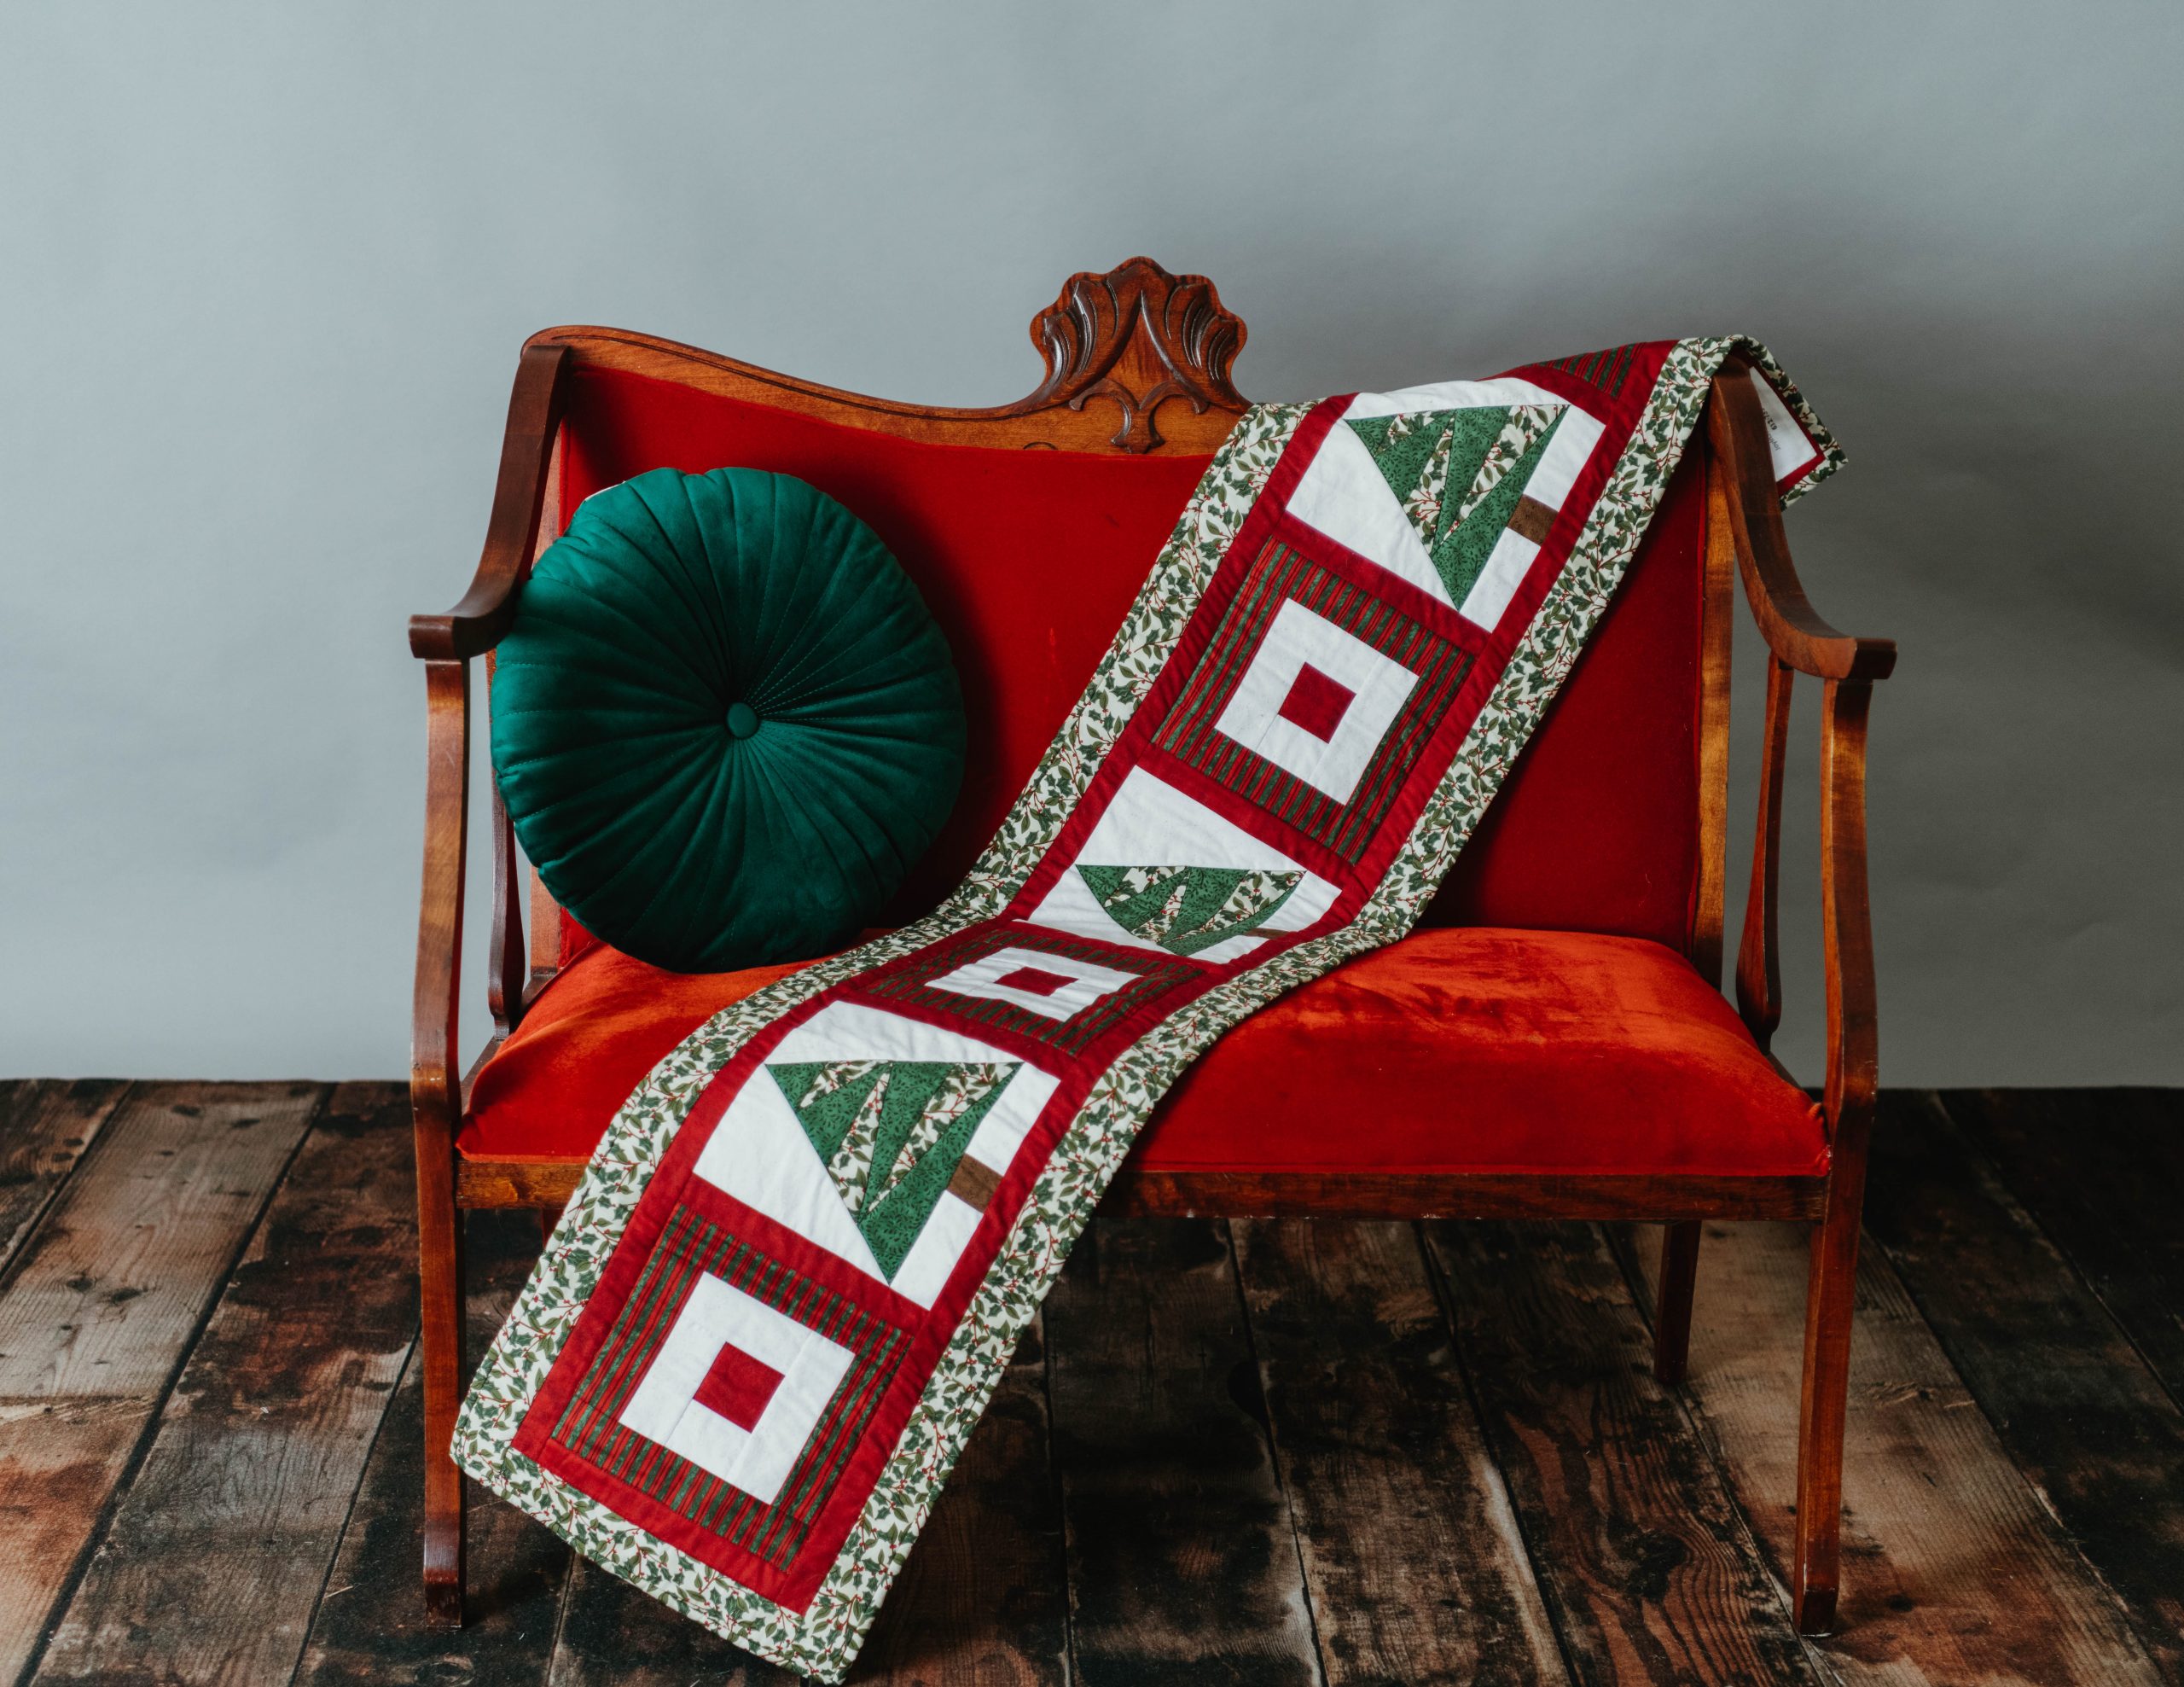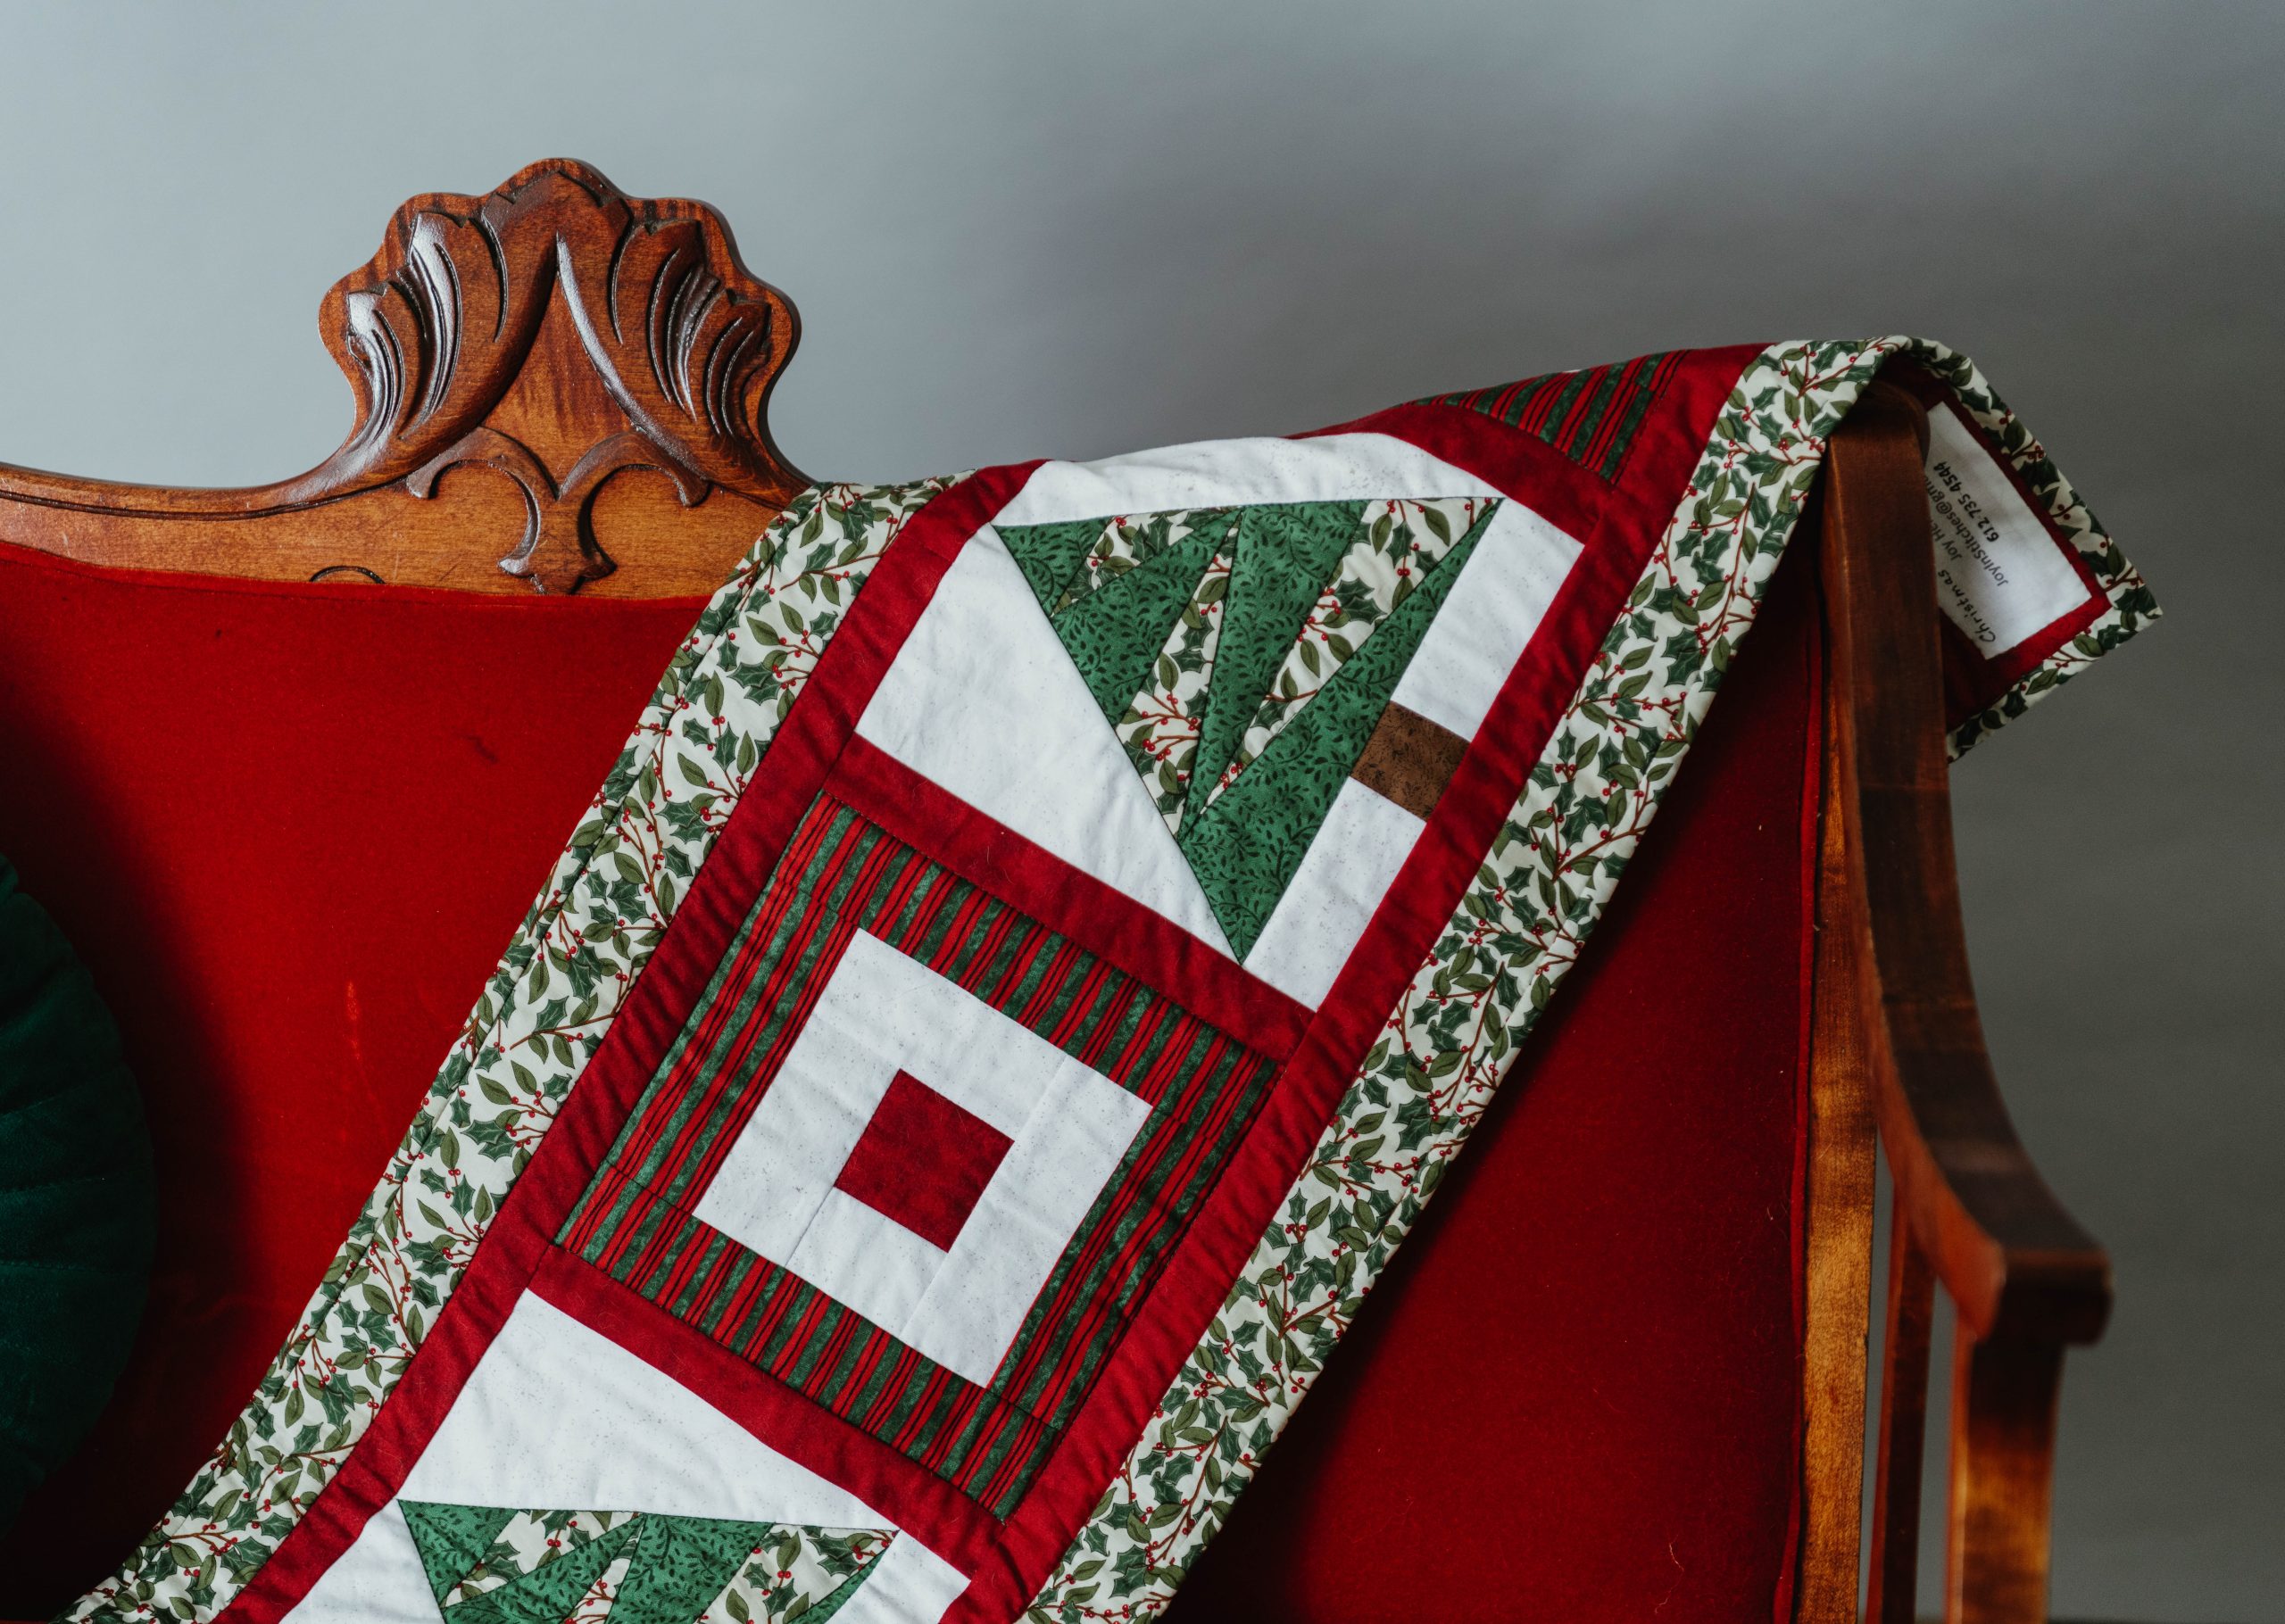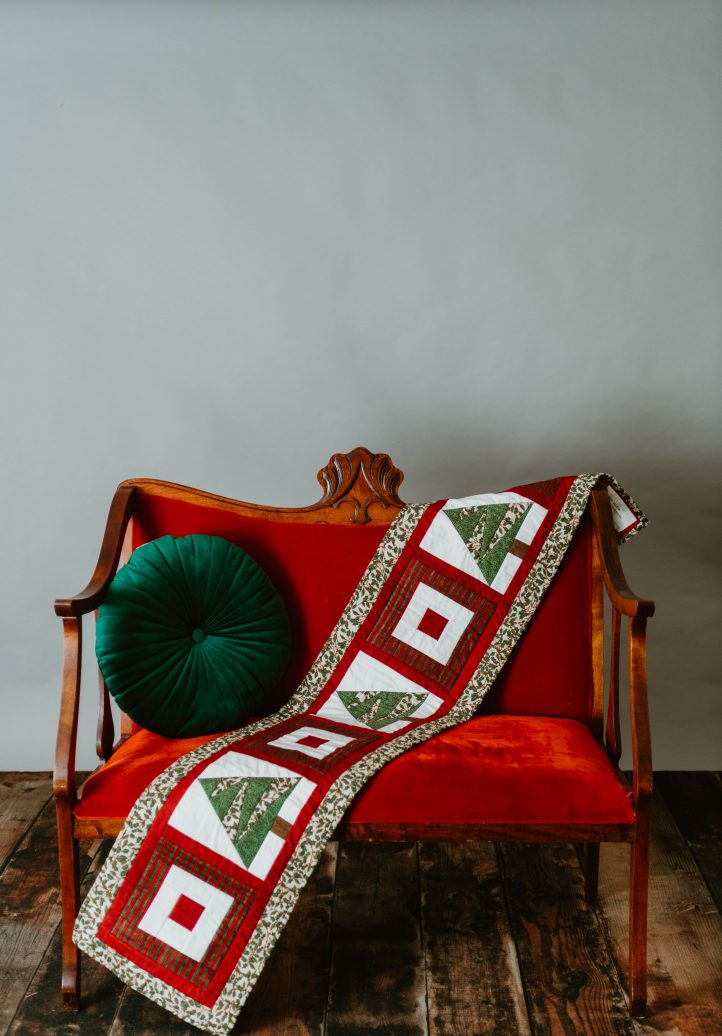
Holiday décor doesn’t stop at your living room! Dress up your bedroom or guest room for the upcoming holiday season with this stunning bed runner pattern from Joy Heimark. This quilted bed runner pattern combines foundation paper pieced Christmas tree blocks with log cabin quilt blocks in classic holiday colors. A basic knowledge of foundation paper piecing is required for this pattern, so if you can’t get enough of this quilting technique, you won’t want to miss this project.
Skill Level: Confident beginner
Finished Size: 67” x 13”
Seam Allowances: 1/4”
Designer Notes: Read all instructions before beginning this project. Stitch right sides together using a 1/4″ seam allowance unless otherwise specified. Materials and cutting lists assume 40″ of usable fabric width. This pattern assumes basic foundation piecing knowledge.
Abbreviations:
- WOF – Width of Fabric
- RST – Right Sides Together
Materials:
- Fabrics:
- Stripe: 1/4 yard
- Red: 3/8 yard
- White: 1/2 yard
- Brown: 1/8 yard (or scraps)
- Green: 1/4 yard
- Light Print: 3/8 yard
- Binding: 3/8 yard
- Batting: 17” x 72”
- Backing: 1 yard (17” x WOF, 2 pieces attached) OR 2 yards (1 solid piece)
- Foundation template paper of your choice
- PDF Template – This is located at the bottom of this page. See printing instructions below.
PRINTING INSTRUCTIONS:
To download the PDF template, click on the download button at the bottom of the page. We recommend opening your download using Adobe Acrobat.
Cutting Instructions:
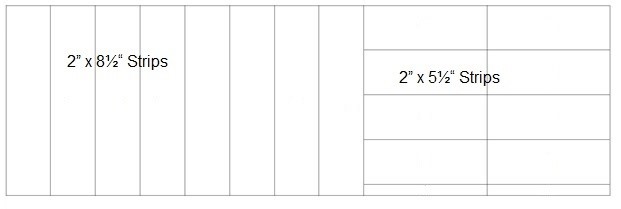
From Stripe, cut: (Note: Some stripes run parallel to selvage; some run perpendicular. Either way, follow the Cutting Diagram and sub-cut (8) 2” x 8 1/2” rectangles and (8) 2” x 5 1/2” rectangles from your 8 1/2” x WOF strip.)
- (1) 8 1/2” x WOF strip
From Red, cut:
- (1) 2 1/2” x WOF strips. Sub-cut (4) 2 1/2” squares (A).
- (6) 1 1/2” x WOF strips. Sub-cut (8) 1 1/2” x 8 1/2” strips. Set remainder aside for long sashing strips.
From White, cut:
- (2) 2” x WOF strips. Sub-cut (4) 2” x 5 1/2“ rectangles and (14) 2” x 4” rectangles.
- (2) 4 1/2” x WOF strips. Sub-cut (6) 4 1/2” x 7 1/2” rectangles, and (4) 2” x 2 1/2” rectangles (B).
From Brown, cut:
- (3) 2” squares
From Green, cut:
- (2) 2 1/2” x WOF strip
From Light Print, cut:
- (6) 2” x WOF strip
Piecing Instructions:
LOG CABIN BLOCK INSTRUCTIONS (SEE LOG CABIN DIAGRAM) – MAKE 4:
- Sew a Red A square to a White B rectangle. Press to white.
- Sew a White 2” x 4” square to the right side of the unit from Step 1. Press out to White.
- Sew a White 2” x 4” rectangle to the bottom of your unit. Press out to White.
- Sew a White 2” x 5 1/2” rectangle to the left side of your unit. Press out to White.
- Sew a Stripe 2” x 5 1/2” rectangle to the top and bottom of your unit. Press out to Stripe.
- Sew a Stripe 2” x 8 1/2” rectangle to each side of your unit. Press out to Stripe. Trim block to 8 1/2” square if necessary.
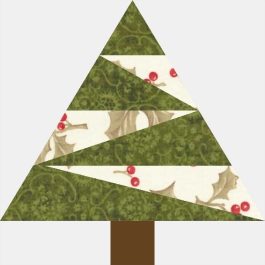
TREE BLOCK INSTRUCTIONS (MAKE 3):
Make three copies of the Tree Block Foundation Piecing template on your chosen Foundation Template paper. Remember to allow for a 1/4” seam allowance all around your block as you construct it. Using the template, construct the Tree block starting with Sections 1 and 2, then Section 3, etc. After each piece is added, carefully fold the paper back while you trim seam allowances to 1/4”. Press block as you go.
- Pin a White 2” x 4” rectangle right side up on the non-printed side of the template paper to cover Section A1 and outer seam allowance. Place a Brown 2” square right side down on top of the white rectangle so that when folded back it will cover Section A2 of the tree. Pin the fabrics to the paper template and check to make sure both sections will be completely covered after sewing. Sew on the solid line between sections, backstitching at the start and end. Trim seam allowances to 1/4”. Press block.
- Add a White 2” x 4” rectangle for Section A3. Trim and press.
- Continue adding Sections in order. Sections A4, A6, A8 and A10 are Green. Sections A5, A7 and A9 are Light Print.
- Cut the (6) White 4 1/2” x 7 1/2” rectangles in half diagonally as follows: Cut (3) diagonally from top right to bottom left, and the other 3 from top left to bottom right. These will be your Section A11 and A12 pieces.
- When all Sections have been added, trim blocks to 8 1/2” and carefully remove paper foundations.
COMPLETING THE QUILT:
- On a design wall or other flat surface, lay all the blocks out to match the Quilt Diagram.
- Add Red 1 1/2” x 8 1/2” sashing strips between each block and at both row ends. Sew blocks and sashing strips together. Press seams toward sashing strips.
- Sew the remaining Red 1 1/2” strips together at ends. Cut two Red sashing strips the width of your quilt (Approximately 64 1/2”). Sew onto top and bottom of your quilt. Press toward sashing strips.
BORDERS:
- Sew the remaining Light Print 2” strips together at ends. Measure your quilt’s height. Cut two border strips to this length and sew to the sides of your quilt. Press out toward border.
- Measure your quilt’s width. Cut two border strips to this length and sew to the top and bottom of your quilt. Press out toward border.
Layer, quilt, and bind your quilt. This quilt may also be used as a window valance with clip-on hooks.
Cutting Diagram for Stripe Fabric – 8 1/2” x WOF Strip
Log Cabin Block

Tree Block
Quilt Diagram


