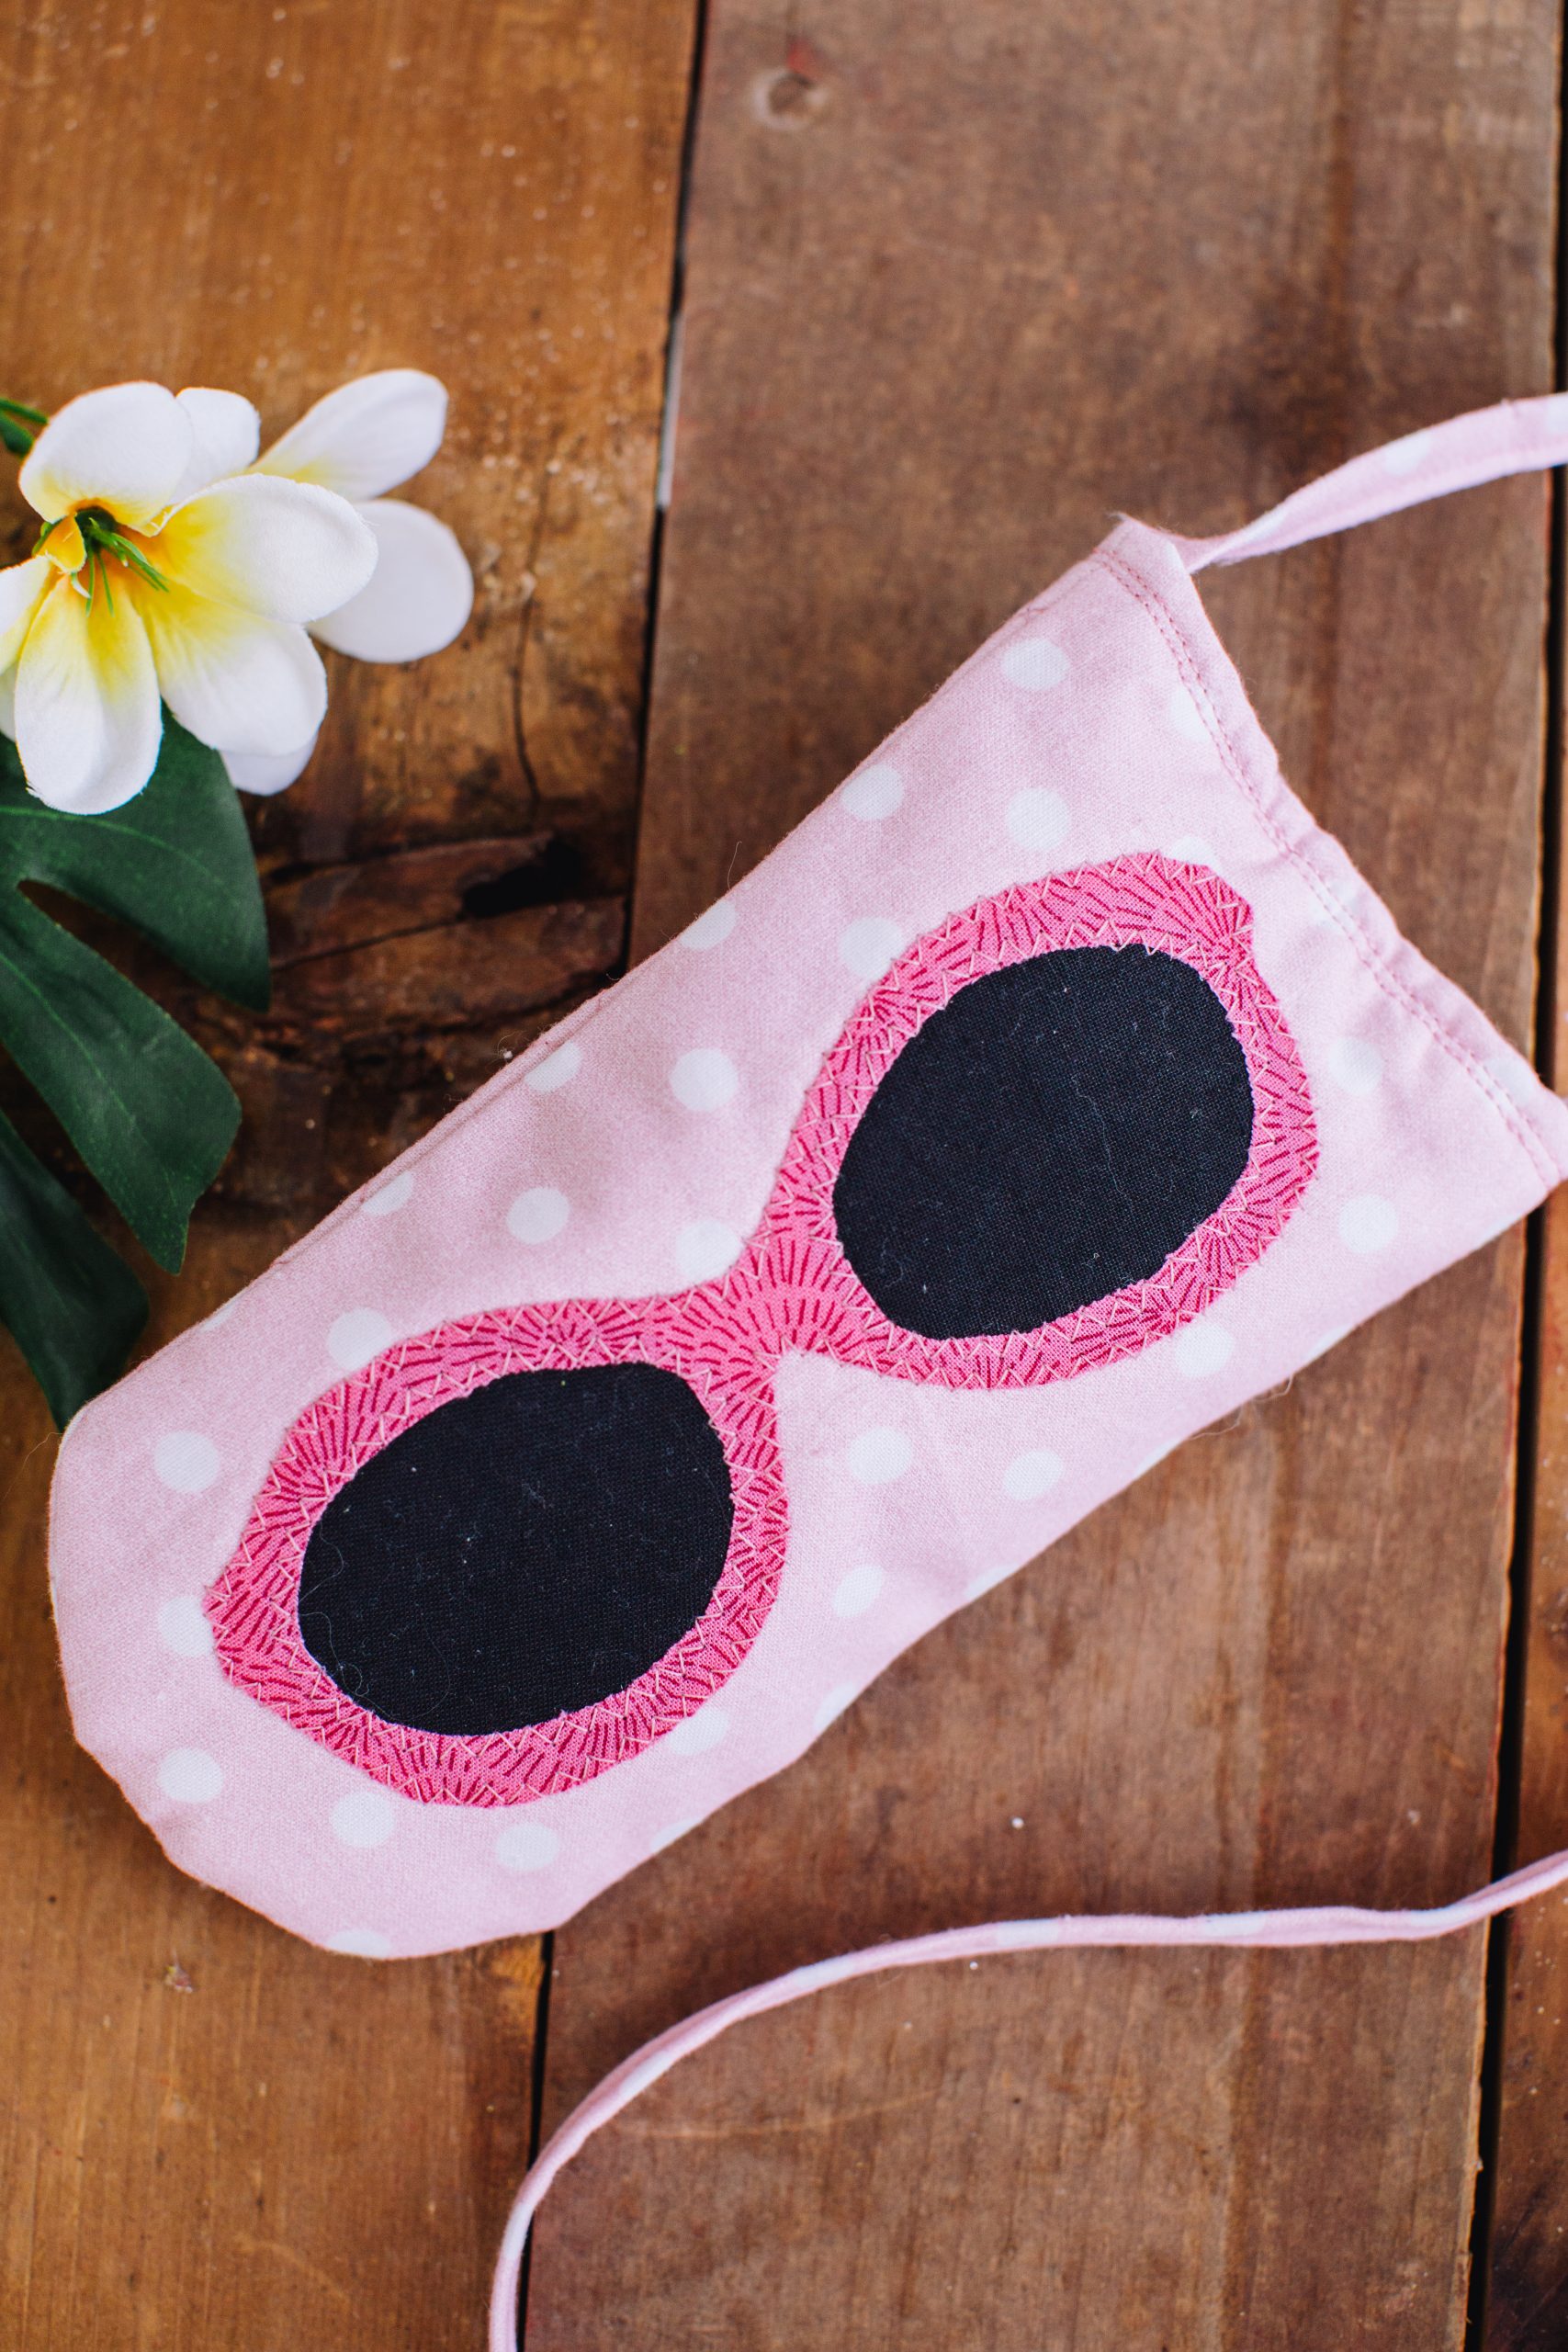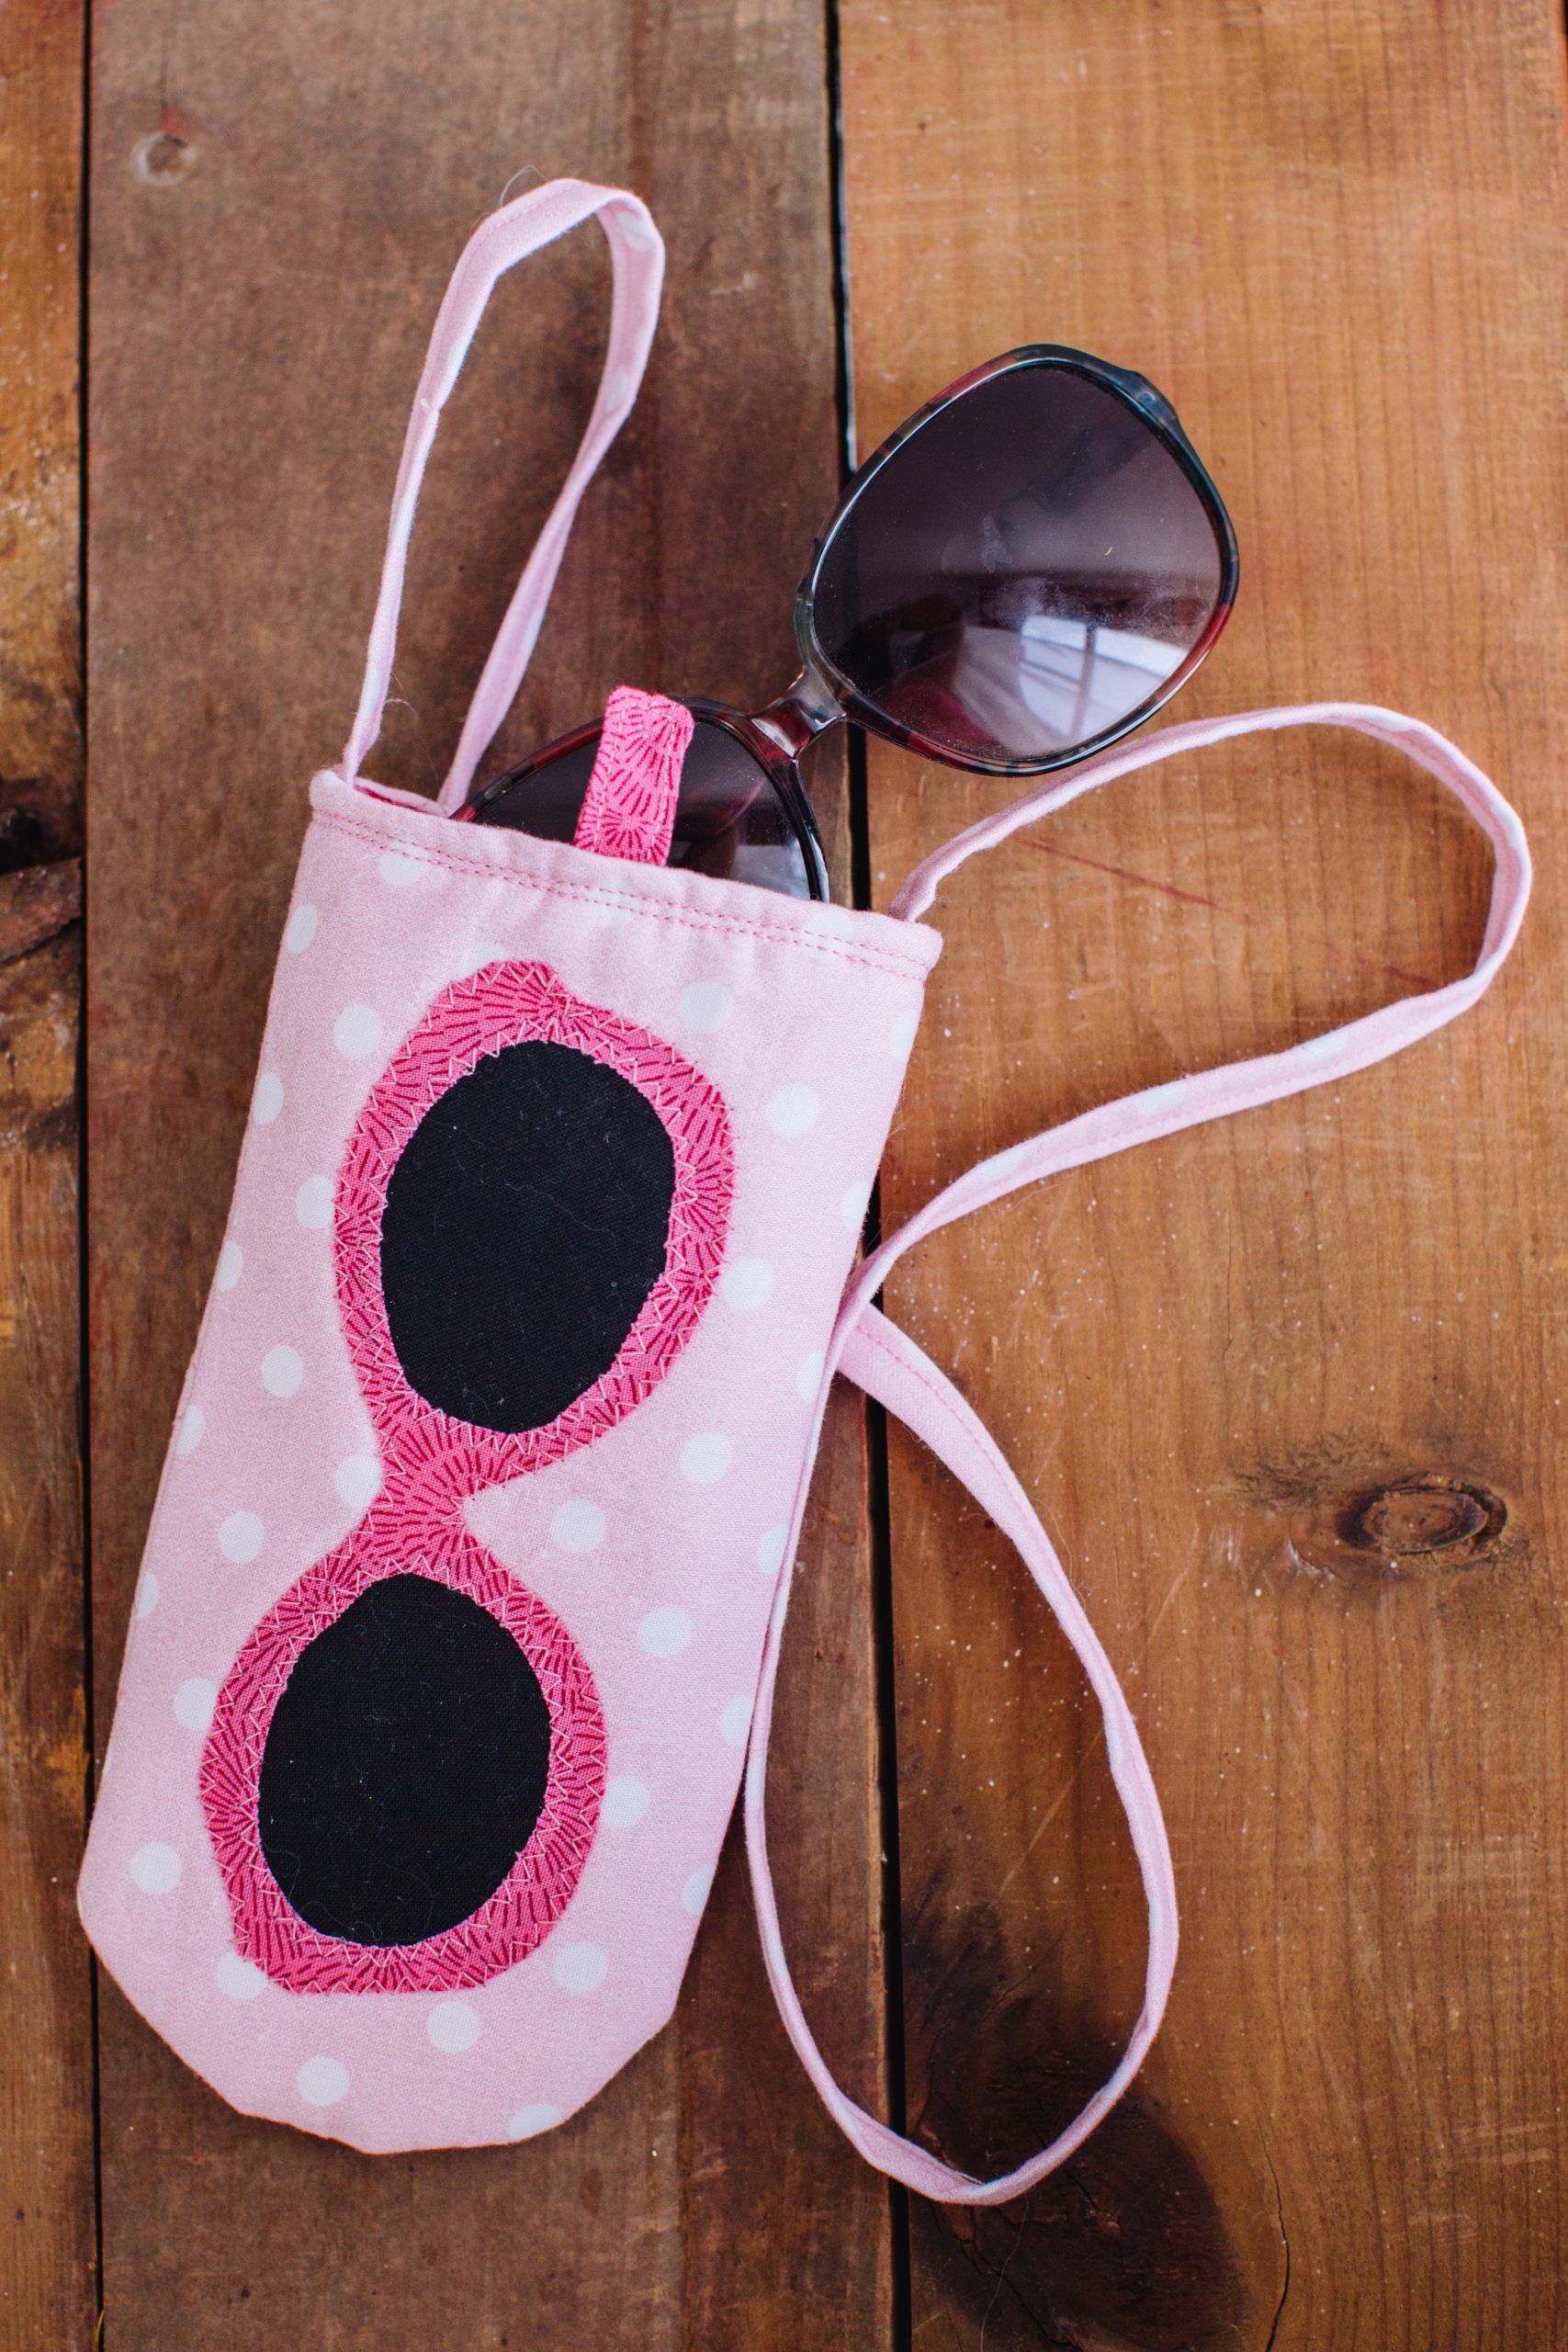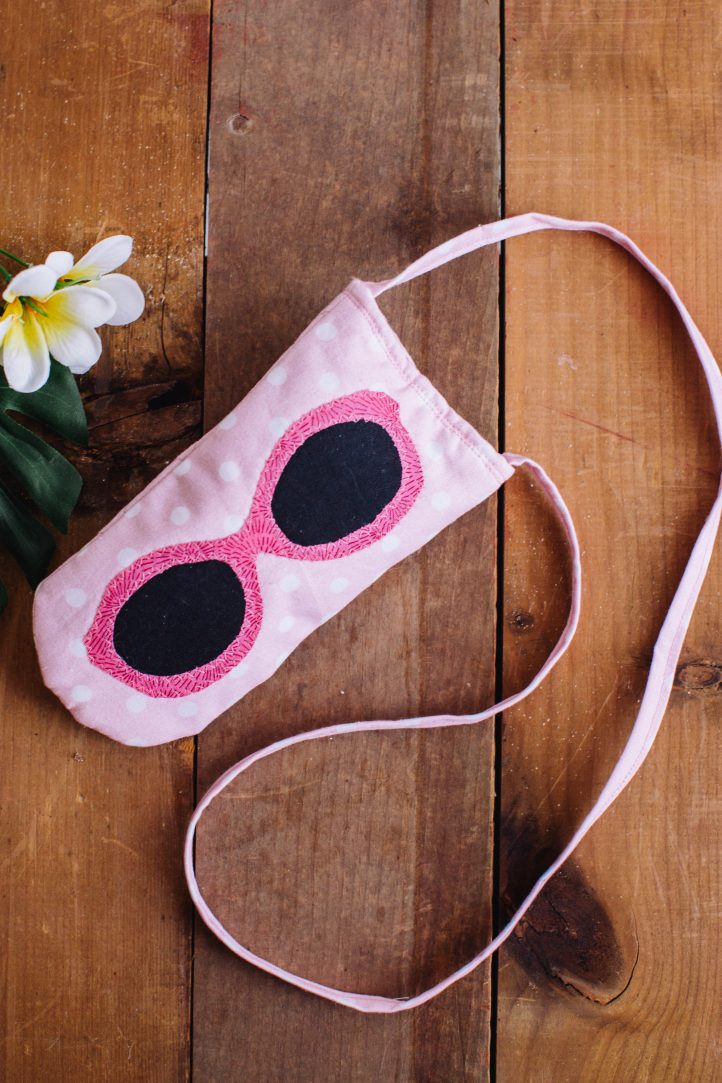
We all have that favorite pair of sunglasses that somehow ends up lost in our purse or car. Keep your favorite pair of sunnies safe and secure in a super cute homemade case. Amanda Ogden shares her spring sunglasses case pattern that features playful applique detail and a press-stud for security. You can find the everyday glasses case version of the pattern here!
Designer Notes:
- **Refer to the Everyday Glasses instructions for step number notes and templates.
- This soft glasses case has a tab closure with press-stud to secure and a neck strap. It fits sunglasses 7” across and 6” around the lens – see photo below. If your sunglasses are bigger, extend the template before starting the project.

Materials:
- 1/4 yard (4 x 42”) polka-dot white on pink – Fabric 3
- Fat quarter (18 x 21”) fuchsia pink low-volume print – Fabric 4
- Piece 3 x 7” black solid fabric – Fabric 5
- Piece 9 x 12” 100% cotton wadding
- Light pink cotton thread for sewing and quilting
- Piece 6 x 7” double-sided fusible web (for example, Steam-A-Seam 2)
- Piece 7 x 10” tear-away quilting paper (for example, Golden Threads)
Cutting Instructions:
- From Fabric 3, cut two pieces, using Template B, for the front and back of the case and a strip 1 1/2” x 33 1/2” for the neck strap.
- From Fabric 4, cut two pieces, using Template B, for the front and back lining of the case; a piece 3 x 7” for the specs and a strip 1 1/2” x 3/4” for the tab.
- From the fusible web, cut two pieces, each 3 x 7”.
- From the wadding, cut two pieces, using Template B.
Piecing Instructions:
MAKING THE HOLIDAY GLASSES CASE:
- Bond one of the pieces of fusible web to the wrong side of the 3 x 7” fabric 4 piece and cut out the glasses shape as you did in Steps 1 and 2 for the ‘Everyday’ case.
- Bond the second piece of fusible web to the wrong side of the 3 x 7” fabric 5 piece in the same way. Use Template C to cut out the left and right lens.
- Decide on the location of the appliqué according to whether you are right- or left-handed (as in Step 3).
- Place the lenses on the Fabric 3 shape and lay the glasses frame on top, ensuring that the frame just covers the edges of the lenses.
- Bond the lenses and frames to the case front.

- Zig-zag round the edges as you did in Step 6 in the Glasses Case pattern.
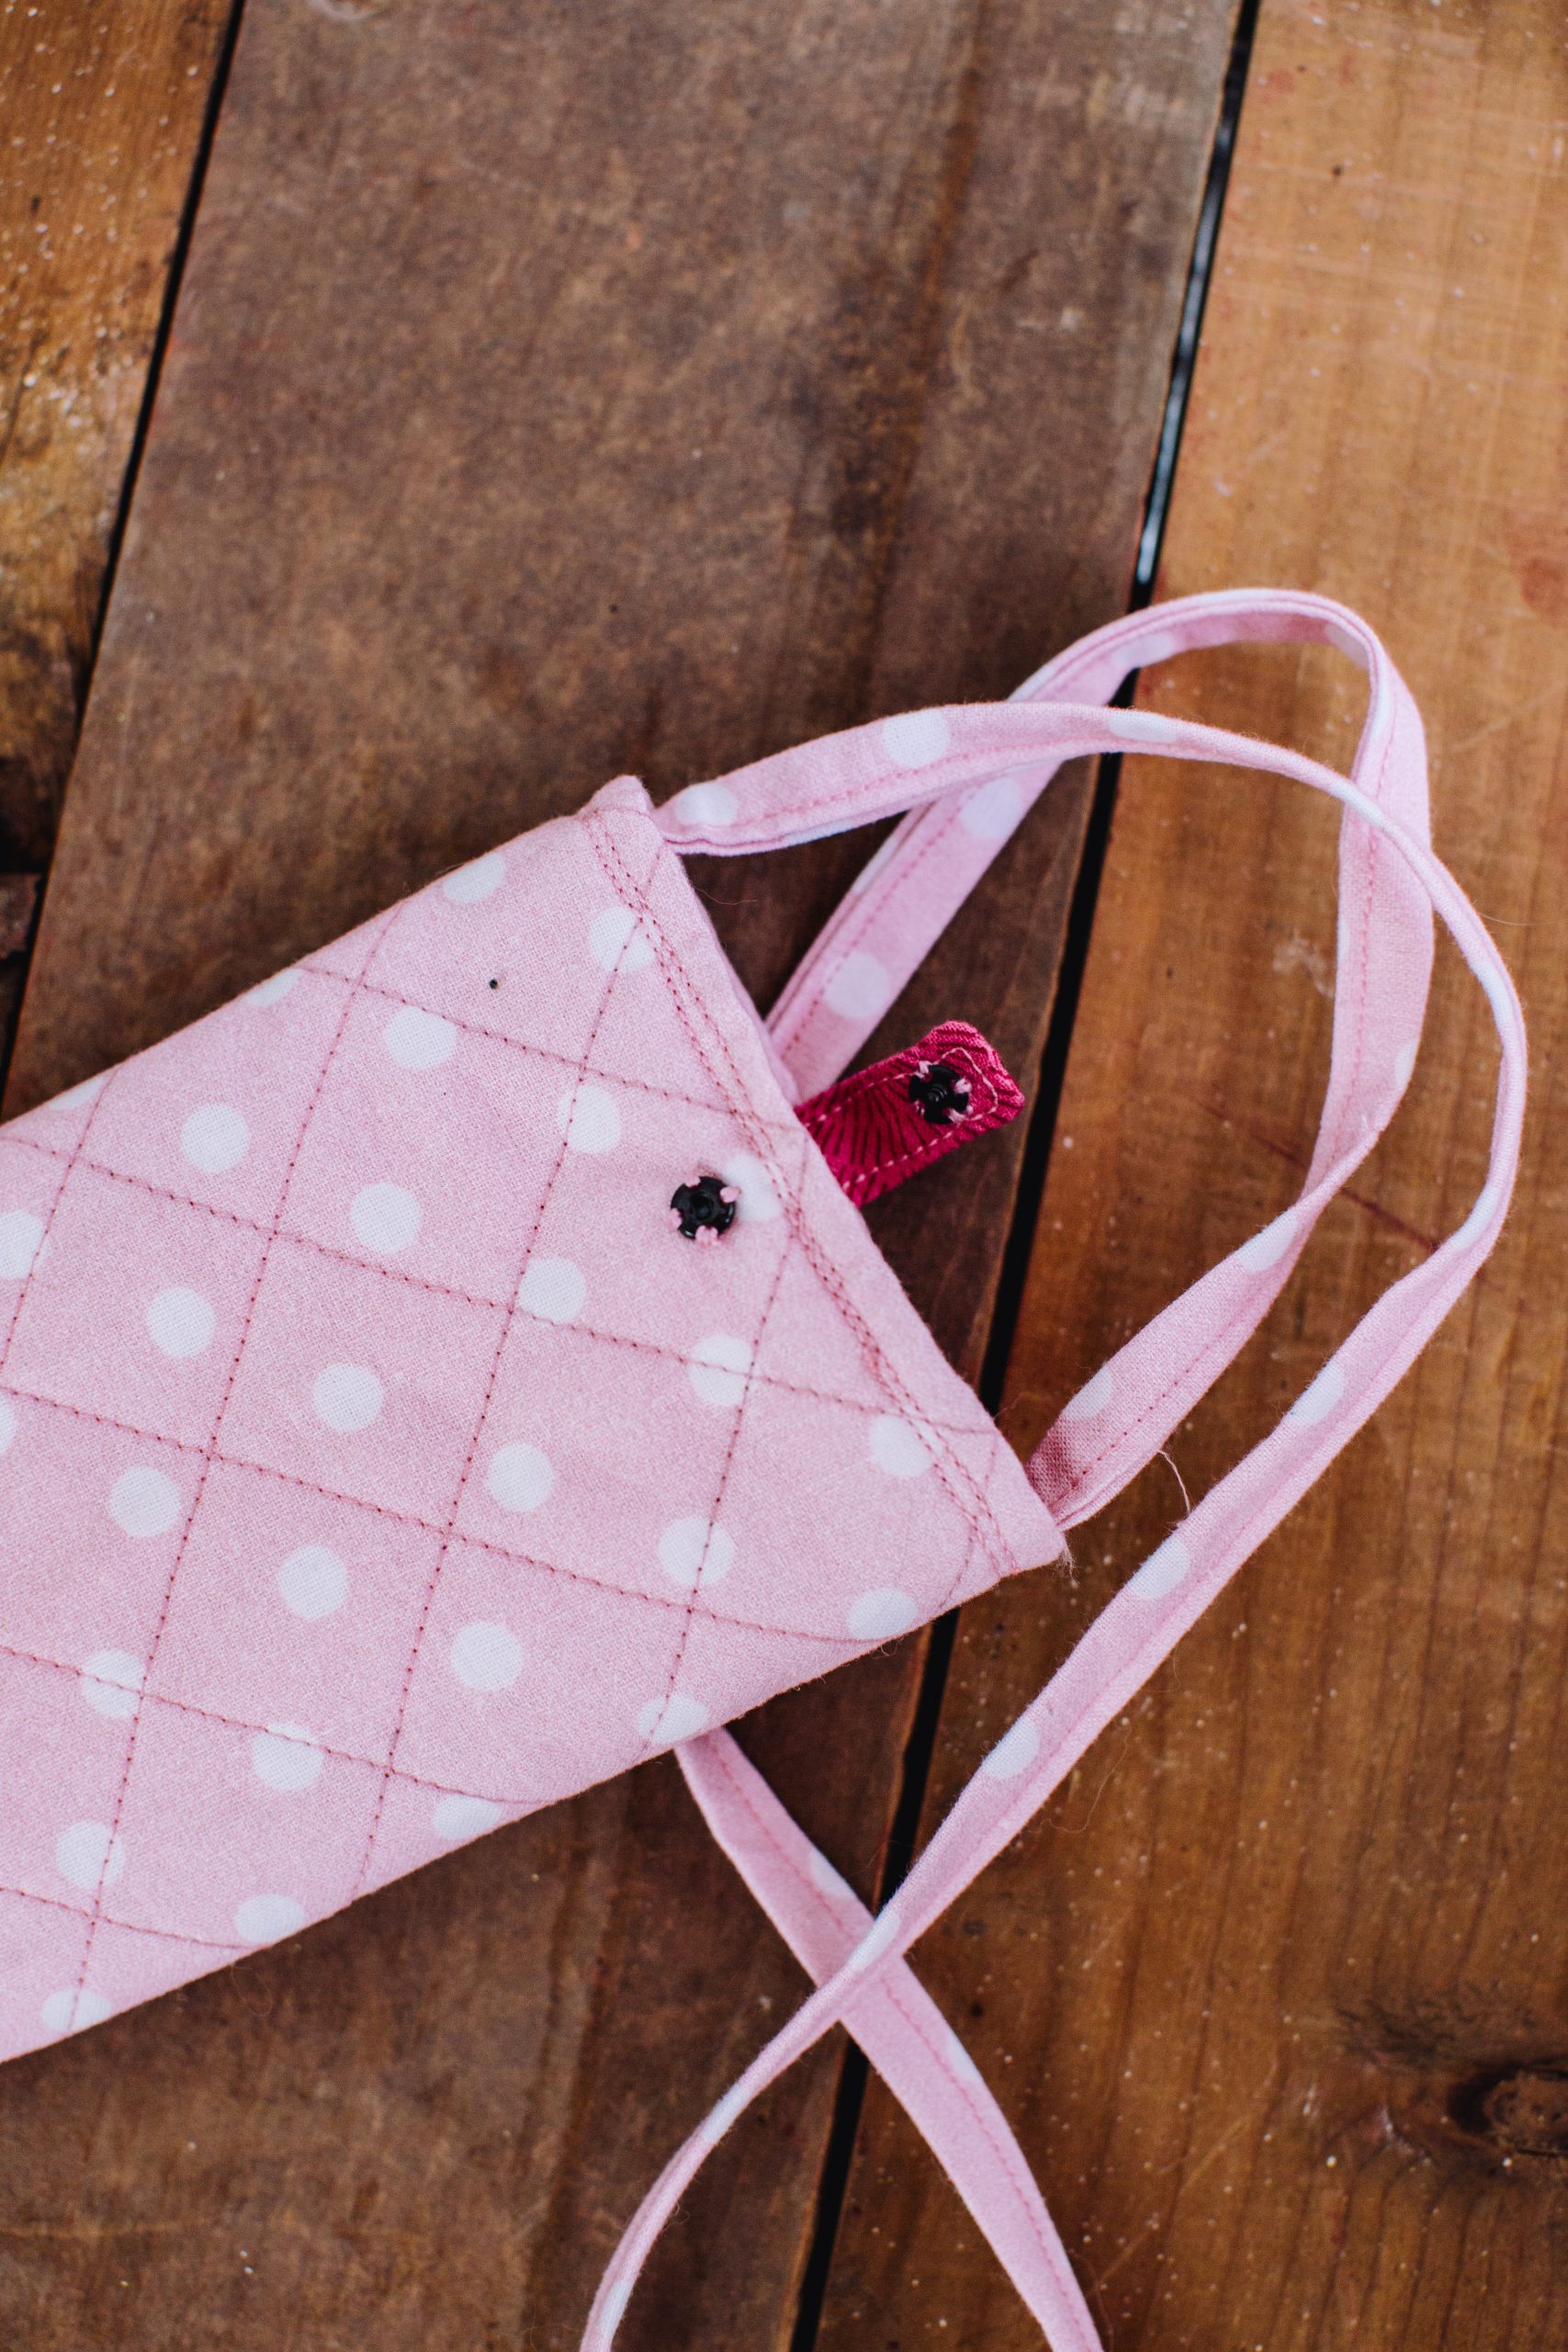
- Layer up the second Fabric 3 piece with wadding. Trace the quilting lines for the back onto tear-away paper and pin it to the back side.
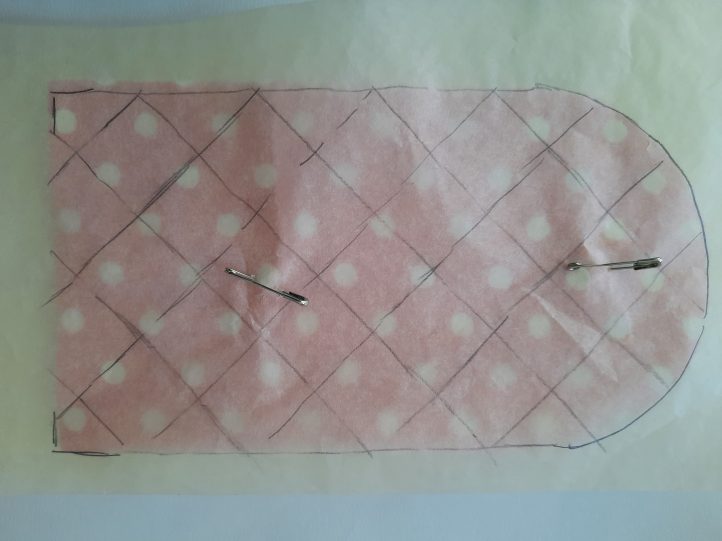
- Quilt all the lines in one direction, then all the lines in the opposite direction. Quilt each line into the seam allowance. Cut the threads to 1/2”. Remove paper.
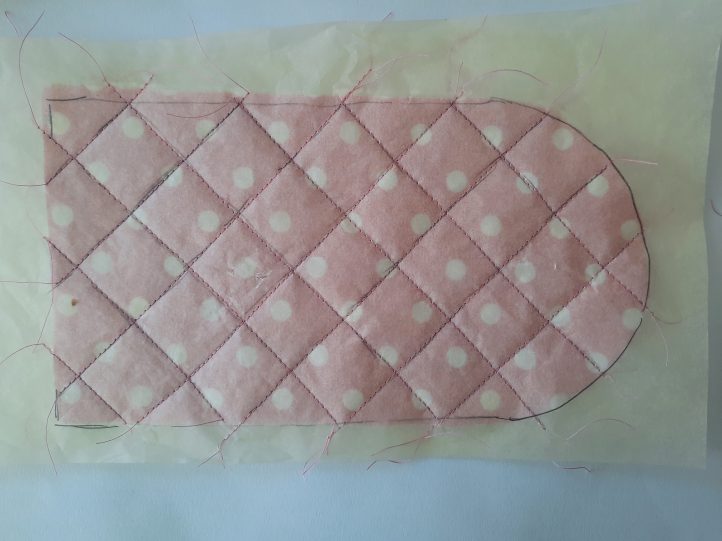
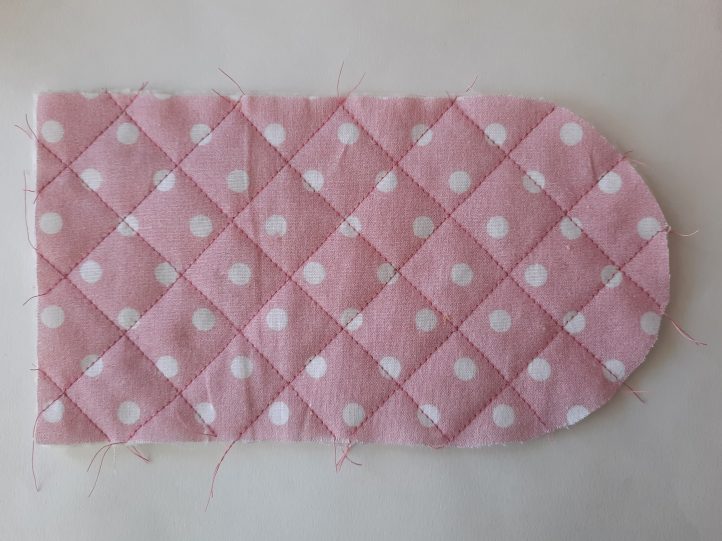
- Place appliqué back and quilted front right sides together and stitch with a 1/4” seam, back-tacking at the beginning and at the end.
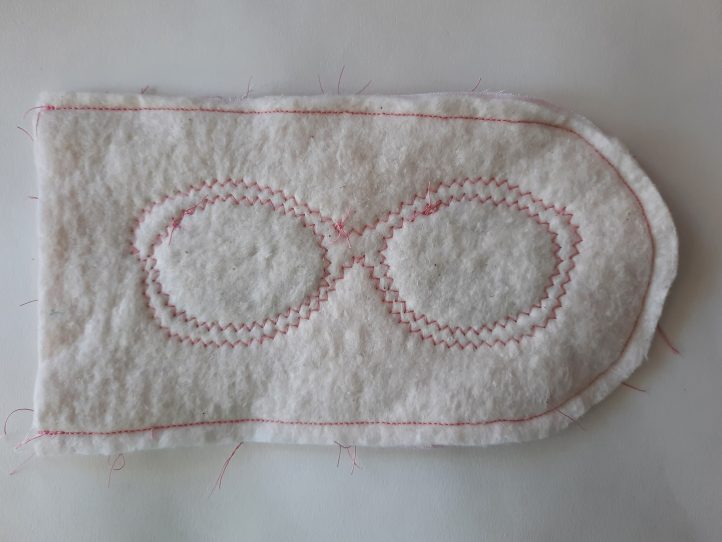
- Turn to the right side and press.
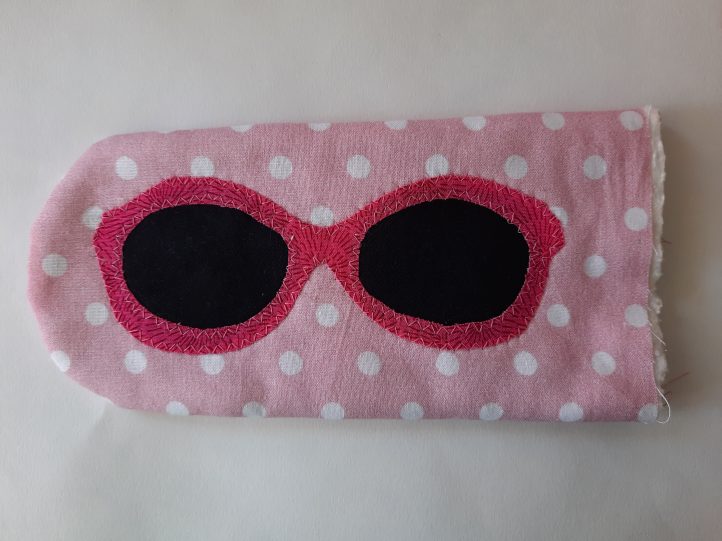
- Press the top of the side seams flat. Turn down 1/4”, wrong sides together and press.

- Place lining back and front sides together and stitch with a 1/4” seam, back-tacking at the beginning and at the end.
- Turn down 1/4”, wrong sides together and press.
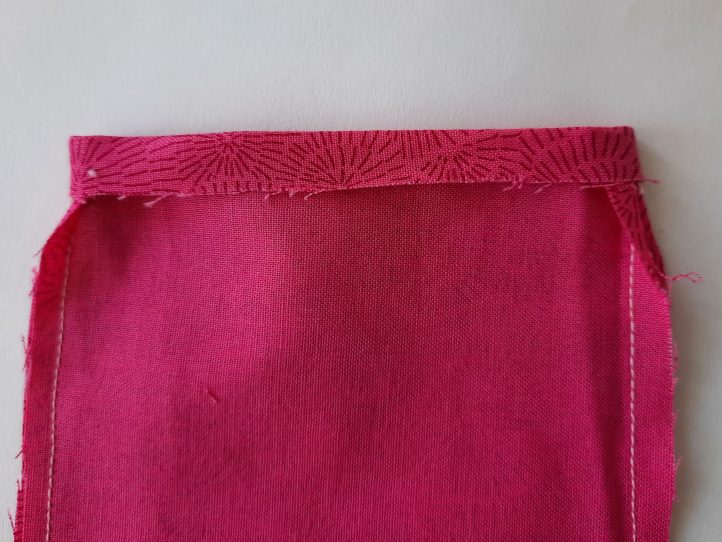
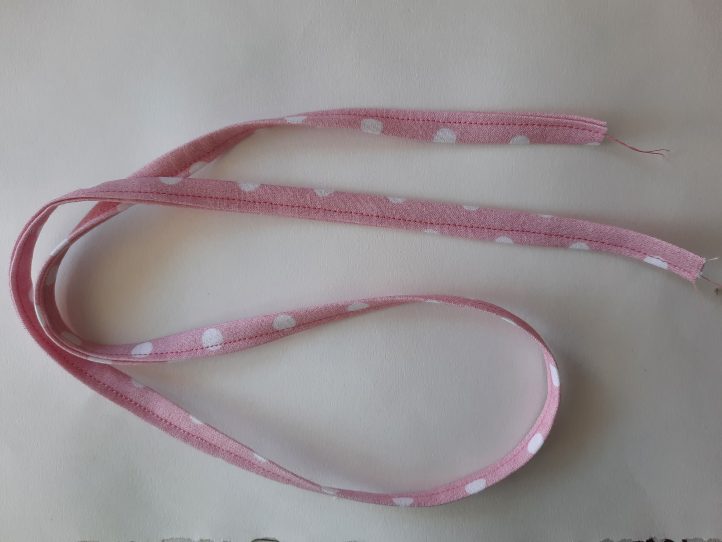
- Make the neck strap. Fold the neck strap strip in half lengthways and press.
- Open up, fold each side in towards the center fold and press again.
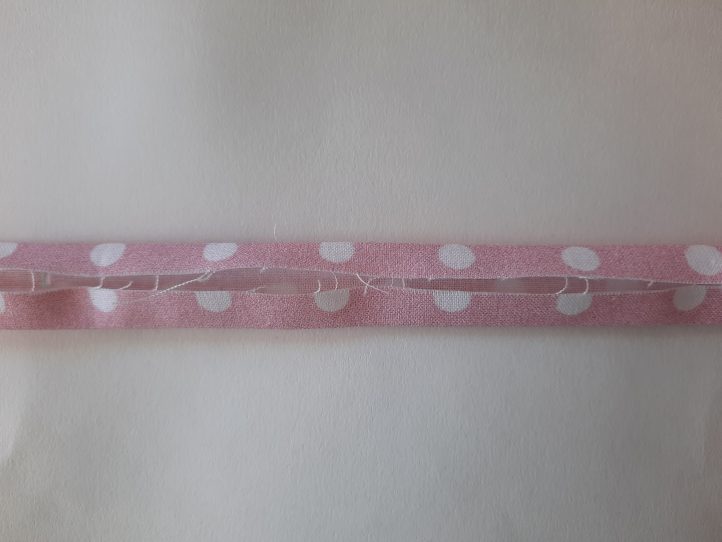
- Re-fold and stitch down the strip 1/8” away from the edge of the double fold.
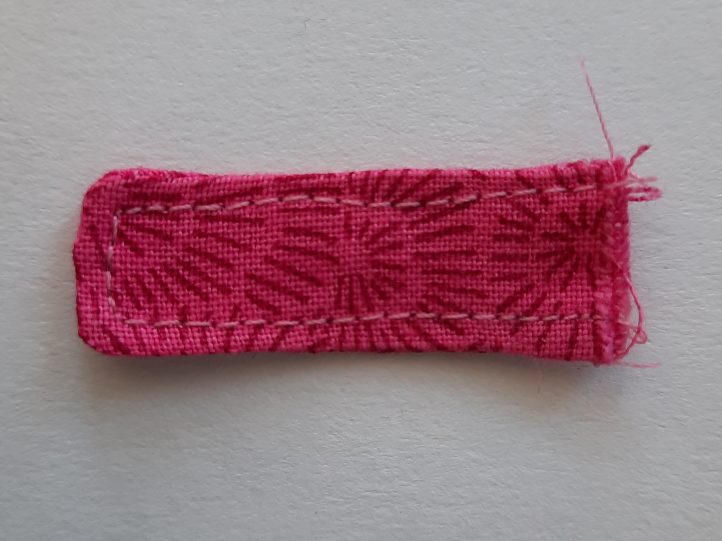
- Make the tab. Put the two tab pieces wrong sides together and stitch round three sides with a 1/8” seam. Clip corners.
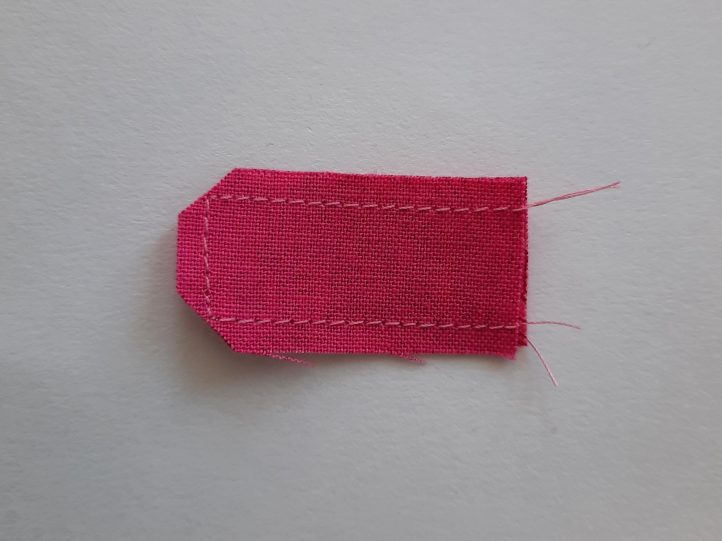
- Turn tab to the right side. Press. Top stitch 1/8” from the edge around three sides.
- Insert the lining into the outer part of the case, lining up the side seams. Insert the tab at the center front of the case between the outside and the lining and pin.
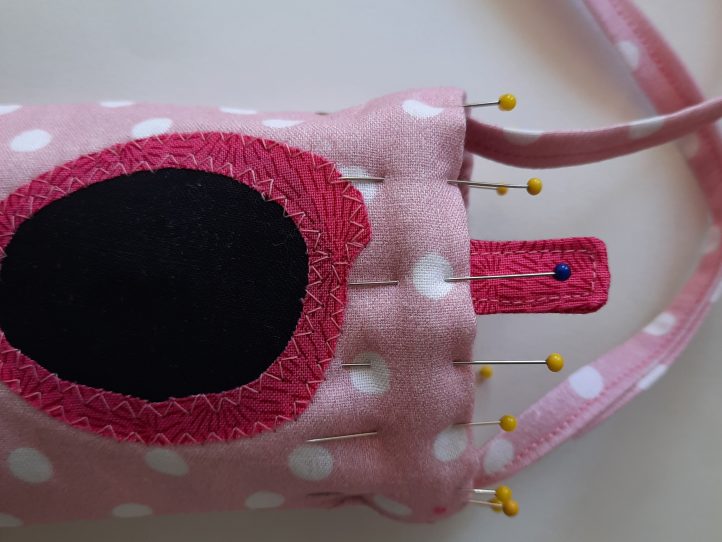
- Line up the strap seam with the side seam. Insert strap ends between the layers and pin.
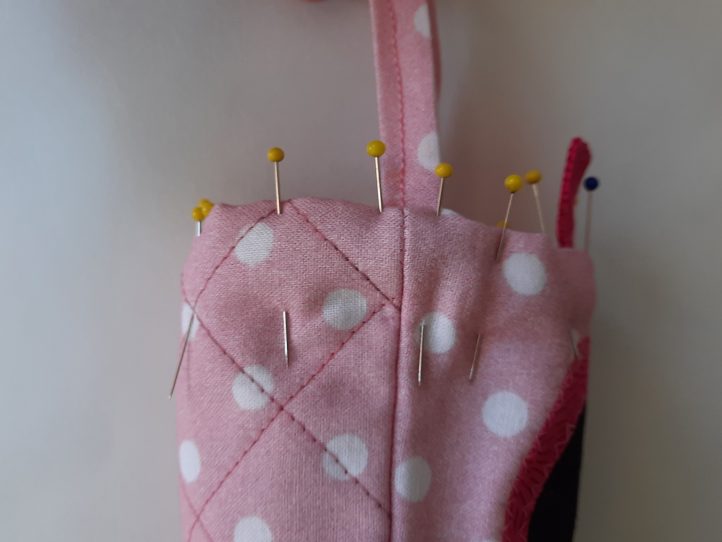
- Baste round the top, removing the pins. This step is worth the time it takes – it will be much easier to machine stitch over basting thread!
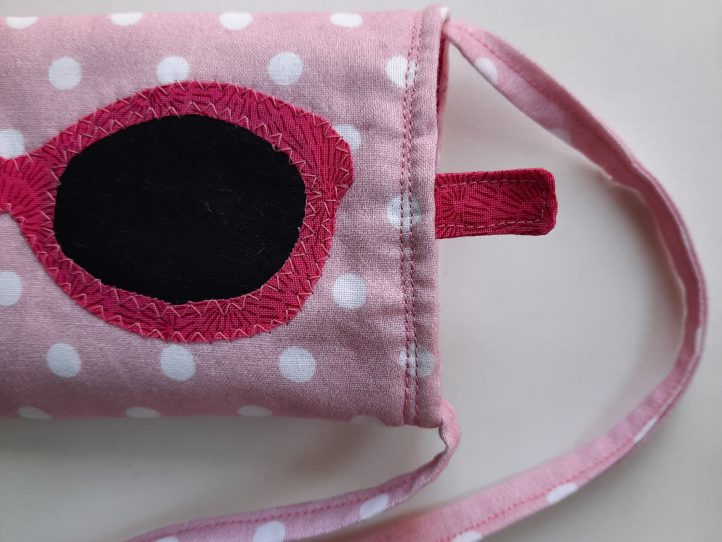
- Machine stitch round the top of the case 1/4” away from the top edge. Add a second line of sewing just above the first.
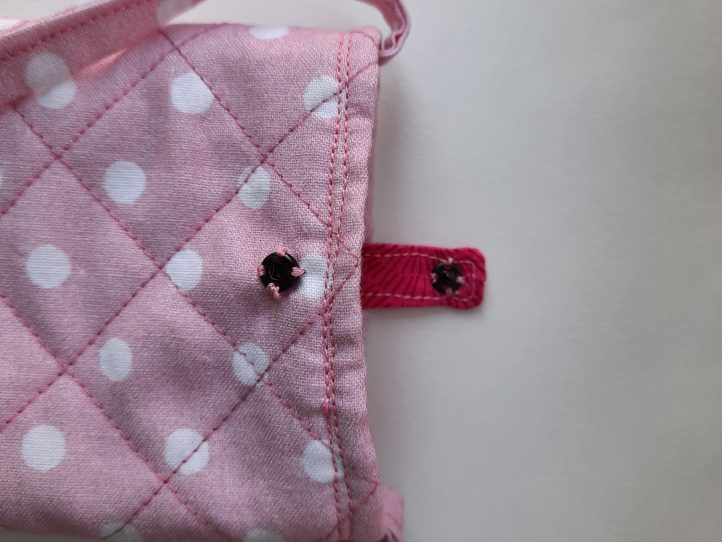
- Stitch the top of the press-stud to the underside of the tab, using a single thread to make three stitches in each hole. Finish off the thread securely underneath the stud. Take care not to make large stitches on the upper side of the tab.
- Stitch the base of the press stud to the back of the case with a double thread (as in Step 28 in the Glasses Case pattern).
