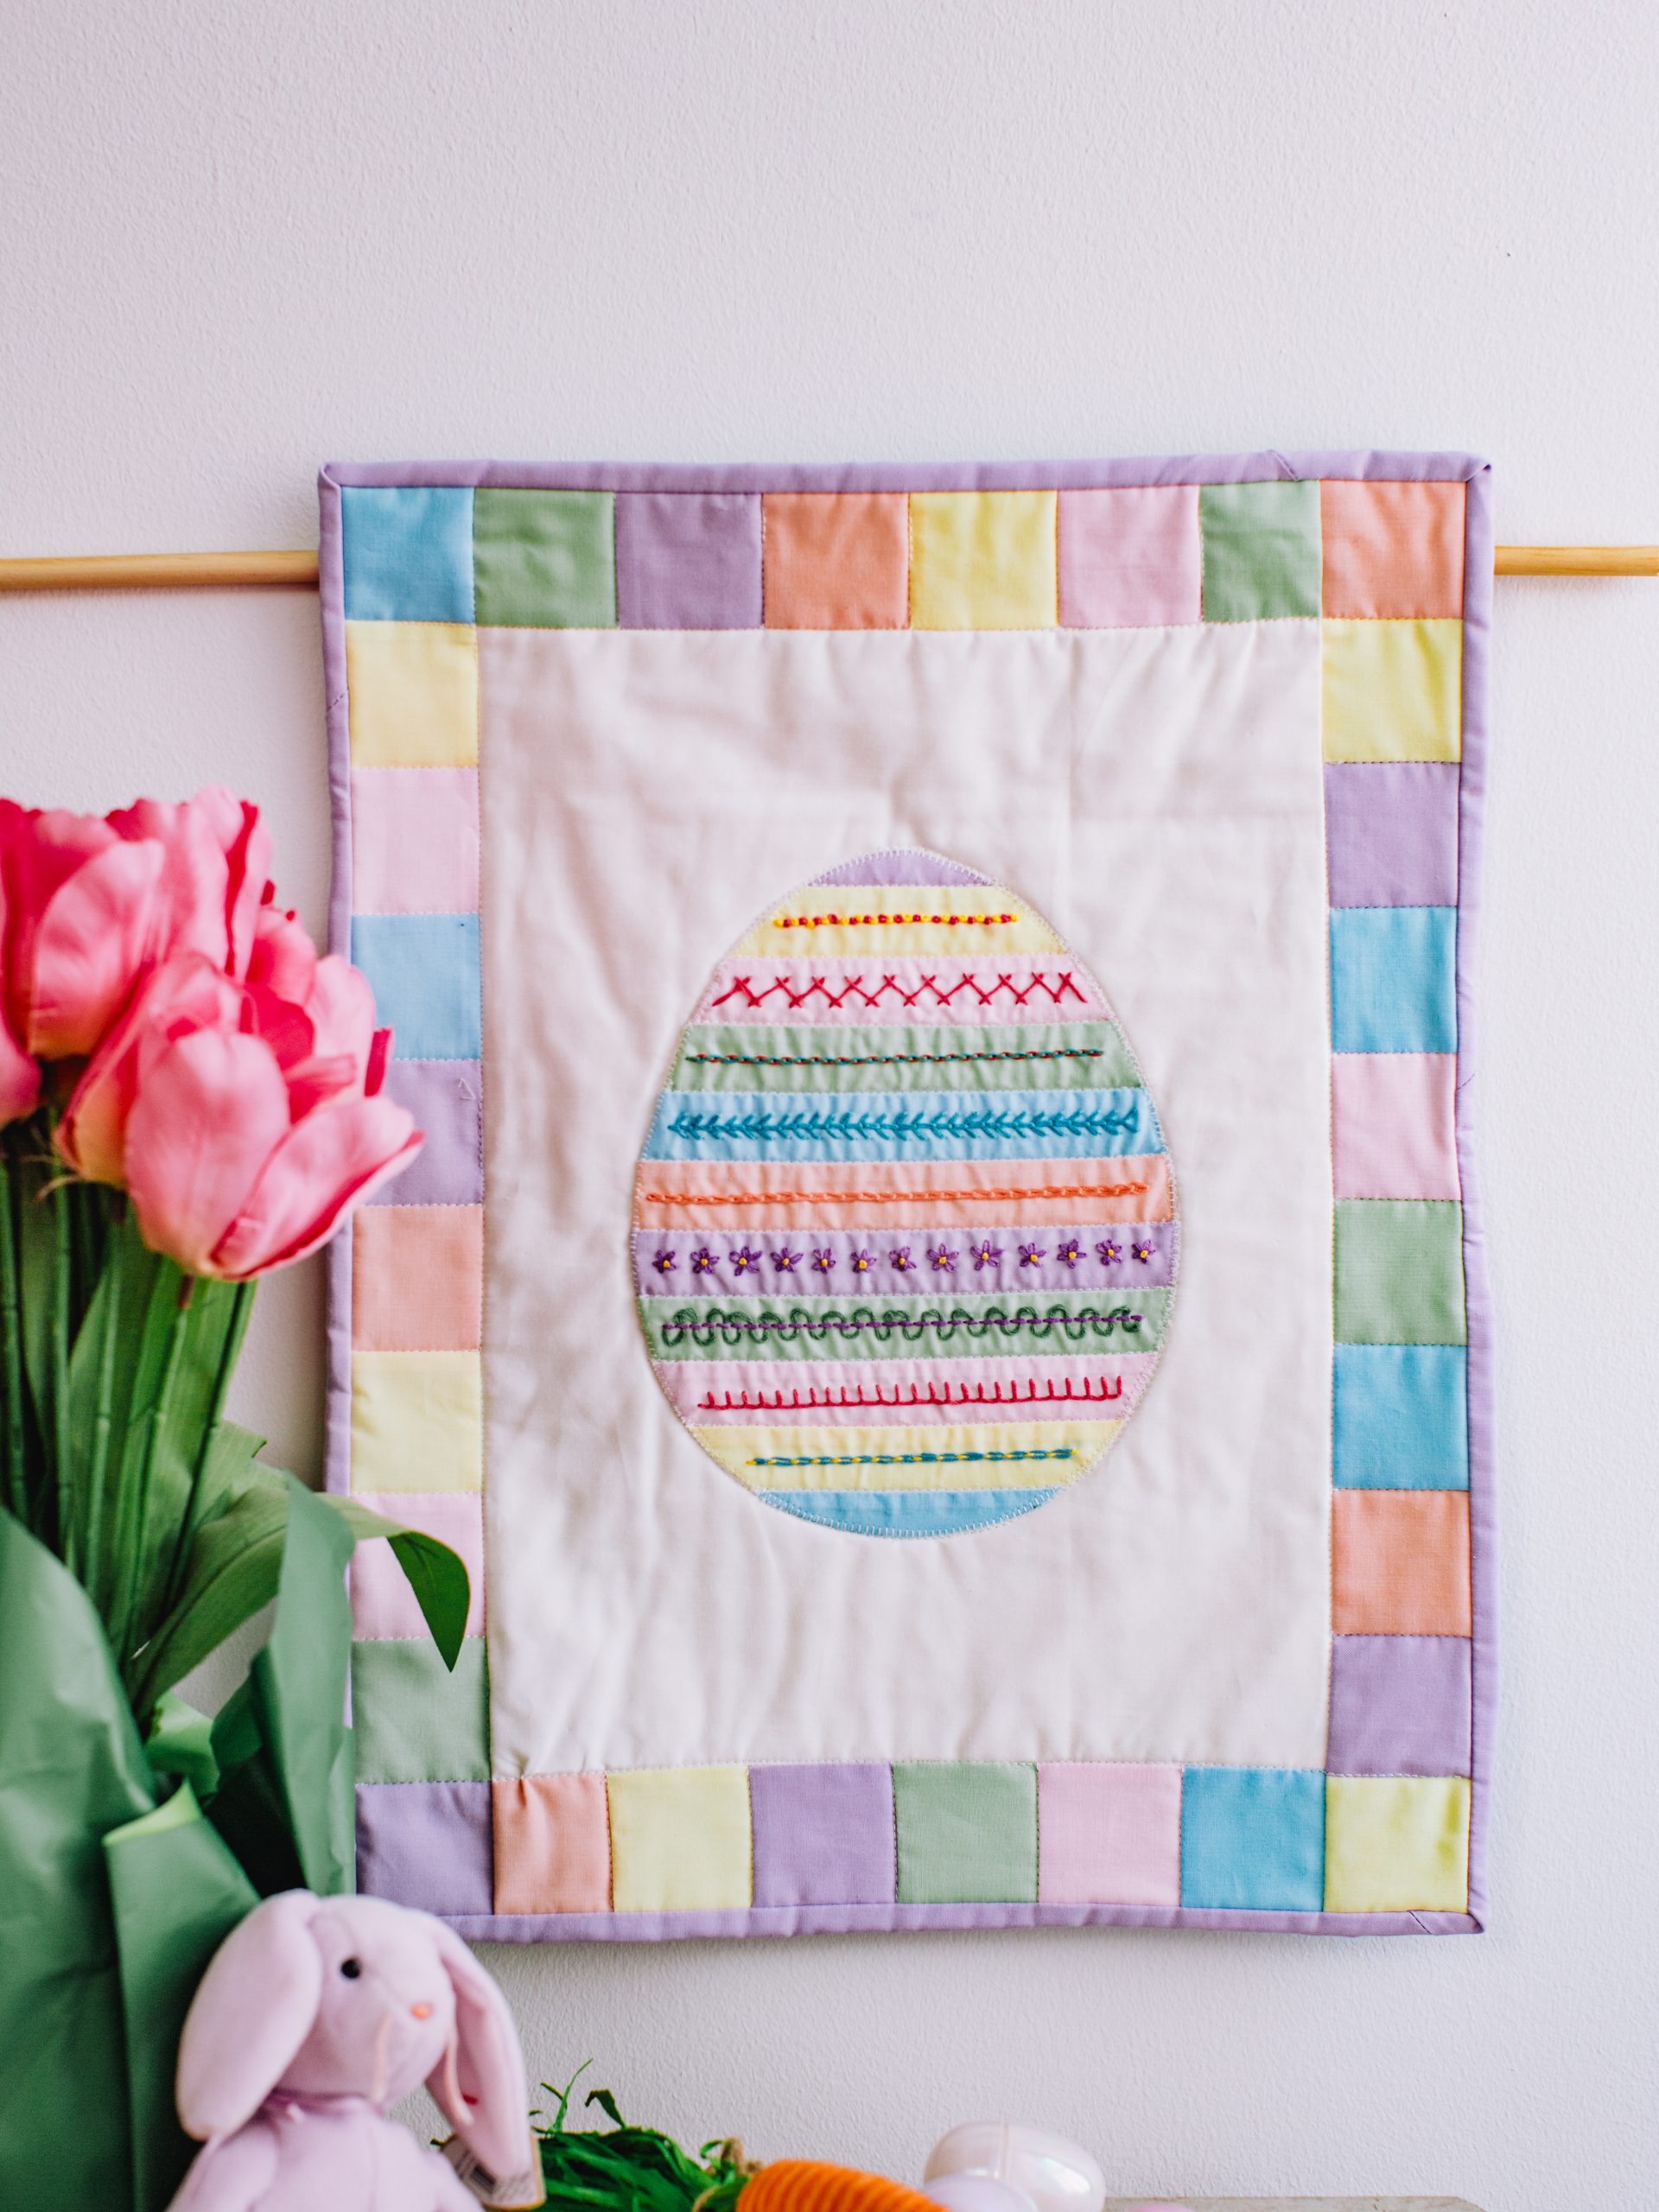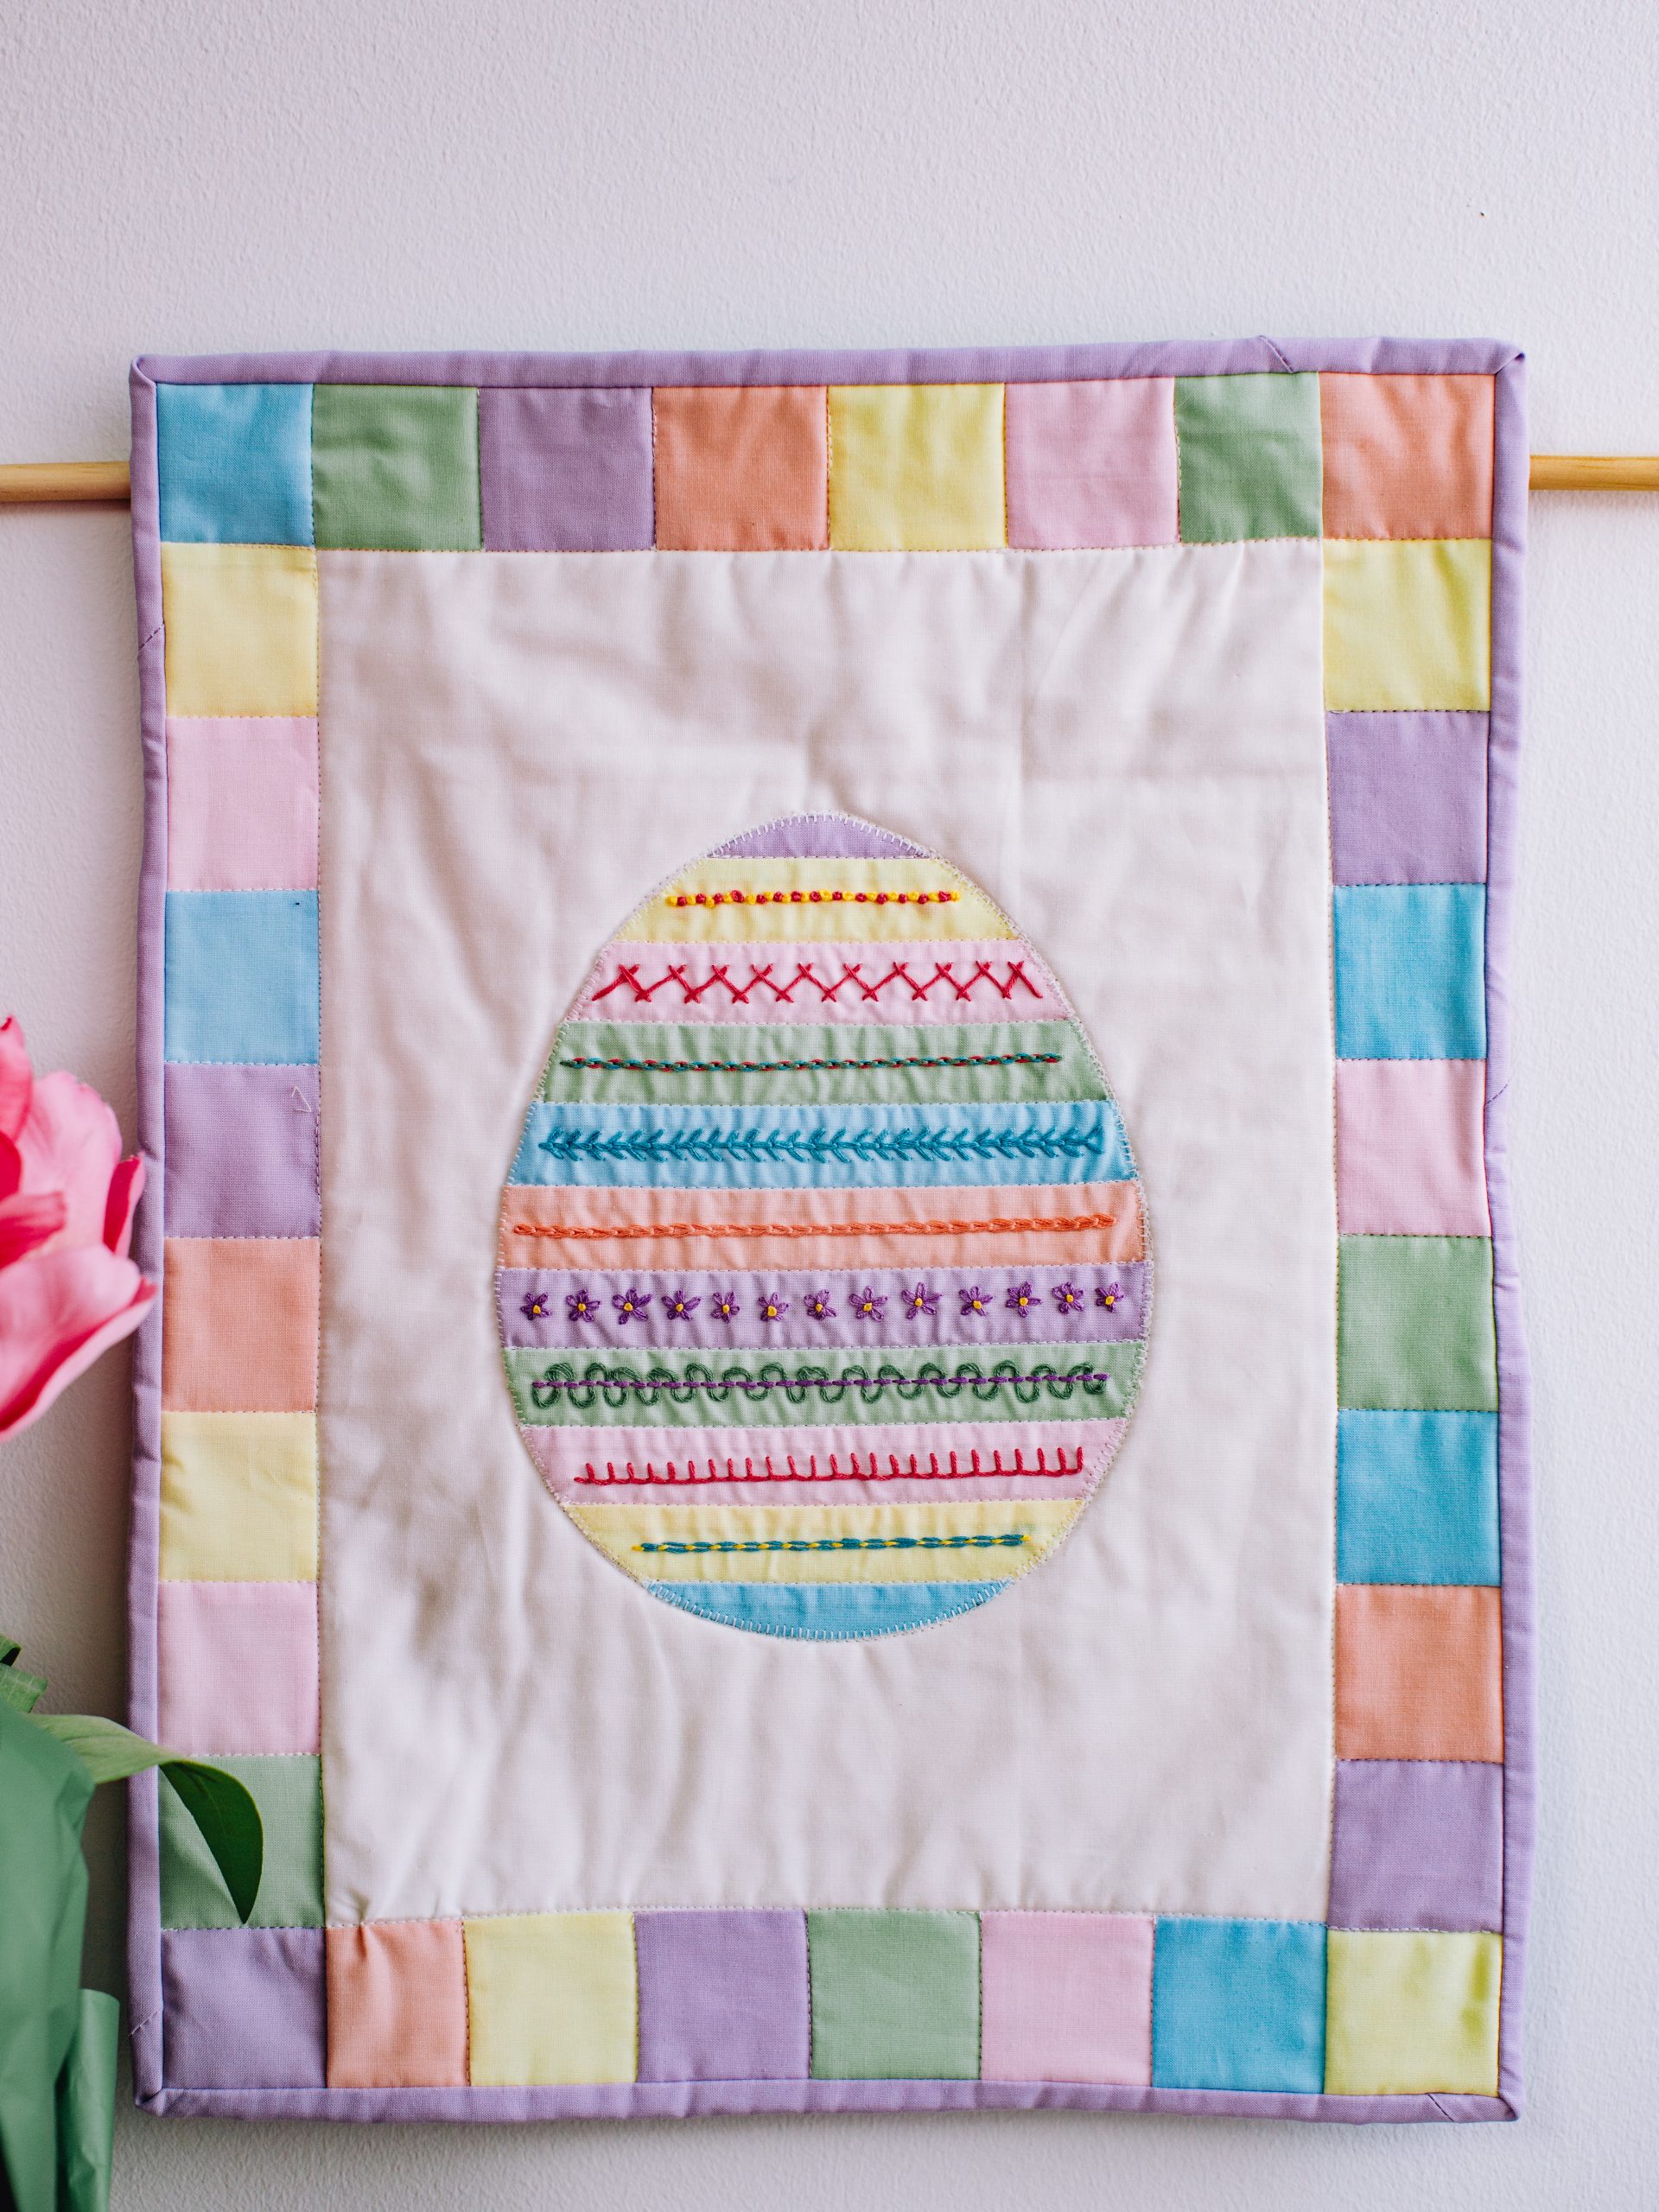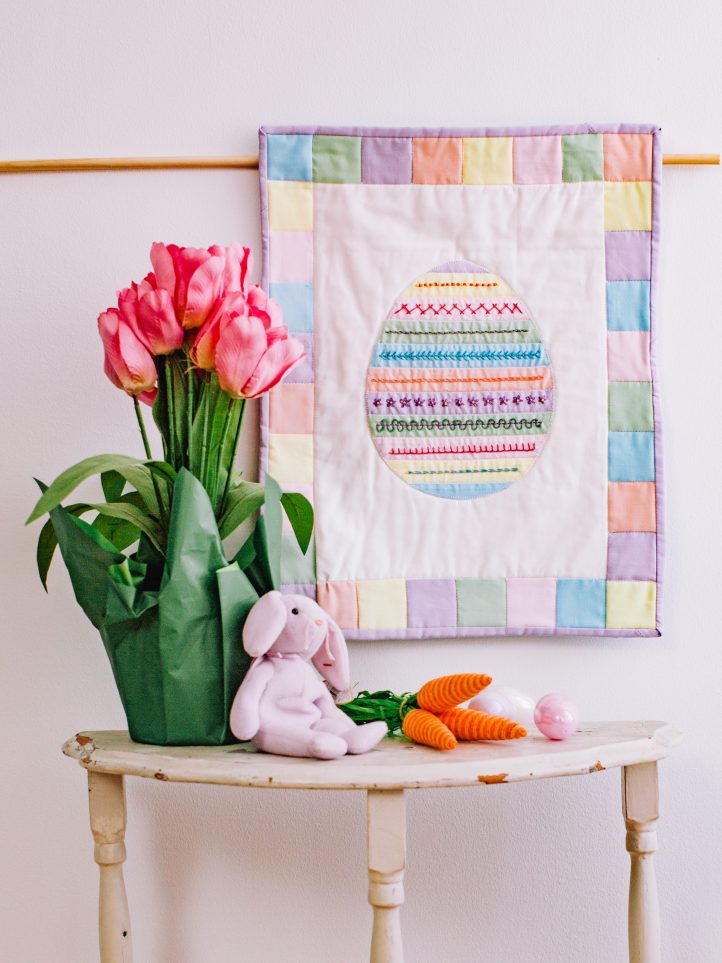
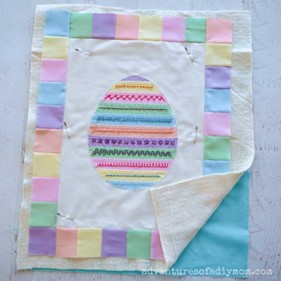
We’re so egg-cited and we just can’t hide it! Pastel fat quarters become a delicate and pretty mini quilt with this Easter pattern from Rachel Nielsen. Featuring a pastel rainbow border, this mini quilt pattern’s focus is its gorgeous egg design, which is highlighted with a selection of different embroidery stitches. Decorate your home for Easter with this colorful mini quilt pattern.
Designer Note: Please read all instructions before beginning.
Materials:
- 7 pastel solid fat quarters (Moda Bella solids, pastel fat quarters)
- 1 white or cream fat quarter (Or scrap that measures 12 1/2“ X 16 1/2”) [Kona White]
- Coordinating embroidery thread [(DMC brand): 553, 743, 335, 320, 352]
- Thread
- 22” X 18” piece of batting
Supplies:
- Sewing machine
- Scissors
- Iron / Ironing board or mat
- Water soluble pen
- Ruler
- Basting spray (optional)
- PDF Template – This is located at the bottom of this page. See printing instructions below.
PRINTING INSTRUCTIONS:
To download the PDF template, click on the download button at the bottom of the page. We recommend opening your download using Adobe Acrobat.
Instructions:
MAKING THE BORDER AND BACKGROUND:
Note: Use 1/4 inch seam allowance.
- Select one fat quarter to be the backing and set aside.
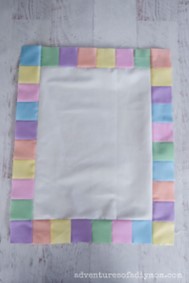
- Trim the white fat quarter to be 12 1/2” X 16 1/2”.
- Cut 32) 2 1/2” squares from the pastel fabric. The designer cut 6 squares from each color and had a few left over.
- Arrange the squares in a border around the white fabric with 6 squares along the top and bottom, and 10 squares on each side.
- Sew together the squares into strips. Sew two short strips of 6 squares each for the top and bottom. Sew two long strips of 10 squares each for the sides.
- Press the seams all to one side.
- Sew the short strips to the top and bottom of the white fabric. Press away from the white. Sew the long strips to the sides of the white fabric. Press away from the white.
MAKING THE STRIPED EGG:
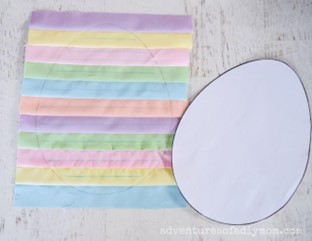
- Cut 11) 1 1/2” X 9 1/2” strips from the pastel fabrics.
- Arrange and sew the strips together to create a block that is approximately 11” X 9 1/2”.
- Place the egg template onto the striped block. Arrange so that the egg both extends slightly over the top and bottom strips. There will be no stitching on these strips. Trace the egg with a pencil.
- With a water soluble pen and a ruler, mark the stitching lines. Each stitching line is in the center of the strip. EXCEPT for the herringbone stitch and the blanket stitch. For the herringbone, draw two lines, 1/4 inch from the top and 1/4 inch from the bottom. For the blanket stitch, draw the line about 2/3 down.
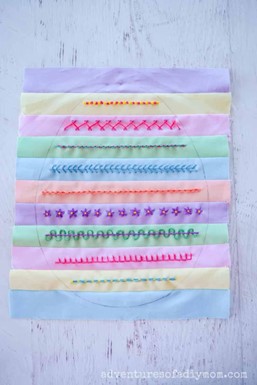
STITCHING THE EASTER EGG:
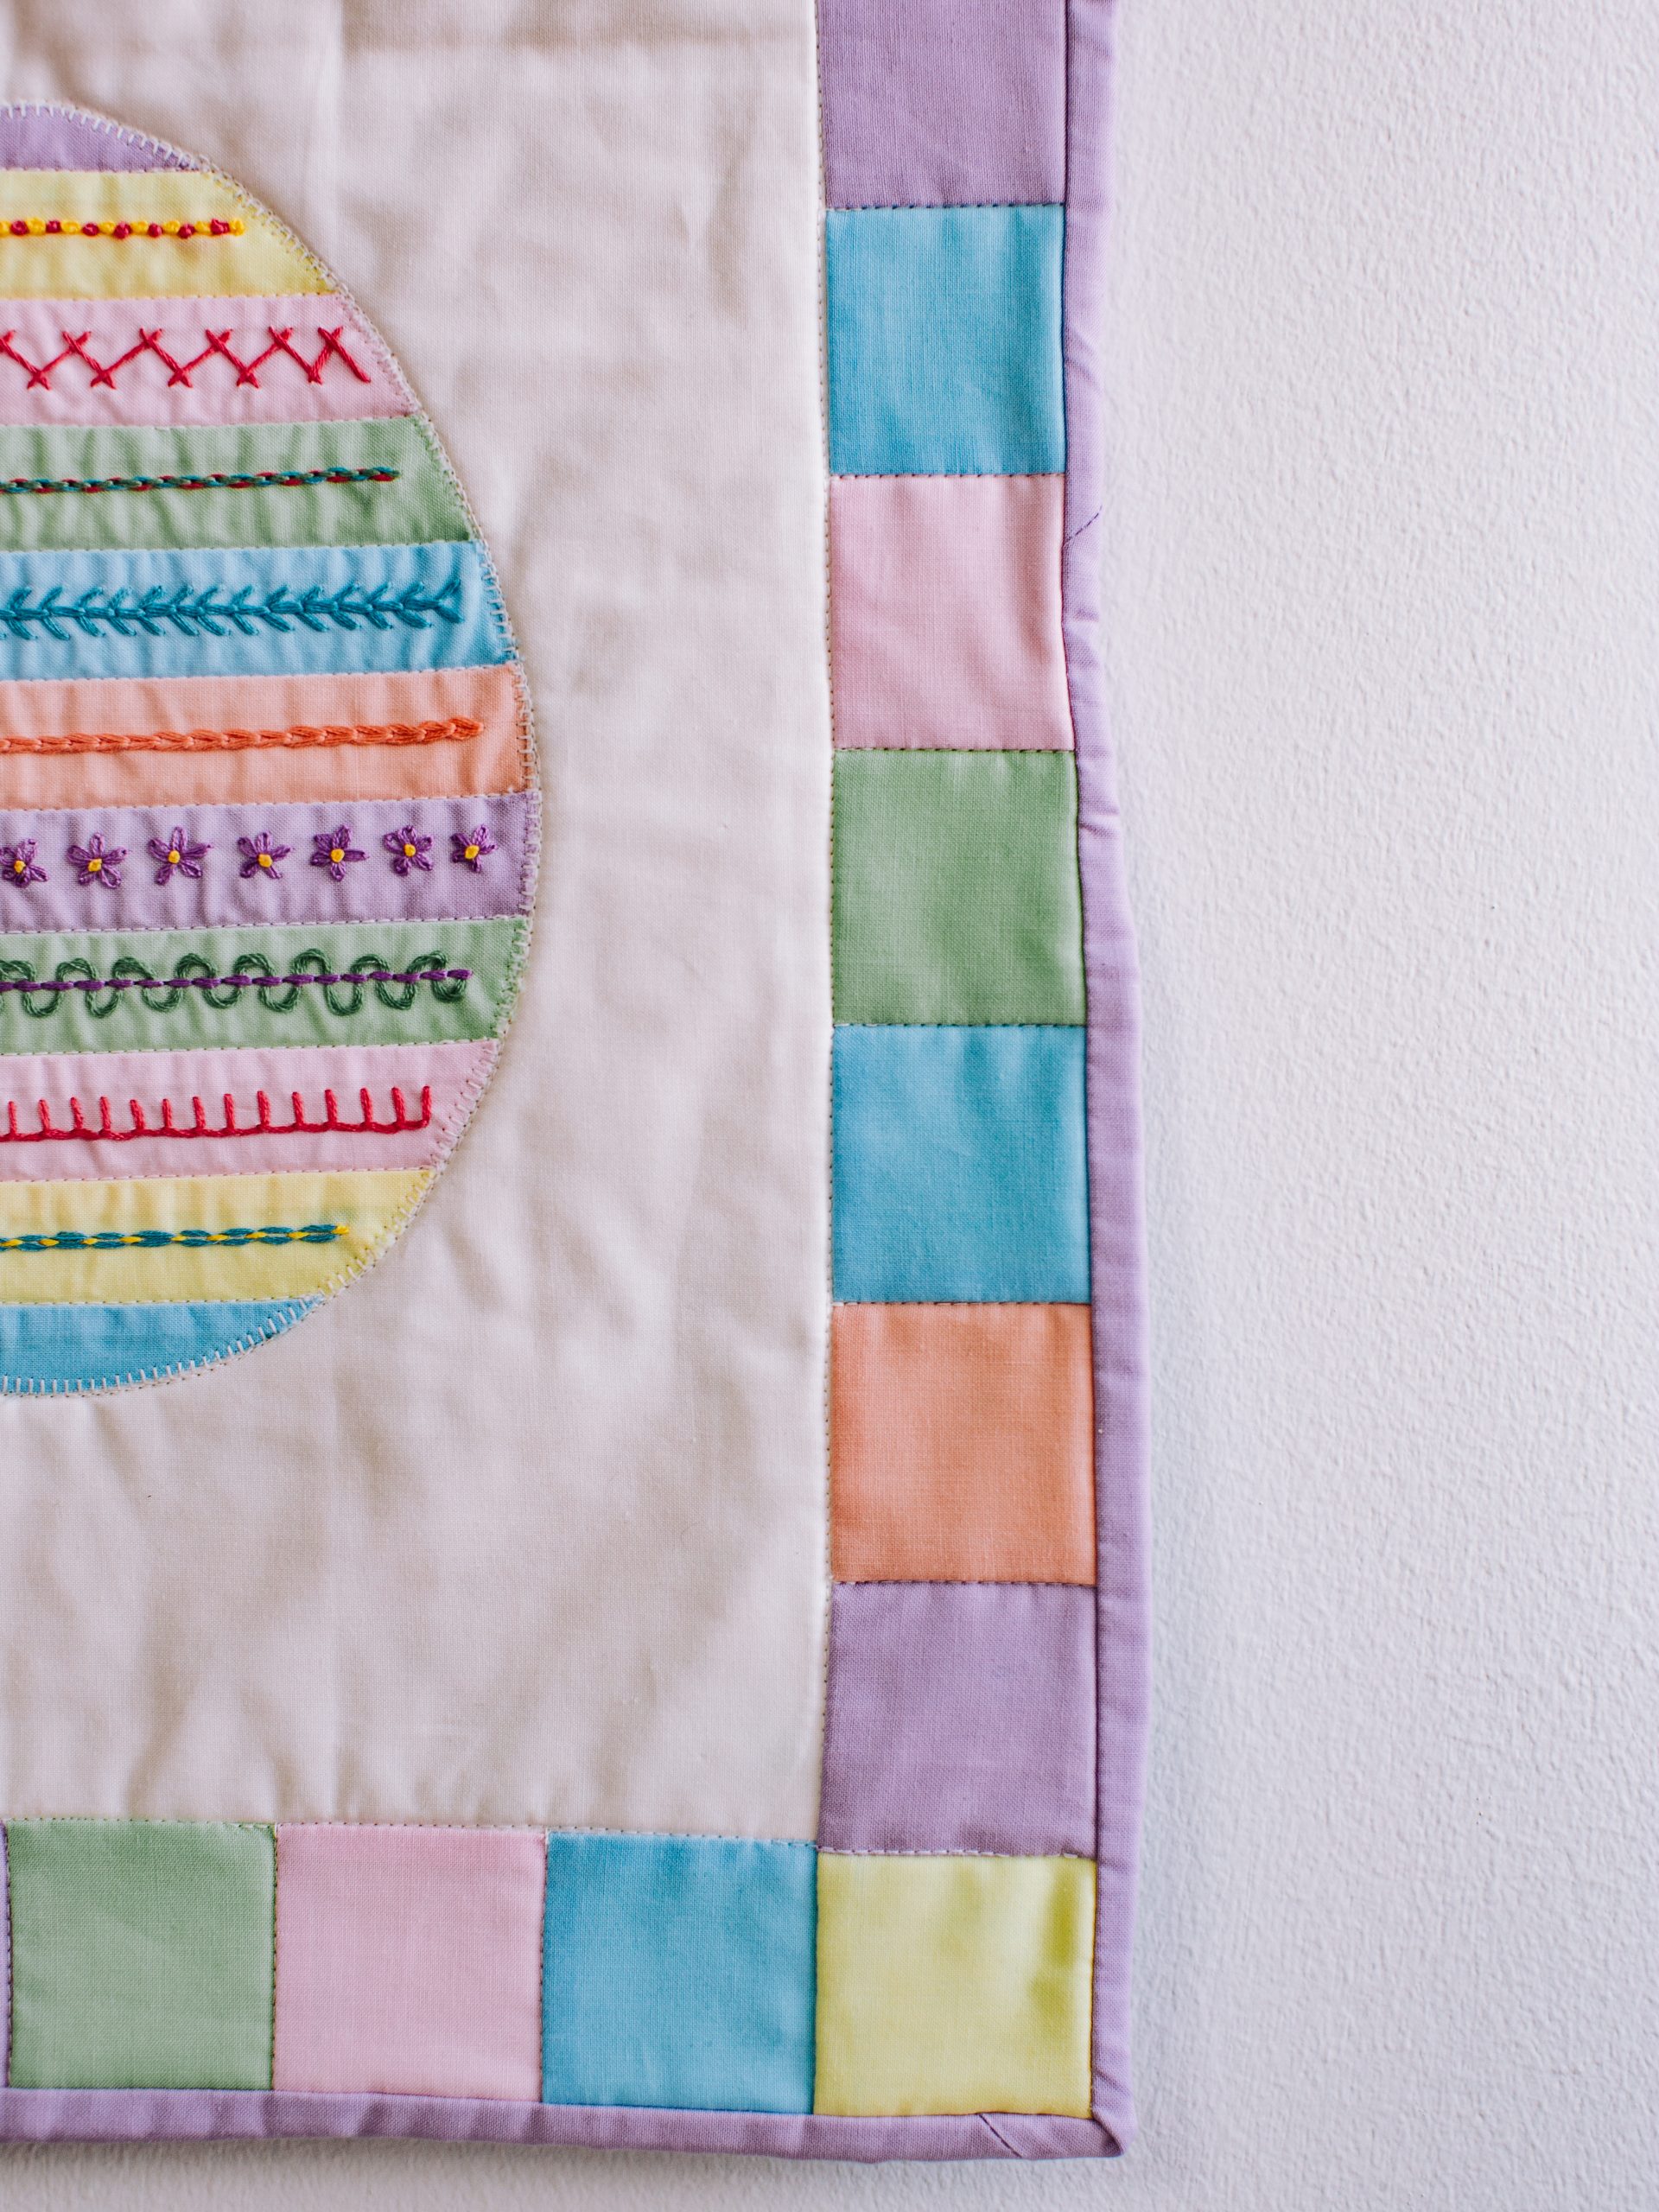
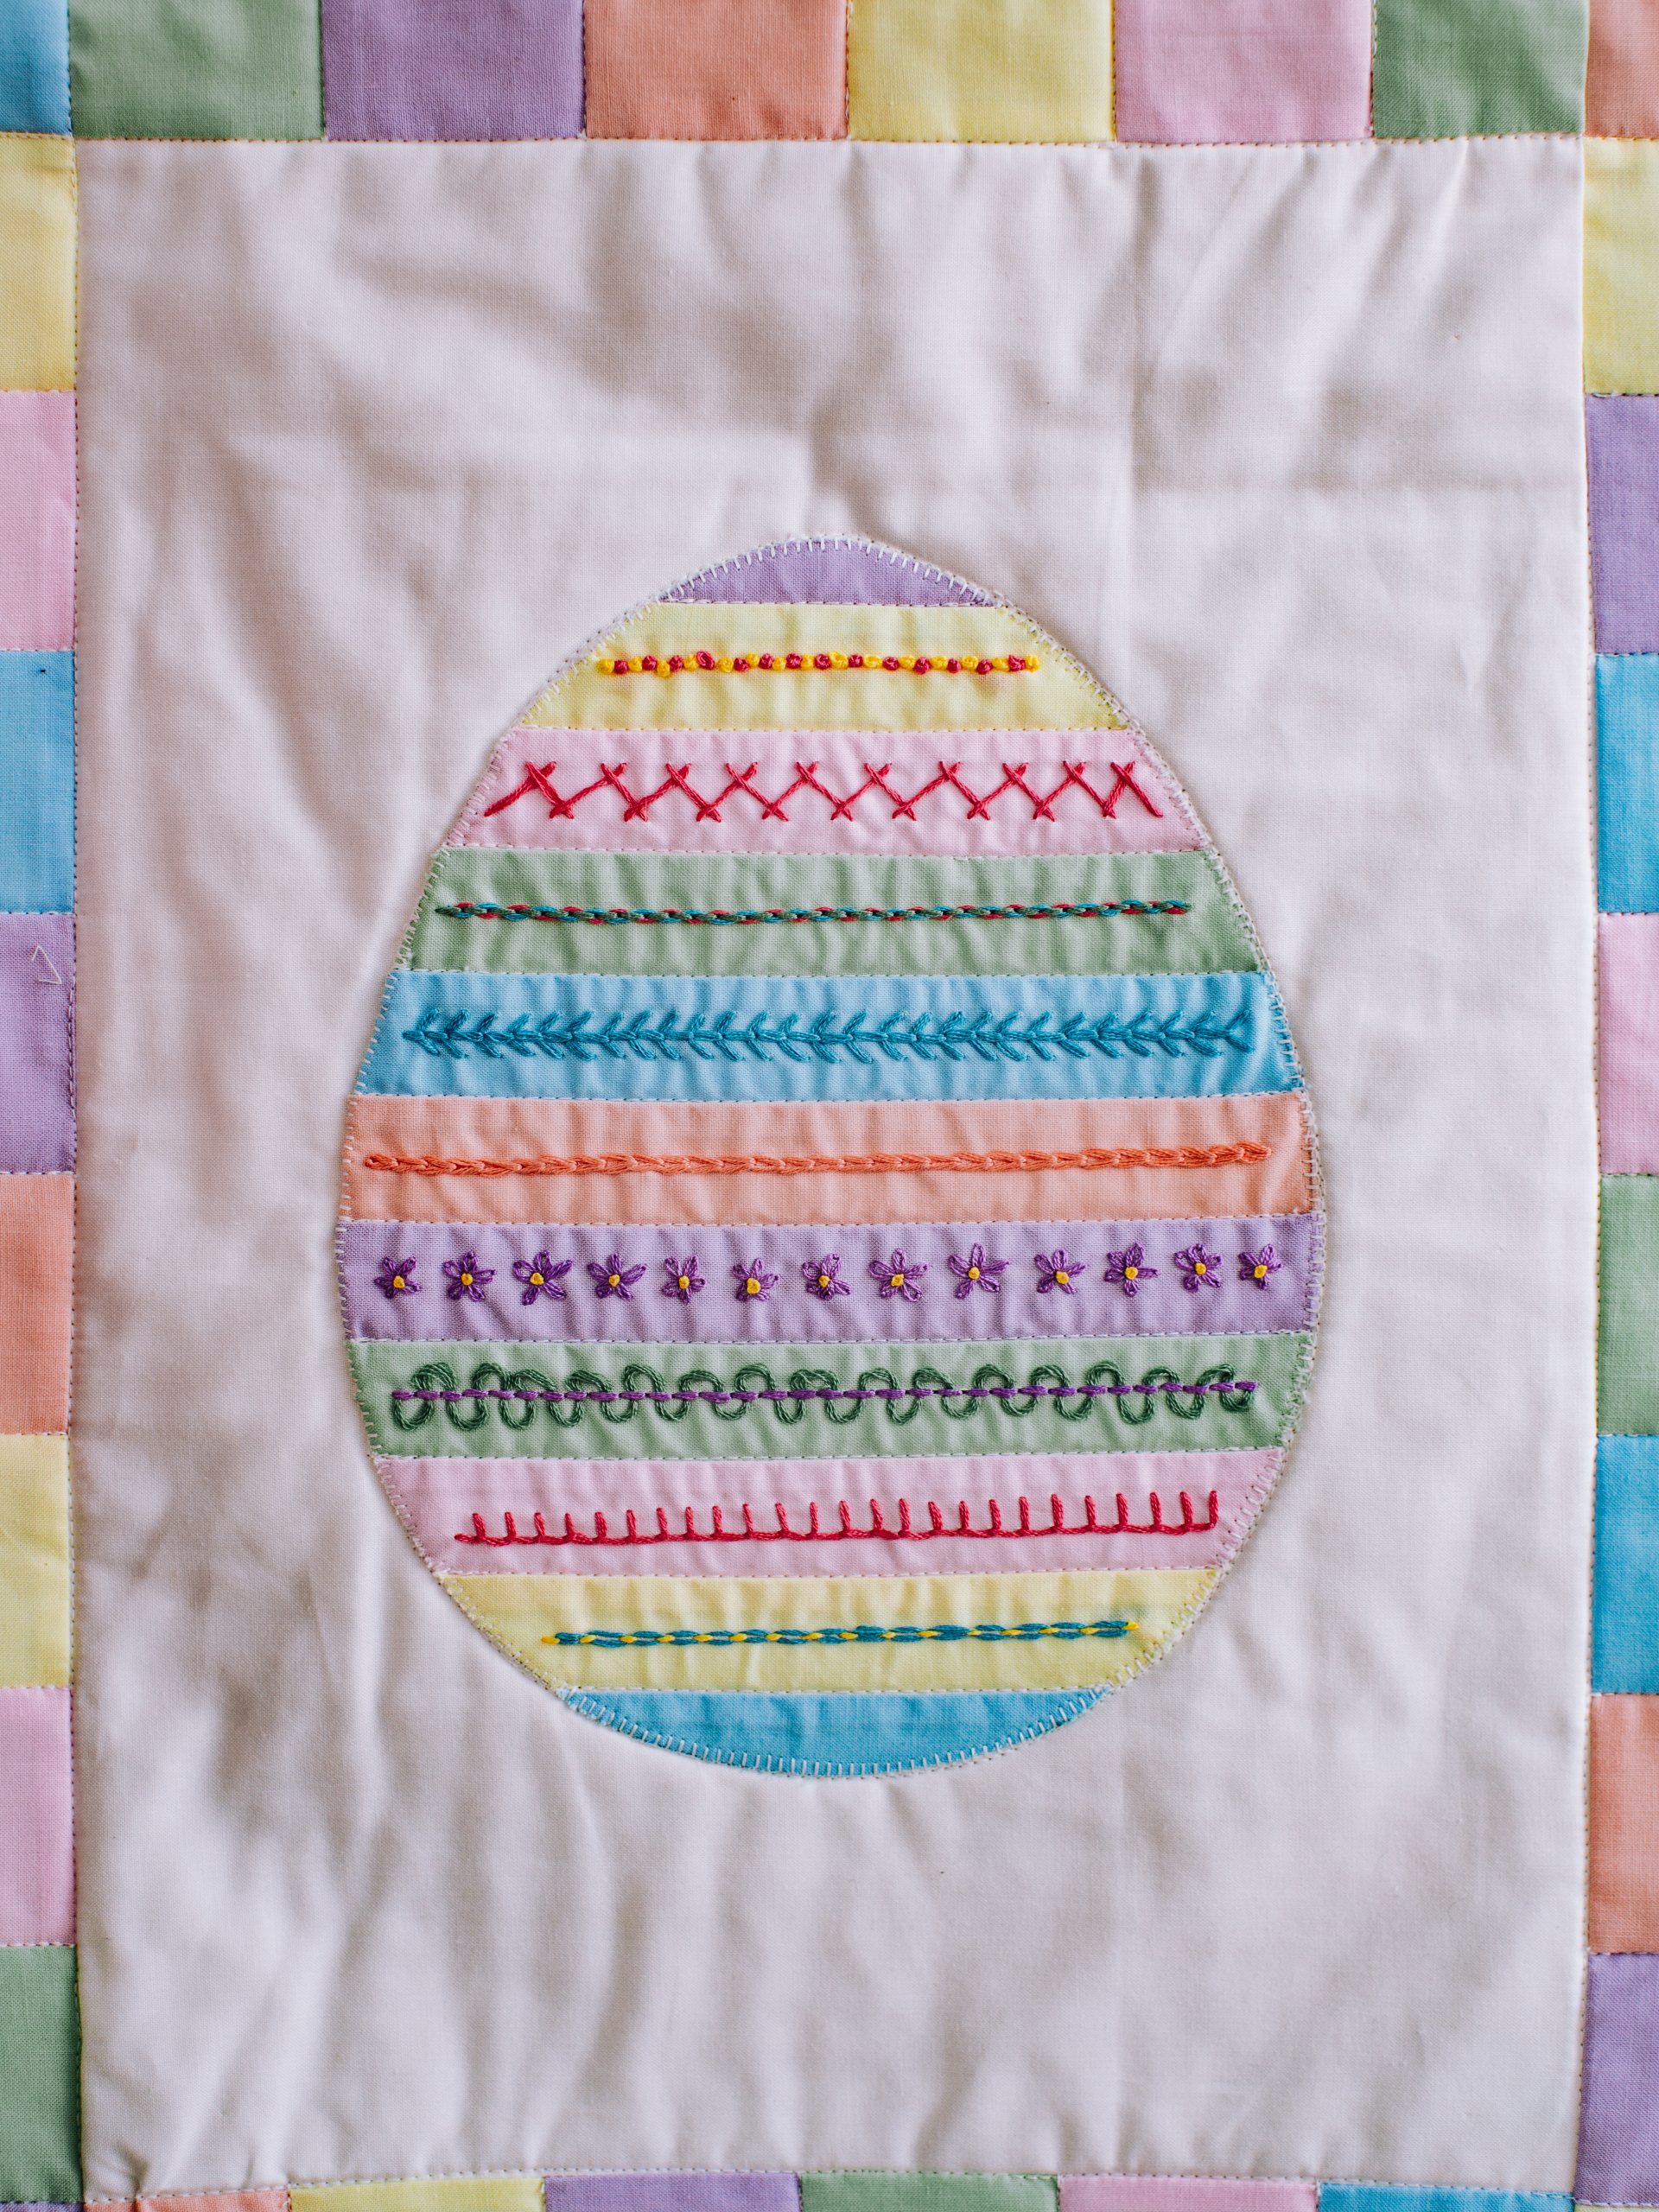
- Showcase different embroidery stitches in each stripe of the egg. Start and end the stitches 1/4 inch from the edge of the egg shape.
- Stitches used from top to bottom:
- French knots (2 alternating colors)
- Herringbone stitch
- Double threaded backstitch
- Fly stitch
- Chain stitch
- Lazy daisies with French knot centers
- Weaved (or laced) backstitch
- Blanket stitch
- Double threaded running stitch
Note: If you’re new to embroidery, we recommend heading over to Youtube to check out video tutorials for each stitch.
Note: Use 6 strands of thread for all stitches EXCEPT the lazy daisies and French knots in the lazy daisy flowers. For those use, 3 strands.
ADDING THE STITCHED EGG TO THE QUILT:
- Spray the stitching with a spray bottle to remove the water soluble pen markings. Let dry completely.
- Carefully trim the egg just inside the traced marking.
- Center the egg on the mini quilt. It is helpful to spray the back of the egg with a basting adhesive. This will hold the egg in place while stitching.
- Stitch around the entire egg with a zig zag or blanket stitch. (Machine stitching is fine for this.)
FINISHING THE QUILT:
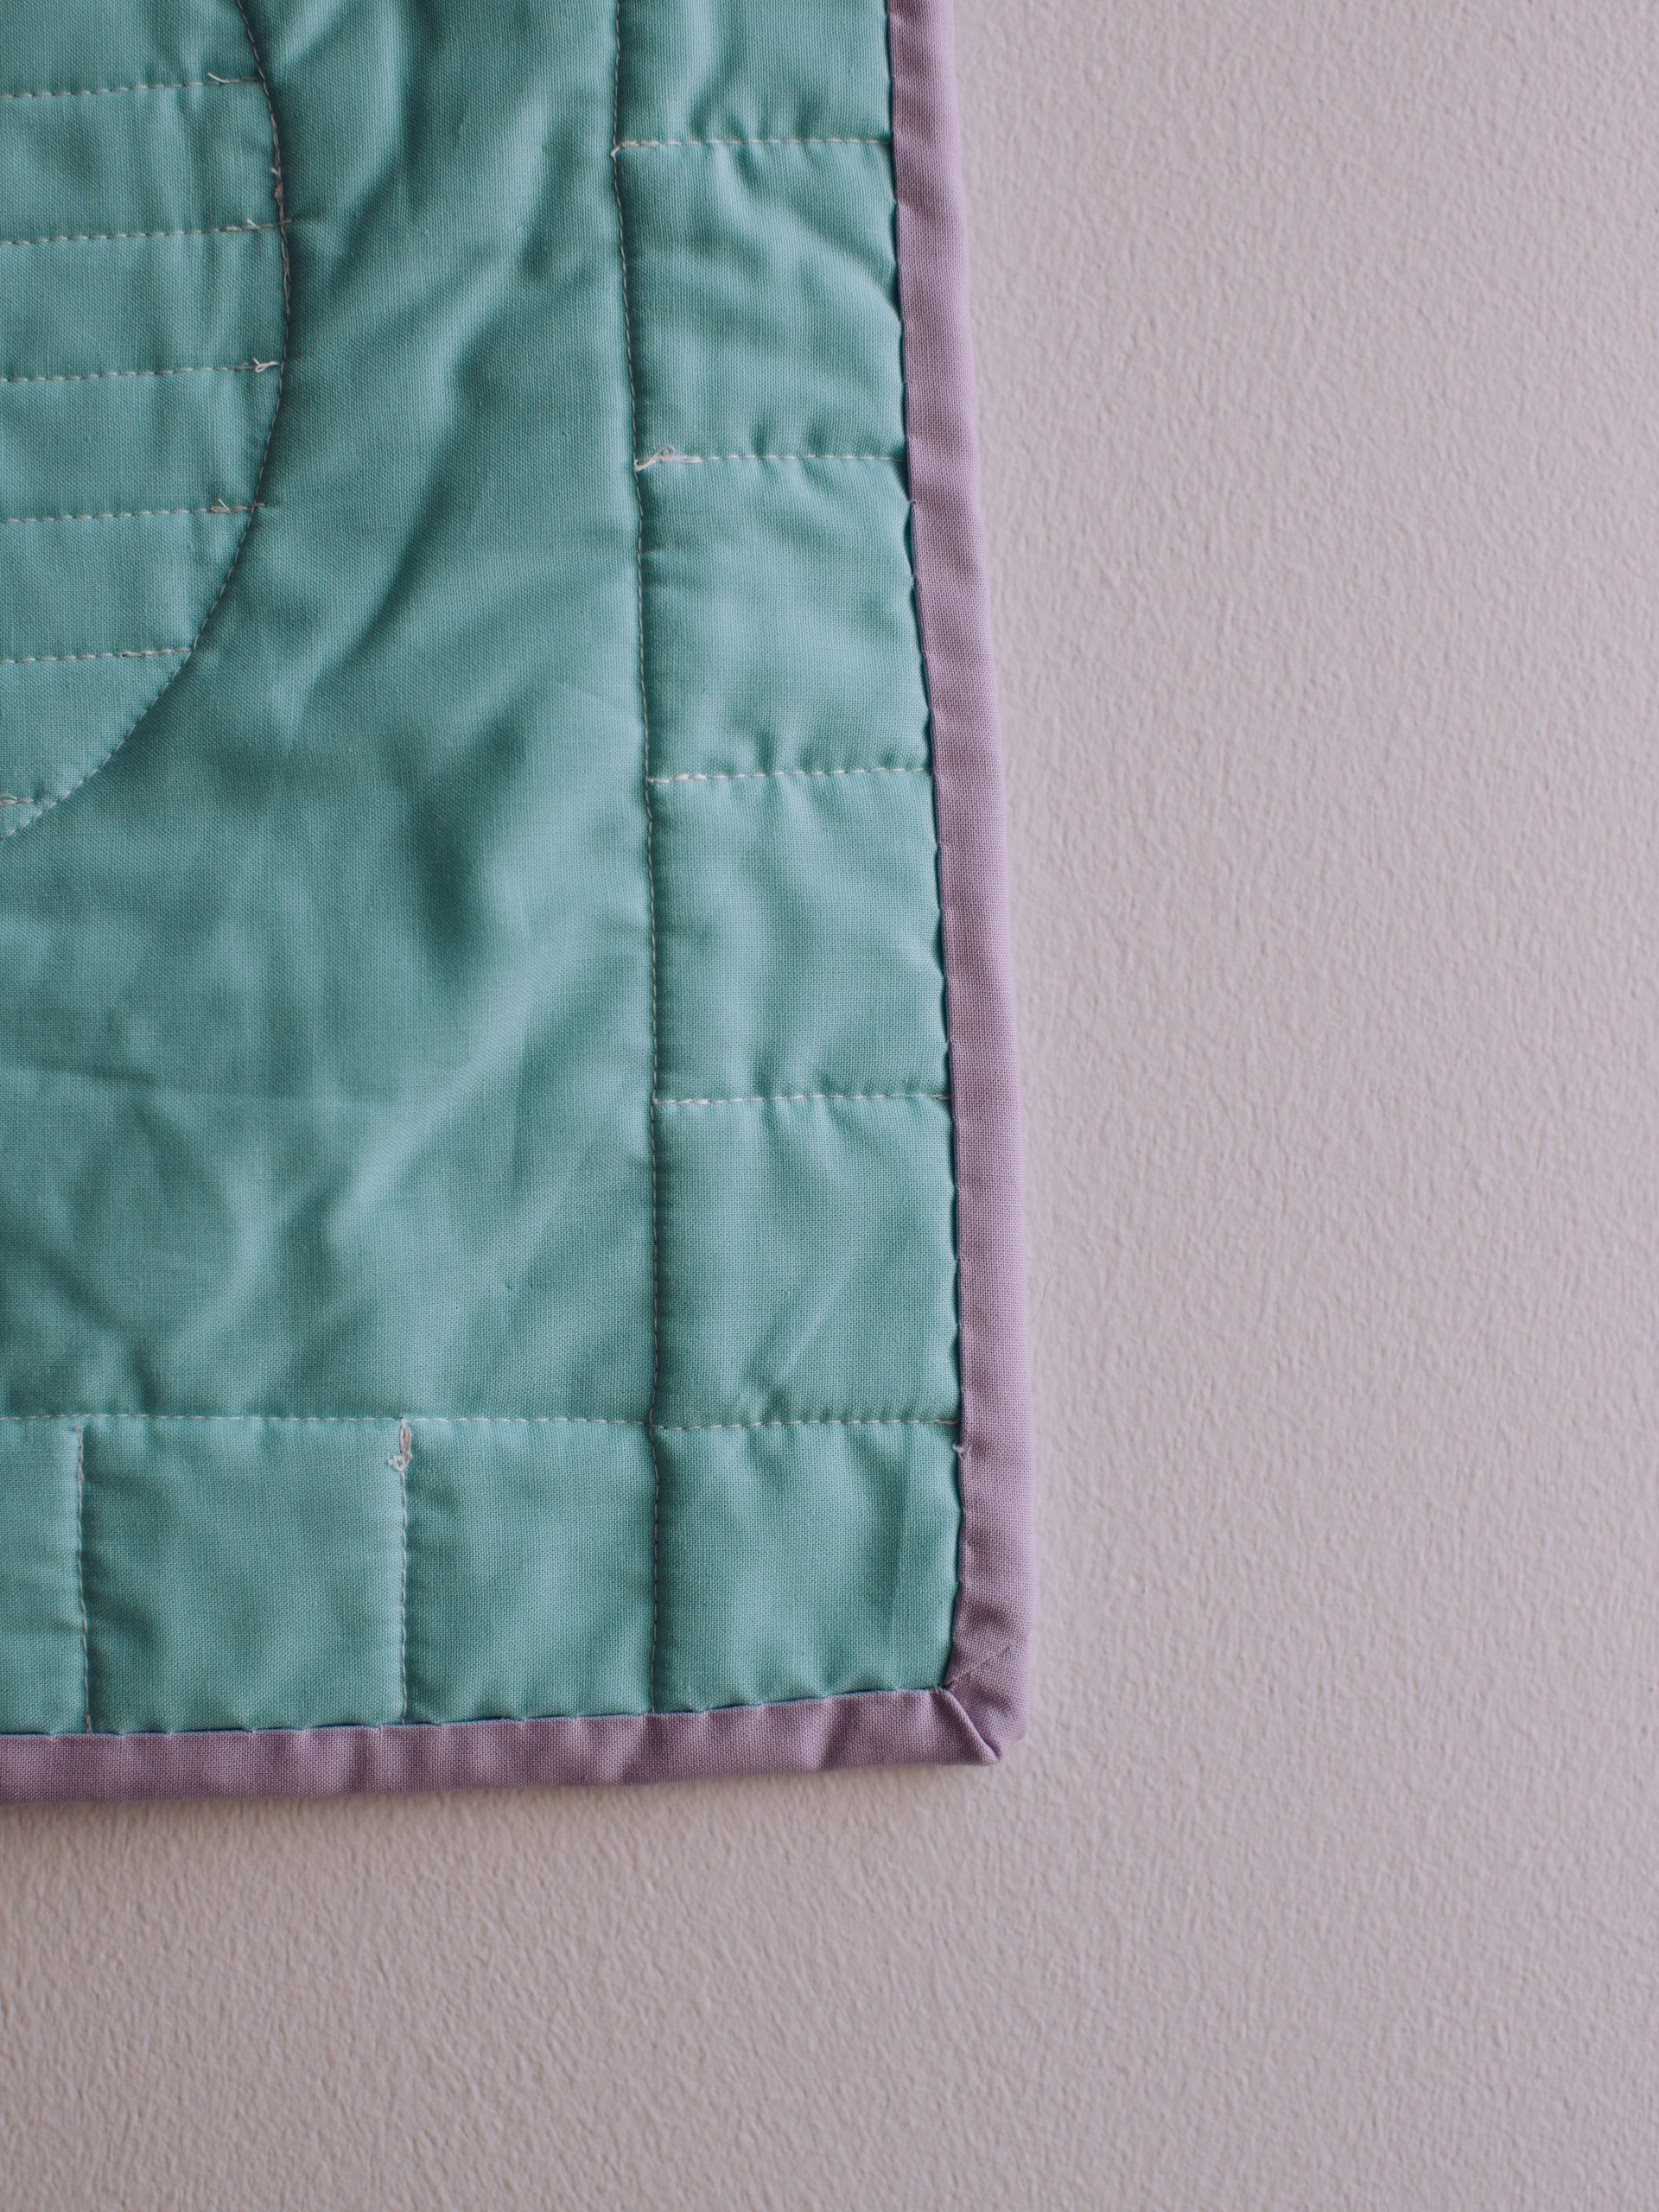
- Sandwich the quilt by placing the backing piece right side down, the batting piece and then the quilt top with the right side up. Pin in place to secure.
- Quilt as desired.
- Trim batting and backing to match the top.
BINDING THE QUILT:
- Choose one of the remaining pieces of fat quarter fabric to create the binding. Cut 5 strips of fabric 2 1/2 inches long.
- Sew strips together end to end. Fold and press the fabric in half lengthwise with the right side out to create the binding.
- Bind the quilt.