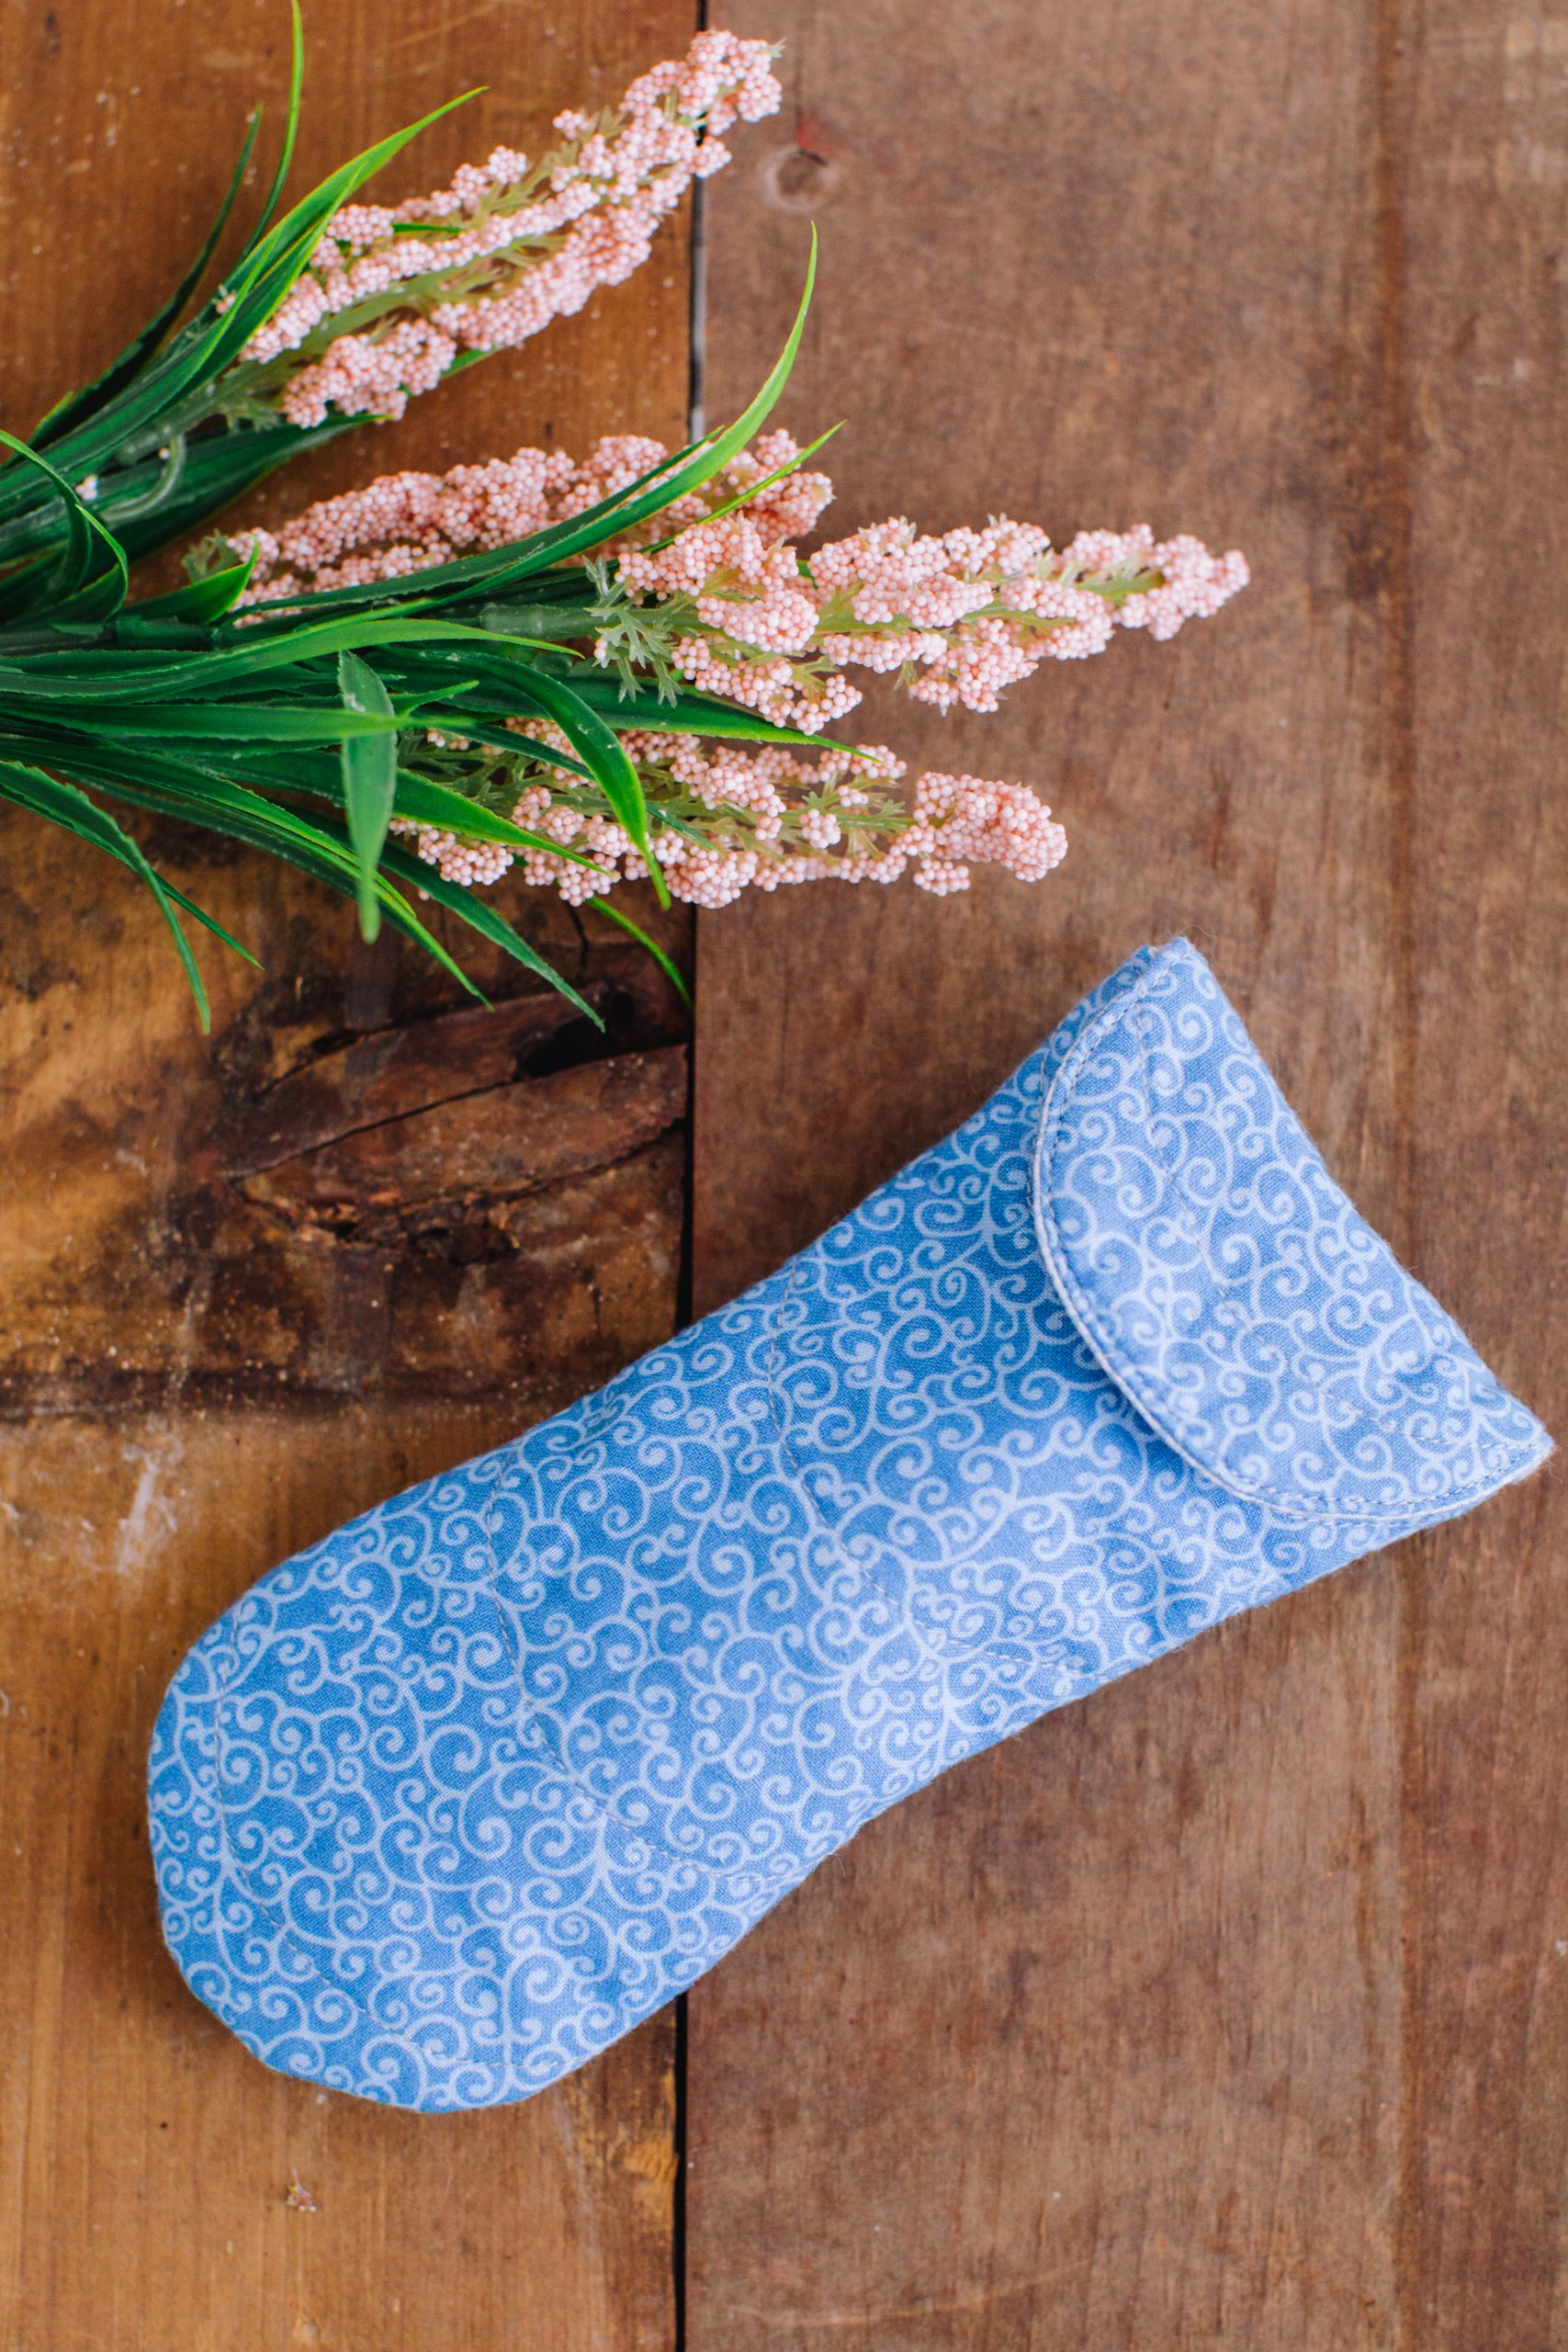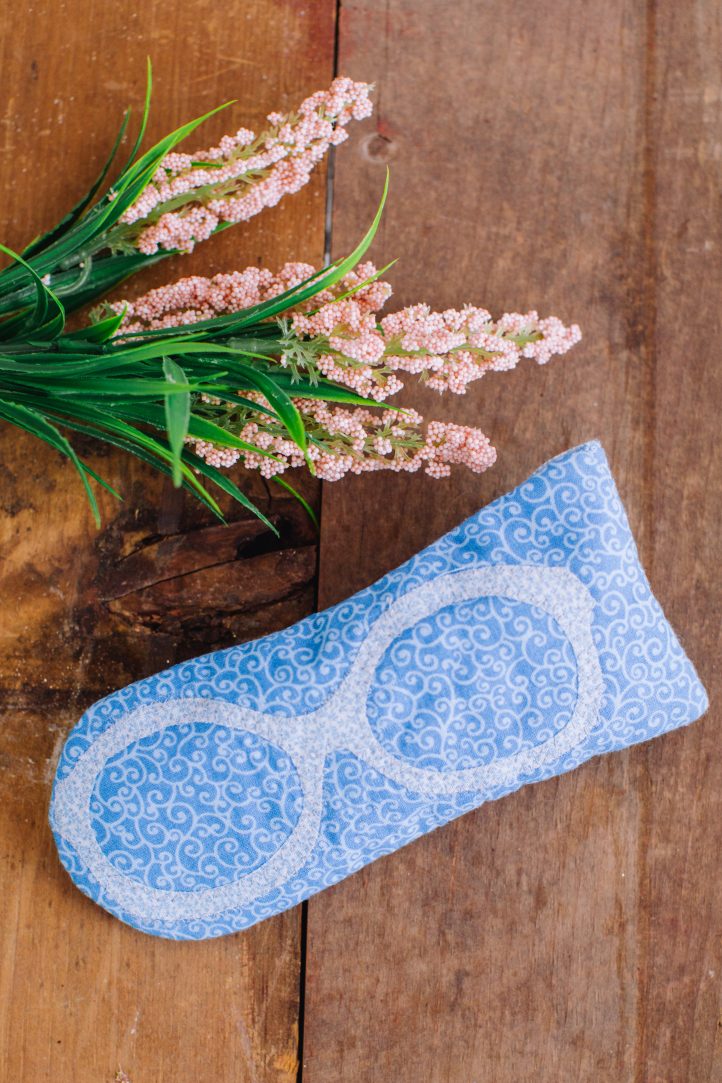
Keep your eyeglasses or favorite pair of sunnies safe and secure in a super cute homemade case. Amanda Ogden shares her glasses case pattern that features playful applique detail and a flap closure with a press-stud for security. Never lose your favorite pair of glasses again with this soft glasses case made from fat eighths. First up, a glasses case pattern for your everyday eyewear!
Editor Note: If you’d like to check out the sunglasses case pattern, click here!
Designer Notes:
- This soft case for glasses has a flap closure with press-stud to secure. It fits glasses 6 1/2” long and 4” around the center of one lens – see photo below).
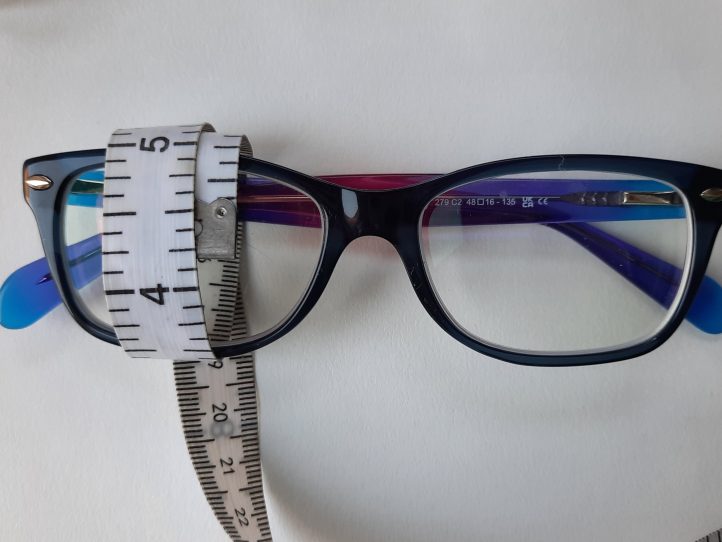
- If your glasses are bigger, extend the template before starting the project.
Materials:
- Fat eighth (9 x 18”) blue print fabric – Fabric 1
- Fat eighth (9 x 18”) white/blue low-volume print fabric – Fabric 2
- 9 x 18” 100% cotton batting
- Pale blue thread for sewing and quilting
- 1 press-stud
- Piece 6 x 7” of double-sided fusible web (for example, Steam-a-Seam 2)
- Piece 7 x 10” of tear-away quilting paper (for example, Golden Threads)
- PDF Template – This is located at the bottom of this page. See printing instructions below.
PRINTING INSTRUCTIONS:
To download the PDF template, click on the download button at the bottom of the page. We recommend opening your download using Adobe Acrobat.
Cutting Instructions:
- From Fabric 1, cut out one piece using Template A for the back and flap of the case.
- From Fabric 1, cut out one piece using Template B for the front of the case.
- From Fabric 2, cut out one piece using Template A and one piece using Template B for the lining.
- From Fabric 2, cut out a piece 3″ x 7”.
- From the fusible web, cut out a piece 3″ x 7”.
- From the wadding, cut out one piece using Template A and one piece using Template B.
Piecing Instructions:
MAKING THE CASE:
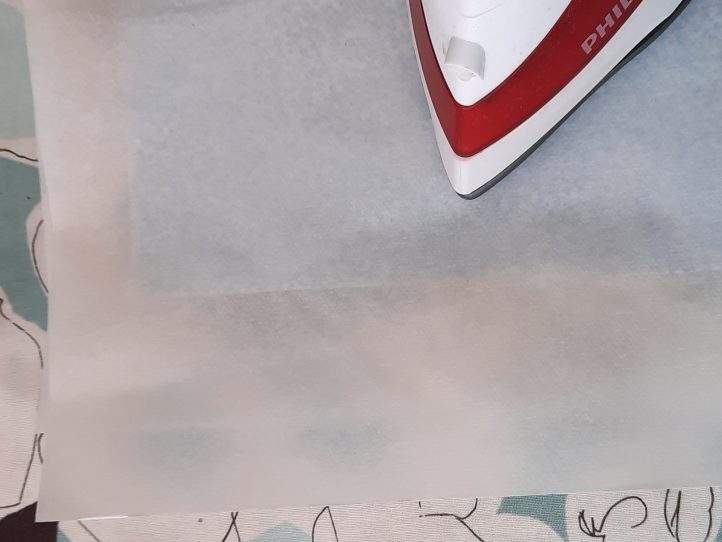
- Iron the fusible web to the wrong side of the 3 x 7” Fabric 2 piece, making sure to protect the iron and the ironing board.
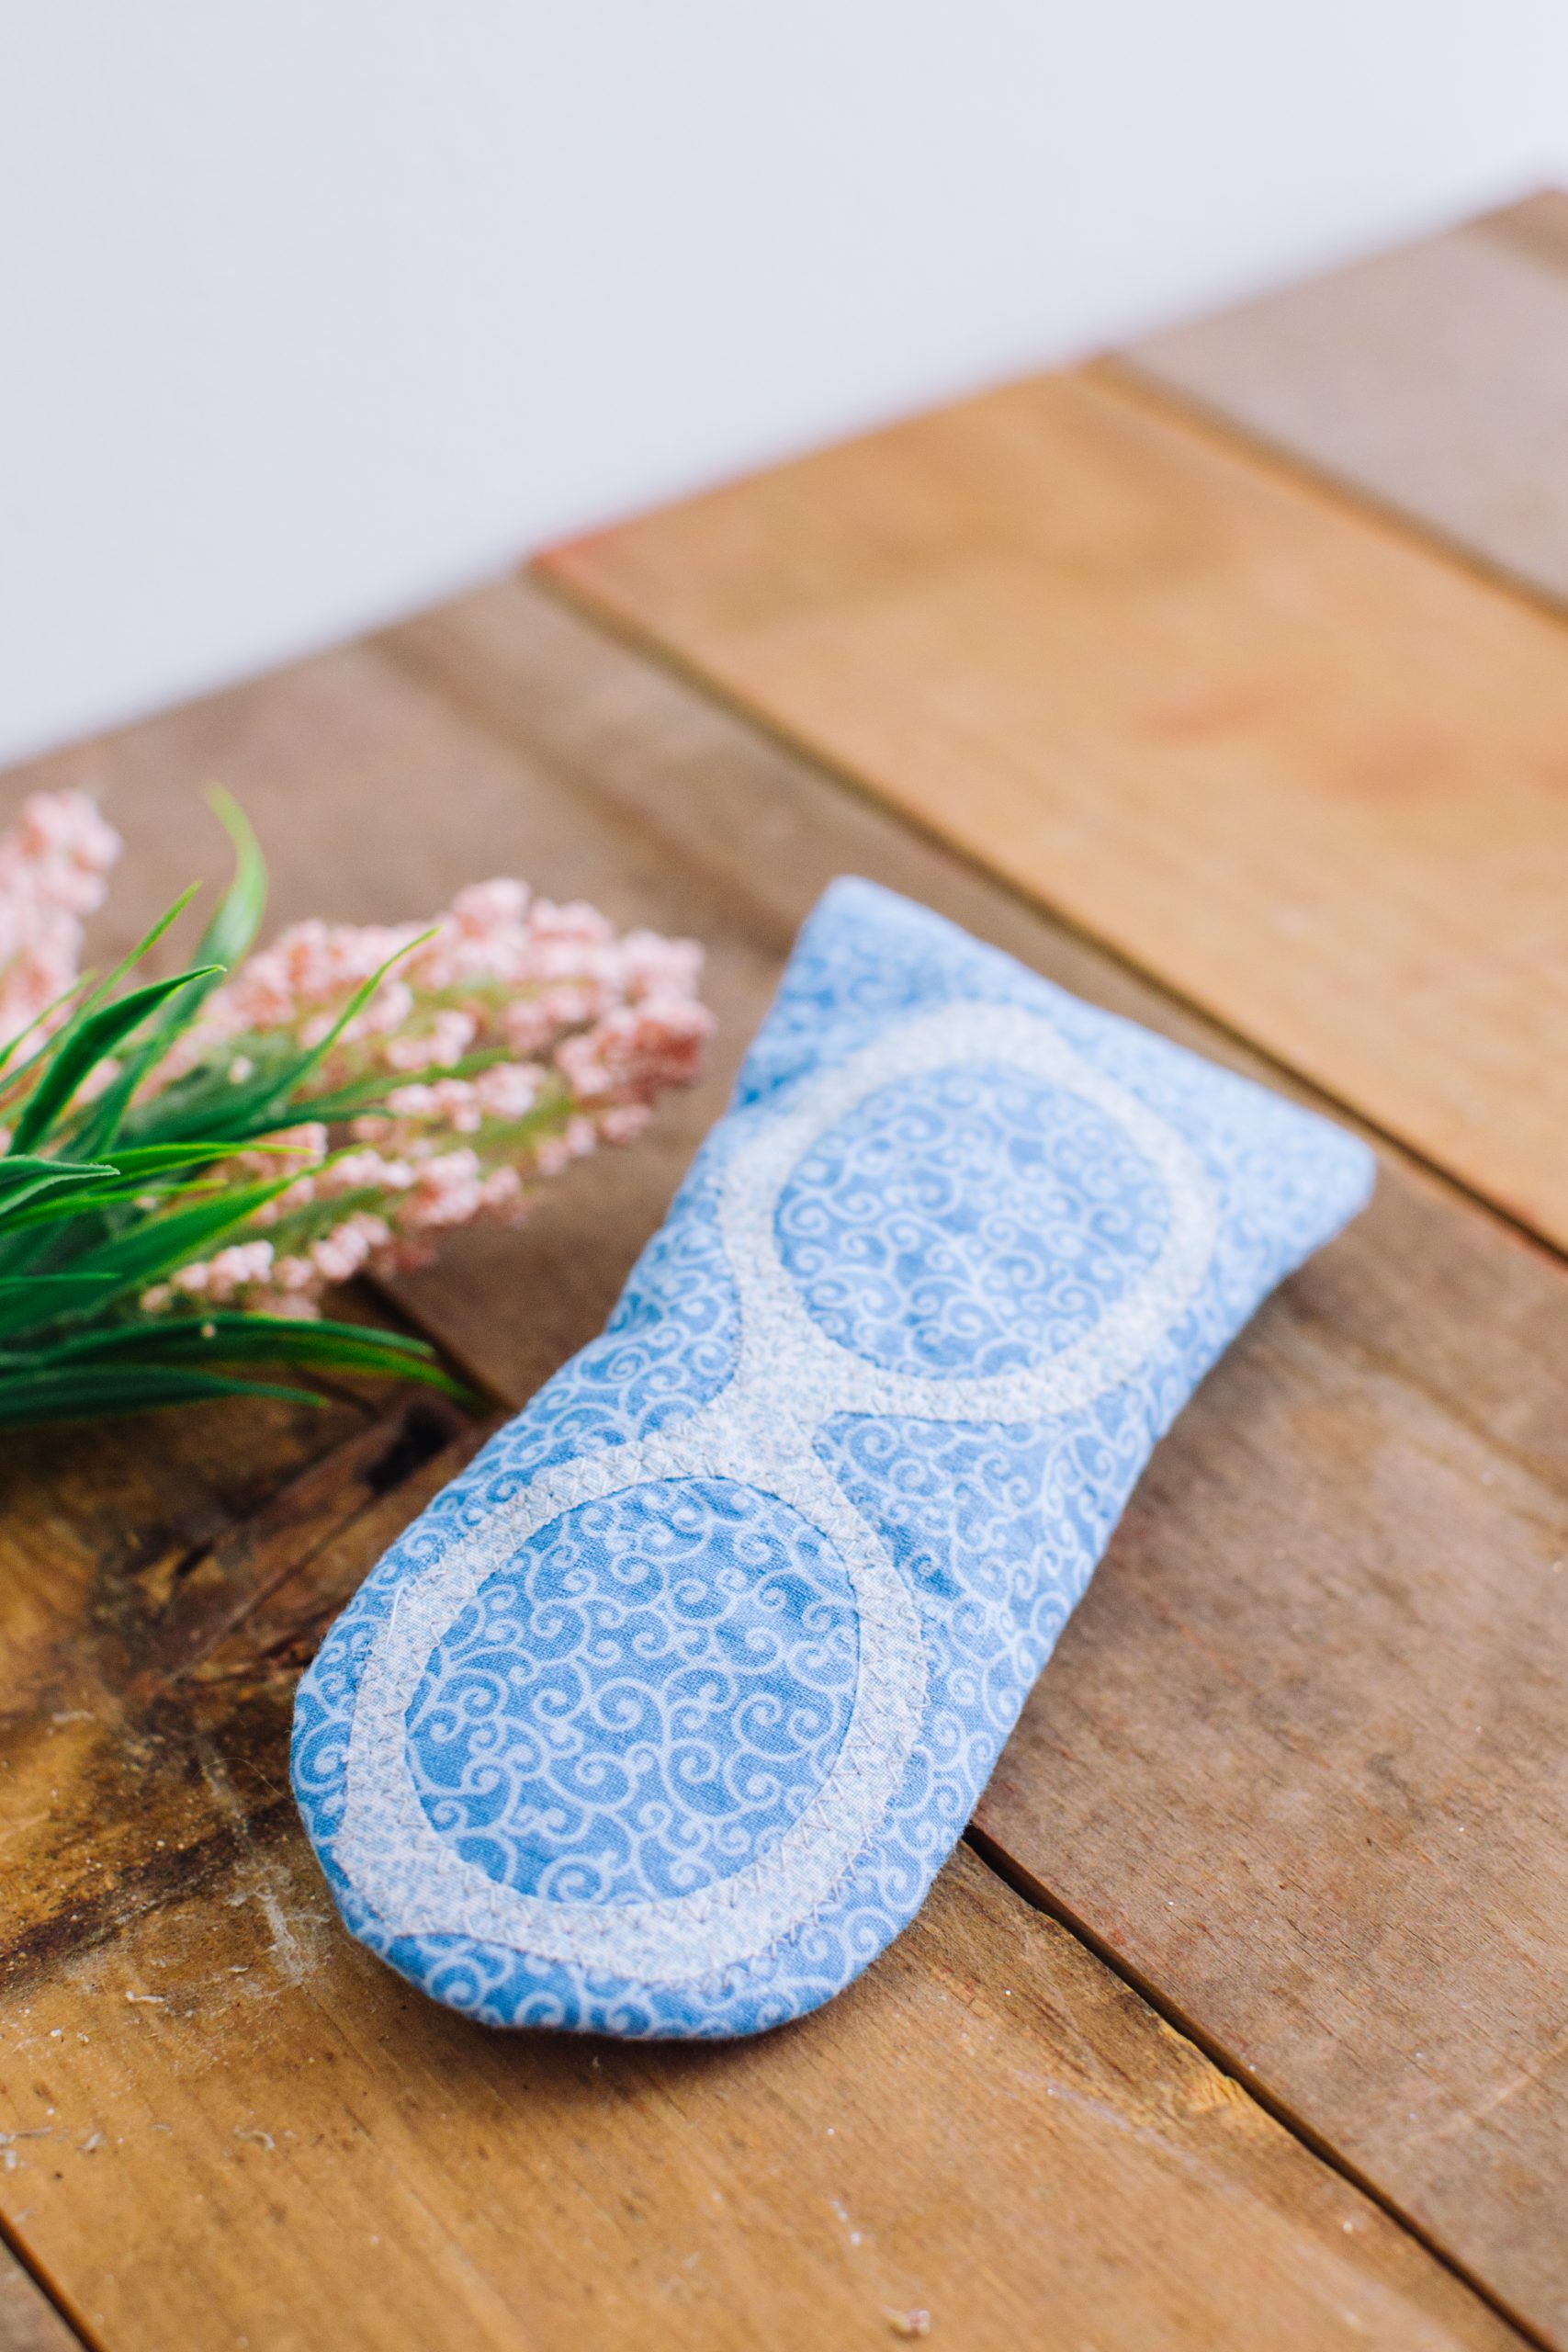
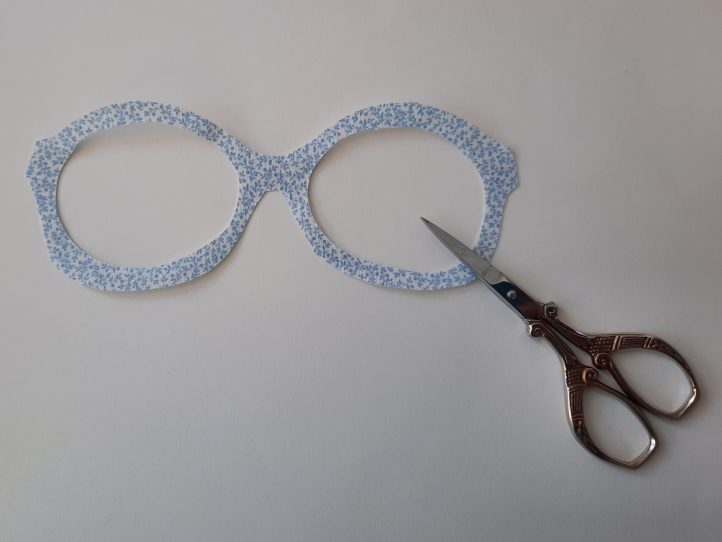
- Pin Template C onto Fabric 2 and cut out the outline of the glasses. To cut out the inside of the frame, bend the fabric and make a cut with a pair of small scissors before continuing to cut out the shape.
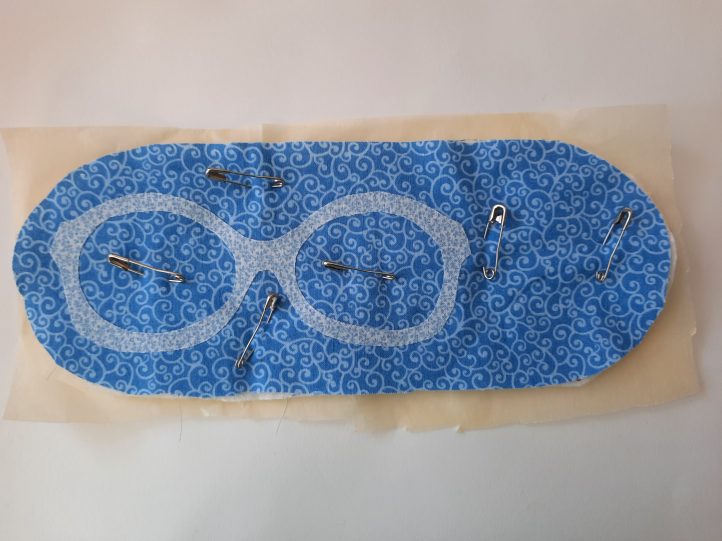
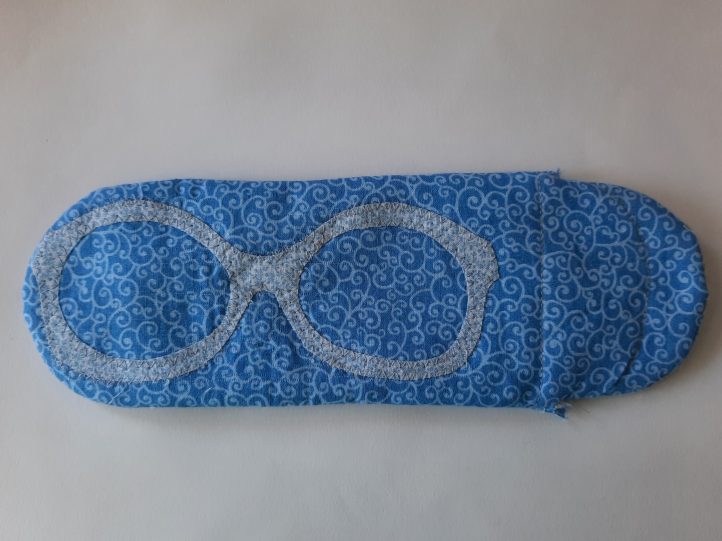
- Gently peel off the backing from the fusible web without distorting the shape. If you are right-handed, place the ‘glasses’ 1/2” from the left-hand end of the front of the case, so the flap extends to the right of your appliqué (see photo below). If you are left-handed, place the ‘glasses’ 1/2” from the right-hand end.
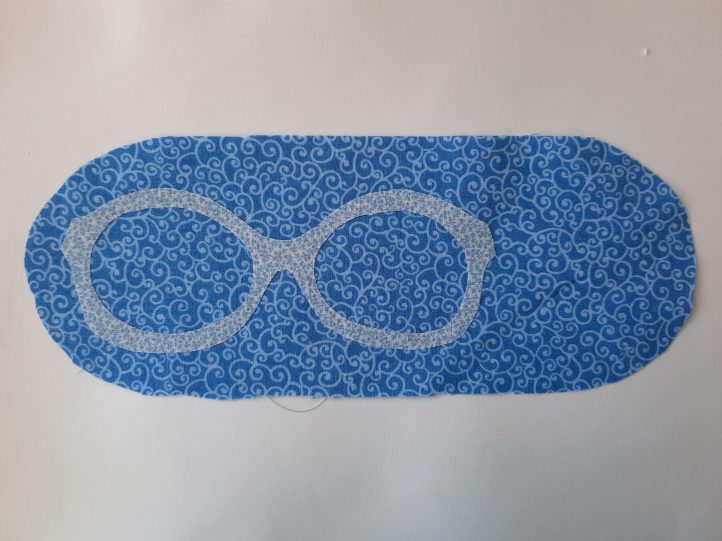
- Bond the glasses to the fabric with the iron, protecting the iron and board.
- Layer up the front and the wadding. If you are using wadding with loose fibers, you may like to use a layer of tear-away paper behind the wadding, to stop it catching in the feed dogs on your machine. Use small quilters’ pins to hold the layers together.
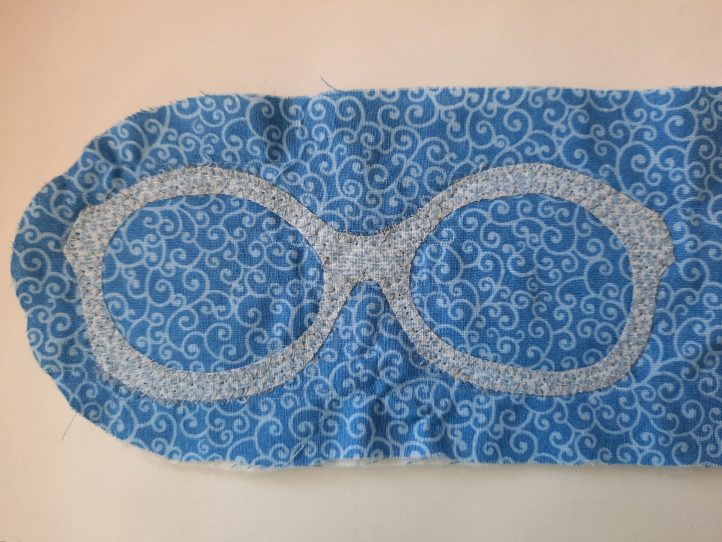
- Using a small zig-zag stitch (stitch length 3, stitch width 3) and a fine machine needle, stitch carefully around the frame of the ‘glasses’. Stitch carefully around the frame, starting at the top edge of the ‘glasses’. Use the hand-wheel to make slow stitches at corners and the underside of the bridge. Pivot on the needle to change direction.
- Take out the pins in the center of each lens area and stitch around the inside of the ‘glasses’.
- Remove the paper from the back of the appliqué. Use tweezers to take out any small scraps. Take the sewing threads to the back of the work and tie off.
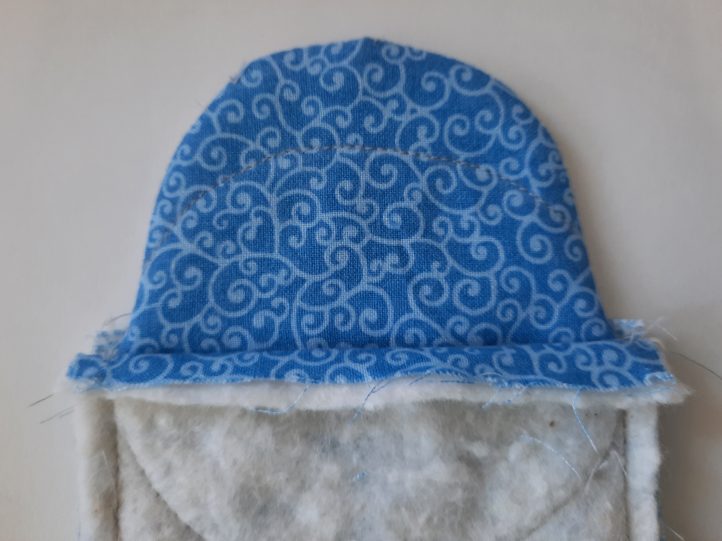
- Using Template A, make a cardboard template from the upper curved through the dashed line to create a Template D. With tailor’s chalk, first mark a line for the fold at the base of the flap, then mark a curved quilting line with the cardboard template.
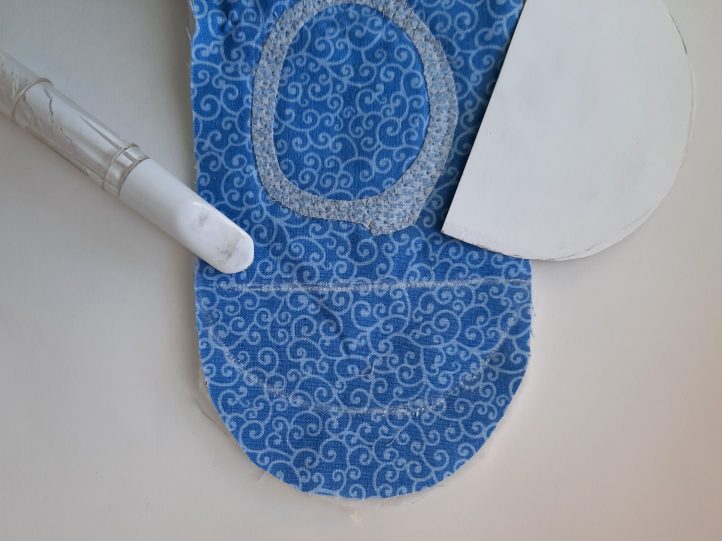
- Quilt the straight and the curved line. Brush off the chalk.
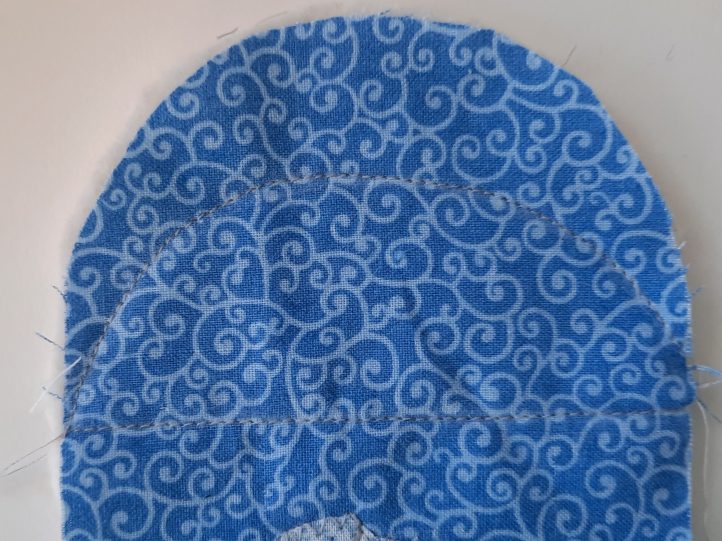
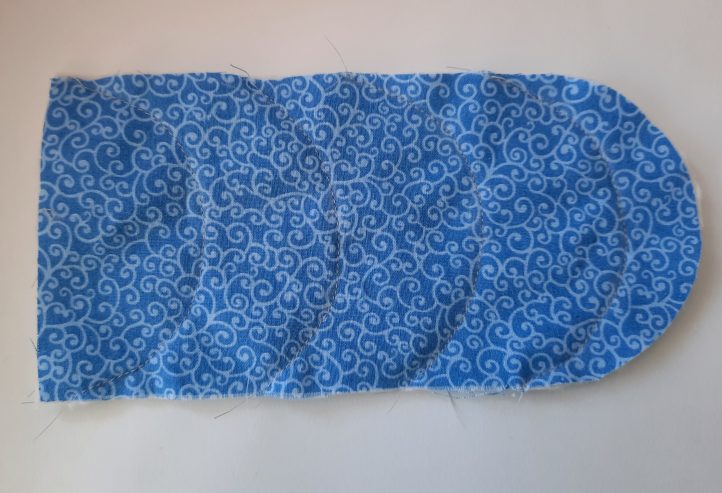
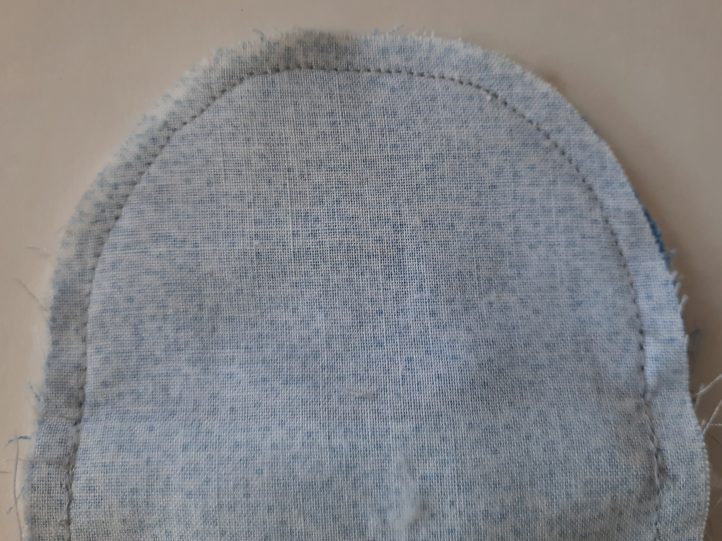
- Layer up the back of the case on the batting. On the fabric, mark four lines with tailor’s chalk, using the cardboard template, the first 3/4” from the curved end, the rest 1 1/2” apart.
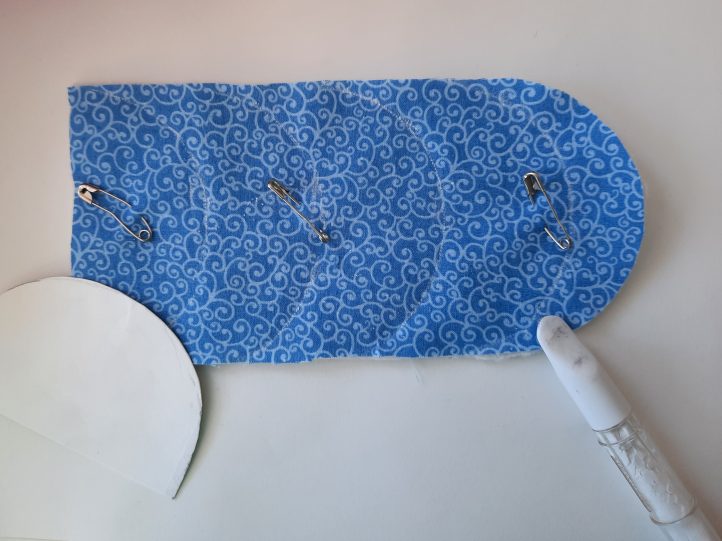
- Quilt the marked lines. Brush off the tailor’s chalk.
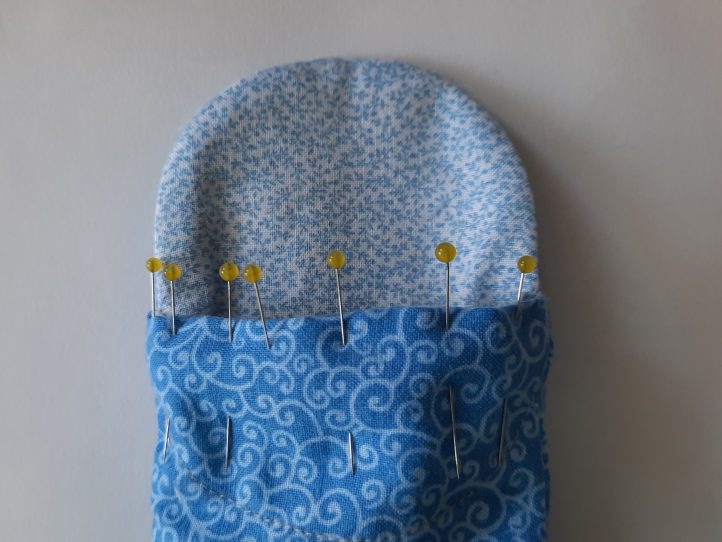
- Fold down 1/4” (wrong sides together) from the straight edge of the back lining and pin in place.
- Pin front and back of case right sides of lining together and stitch with a 1/4” seam. Back-tack at the beginning and at the end of the seam.
- Fold down 1/4” (wrong sides together) from the straight edge of the back lining and pin in place.
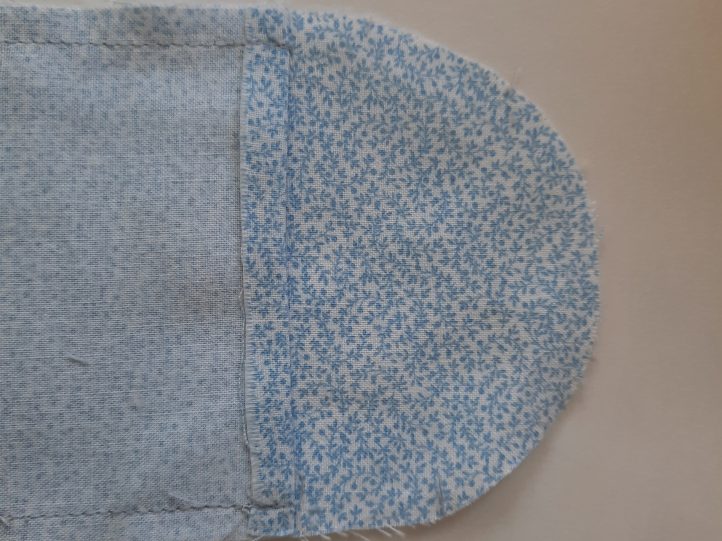
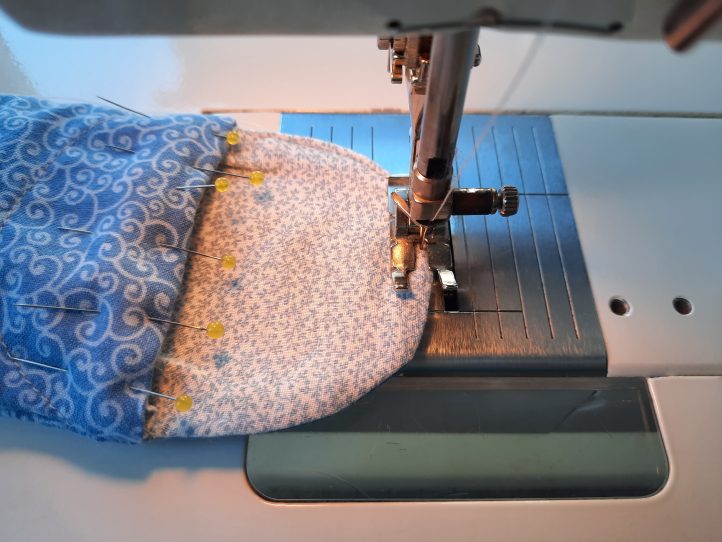
- Put the lining front and flap piece, right sides together to the lining back piece and stitch from the fold, round the base and up to the fold again, back-tacking at the beginning and at the end.
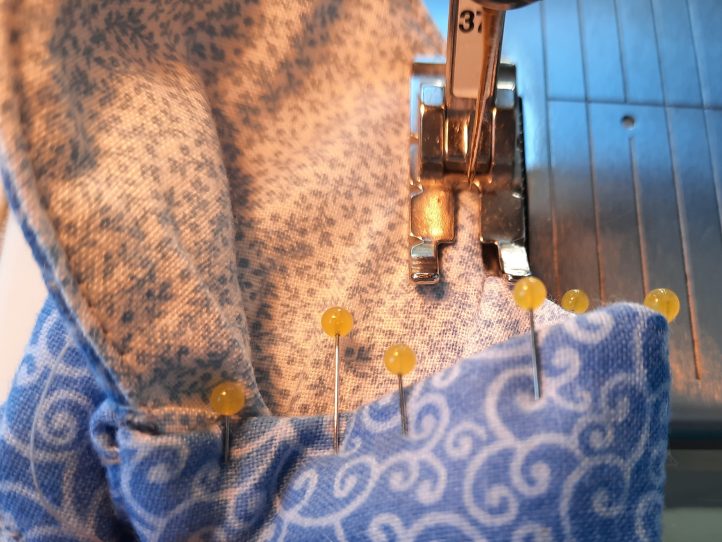
- Lay the completed outer piece right sides together with the complete lining piece and pin the two flaps together.
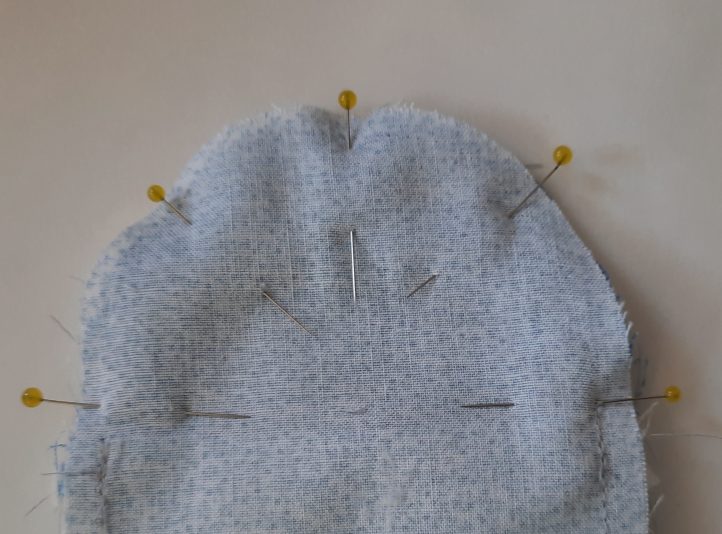
- Stitch around the outside of the flap, back-tacking at the beginning and end.
- Turn flap to the right side and press.
- Turn the outside of the case to the right side and tuck the lining down inside it.
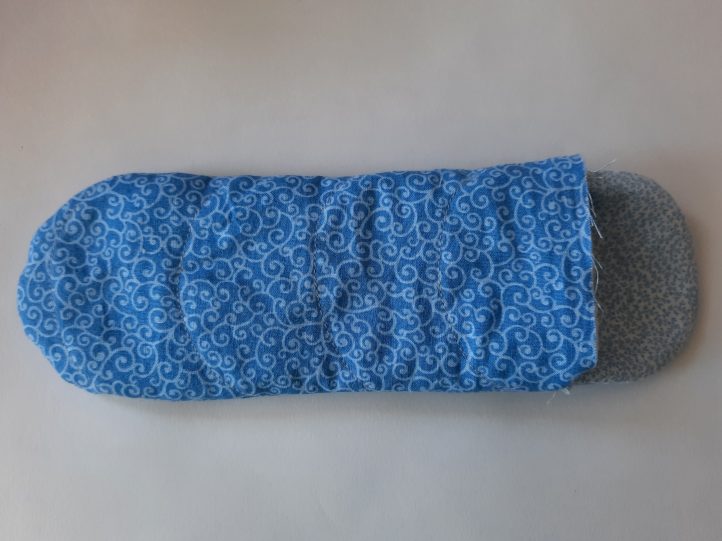
- Press.
- Pin the two folded-down edges together.
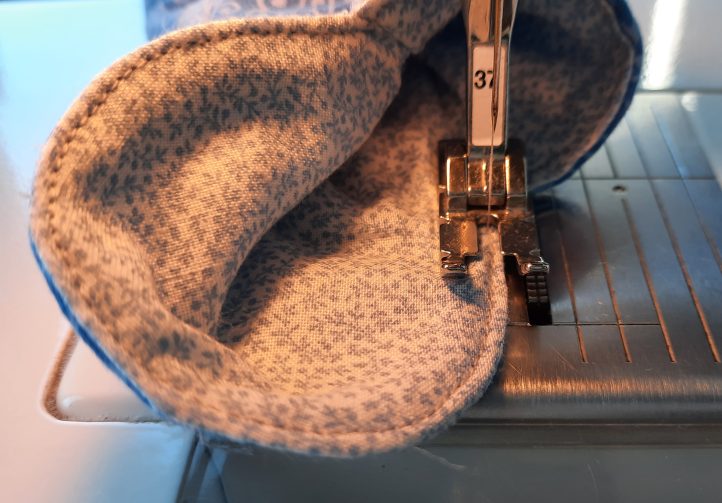
- Working from the lining side, top-stitch around the flap 1/8” from the edge.
- When you get to the side seam, pivot on the needle and continue round the straight edge, taking the pins out as you go.
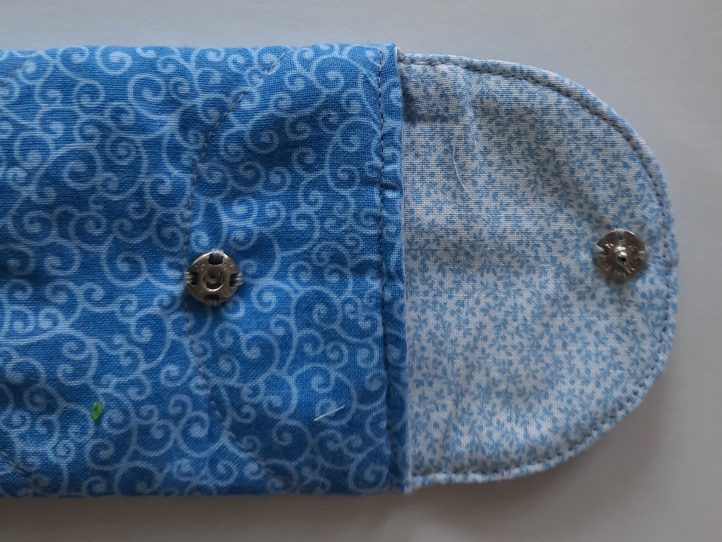
- At the end, bury the threads in the wadding as shown in photo below.

- Place your glasses in the case and insert a pin on the case back and on the flap to mark the position of the press stud.
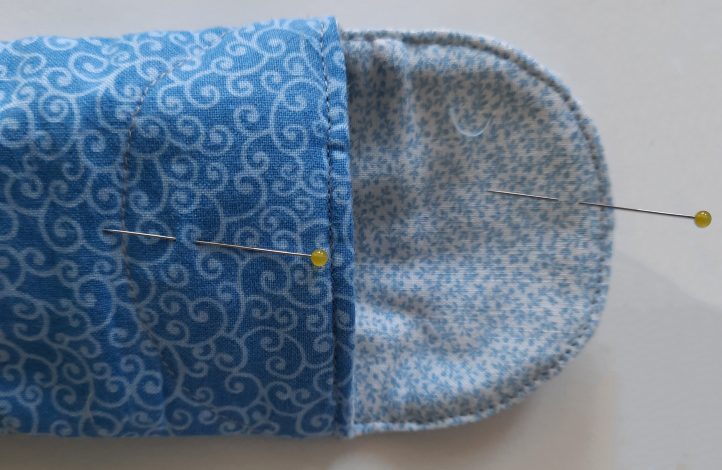
- Take out the glasses and then check with a measuring tape to ensure that the fastener is exactly in the center.
- Sew the lower part of the fastener to the case back and the upper part of the fastener to the inside of the flap, using a double thread with a knot in the end.
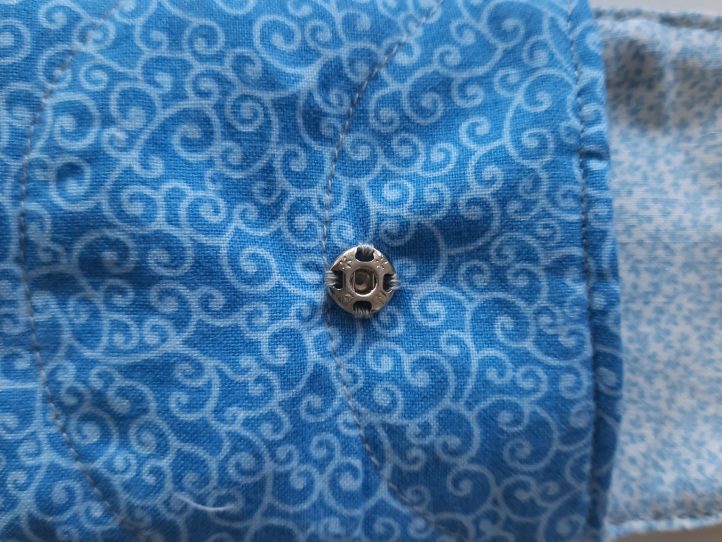
- Finish off the thread with two small stitches on the spot, underneath the edge of the fastener.