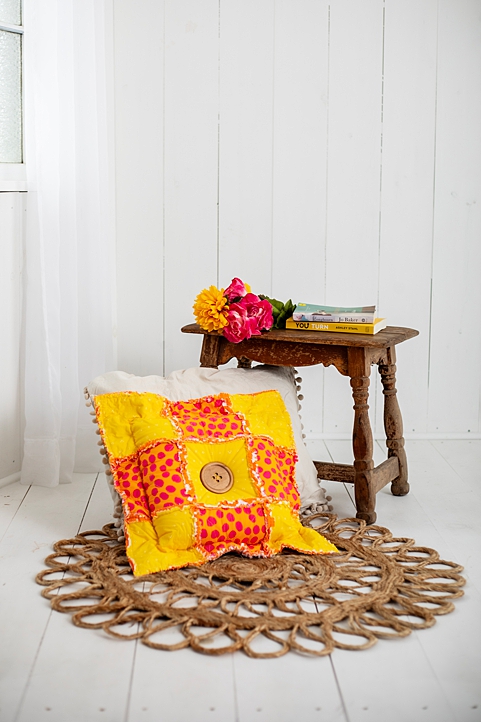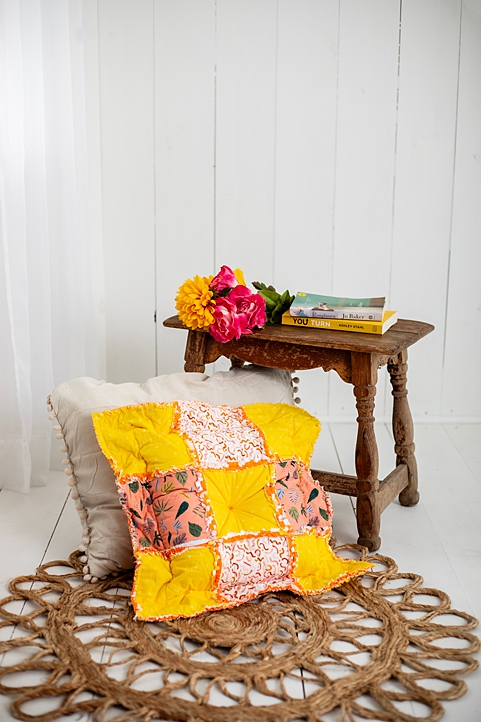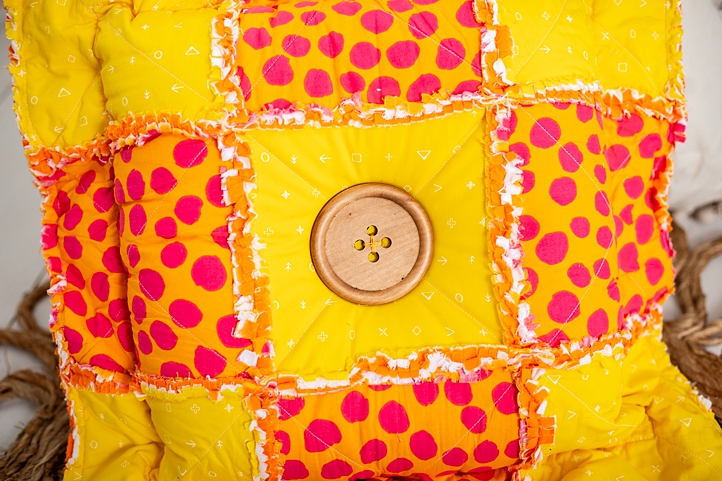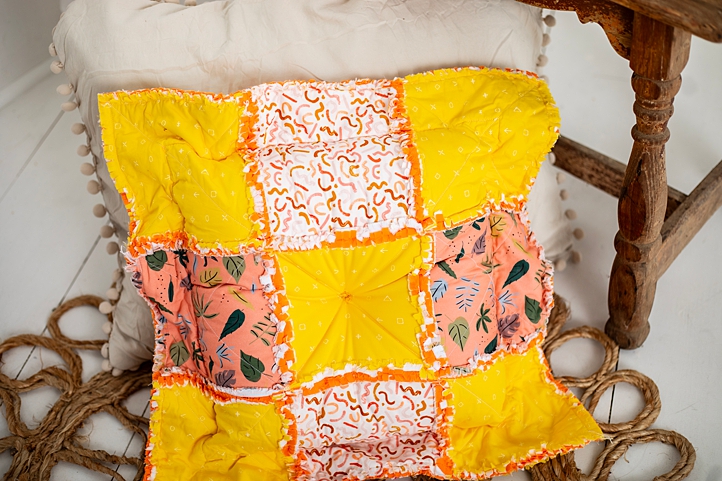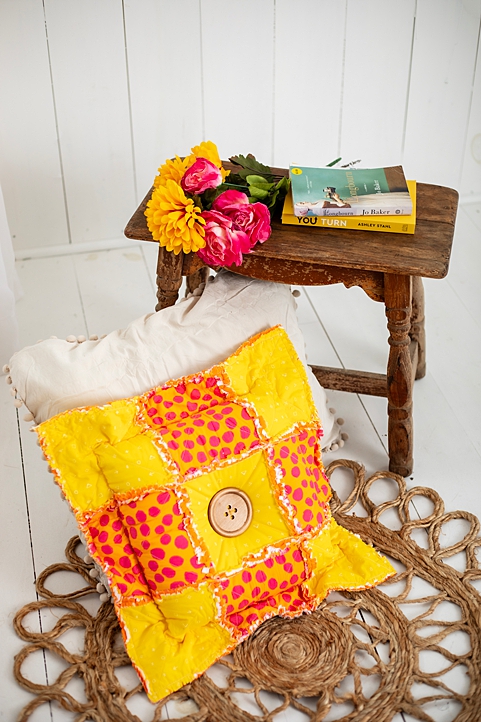
Brighten up your front porch, sunroom or den with a bold and cheerful cushion, just in time for warmer weather. This patchwork cushion pattern from Sophie Tarrant is made with fat quarters in sunny yellows and oranges, so if you love working with precuts, this is the pattern for you. Rag quilting is a favorite method among quilters and the soft and fuzzy details of this rag quilt cushion give it a lovely finishing touch.
Skill Level: Easy
Seam Allowances: 5/8”
Finished Size: Fits an 18” cushion pad
Designer Note: As you assemble your cushion, make sure to regularly check that each of your patchwork fabrics is the right way up before you stitch them in place – this doesn’t matter so much if they’re plain colors, but if they feature a printed design, it’s important that they are all aligned in the same direction.
Materials:
- Fabric: 18 printed cotton fat quarters; plus white brushed cotton and orange cotton, 1 yard of each
- Sewing thread: white
- One 18” cushion pad
- Large wooden button
Tools:
- Scissors
- Iron
- Water soluble fabric pen
- Ruler
- Pins or clips
- Sewing machine
- Sewing needle
- Stiff bristle brush
- Washer and dryer
Instructions:
- Begin by taking your fat quarters and roughly cutting each one into a 9” square. Lay them out in two 3 x 3 grids (one for the front of the cushion, and one for the back) to configure the patchwork design. Once you have the order set, take a photo or make a note of which square goes where to make the construction process easier later on. Next, cut 18 9” squares from both the white brushed cotton and the orange cotton. Divide the fabrics into three piles (patchwork fabrics, white brushed cotton, and orange cotton) and set them aside.
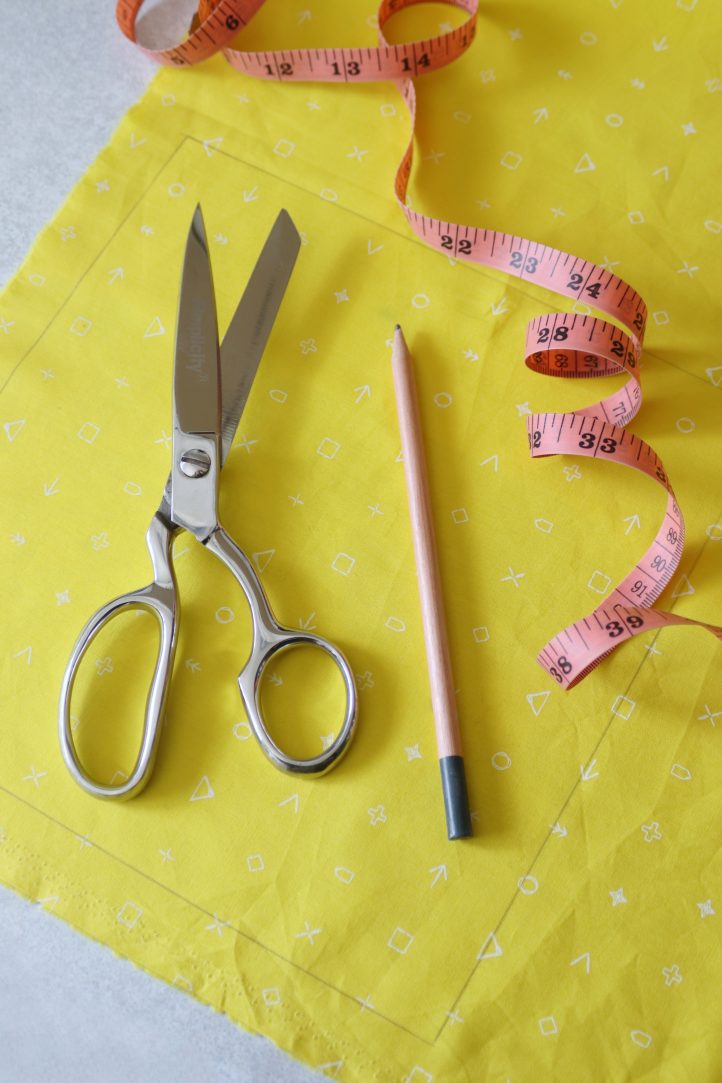
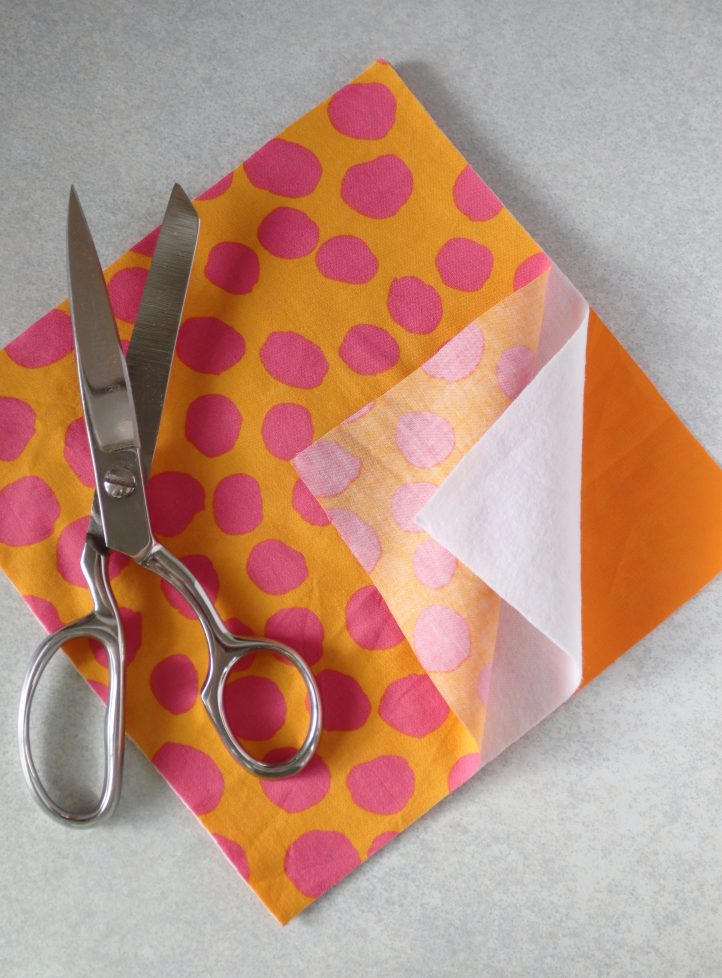
- Take an orange square and lay it out flat with the right side of the fabric facing down. Place a brushed cotton square on top of it, aligning the edges. Finally, take one of the patchwork squares and layer that on top with the right side facing up, once again making sure the edges roughly match up. Use an iron to press the fabrics flat, then draw a 7 3/4” square onto the top layer and use sharp scissors to cut it out, slicing through all three layers at once. Pin or clip the resulting quilt sandwich together to hold it neatly in place. Repeat with the rest of the fabrics, until you have 18 three-layered quilt sandwiches – nine for the cushion front, and nine for the back.
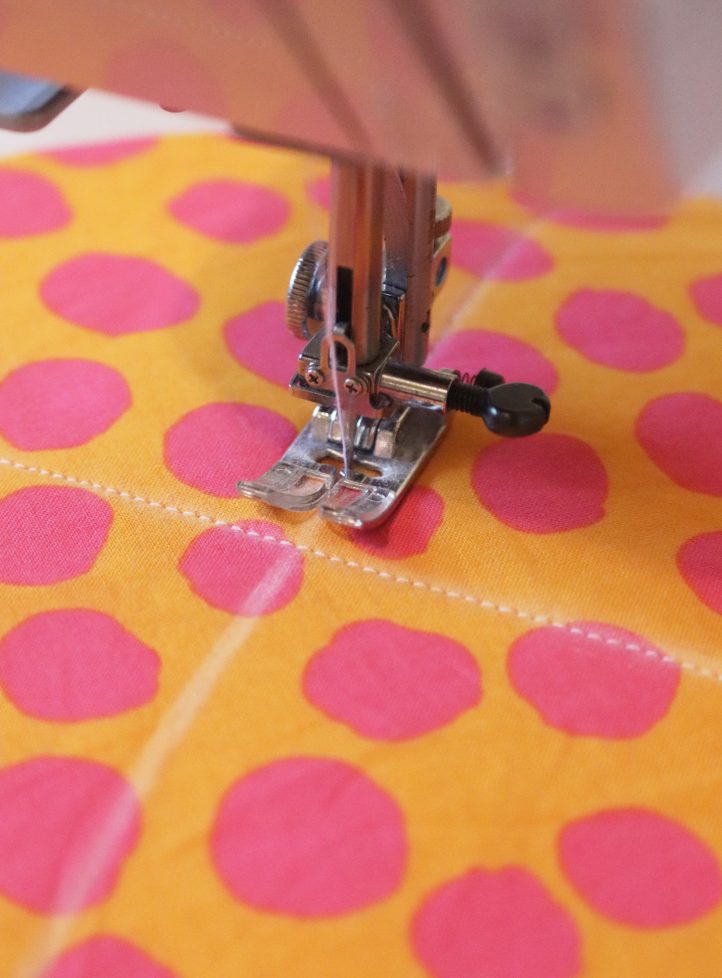
- With the layers securely pinned or clipped together and the patchwork side facing upwards, take a ruler and a piece of chalk and draw two lines across the top of one of your quilt sandwiches, going from corner to corner to form an X. Take the sandwich over to your sewing machine and work a straight top stitch along each line, to hold the three layers together securely. Repeat to draw and stitch an X across each quilt sandwich.
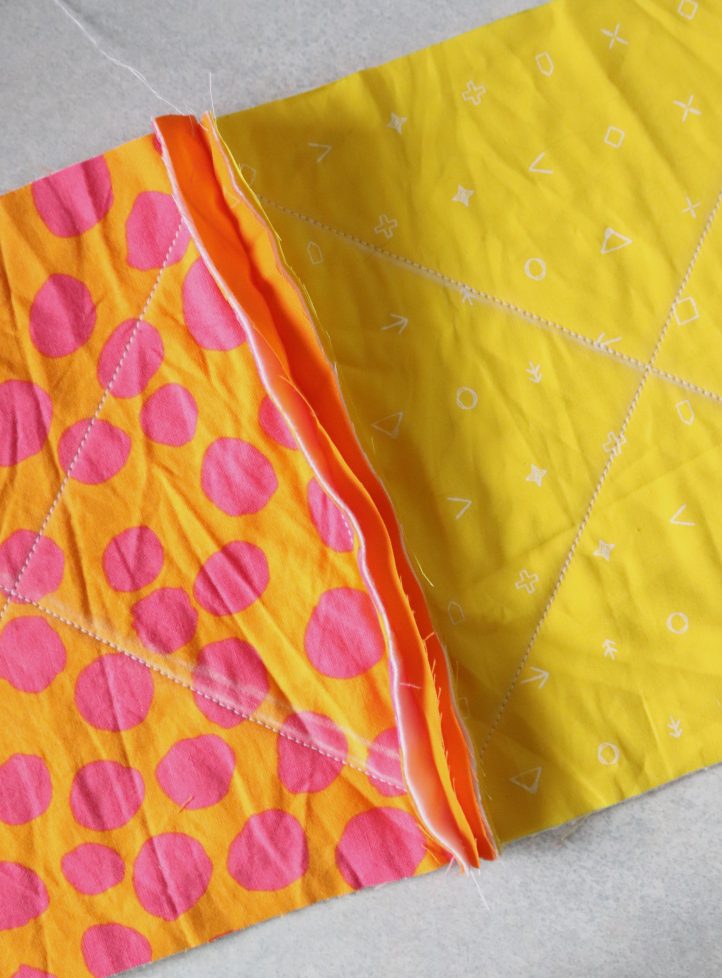
- Referring back to the notes or photo you made in Step 1, take the square that’ll sit in the top left corner of your cushion front and the one that will sit next to it, in the center of the top row. Hold them together, with the patchwork (right) sides of each one facing outwards, and align the edges. Clip or pin them to hold the layers in place, then work a straight machine stitch down the right hand side edge, leaving a 5/8” seam allowance. Open the squares up and lay them flat, then add the square that’ll sit in the top right of the cushion front, attaching it to the right hand edge of the middle square in the same way. Repeat this step to make three rows of three squares for both the front and back of the cushion, referring back to your Step 1 notes or photo regularly to make sure everything is in the correct place.
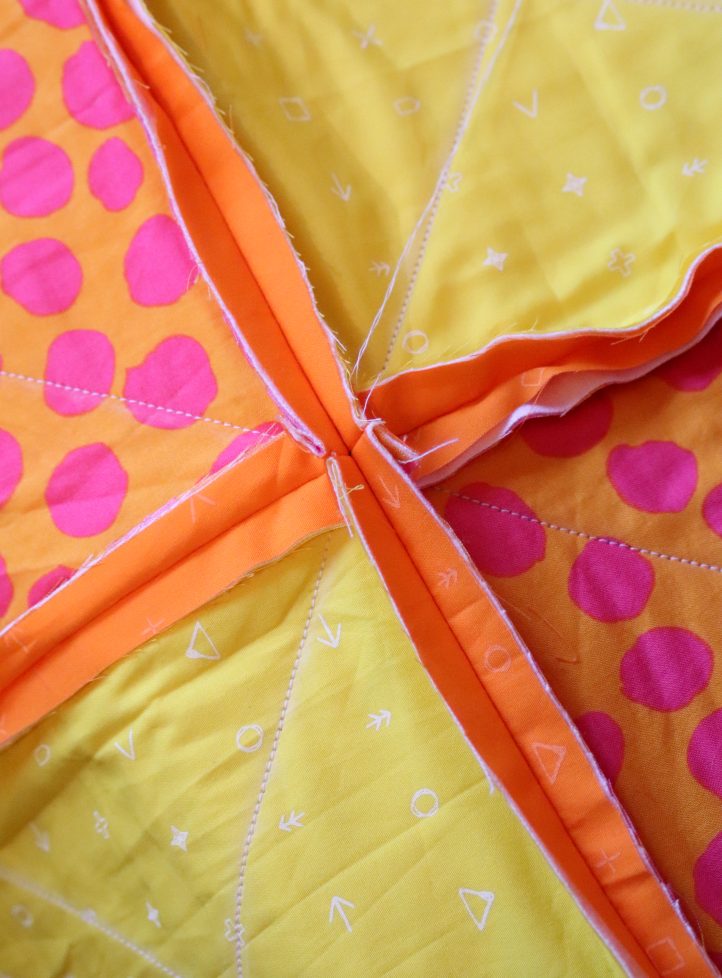
- Layer the top and middle rows of cushion front squares together, making sure that once again the right (patchwork) sides of both are facing outwards. As you match the rows up, make sure that the patchwork seams line up neatly between the rows and that all the seam allowances are open – you can use pins or clips to hold them in place if needed. Stitch the two rows together, then repeat to add the third row beneath the middle one. You’ve now completed your cushion front. Repeat this step to stitch all three rows of your cushion back together in the same way.
- Assemble the cushion case. To do this, place the cushion front and back pieces together with the right (patchwork) sides of both facing outwards. Align the outer edges and make sure that the seam lines of each patchwork square match up between the front and back, and that all the seam allowances are held open. Clip or pin the work together, then sew along three of the outer edges, leaving a 5/8” seam allowance. Leave the fourth edge open and unstitched. Work over the same three seams again, to give them extra strength.
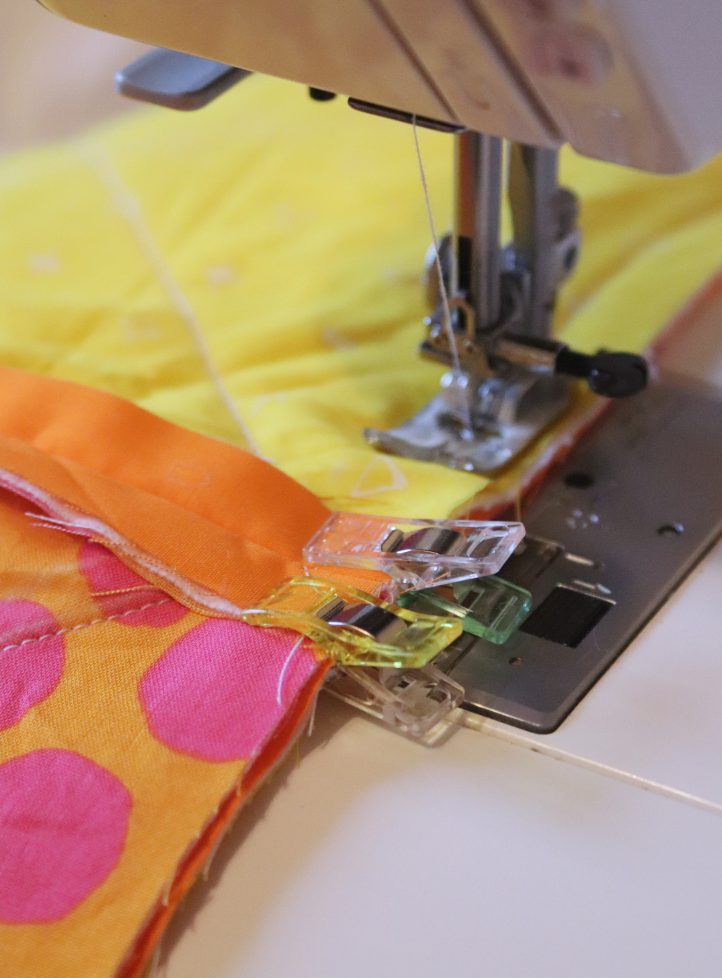
- With the cushion case laid flat, measure and mark out a 2 1/2” Oxford border along all four edges. Work a straight machine top stitch along this line, sewing along the same three sides you stitched in Step 6 and leaving the fourth side open as before. Work over the seams twice to give them extra strength.
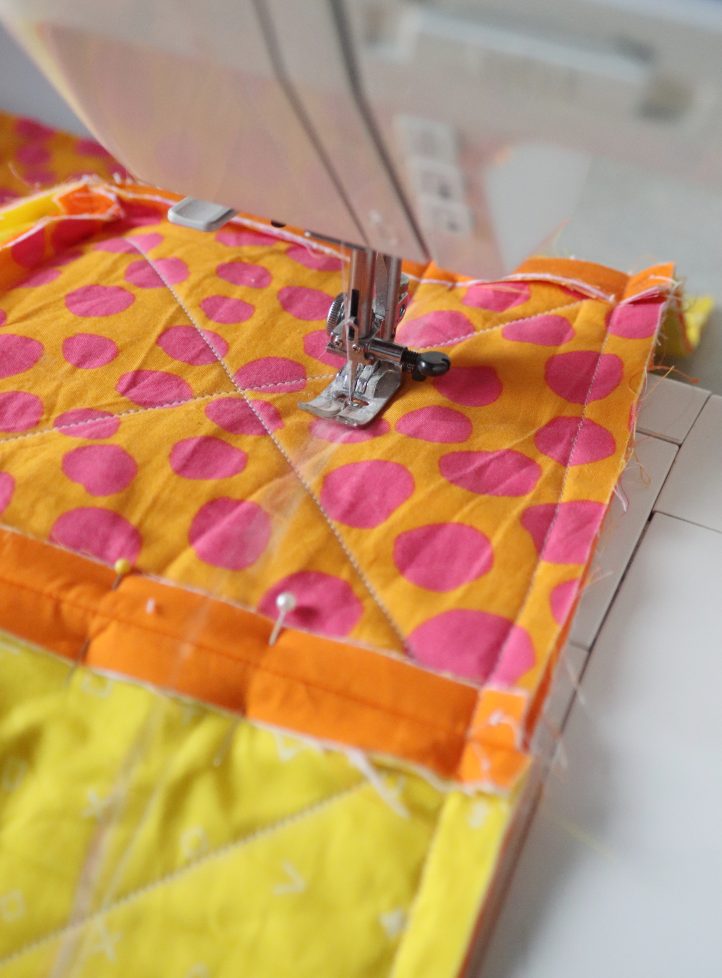
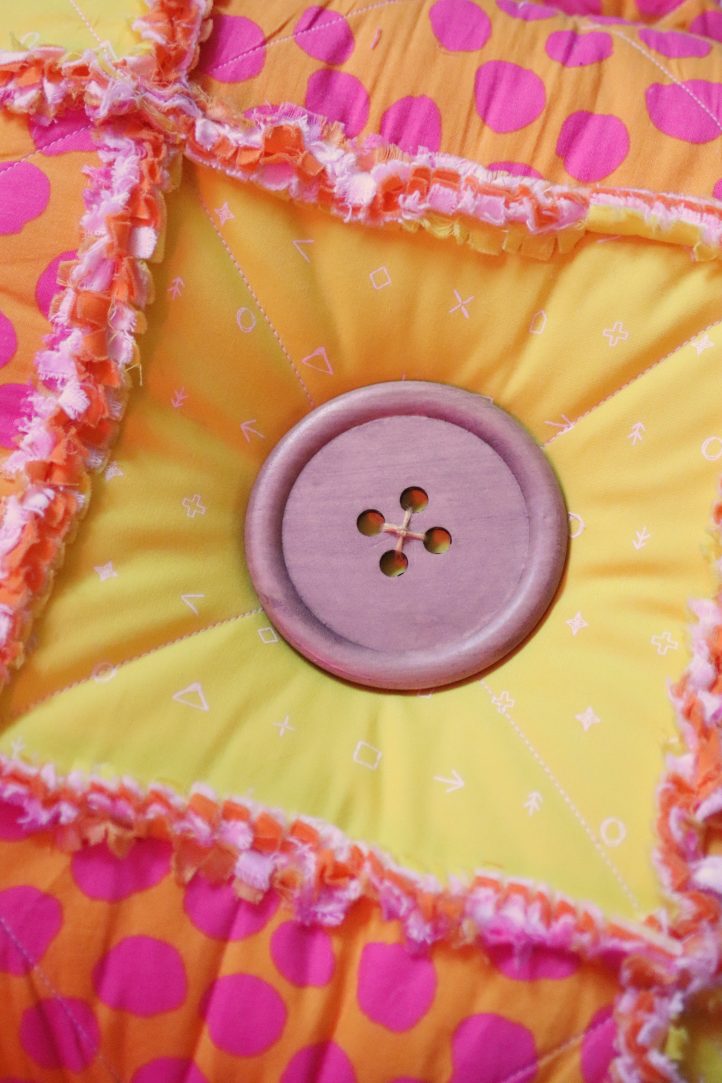
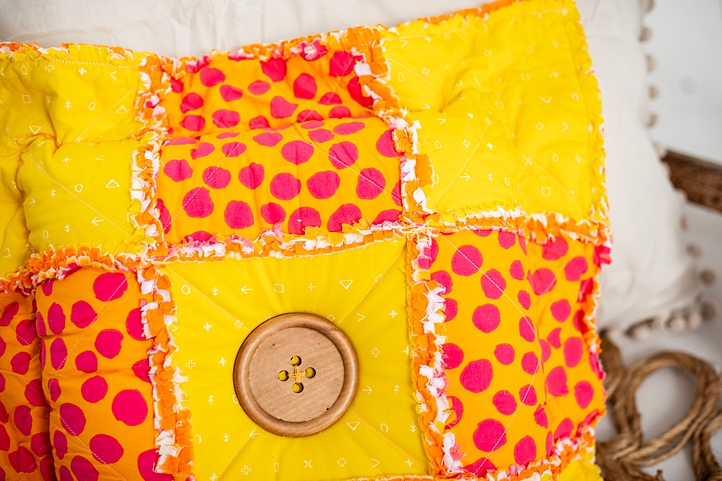
- Use sharp scissors to make small snips into each seam allowance (including the allowances between each patchwork piece and the three stitched outer edges of the cushion) at 1/4” intervals. Make sure you’re cutting through all the layers of fabric, but don’t snip through the stitches. These cuts will help the fabric fray, creating the fluffy border that gives rag quilts their signature look. Leave the edges of the open side intact – you’ll snip into them once the seam has been closed.
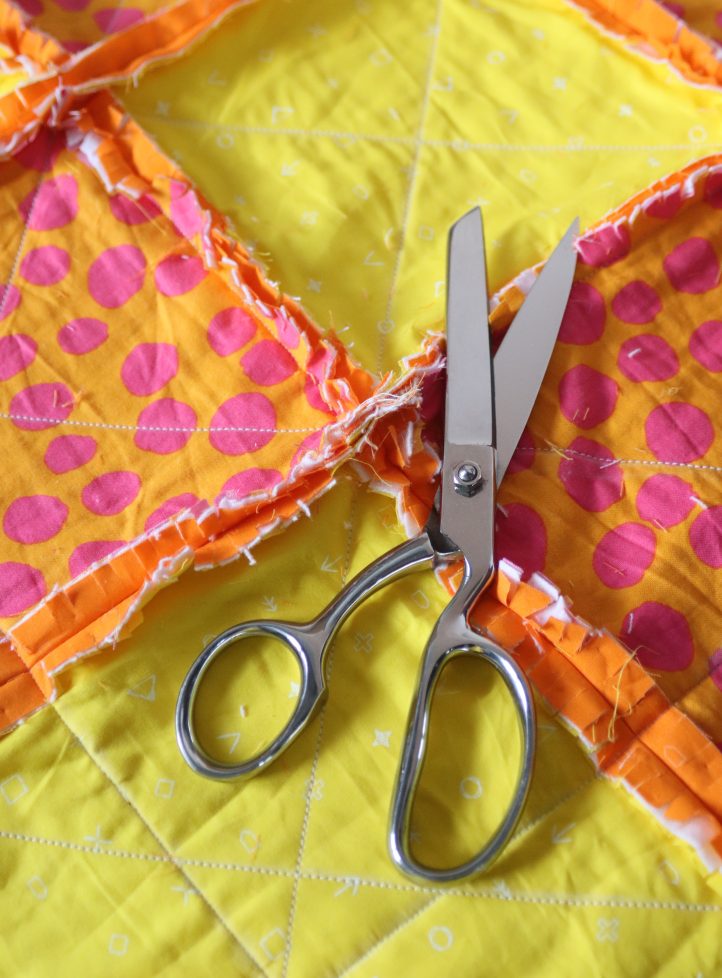
- Place an 18” cushion pad inside the case through the remaining open side, then use pins to hold the back and front of the cover together along the Oxford border line you drew (but left unstitched) in Step 7. Work a straight machine top stitch along this line twice, making sure to back stitch at both ends to reinforce stitching to enclose the cushion within the middle of the case. Finally, work a line of straight stitch along the remaining outer edge and back stitching ends to reinforce, leaving a 5/8” seam allowance. You can now snip along this edge, as in Step 8. With the cushion safely inside the case, use a stiff-bristled brush to gently agitate the seam allowances, encouraging them to fray and fluff up. To encourage the fluffiness further, gently machine wash the cushion on a cool cycle, then run it through your dryer, again on a cool, gentle cycle.
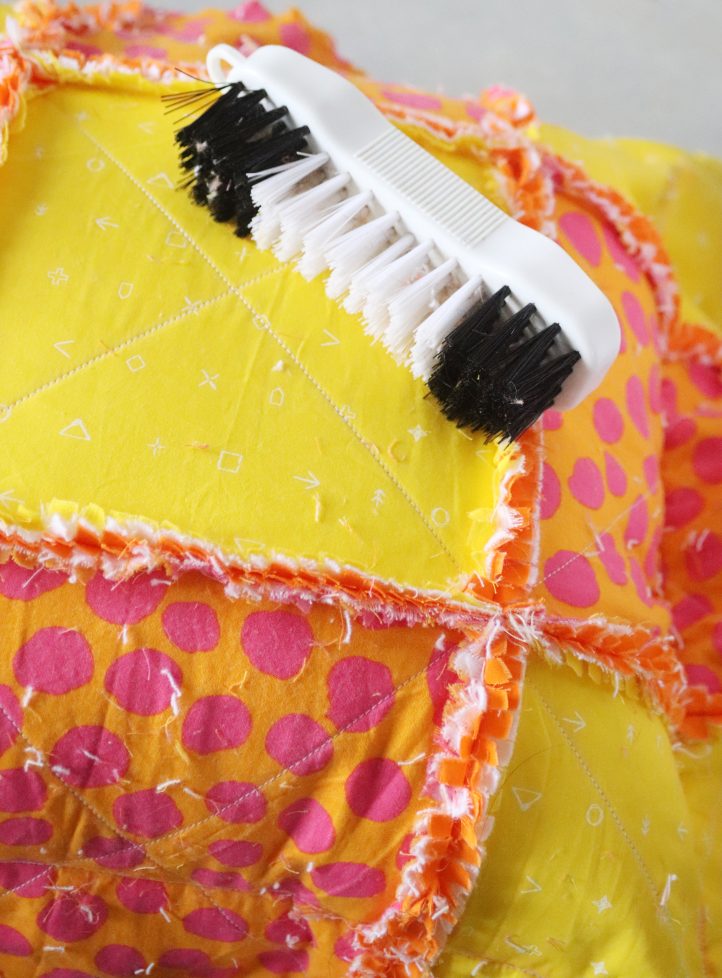
- Once the cushion is dry, give the seams one final fluff-up with the brush to remove any loose fibers and encourage even more volume. The cushion is now complete! As a final optional extra, you can stitch a large wooden button to the center of the cushion, working back and forth through the layers and securing the thread at the back of the work to hold it in place.
