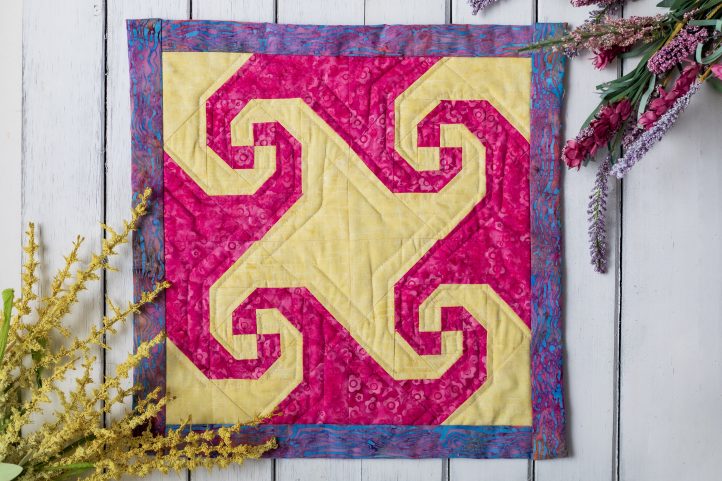
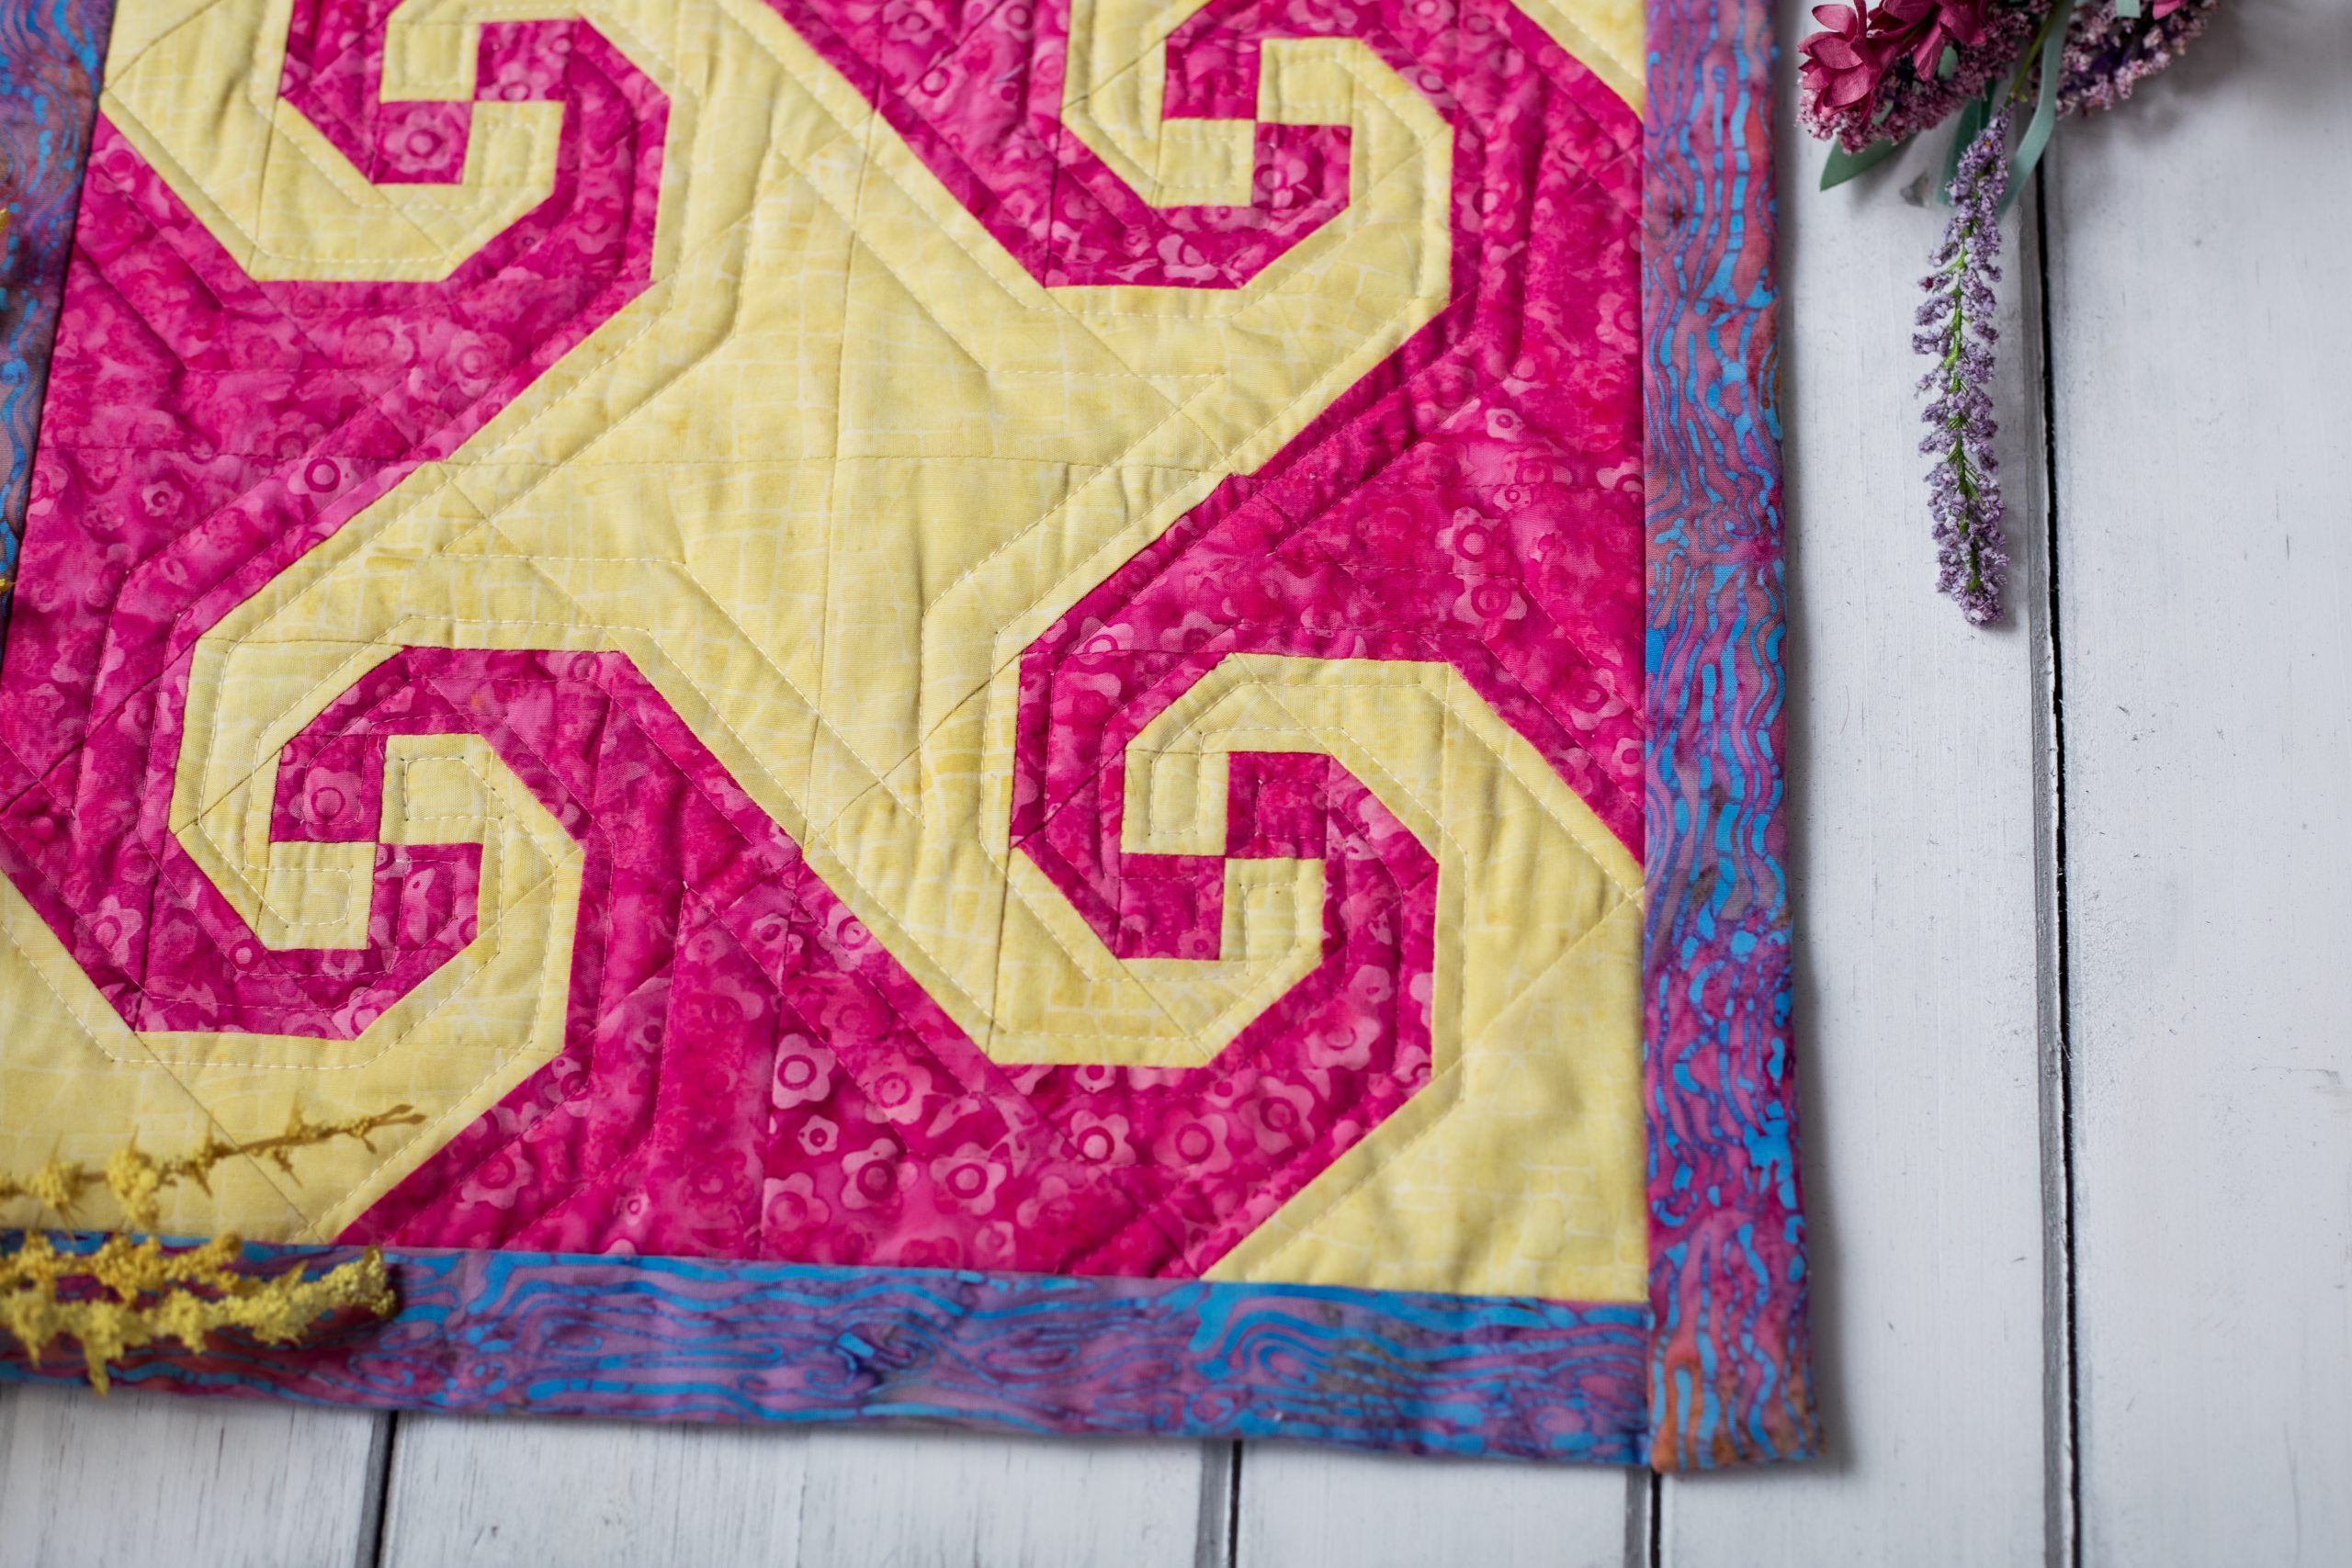
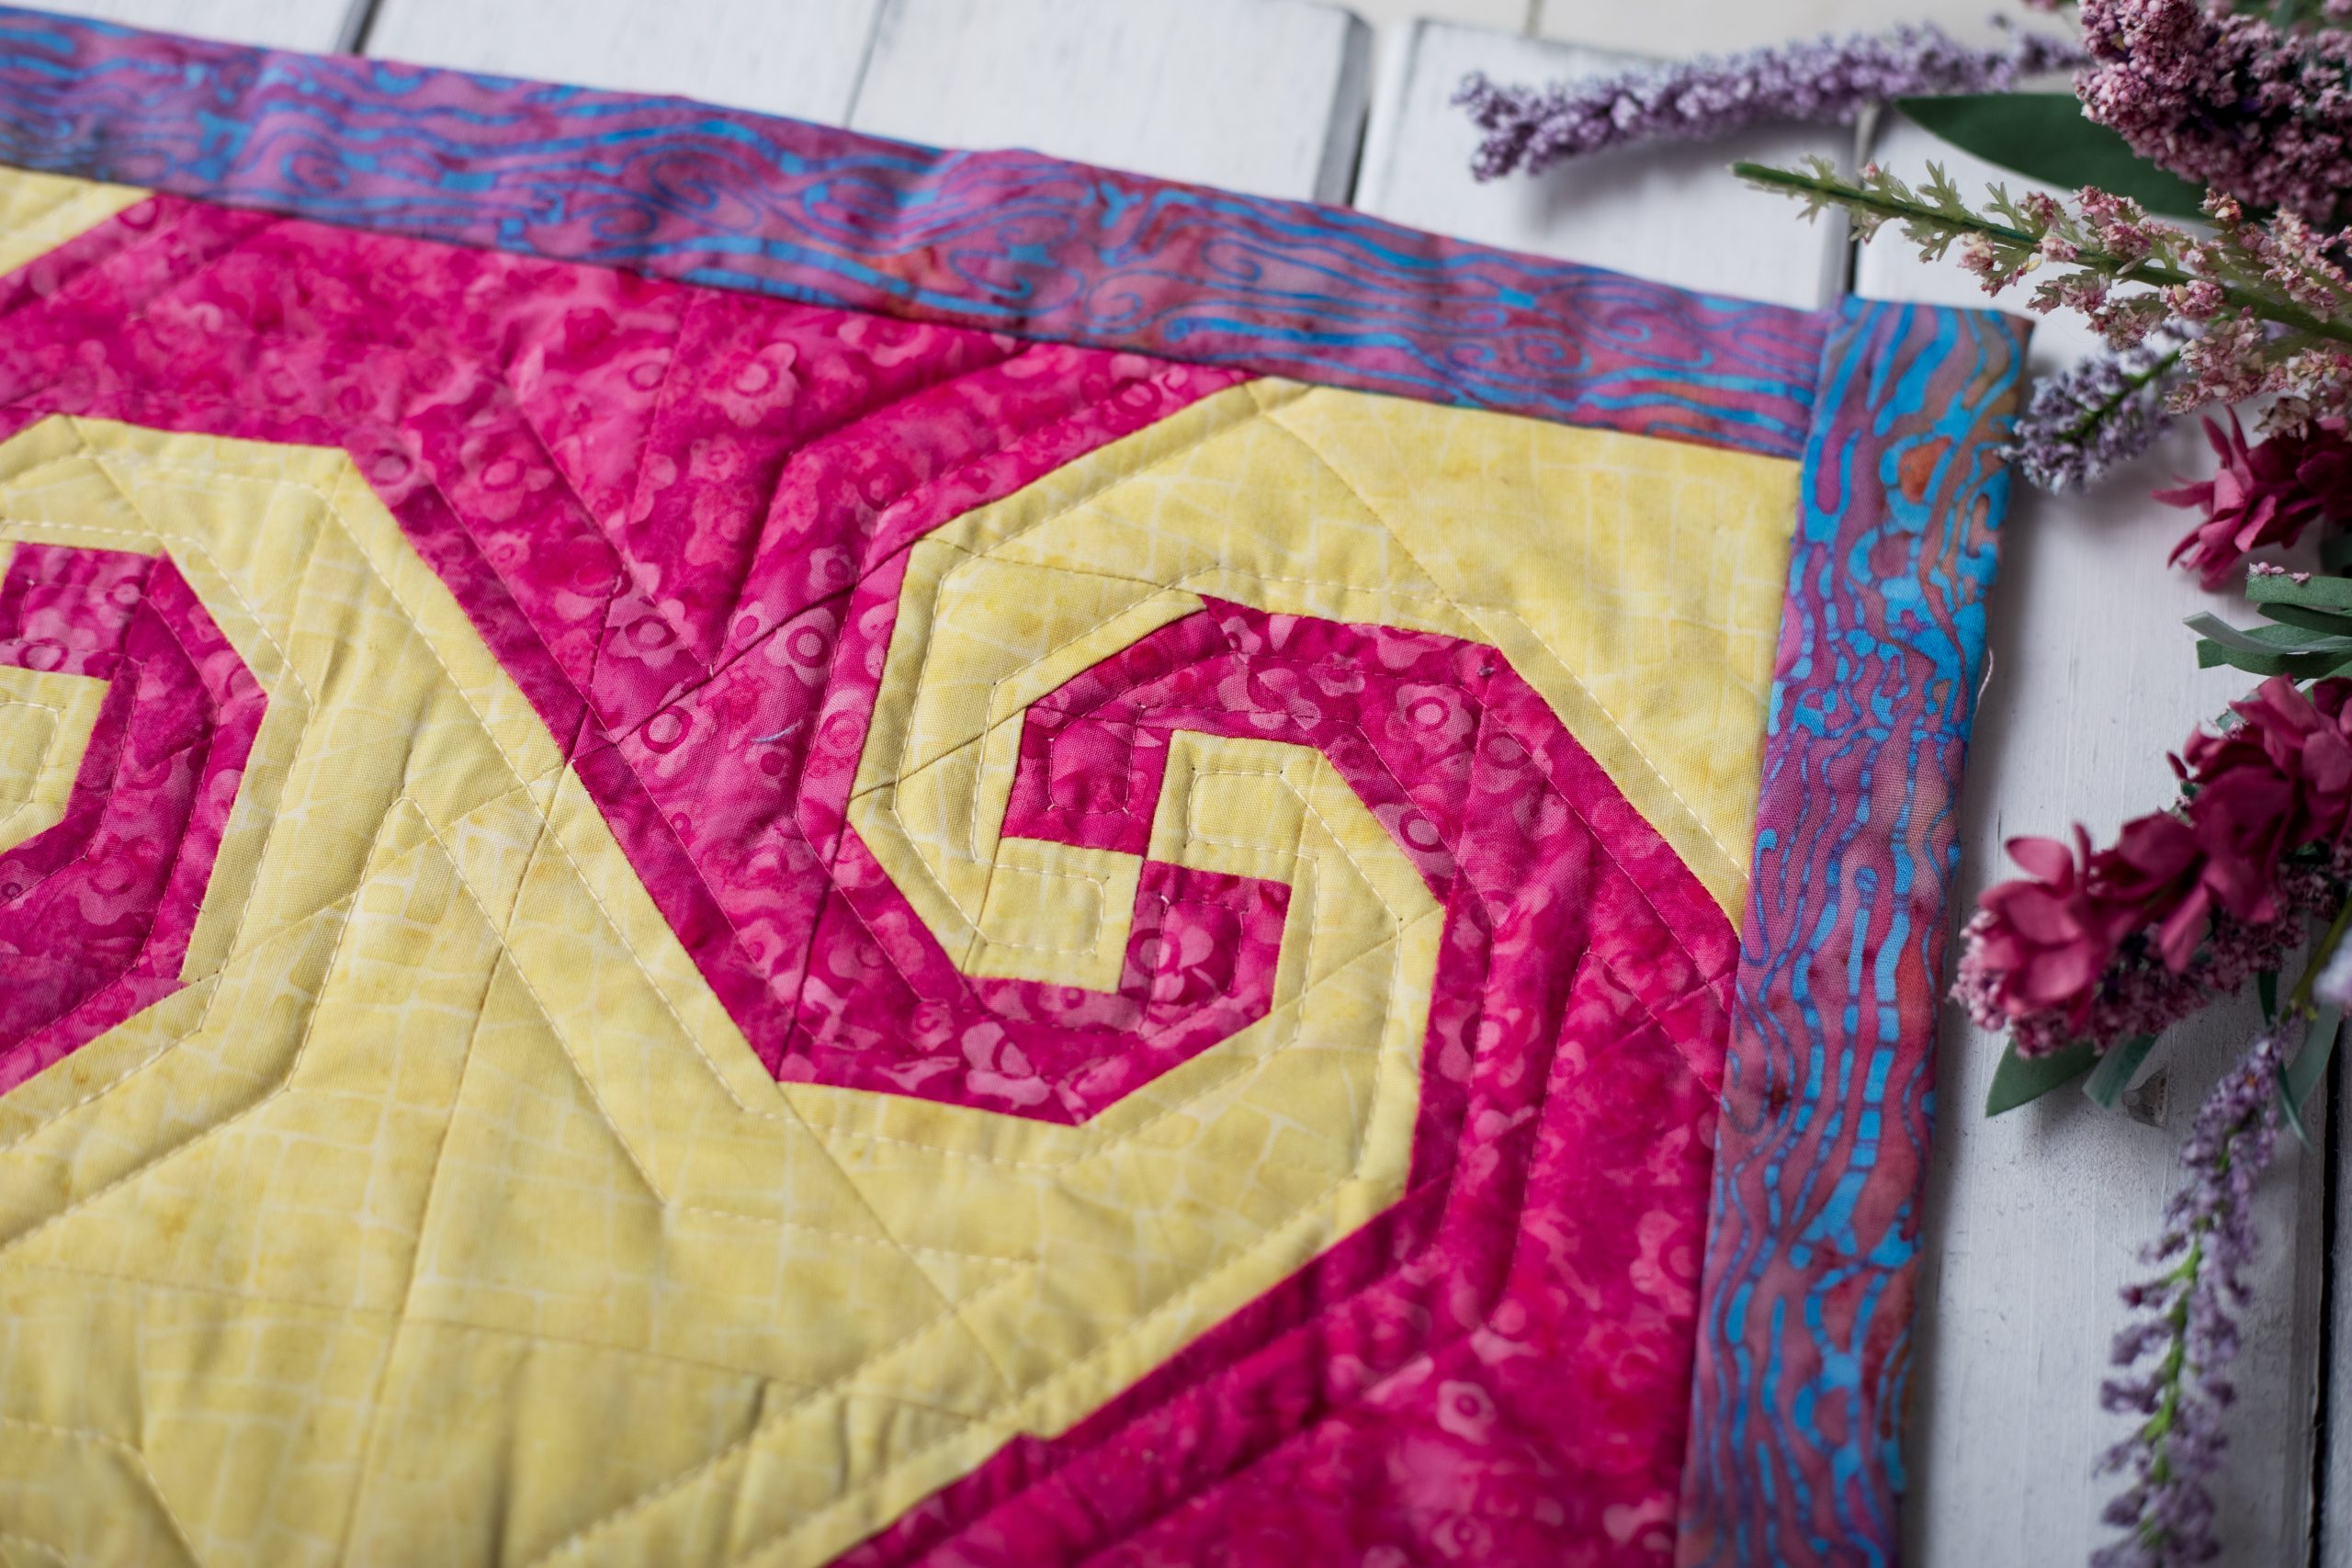
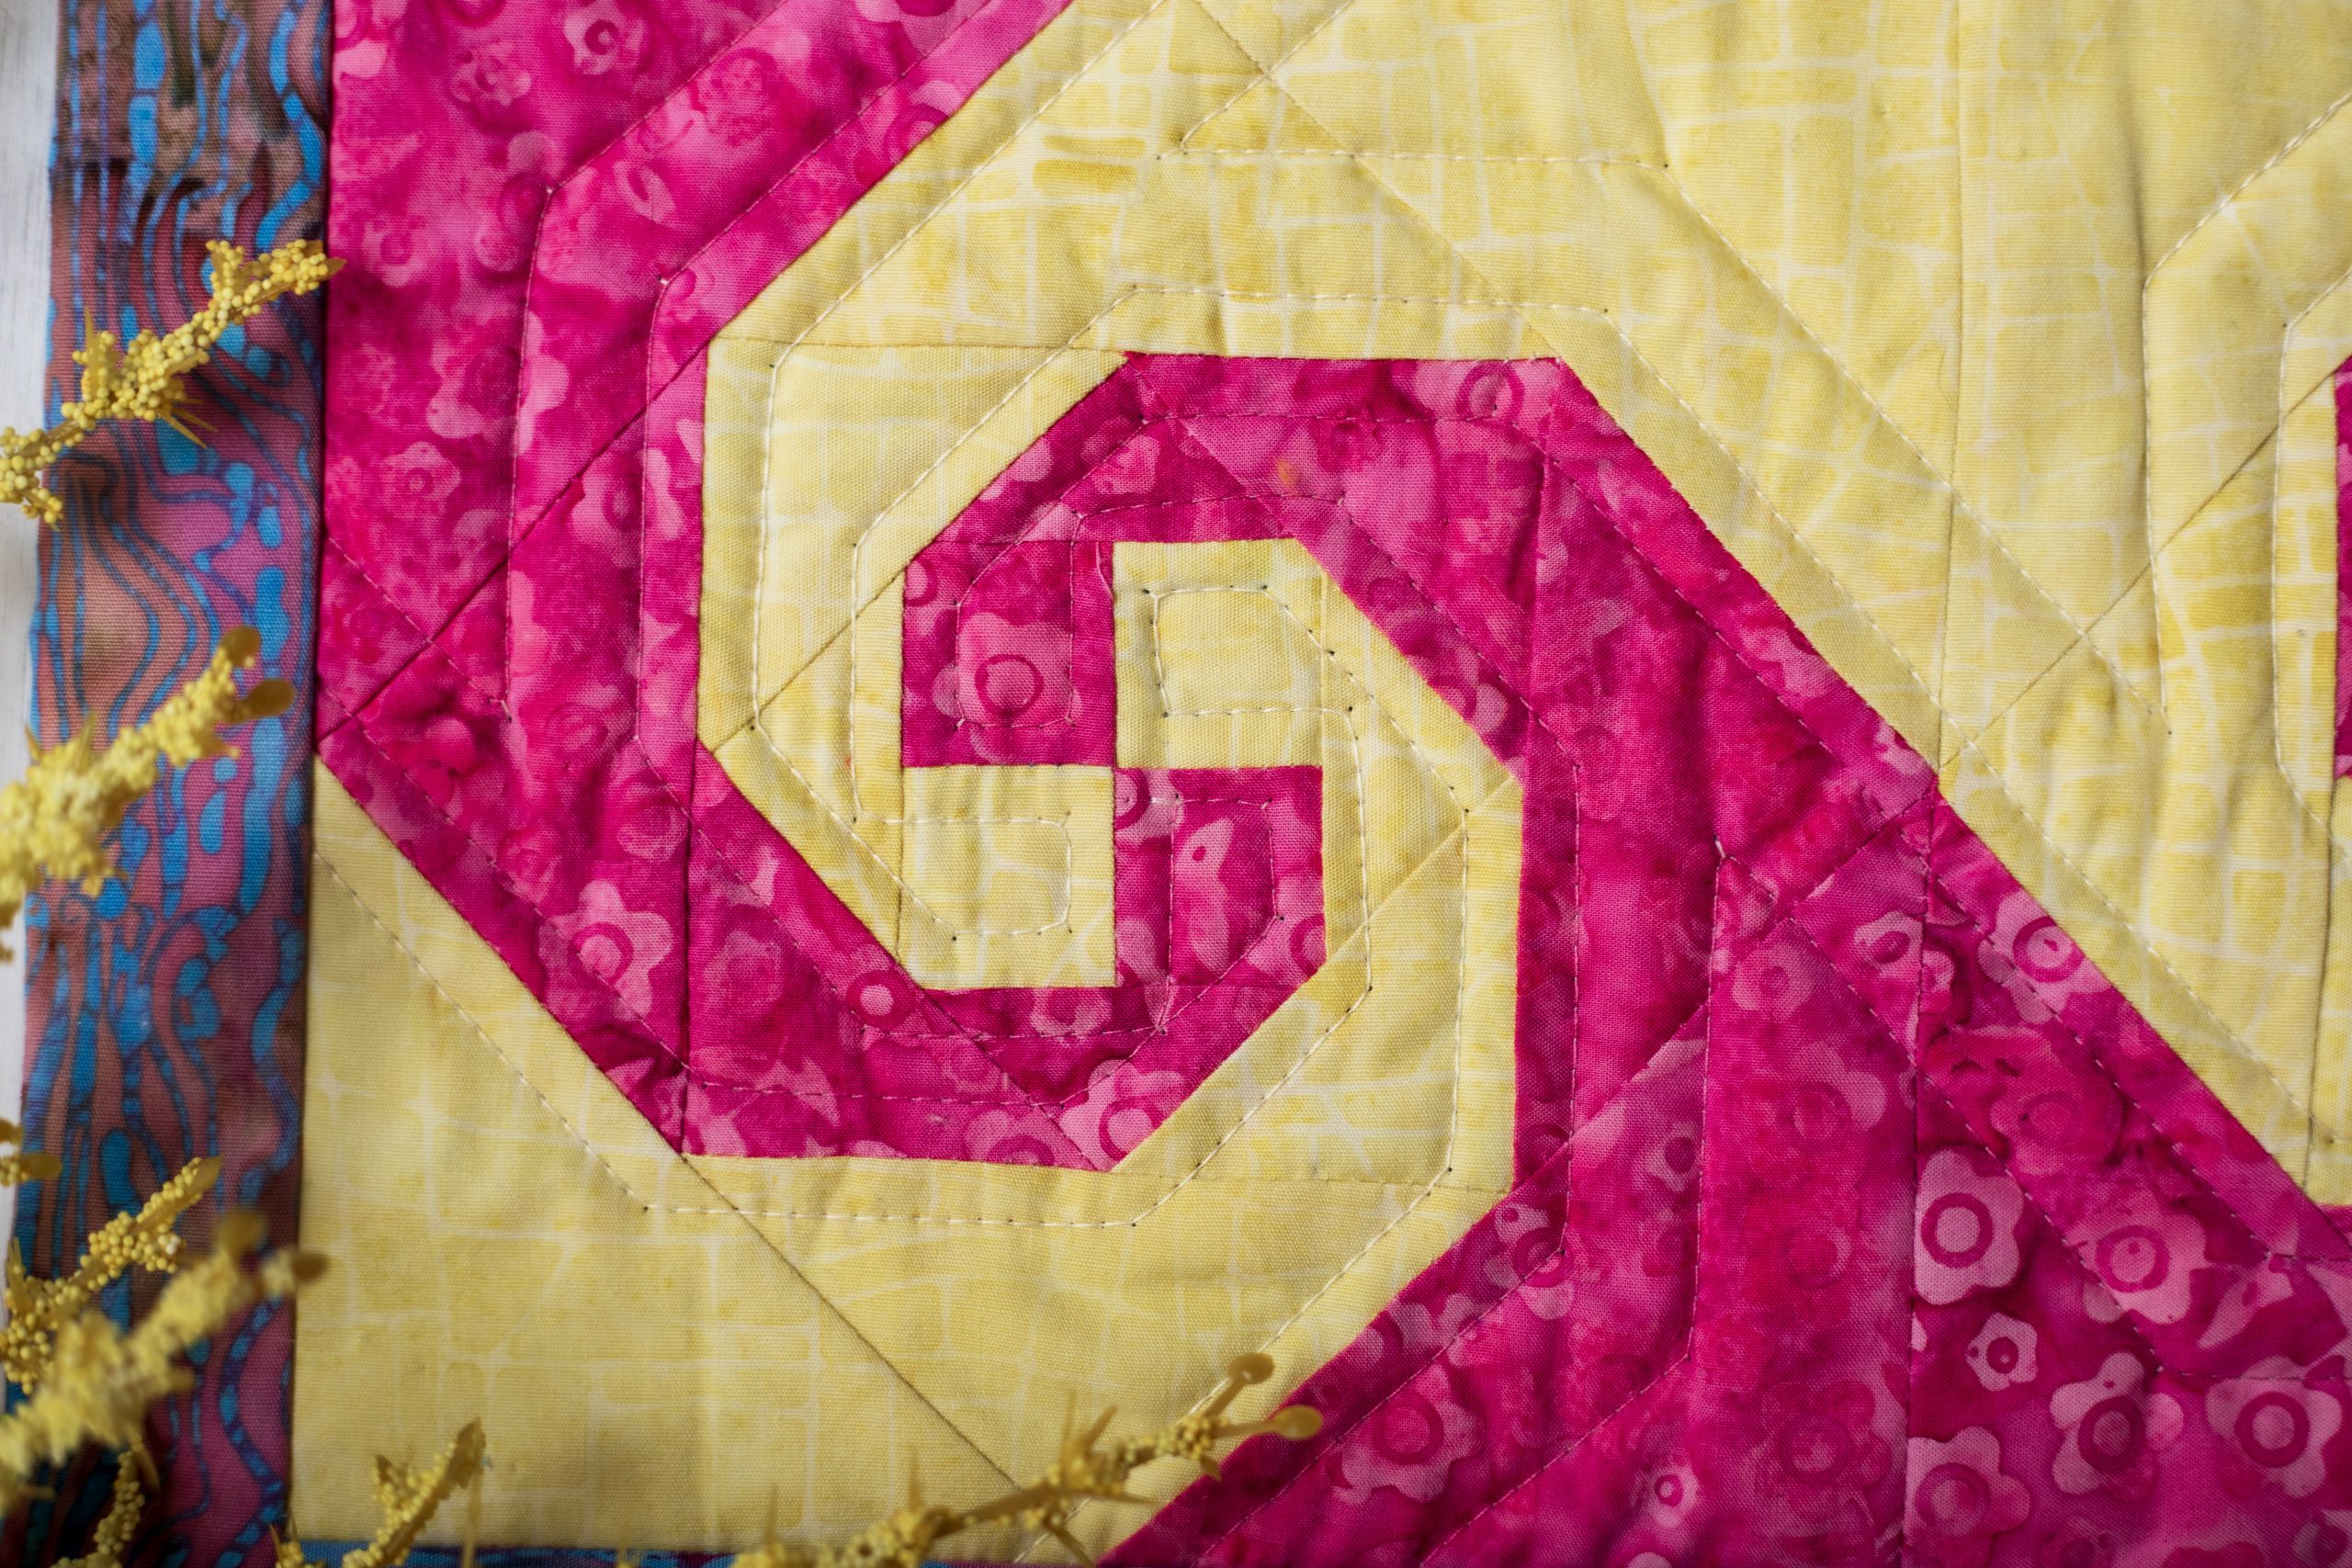
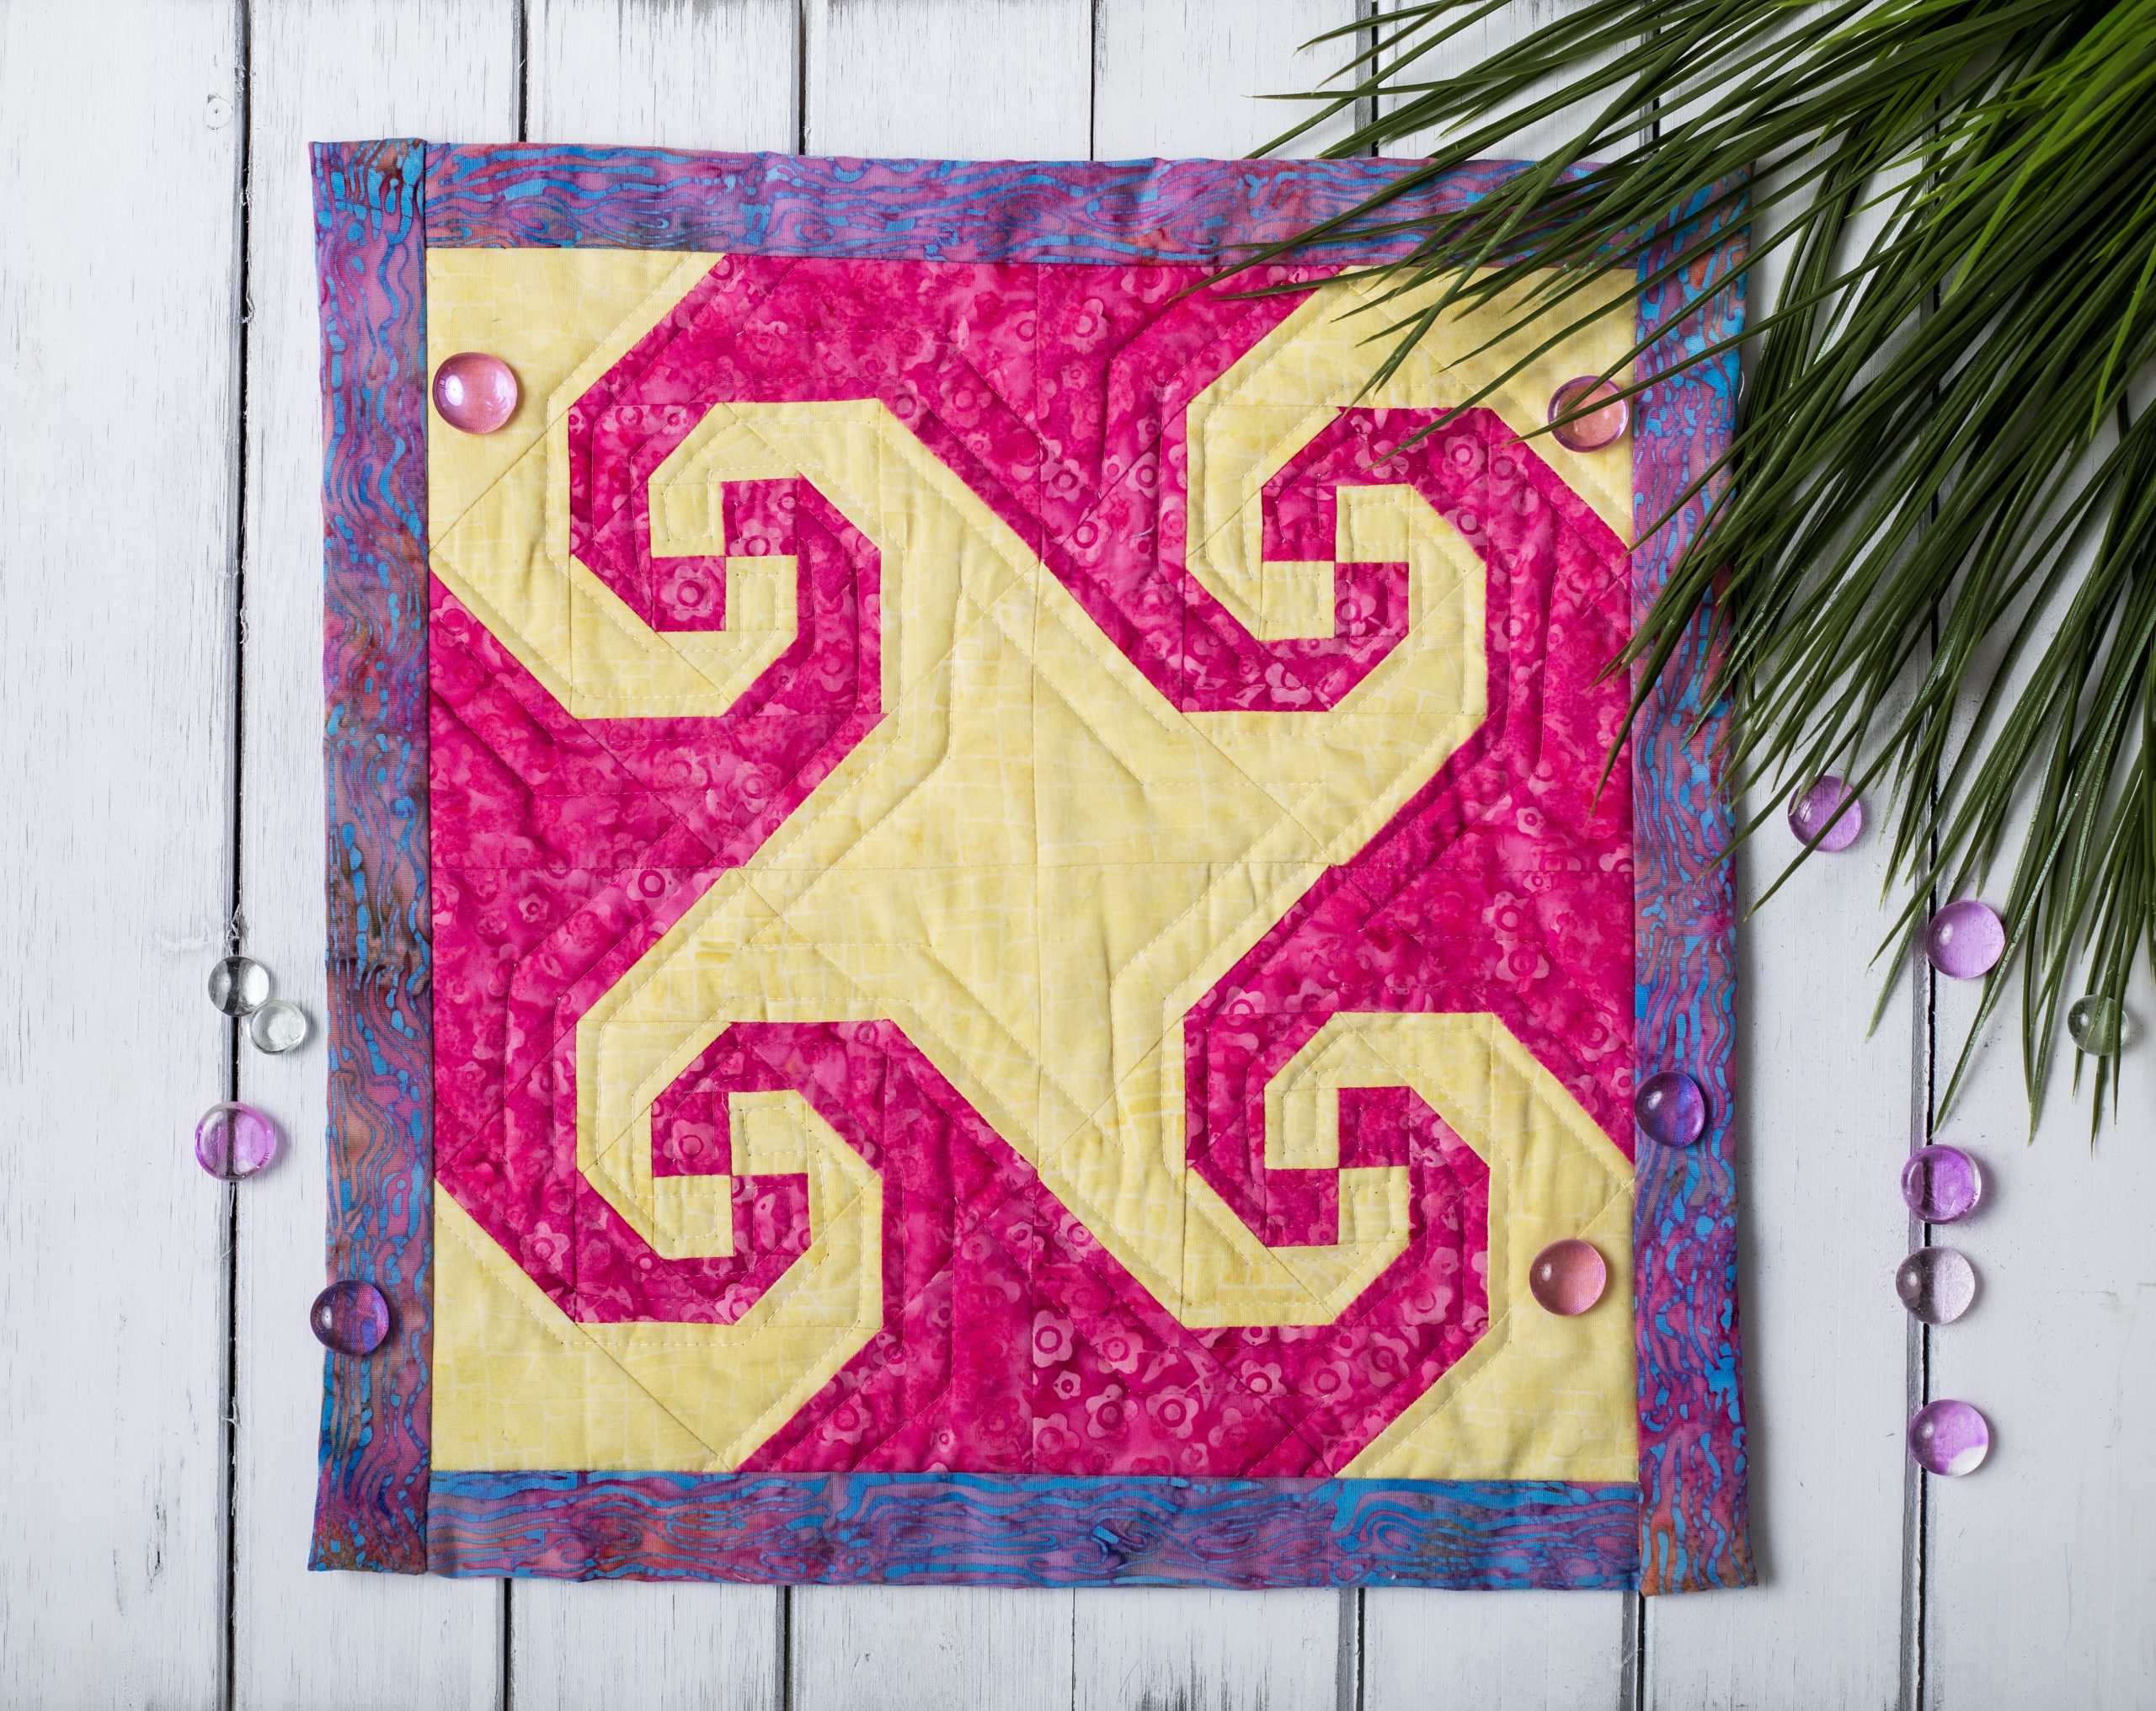
Give your quilting projects some color and movement with this whimsical snail trail block from Joy Heimark. This snail trail quilt block pattern is fat quarter friendly and finishes at a 14” square. Snail trail blocks are ideal for interesting color combinations, so don’t be afraid to get creative when selecting fabrics for your block.
Skill Level: Confident beginner
Finished Size: 14” x 14”
Designer Notes:
- Read all instructions before beginning this project. Stitch right sides together using a 1/4″ seam allowance unless otherwise specified.
- Materials and cutting lists assume 40″ of usable fabric width.
- The following abbreviations are used in this pattern:
- WOF – Width of Fabric
- RST – Right Sides Together
- FQ – Fat Quarter
Materials:
- Fabrics:
- Yellow: 1/4 yard or FQ
- Pink: 1/4 yard or FQ
- Binding: 3/8 yard or FQ
- Batting: 15” x 15” square
- Backing: 15” x 15” square or FQ
- Thread
Cutting Instructions:
From both Yellow and Pink cut:
- (2) 4-5/16” x 4-5/16” squares. Cut each one diagonally twice (C) ⊠
- (4) 4” x 4” squares. Cut each one diagonally once (A) ⍁
- (2) 2 3/4” x 2 3/4” squares. Cut each one diagonally twice (E) ⊠
- (4) 2-7/16” x 2-7/16” squares. Cut each one diagonally once. (B) ⍁
- (8) 1 1/4” x 1 1/4” squares (D)
Piecing Instructions:
BLOCK INSTRUCTIONS (MAKE 4):
- With RST, sew a yellow D square and a pink D square together. Make 2. Press to dark.
- Sew these two units together to make a four-patch. Press seam open. Trim to 2” square.
- Sew two yellow E triangles to opposite sides of the four-patch unit (See Diagram #1). Press out toward triangles. Trim “wings”.
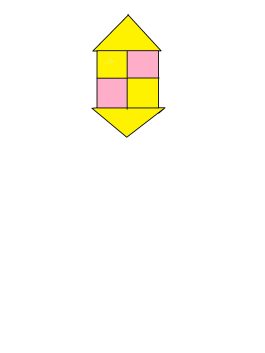
- Sew two pink E triangles to the other two sides of the four-patch. Press out toward triangles. Trim block to 2 5/8”.
- Continue adding triangles in the same manner, yellow first, and then pink, referring to Diagram #2 for position and color placement. Pressing and trimming are essential. Press your block after each pair of triangles is added. Press all seams outward.
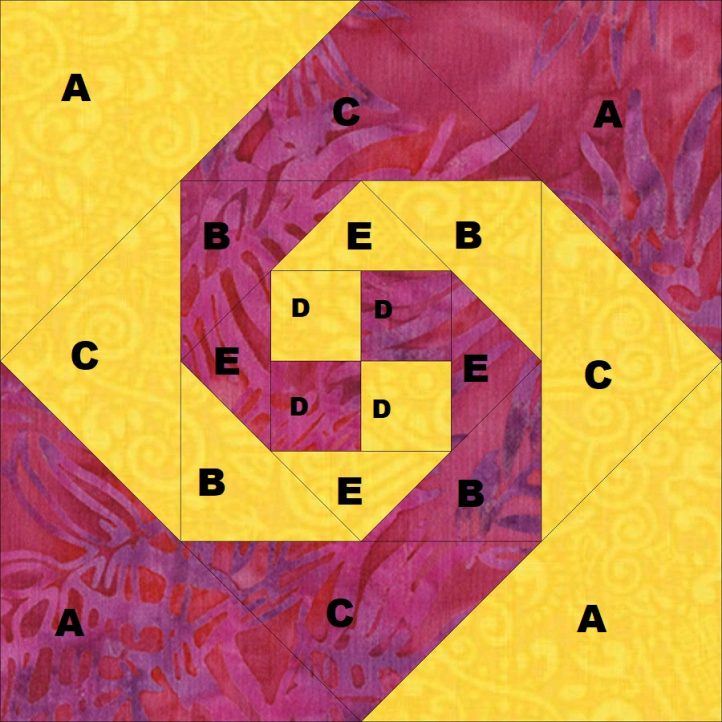
- Add yellow and pink B triangles. After adding the four (B) triangles, carefully square and trim your block to 3 1/2”.
- Add yellow and pink C triangles. After adding the four (C) triangles, carefully square and trim your block to 4 3/4”.
- Add yellow and pink A triangles. After adding the four (A) triangles, carefully square and trim your completed block to 6 1/2”.
COMPLETING THE QUILT:
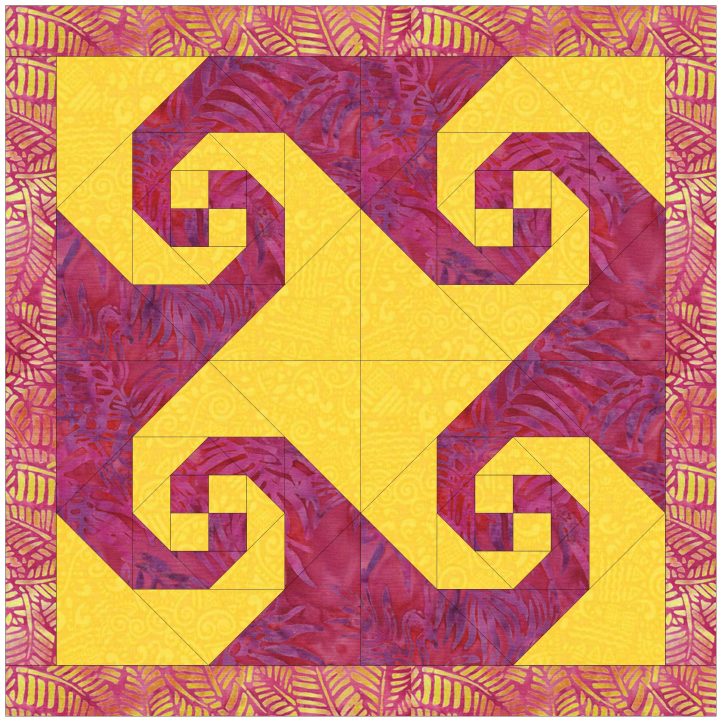
- Lay out all four finished blocks. You will have two options as to which color you prefer in the center. Choose the design you like that goes best with your binding fabric.
- Sew the blocks together, pressing seams open.
- Square up your quilt. It should measure 12 1/2”.
- This quilt uses a wide binding to simulate an outer border. Cut your batting and backing each at least 1 1/4” larger than your quilt top on all four sides. Quilt as desired.
WIDE BINDING/OUTER BORDER:
- Cut four binding strips 15” long by 5” wide. Fold each in half lengthwise and press.
- Line a binding strip up with the edge of your quilt top (not batting) and sew on using a 1/4” seam.
- Sew another binding strip onto your quilt on the opposite side.
- Carefully trim batting and backing 1” away from the seam lines on those two sides. Fold binding to back and sew with a blind stitch.
- Attach wide binding strips to the two remaining sides of your quilt. Carefully trim batting and backing 1” away from your seam lines. Fold binding to back and sew with a blind stitch. You may finish the corners with either a flush edge, or a mitered edge. (If you are creating mitered corners, these two strips should only be sewn on from seam line to seam line.)

Highlight the text. Control P. Print as pdf. I enlarge as Custom 120%. Voila! You have a printed pattern!
Prefer to have patterns that I can download not just read